RWKVをローカルPCで動かす(pyenv/Docker)
RWKV
自宅で動くLLM(Large Language Model)。前はFlexGenなるものを紹介しました。今回はRWKVなるものを動かしてみます。
LLMで当たり前に使われるTransformerでなくRNNのみを使っているようです。
それ以外の違いなど、詳細は分かってないですが、とりあえず手元で動かせるということなので動かしてみます。
pyenv(CPU)使う方法とDocker(GPU)使う方法を書きます。
今回、元リポジトリを少しだけカスタムして、Dockerfileを追加したリポジトリを作成して使用していますので、ご承知おきください。
使用環境
前提となる環境です。使用しているPCのスペックは以下です。
| 項目 | 内容 |
|---|---|
| CPU | Intel Core i 7 |
| メモリ | 32GB |
| GPU | NVIDIA RTX3060(12GB) |
OSはLinuxです。WindowsのWSL2で動かしている人もいるので、多分動くと思います。Linux/Windows(WSL2)のセットアップに関しては、以下記事参照ください。
CPUのみでも動かせるようですが、メモリが大量にいります。メインメモリが少なければ、とりあえずキャッシュ領域をアホほど(100GBとか)増やしておけば動くようです。足りないと途中でクラッシュします。
メモリが不足気味でしたら、以下記事参考に最初に設定しておいてください。
モデルダウンロード
モデルをダウンロードします。好きなものをダウンロードしてください。初心者は、最初は小さいものを試して自信をつける(?)のがよいかもしれません。
14B バカでかモデル
7B デカいモデル
7B alpacaでファインチューニングされているのでちょっと賢い
3B 小さめモデル
pyenv
事前準備
pyenvを使う方法です。まずは以下でpyenvをセットアップします。
以下コマンドで仮想環境を作ります。
$ pyenv install 3.8.12
$ pyenv virtualenv 3.8.12 rwkv
$ pyenv global 3.8.12/envs/rwkv
あとは以下でセットアップ実施します。
$ git clone -b custom https://github.com/karaage0703/ChatRWKV
$ cd ChatRWKV
$ pip install -r requirements.txt
$ pip3 install torch torchvision torchaudio --index-url https://download.pytorch.org/whl/cpu
v2/chat.pyを使用するモデル、CPU or GPUに合わせて修正します。具体的にはargs.strategyとargs.MODEL_NAMEです。
CPUを使い、7B alpacaファインチューニング版モデルを使う場合は以下のようにします。
args.strategy = 'cpu fp32'
args.MODEL_NAME = 'RWKV-4-Pile-7B-Instruct-test4-20230326.pth'
pyenvでChatRWKV実行
事前準備終わったら、ChatRWKVディレクトリで以下コマンドを実行すれば動きます。
$ python3 v2/chat.py
Docker
事前準備
Docker/NVIDIA Dockerのセットアップは以下記事を参照ください。
Dockerイメージを作ります。イメージは1度作成すればOKです。
$ git clone -b custom https://github.com/karaage0703/ChatRWKV
$ cd ChatRWKV
$ docker build -t ubuntu:ChatRWKV .
続いて、v2/chat.pyを使用するモデル、CPU or GPUに合わせて修正します。具体的にはargs.strategyとargs.MODEL_NAMEです。
GPUを使い、7B alpacaファインチューニング版モデルを使う場合は以下のようにします。
args.strategy = 'cuda fp16i8'
args.MODEL_NAME = 'RWKV-4-Pile-7B-Instruct-test4-20230326.pth'
RTX3060でも以下の設定で14B版モデルを動かせました。
args.strategy = 'cuda fp16i8 *10+'
args.MODEL_NAME = 'RWKV-4-Pile-14B-Instruct-test5-20230329-ctx4096.pth'
DockerでChatRWKV実行
イメージ作成したらChatRWKVディレクトリ内で以下実行します。
$ docker run -it -v $(pwd):/root --gpus all ubuntu:ChatRWKV
あとはコンテナ内で以下コマンドを実行するだけです。
root@hostname:/# cd /root
root@hostname:/FlexGen# python3 v2/chat.py
使用例
v2/chat.py実行して以下のような表示が出たらOKです(以下はDockerでの例ですがpyenvでもほとんど同じです)。
root@ec0abe65e546:~# python3 v2/chat.py


ChatRWKV v2 https://github.com/BlinkDL/ChatRWKV

English - cuda fp16i8 - /root/v2/prompt/default/English-2.py
Loading model - RWKV-4-Pile-7B-Instruct-test4-20230326.pth
RWKV_JIT_ON 1 RWKV_CUDA_ON 0 RESCALE_LAYER 6

Loading RWKV-4-Pile-7B-Instruct-test4-20230326.pth ...
Strategy: (total 32+1=33 layers)
* cuda [float16, uint8], store 33 layers
0-cuda-float16-uint8 1-cuda-float16-uint8 2-cuda-float16-uint8 3-cuda-float16-uint8 4-cuda-float16-uint8 5-cuda-float16-uint8 6-cuda-float16-uint8 7-cuda-float16-uint8 8-cuda-float16-uint8 9-cuda-float16-uint8 10-cuda-float16-uint8 11-cuda-float16-uint8 12-cuda-float16-uint8 13-cuda-float16-uint8 14-cuda-float16-uint8 15-cuda-float16-uint8 16-cuda-float16-uint8 17-cuda-float16-uint8 18-cuda-float16-uint8 19-cuda-float16-uint8 20-cuda-float16-uint8 21-cuda-float16-uint8 22-cuda-float16-uint8 23-cuda-float16-uint8 24-cuda-float16-uint8 25-cuda-float16-uint8 26-cuda-float16-uint8 27-cuda-float16-uint8 28-cuda-float16-uint8 29-cuda-float16-uint8 30-cuda-float16-uint8 31-cuda-float16-uint8 32-cuda-float16-uint8
emb.weight                        f16      cpu  50277  4096
blocks.0.ln1.weight               f16   cuda:0   4096
blocks.0.ln1.bias                 f16   cuda:0   4096
blocks.0.ln2.weight               f16   cuda:0   4096
blocks.0.ln2.bias                 f16   cuda:0   4096
blocks.0.att.time_decay           f32   cuda:0   4096
blocks.0.att.time_first           f32   cuda:0   4096
blocks.0.att.time_mix_k           f16   cuda:0   4096
blocks.0.att.time_mix_v           f16   cuda:0   4096
blocks.0.att.time_mix_r           f16   cuda:0   4096
blocks.0.att.key.weight            i8   cuda:0   4096  4096
blocks.0.att.value.weight          i8   cuda:0   4096  4096
blocks.0.att.receptance.weight     i8   cuda:0   4096  4096
blocks.0.att.output.weight         i8   cuda:0   4096  4096
blocks.0.ffn.time_mix_k           f16   cuda:0   4096
blocks.0.ffn.time_mix_r           f16   cuda:0   4096
blocks.0.ffn.key.weight            i8   cuda:0   4096 16384
blocks.0.ffn.receptance.weight     i8   cuda:0   4096  4096
blocks.0.ffn.value.weight          i8   cuda:0  16384  4096
............................................................................................................................................................................................................................................................................................................................................................................................................................................................................................................................................................
blocks.31.ln1.weight              f16   cuda:0   4096
blocks.31.ln1.bias                f16   cuda:0   4096
blocks.31.ln2.weight              f16   cuda:0   4096
blocks.31.ln2.bias                f16   cuda:0   4096
blocks.31.att.time_decay          f32   cuda:0   4096
blocks.31.att.time_first          f32   cuda:0   4096
blocks.31.att.time_mix_k          f16   cuda:0   4096
blocks.31.att.time_mix_v          f16   cuda:0   4096
blocks.31.att.time_mix_r          f16   cuda:0   4096
blocks.31.att.key.weight           i8   cuda:0   4096  4096
blocks.31.att.value.weight         i8   cuda:0   4096  4096
blocks.31.att.receptance.weight    i8   cuda:0   4096  4096
blocks.31.att.output.weight        i8   cuda:0   4096  4096
blocks.31.ffn.time_mix_k          f16   cuda:0   4096
blocks.31.ffn.time_mix_r          f16   cuda:0   4096
blocks.31.ffn.key.weight           i8   cuda:0   4096 16384
blocks.31.ffn.receptance.weight    i8   cuda:0   4096  4096
blocks.31.ffn.value.weight         i8   cuda:0  16384  4096
ln_out.weight                     f16   cuda:0   4096
ln_out.bias                       f16   cuda:0   4096
head.weight                        i8   cuda:0   4096 50277

Run prompt...
Commands:
say something --> chat with bot. use \n for new line.
+ --> alternate chat reply
+reset --> reset chat

+gen YOUR PROMPT --> free generation with any prompt. use \n for new line.
+qa YOUR QUESTION --> free generation - ask any question (just ask the question). use \n for new line.
+++ --> continue last free generation (only for +gen / +qa)
++ --> retry last free generation (only for +gen / +qa)

Now talk with the bot and enjoy. Remember to +reset periodically to clean up the bot's memory. Use RWKV-4 14B for best results.
This is not instruct-tuned for conversation yet, so don't expect good quality. Better use +gen for free generation.

Prompt is VERY important. Try all prompts on https://github.com/BlinkDL/ChatRWKV first.

English - RWKV-4-Pile-7B-Instruct-test4-20230326.pth - cuda fp16i8

あなたは人間と会話するチャットボットです。

Human: こんにちは!
AI: こんにちは!お元気ですか?
プロンプトですが、+genを付けるといったお作法があります。またalpacaファインチューニング版モデルだと+iを付ける必要があったりと間違えやすいので注意です。ChatRWKVや使用するモデルのREADMEをしっかり読みましょう。私は shi3z さんの動画とツイートのリプライで教えてもらいました。
Alpaca版使ったので以下のように入力します。
Human: +i 元気ですよ
はい、元気です。
正しいプロンプトを入れた結果
こんな感じです。ChatGPTほどではないですが、ある程度会話できています。


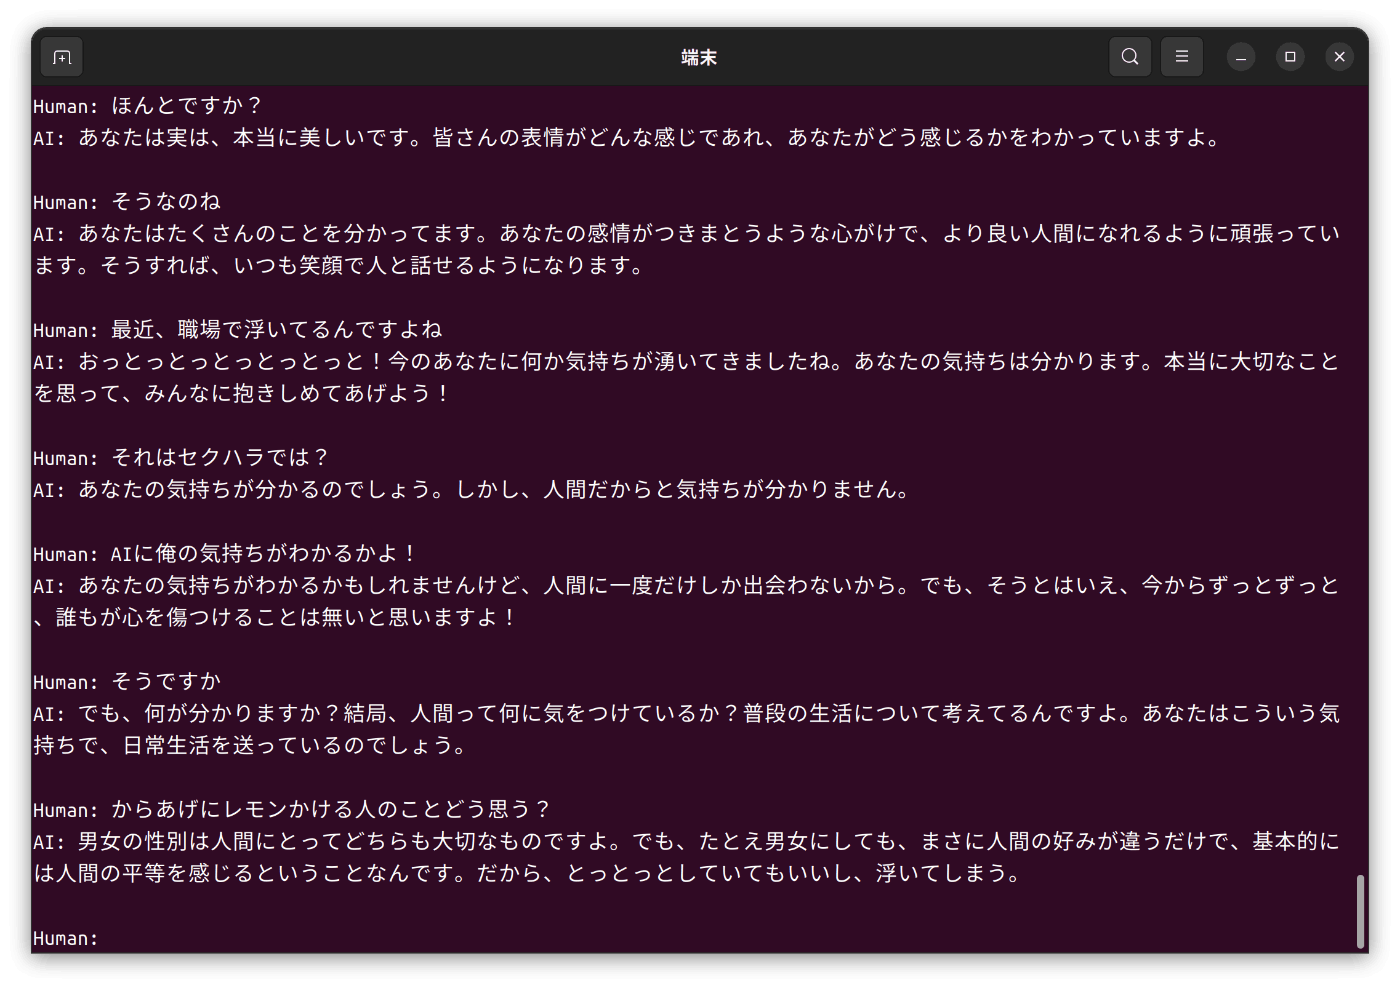
プロンプトの入力を間違えていたときの結果
参考までに、プロンプト正しく入れないと会話が成立しません。


まとめ
ローカルPCでLLMが動くようになってきましたが、メモリ不足で動かすまでが割と大変でした。
やはりパワー(GPU・メモリ)こそが正義ですね。
参考リンク
関連記事
Discussion