人物抽出のためのコード比較その④-2: GPUを使ったSSD
はじめに
人物抽出は、画像や動画から特定の人物を背景から分離する技術です。
AR(拡張現実)やVR(仮想現実)のようなアプリケーションでよく使用されます。
今回は前回の記事で実装したSSD(Single Shot Multibox Detector)の実行速度に問題があったので、pytorchで再実装して処理速度を改善しました。
関連記事
環境
Python 3.8.10
(FACE01)
$ inxi -SCGxx --filter
System:    Kernel: 5.15.0-46-generic x86_64 bits: 64 compiler: N/A Desktop: Unity wm: gnome-shell dm: GDM3
           Distro: Ubuntu 20.04.4 LTS (Focal Fossa)
CPU:       Topology: Quad Core model: AMD Ryzen 5 1400 bits: 64 type: MT MCP arch: Zen rev: 1 L2 cache: 2048 KiB
Graphics:  Device-1: NVIDIA TU116 [GeForce GTX 1660 Ti] vendor: Micro-Star MSI driver: nvidia v: 515.65.01 bus ID: 08:00.0
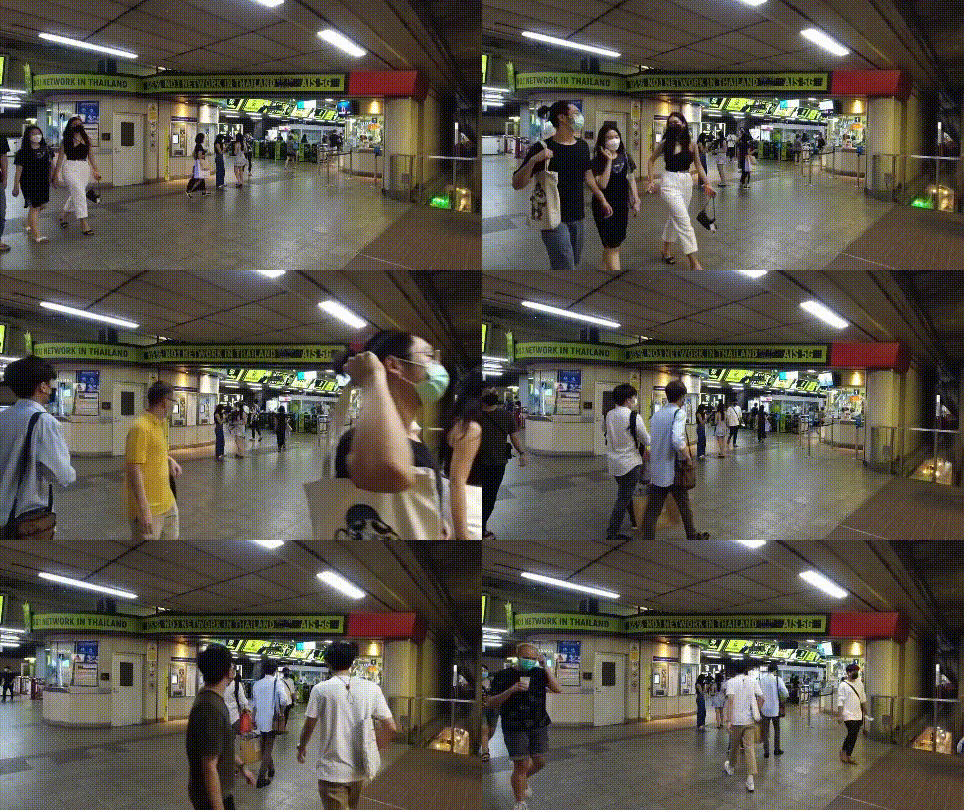
元動画

前回のコード
人物抽出のためのコード比較その④: DBSCAN, SSDで紹介したSSD(Single Shot Multibox Detector)を実装したコードです。
import cv2
import PySimpleGUI as sg
import tensorflow as tf

# 利用可能なGPUデバイスを取得
gpus = tf.config.experimental.list_physical_devices('GPU')

print("Num GPUs Available: ", len(tf.config.experimental.list_physical_devices('GPU')))

# GPUが存在する場合、特定のGPU(例:最初のGPU)を使用するように設定
if gpus:
    try:
        # ここでは最初のGPUを使用するように設定しています
        tf.config.experimental.set_visible_devices(gpus[0], 'GPU')
        print("GPU[0]が設定されました")
    except RuntimeError as e:
        print(e)  # GPUデバイスが見つからない場合などのエラーを表示

# モデルのパス
model_path = 'ssd_mobilenet_v2_320x320_coco17_tpu-8/saved_model'

# モデルの読み込み
model = tf.saved_model.load(model_path)

# 推論関数の取得
infer = model.signatures["serving_default"]

# ウィンドウの設定
layout = [[sg.Image(filename='', key='image')]]
window = sg.Window('SSD People Detection', layout, location=(800, 400))

# ビデオの読み込み
video_path = 'assets/input_video_4.mp4'
cap = cv2.VideoCapture(video_path)

while cap.isOpened():
    ret, frame = cap.read()
    if not ret:
        break

    # 推論の実行
    # 推論の実行
    input_tensor = tf.convert_to_tensor([frame], dtype=tf.uint8)  # dtypeを追加
    detections = infer(input_tensor)

    # 検出結果の処理
    boxes = detections['detection_boxes'].numpy()[0]
    scores = detections['detection_scores'].numpy()[0]
    for i, box in enumerate(boxes):
        if scores[i] > 0.5:  # 信頼度スコアが0.5以上の場合
            y1, x1, y2, x2 = map(int, box * [frame.shape[0], frame.shape[1], frame.shape[0], frame.shape[1]])
            cv2.rectangle(frame, (x1, y1), (x2, y2), (0, 255, 0), 2)

    # 結果の表示(PySimpleGUI)
    imgbytes = cv2.imencode('.png', frame)[1].tobytes()
    window['image'].update(data=imgbytes)

    event, values = window.read(timeout=20)
    if event == sg.WINDOW_CLOSED or event == 'Exit':
        break

cap.release()
cv2.destroyAllWindows()
window.close()
SSDのコードが極端に遅い理由の解明
SSD(Single Shot Multibox Detector)のコードの実行速度が極端に遅いという問題に直面しました。この問題の原因を追求するために、私のシステムのライブラリとバージョンを調査しました。
システムのバージョン
- CUDA: 12.0
- cuDNN: 8
Pythonライブラリのバージョン
tensorboard==2.11.2
tensorflow==2.13.0
tensorflow-gpu==2.5.0
問題の原因
問題の根本的な原因が分かりました。
私の環境ではCUDA 12.0を使用しているのに対し、TensorFlow 2.5はCUDA 11.0との互換性しかありません。このバージョンの不整合ゆえにGPUが使用できずにCPUでの推論が行われていたため、SSDの実行速度が極端に遅くなっていた、という話でした。
ときに、深層学習のフレームワークとGPUライブラリの間の互換性は、パフォーマンスに大きな影響を及ぼすことがあるため、要注意です。
それでは、と、tensorflow 1.5のインストールを試みましたが、こちらはPython 3.7までしか対応していないということがわかりました。私の環境ではPython 3.8を使用しているため、tensorflow 1.5を使用することはできませんでした。
ならPyenvで…という流れになりそうですが、流石に面倒です。
そういうことで、慣れているPytorchでSSDを再実装することにしました。
Single Shot MultiBox Detector Implementation in Pytorch
事前学習済みモデルを用意してくれていて、なおかつMITライセンスの、ありがたいリポジトリです。
このリポジトリをクローンし、新たに次のコードを追加します。
import sys
sys.path.append('/usr/lib/python3/dist-packages')

import cv2
import torch
from vision.ssd.mobilenet_v2_ssd_lite import create_mobilenetv2_ssd_lite_predictor
from vision.ssd.mobilenet_v2_ssd_lite import create_mobilenetv2_ssd_lite

# デバイスの設定
device = torch.device("cuda" if torch.cuda.is_available() else "cpu")

# モデルの読み込み
model_path = 'models/mb2-ssd-lite-mp-0_686.pth'
class_labels_path = 'models/voc-model-labels.txt'
with open(class_labels_path, 'r') as f:
    class_labels = [line.strip() for line in f.readlines()]

# MobileNetV2 SSD Lite のモデルを作成
net = create_mobilenetv2_ssd_lite(len(class_labels), is_test=True)
net.load(model_path)
net = net.to(device)  # モデルをデバイスに移動
predictor = create_mobilenetv2_ssd_lite_predictor(net, candidate_size=200)

# ビデオの読み込み
video_path = 'assets/input_video_4.mp4'
cap = cv2.VideoCapture(video_path)

while cap.isOpened():
    ret, frame = cap.read()
    if not ret:
        break

    # 推論の実行
    frame_tensor = torch.from_numpy(frame).permute(2, 0, 1).float().unsqueeze(0).to(device)
    frame_numpy = frame_tensor[0].permute(1, 2, 0).cpu().numpy()  # テンソルをnumpy配列に変換
    boxes, labels, probs = predictor.predict(frame_numpy, 10, 0.4)  # numpy配列を渡す

    # 検出結果の処理
    for i in range(boxes.size(0)):
        box = boxes[i, :].cpu().numpy()  # テンソルをCPUに移動し、NumPy配列に変換
        label = f"{class_labels[labels[i]]}: {probs[i]:.2f}"
        cv2.rectangle(frame, (int(box[0]), int(box[1])), (int(box[2]), int(box[3])), (0, 255, 0), 2)

    # 結果の表示(cv2.imshow)
    cv2.imshow('Object Detection', frame)

    # キー入力の待機
    if cv2.waitKey(20) & 0xFF == 27:  # ESCキーで終了
        break

cap.release()
cv2.destroyAllWindows()
また、そのままではどうやらCPUで処理しようとするので、predictor.pyを以下のように変更します。
 def predict(self, image, top_k=-1, prob_threshold=None):
     cpu_device = torch.device("cpu")
     height, width, _ = image.shape
     image = self.transform(image)  # 画像の変換
+    image = image.to(self.device)  # デバイスに移動
     images = image.unsqueeze(0)
     images = images.to(self.device)
     with torch.no_grad():
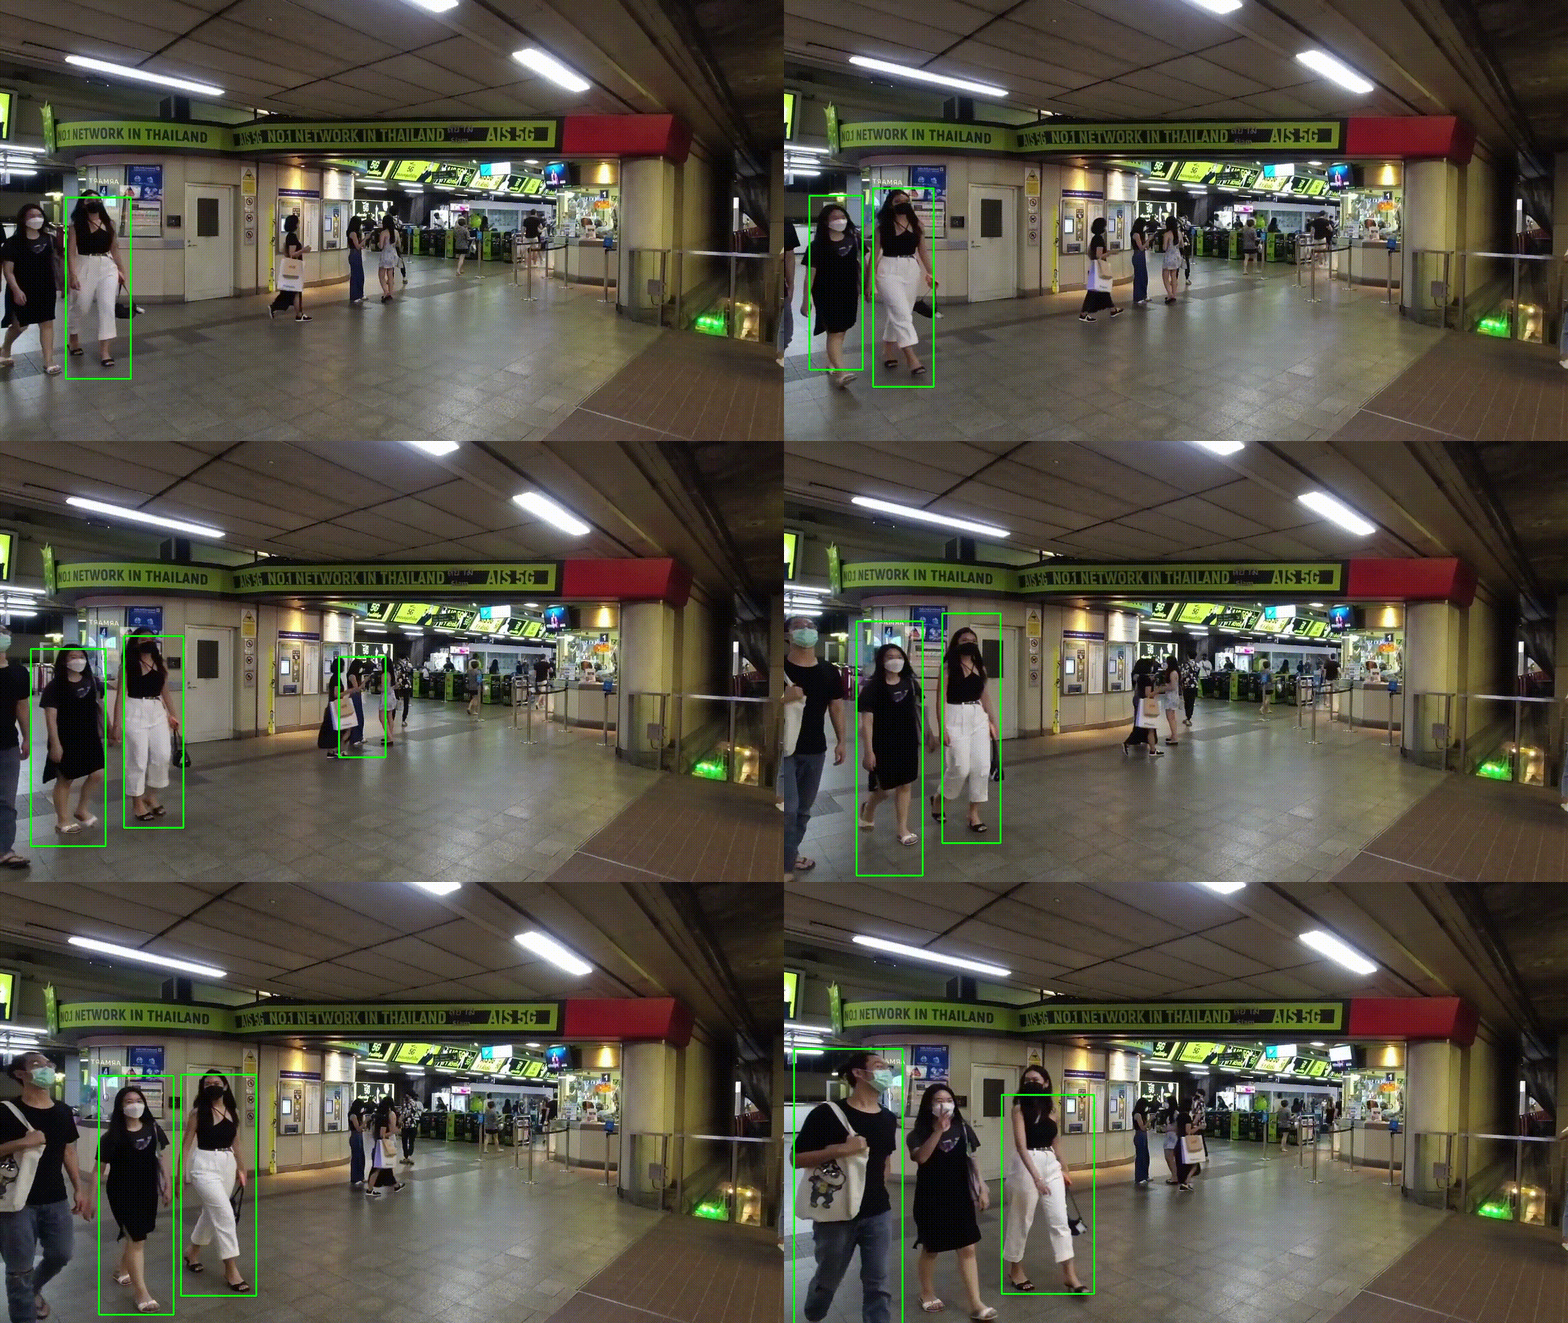
実行結果

まずまずの処理速度になりました。
Discussion