Amazon FSx for OpenZFSを使用してWindowsで使えるファイルサーバーを作る(2)


1回目 https://zenn.dev/tositada/articles/d5f6649c73ca5f
2回目 https://zenn.dev/tositada/articles/a1f2ffd78e1a8e
3回目 https://zenn.dev/tositada/articles/3be0df647be88b
AWS Certificate Manager
前回は作成するファイルサーバーの構成図について共有しました。
今回からFSx for OpenZFSでファイルサーバーを構築します。
外部からアクセスする際に必要となる認証部分を準備します。
クライアントVPNでは3種類の認証を使用できます。
- 相互認証
- Active Directory
- シングルサインオン (SAML 2.0 ベースのフェデレーション認証)
本記事では、1番の項目にある相互認証について学びます。
AWS公式によると、OpenVPN easy-rsaを使用して、サーバー証明書とクライアント証明書を作成するようです。
できるようになること
- サーバー証明書、クライアント証明書の発行方法について理解する。
実行環境
- 環境 : AWS Cloud 9
- OS : Amazon Linux 2
- InstanceType : t2.micro
この記事を読んでいる人がどのようなPCを使用しているのか分からないので、環境を統一するためにAWS のサービスにあるCloud9を使用します。
Cloud9を使うことで元のPCが、WindowsでもMacでも関係なくブラウザ上で同じ環境を使用することができます。
ブラウザ上で環境を操作するため、元となる自分のPCに何もインストールする必要はありません。
Cloud9のOSとしてAmazon Linux 2と、Ubuntu が存在します。今回はAmazonLinux 2を使います。
Cloud9を使用したことがない人も、一旦AWS内でCloud9を検索してみてください。
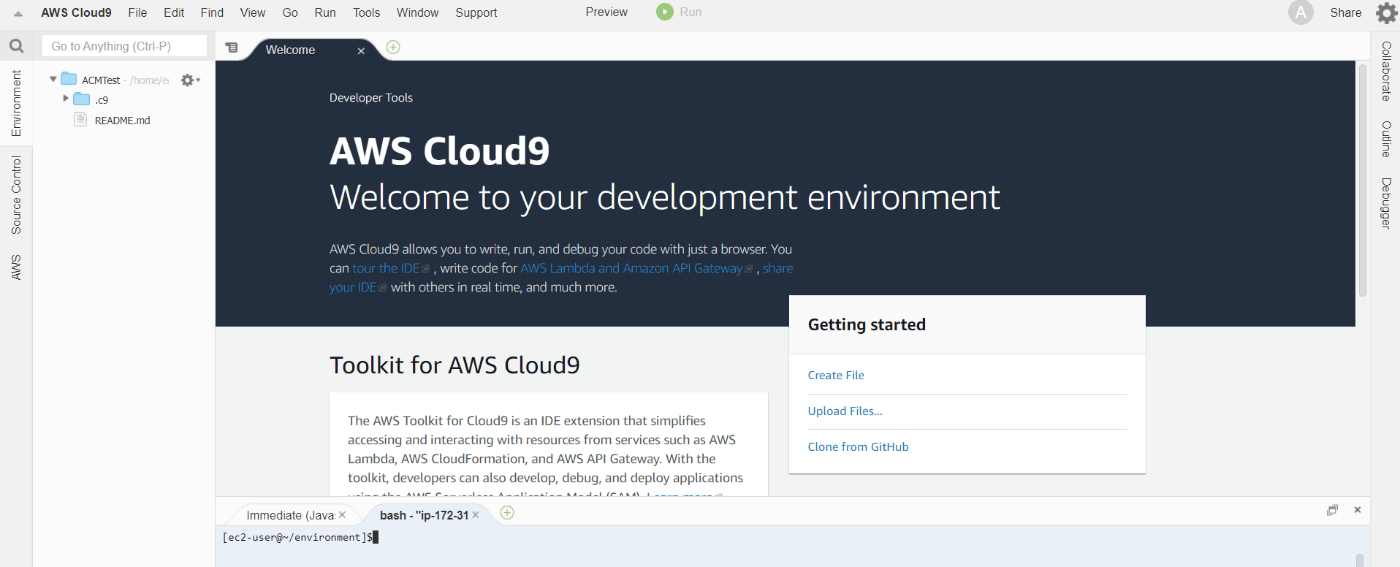
Cloud9を開くとこのような画面になります。今回主に使用する部分は、画面下部のbash と書かれている部分になります。
独自設定
標準の設定だと、自分が使用しているIAMのユーザー名がbash の表示名に出てしまうので表示名を変更しています。
次のコマンドを実行することで、表示名を変更できます
> $ export PS1="[\u@\w]$"
クライアント証明書の作成
AWS クライアント VPNの認証にある証明書発行手順に沿って実行します。
1. Open VPN easy-rsaをインストール
認証機関(CA)を構築するサーバーにOpenVPN easy-rsaをダウンロードします。
ダウンロードしたらasy-rsa/easyrsa3 フォルダに移動します。
[ec2-user@~/environment]$cd easy-rsa/
[ec2-user@~/environment]$cd easy-rsa/easyrsa3
2. 新しい PKI 環境を初期化します。
[ec2-user@~/environment/easy-rsa/easyrsa3]$./easyrsa init-pki

WARNING: can't open config file: /home/ec2-user/environment/easy-rsa/easyrsa3/pki/safessl-easyrsa.cnf

init-pki complete; you may now create a CA or requests.
Your newly created PKI dir is: /home/ec2-user/environment/easy-rsa/easyrsa3/pki

[ec2-user@~/environment/easy-rsa/easyrsa3]$
3. 新しい認証局 (CA) を構築するには、このコマンドを実行し、プロンプトに従います。
[ec2-user@~/environment/easy-rsa/easyrsa3]$./easyrsa build-ca nopass
Using SSL: openssl OpenSSL 1.0.2k-fips  26 Jan 2017
Generating RSA private key, 2048 bit long modulus
.........................+++
...................+++
e is 65537 (0x10001)
You are about to be asked to enter information that will be incorporated
into your certificate request.
What you are about to enter is what is called a Distinguished Name or a DN.
There are quite a few fields but you can leave some blank
For some fields there will be a default value,
If you enter '.', the field will be left blank.
-----
Common Name (eg: your user, host, or server name) [Easy-RSA CA]:

CA creation complete and you may now import and sign cert requests.
Your new CA certificate file for publishing is at:
/home/ec2-user/environment/easy-rsa/easyrsa3/pki/ca.crt
pki/ca.crtがこのCAのルート証明書です。
認証局(Issuer)が自分自身(Subject)に対して自己署名しています。
[ec2-user@~/environment/easy-rsa/easyrsa3]$openssl x509 -text -noout -in pki/ca.crt
Certificate:
    Data:
        Version: 3 (0x2)
        Serial Number:
            xx:xx:xx:xx:xx:xx:xx:xx
    Signature Algorithm: sha256WithRSAEncryption
        Issuer: CN=Easy-RSA CA
        Validity
            Not Before: Mar 20 10:17:35 2022 GMT
            Not After : Mar 17 10:17:35 2032 GMT
        Subject: CN=Easy-RSA CA
デフォルト設定で、有効期間が10年あります。2022/3/20 ~ 2032/3/17日まで
4. サーバー証明書とキーを生成します。
[ec2-user@~/environment/easy-rsa/easyrsa3]$./easyrsa build-server-full server nopass
Using SSL: openssl OpenSSL 1.0.2k-fips  26 Jan 2017
Generating a 2048 bit RSA private key
................................................................................+++
.......+++
writing new private key to '/home/ec2-user/environment/easy-rsa/easyrsa3/pki/easy-rsa-22674.pQRkYT/tmp.65beb8'
-----
Using configuration from /home/ec2-user/environment/easy-rsa/easyrsa3/pki/easy-rsa-22674.pQRkYT/tmp.a7801c
Check that the request matches the signature
Signature ok
The Subject's Distinguished Name is as follows
commonName            :ASN.1 12:'server'
Certificate is to be certified until Jun 22 10:24:03 2024 GMT (825 days)

Write out database with 1 new entries
Data Base Updated

[ec2-user@~/environment/easy-rsa/easyrsa3]$
5. クライアント証明書とキーを生成します。
クライアントの名前は自由に決めてください。今回はとりあえずuser1としています。
[ec2-user@~/environment/easy-rsa/easyrsa3]$./easyrsa build-client-full nfsuser1.domain.tld nopass
6. 作成されたファイルを分かりやすい場所にコピーします
$ mkdir ~/custom_folder/
$ cp pki/ca.crt ~/custom_folder/
$ cp pki/issued/server.crt ~/custom_folder/
$ cp pki/private/server.key ~/custom_folder/
$ cp pki/issued/nfsuser1.domain.tld.crt ~/custom_folder
$ cp pki/private/nfsuser1.domain.tld.key ~/custom_folder/
7. サーバー証明書とキーと、クライアント証明書とキーを ACM にアップロードします。
クライアント VPN エンドポイントを作成する予定のリージョンと同じリージョンにアップロードしてください。
次のコマンドは、AWS CLI を使用して証明書をアップロードします。
AWSコンソールを使用して証明書をアップロードするには、AWS Certificate Manager ユーザーガイドの「証明書のインポート」を参照してください。
カスタムフォルダーに移動
[ec2-user@~/environment/easy-rsa/easyrsa3]$ cd ~/custom_folder/
サーバー証明書とキーのアップロード
[ec2-user@~/custom_folder]$aws acm import-certificate --certificate fileb://server.crt --private-key fileb://server.key --certificate-chain fileb://ca.crt
{
    "CertificateArn": "arn:aws:acm:ap-northeast-1:xxxxxxxxxxx:certificate/xxxxxxxxxxxxxxxxxxxxxxx"
}
クライアント証明書とキーのアップロード
[ec2-user@~/custom_folder]$aws acm import-certificate --certificate fileb://nfsuser1.domain.tld.crt --private-key fileb://nfsuser1.domain.tld.key --certificate-chain fileb://ca.crt
AWS のコンソールから、Certificate Managerにアクセスすると作成されていることが確認できます。

おわりに
公式ドキュメントの内容そのままなのですがサーバー証明書、クライアント証明書の作成が完了しました。
次回は、クライアントVPNを作成します。
Discussion