🍽️
GitHub のリポジトリを Fork して clone してみた


目的
GitHub の対象のリポジトリを自身の GitHub アカウントのリポジトリに Fork して、自身のリポジトリからローカルの環境に clone しましたので、その流れを記載します。
内容
- GitHub のリポジトリを Fork する。
- Fork したリポジトリをローカルの環境に clone する。
GitHub のリポジトリを Fork する。
・まずリポジトリを Fork したい対象の GuiHubの アカウントへ移動し、Codeを選択します。

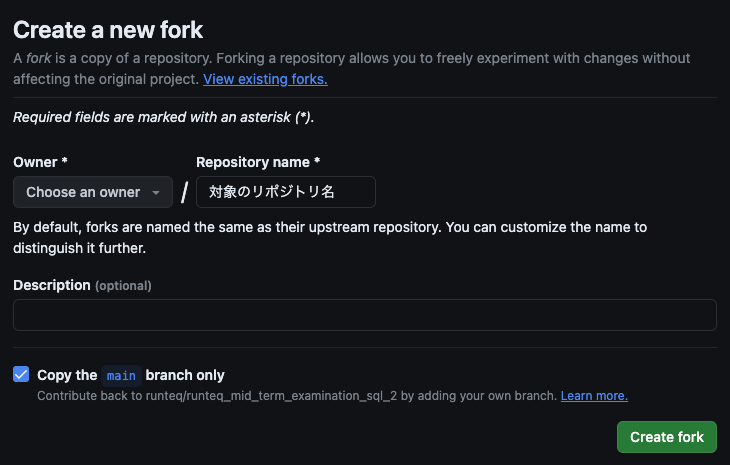
・Forkを選択します。

・Ownerは自身のアカウントを選択します。 ⇨ Create forkを選択します。
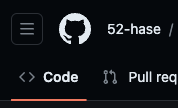
・左上のこちら(52-hase)が自身のアカウント名であれば正しくForkされています。
Fork したリポジトリをローカルの環境に clone する。
・Codeを選択します。
・<> Code ▽を選択すると、https://github.com/自身のアカウント名/対象のリポジトリ名が表示されるのでコピーします。

・cloneしたいディレクトリに移動し、先ほどコピーしたコードをgit cloneします。
$ git clone https://github.com/自身のアカウント名/対象のリポジトリ名
Usename と Password の確認について。
・Usenameは、GitHubのアカウント名を入力します。
・Passwordは、アクセストークンを生成して入力します。(生成方法は以下に掲載しました。)
$ git clone https://github.com/yourname/basic_rspec_app.git

Cloning into 'basic_rspec_app'...
Username for 'https://github.com': "GitHubのアカウント名"
Password for 'https://yourname@github.com': "Password はアクセストークン生成"
remote: Enumerating objects: 433, done.
remote: Counting objects: 100% (195/195), done.
remote: Compressing objects: 100% (41/41), done.
remote: Total 433 (delta 155), reused 154 (delta 154), pack-reused 238
Receiving objects: 100% (433/433), 78.95 KiB | 2.63 MiB/s, done.
Resolving deltas: 100% (209/209), done.
GitHub でアクセストークンを生成する方法。
・ディレクトリ内に clone したファイルが追加されているので、lsコマンドで確認して終了です。
$ ls
Discussion