@react-three/xr で VR を試してみる
このスクラップについて
@react-three/xr は React Three Fiber の VR / AR ライブラリ。
3D シーンに VR / AR 機能を簡単に追加できるらしい。
このスクラップでは React Three Fiber と @react-three/xr を使って VR 対応の 3D シーンを構築し、Meta Quest 2 で立体視できるかどうかを試してみる。
プロジェクトの作成
npx create-next-app \
  --typescript \
  --tailwind \
  --eslint \
  --app \
  --src-dir \
  --import-alias "@/*" \
  --use-npm \
  react-three-xr
npm パッケージのインストール
cd react-three-xr
npm install @react-three/fiber @react-three/xr @react-three/drei
3D シーンの作成
"use client";

import { Sphere } from "@react-three/drei";
import { Canvas } from "@react-three/fiber";

export default function Home() {
  return (
    <main className="container mx-auto">
      <h1 className="mt-4 mb-4 text-4xl">React Three XR</h1>
      <Canvas className="aspect-video border border-gray-300">
        <Sphere>
          <ambientLight intensity={0.1}></ambientLight>
          <pointLight intensity={0.8} position={[10, 10, 10]}></pointLight>
          <meshStandardMaterial color="#fafafa"></meshStandardMaterial>
        </Sphere>
      </Canvas>
    </main>
  );
}
import "./globals.css";

export const metadata = {
  title: "Create Next App",
  description: "Generated by create next app",
};

export default function RootLayout({
  children,
}: {
  children: React.ReactNode;
}) {
  return (
    <html lang="en">
      <body>{children}</body>
    </html>
  );
}
@tailwind base;
@tailwind components;
@tailwind utilities;
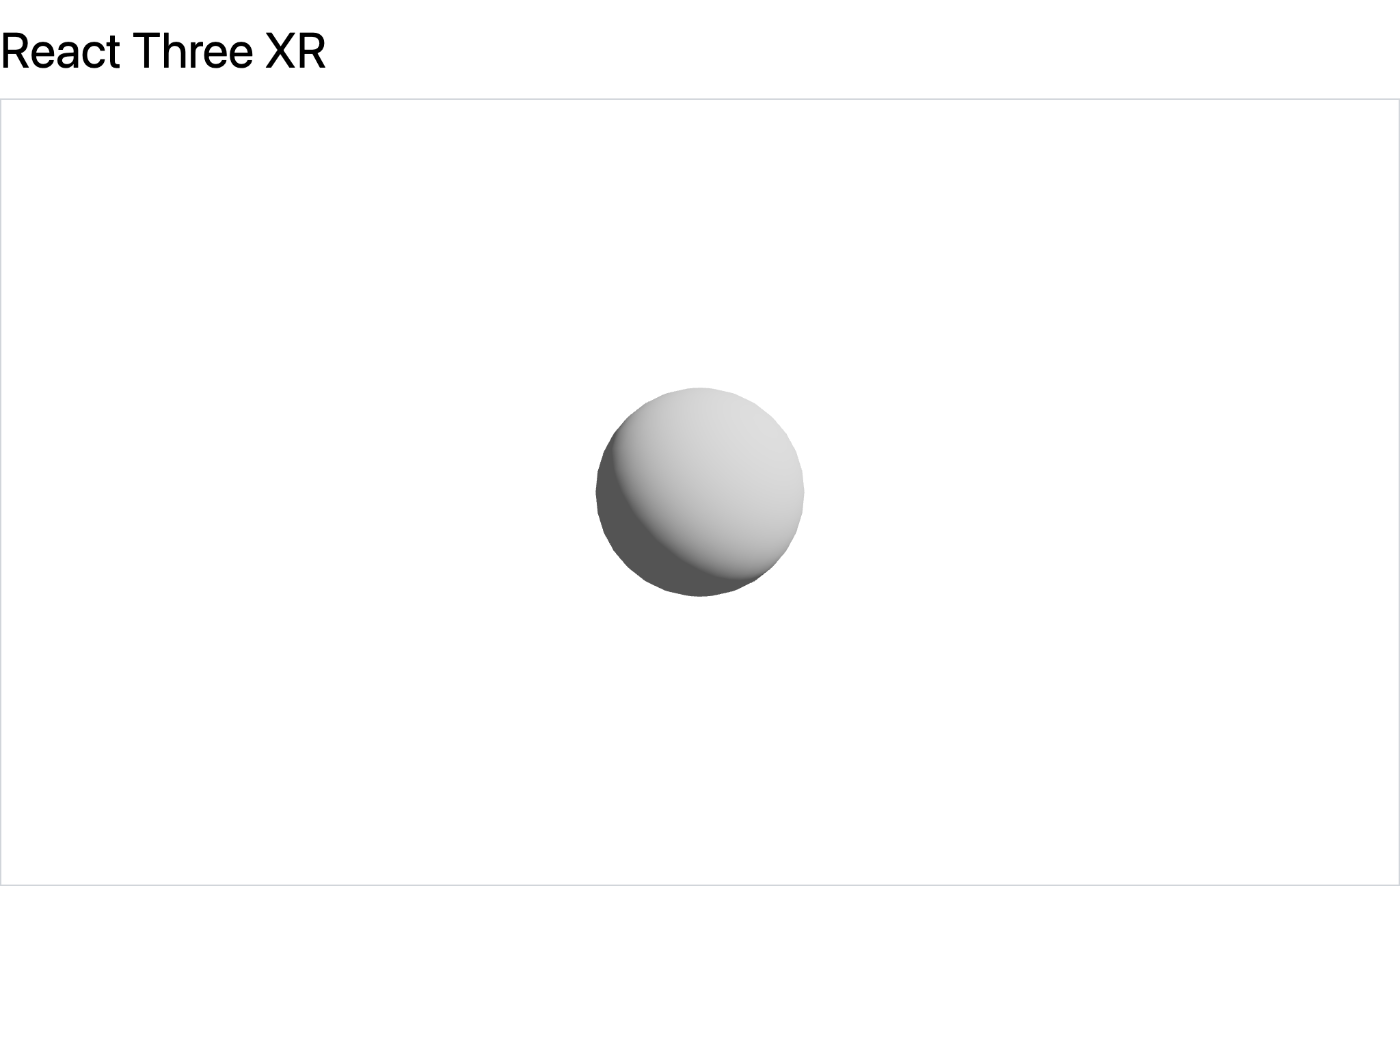
球を表示した
VRButton 追加
"use client";

import { Sphere } from "@react-three/drei";
import { Canvas } from "@react-three/fiber";
import { VRButton, XR } from "@react-three/xr";

export default function Home() {
  return (
    <main className="container mx-auto">
      <h1 className="mt-4 mb-4 text-4xl">React Three XR</h1>
      <div className="mb-4">
        <VRButton></VRButton>
      </div>
      <Canvas className="aspect-video border border-gray-300">
        <XR>
          <Sphere>
            <ambientLight intensity={0.1}></ambientLight>
            <pointLight intensity={0.8} position={[10, 10, 10]}></pointLight>
            <meshStandardMaterial color="#fafafa"></meshStandardMaterial>
          </Sphere>
        </XR>
      </Canvas>
    </main>
  );
}
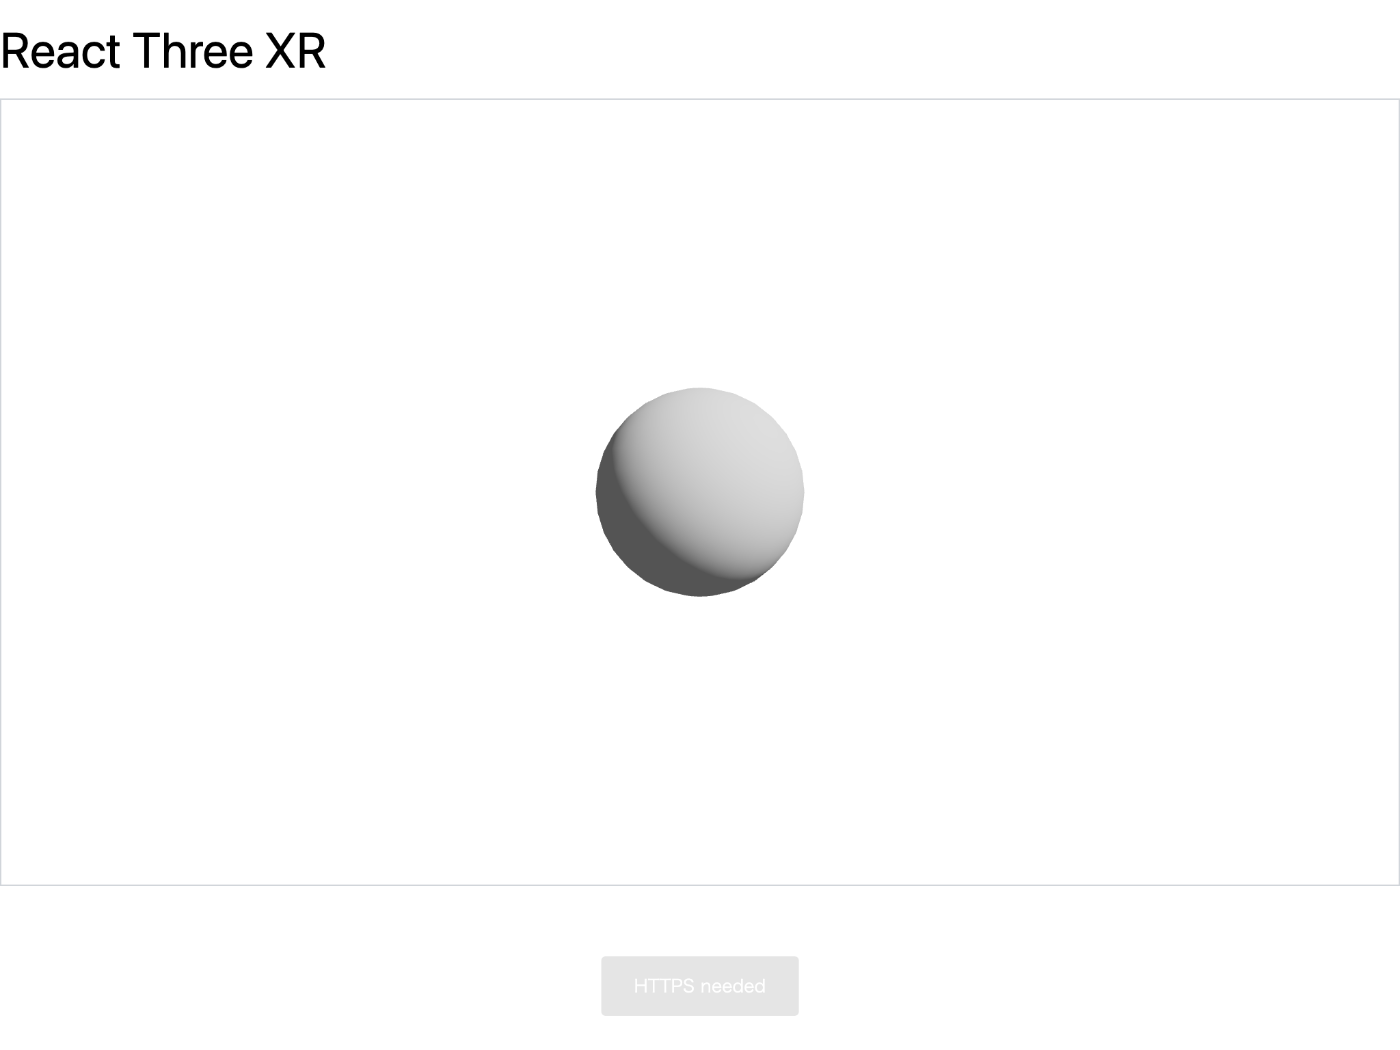
VRButton は下の方に固定で表示されるようだ
GitHub リポジトリ作成
gh repo create --public hello-react-xr
git remote add origin git@github.com:tatsuyasusukida/hello-react-xr
git push --set-upstream origin main
Vercel デプロイ
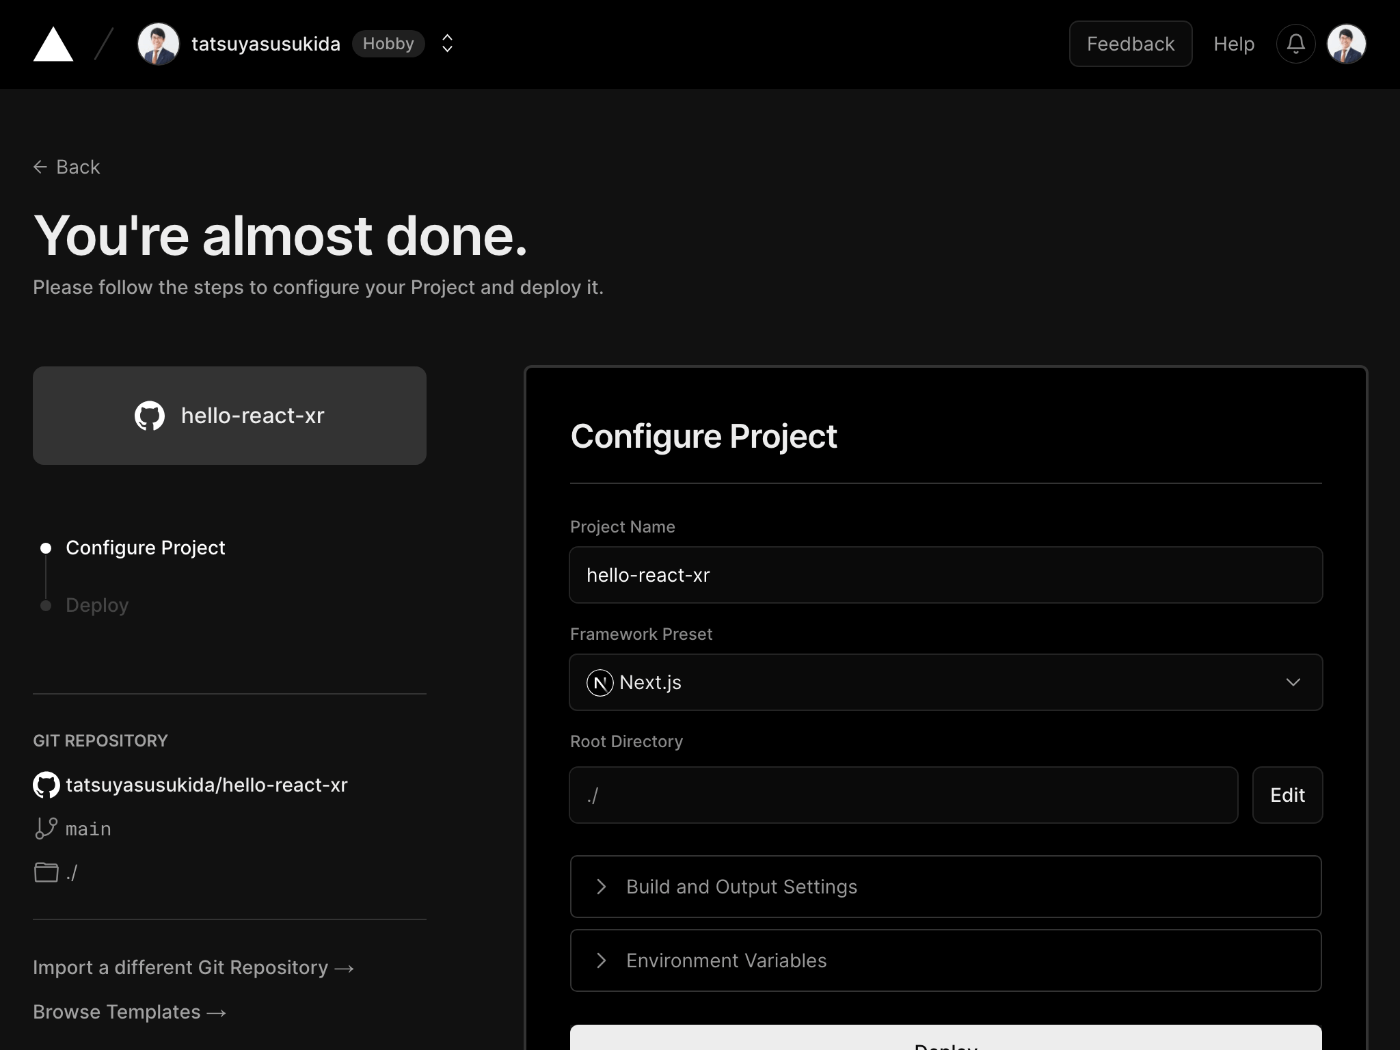
GitHub リポジトリを選択して「Deploy」ボタンを押す
デプロイ成功
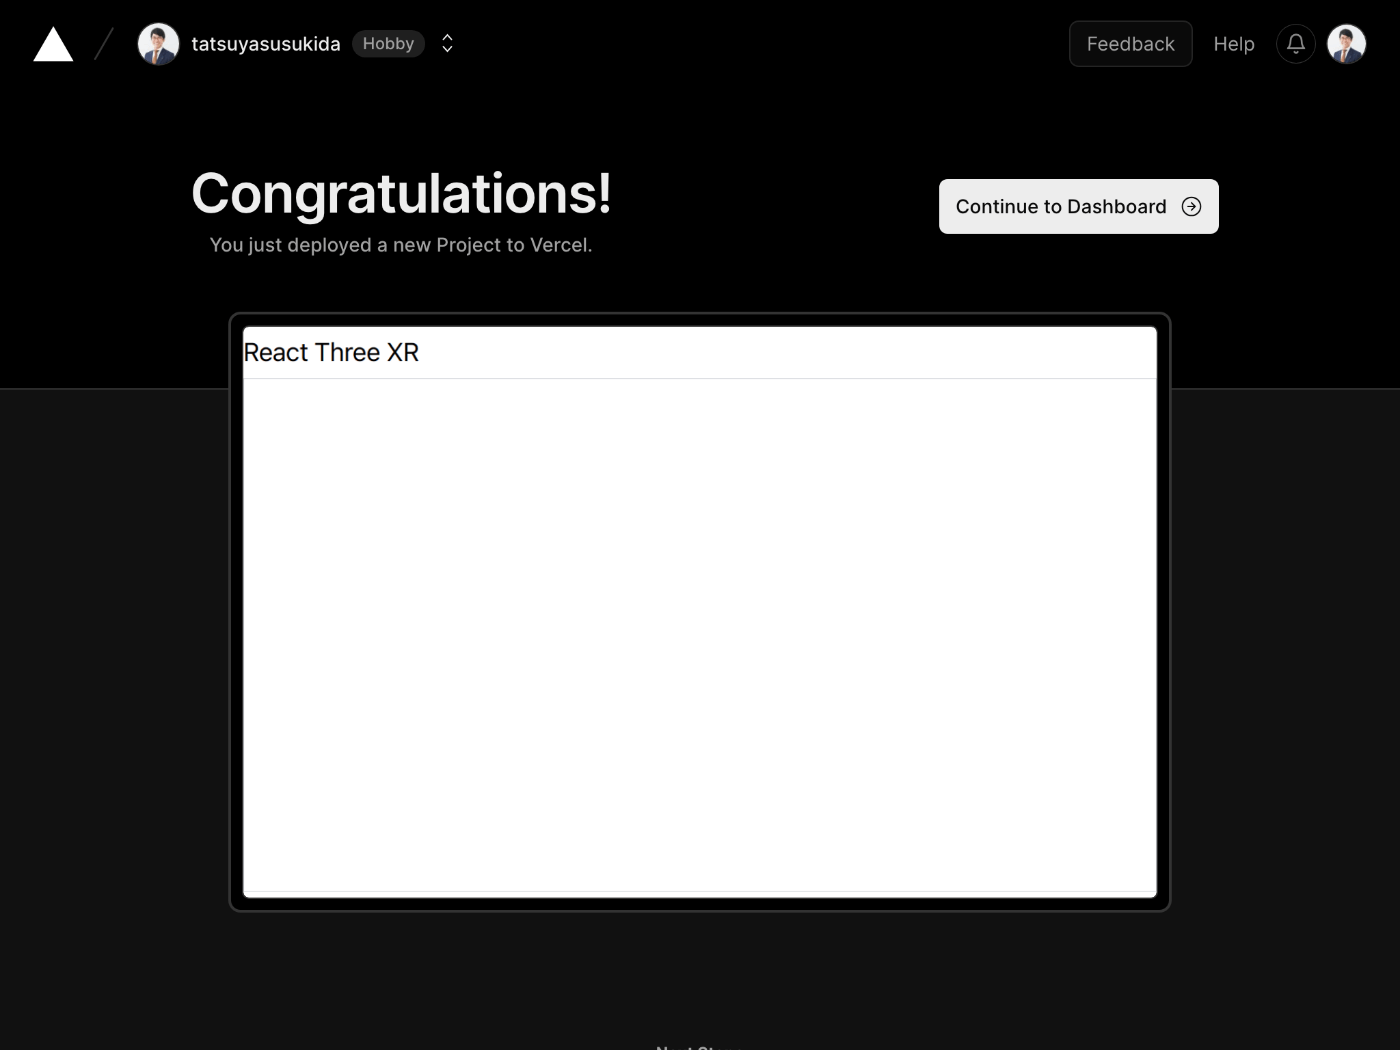
「Continue to Dashboard」ボタンを押す
デプロイが成功すると URL が発行される。
VR ボタンが押せない
PC でアクセスすると VR ボタンのテキストが「VR unsupported」となる。
ヘッドマウントディスプレイを接続していないのでこれは期待通りの結果。
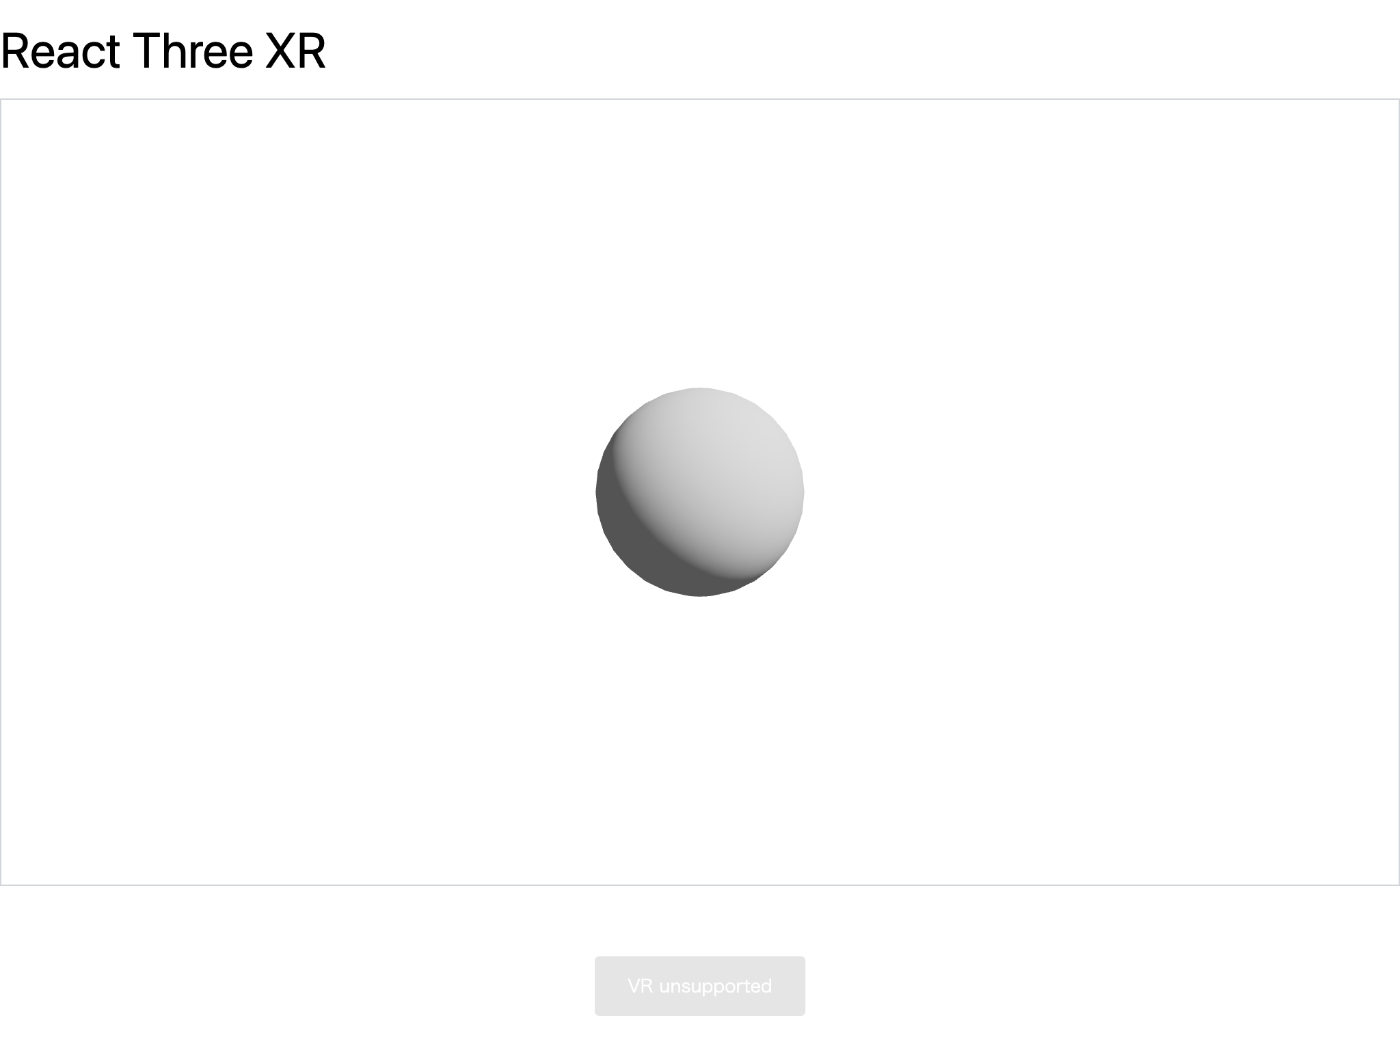
Meta Quest 2 で見たらどうなるか楽しみ
Meta Quest 2 からアクセス
VR ボタンのテキストが「Enter VR」となる。
VR ボタンを押すと没入型コンテンツが開始される。
どうやら初期座標が (0, 0, 0) のようで体感としては球に埋まっている感じになる。
球の Z 座標を調整してみよう。
スクリーンショットが貼れなくて残念だ。
球 Z 座標の調整
z = -5 にする。
"use client";

import { Sphere } from "@react-three/drei";
import { Canvas } from "@react-three/fiber";
import { VRButton, XR } from "@react-three/xr";

export default function Home() {
  return (
    <main className="container mx-auto">
      <h1 className="mt-4 mb-4 text-4xl">React Three XR</h1>
      <Canvas className="aspect-video border border-gray-300">
        <XR>
          <Sphere position={[0, 0, -5]}>
            <ambientLight intensity={0.1}></ambientLight>
            <pointLight intensity={0.8} position={[10, 10, 10]}></pointLight>
            <meshStandardMaterial color="#fafafa"></meshStandardMaterial>
          </Sphere>
        </XR>
      </Canvas>
      <VRButton></VRButton>
    </main>
  );
}
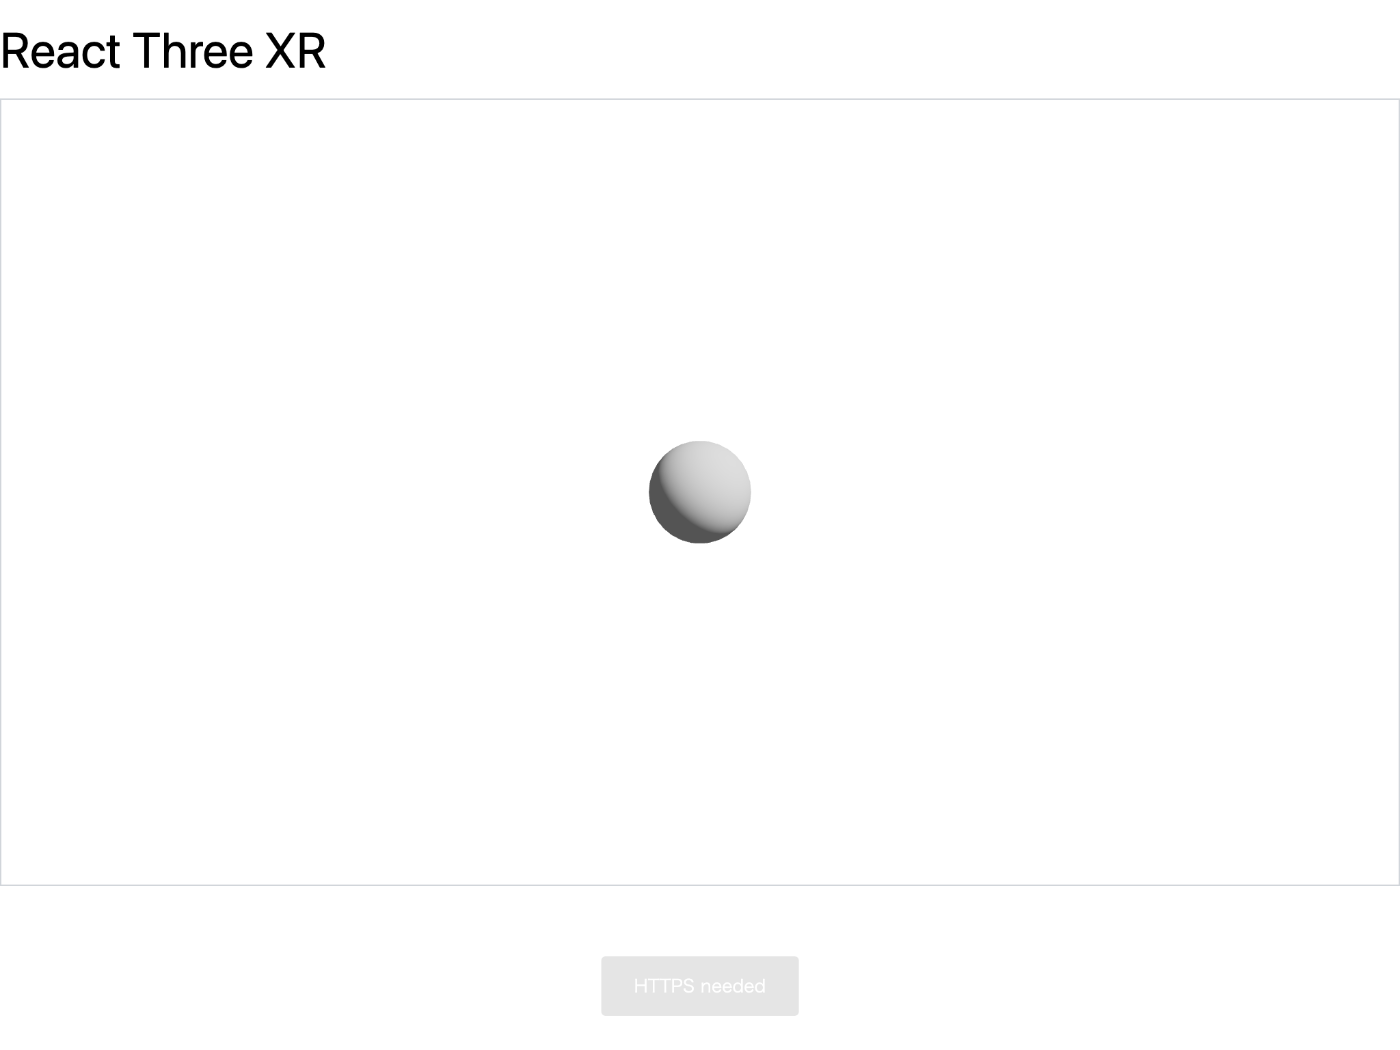
球が小さくなった
没入型コンテンツの終了方法
左側のコントローラーにあるメニューボタンを押すと終了できるようだ。
初めは分からなくてどうやって終了していいのか戸惑った。
今度は良い感じになった
ただ球だとどこから見ても同じに見えるので立方体や円柱もあった方がわかりやすいかもしれない。
立方体と円柱を追加する
ライトがなぜか Sphere 内に書いてあったのでこちらも修正した。
"use client";

import { Box, Cylinder, Sphere } from "@react-three/drei";
import { Canvas } from "@react-three/fiber";
import { VRButton, XR } from "@react-three/xr";

export default function Home() {
  return (
    <main className="container mx-auto">
      <h1 className="mt-4 mb-4 text-4xl">React Three XR</h1>
      <Canvas className="aspect-video border border-gray-300">
        <XR>
          <ambientLight intensity={0.1}></ambientLight>
          <pointLight intensity={0.8} position={[10, 10, 10]}></pointLight>
          <Box args={[1, 1, 1]} position={[-1.5, 0, -5]}>
            <meshStandardMaterial color="#fafafa"></meshStandardMaterial>
          </Box>
          <Sphere args={[0.5]} position={[0, 0, -5]}>
            <meshStandardMaterial color="#fafafa"></meshStandardMaterial>
          </Sphere>
          <Cylinder args={[0.5, 0.5, 1]} position={[1.5, 0, -5]}>
            <meshStandardMaterial color="#fafafa"></meshStandardMaterial>
          </Cylinder>
        </XR>
      </Canvas>
      <VRButton></VRButton>
    </main>
  );
}
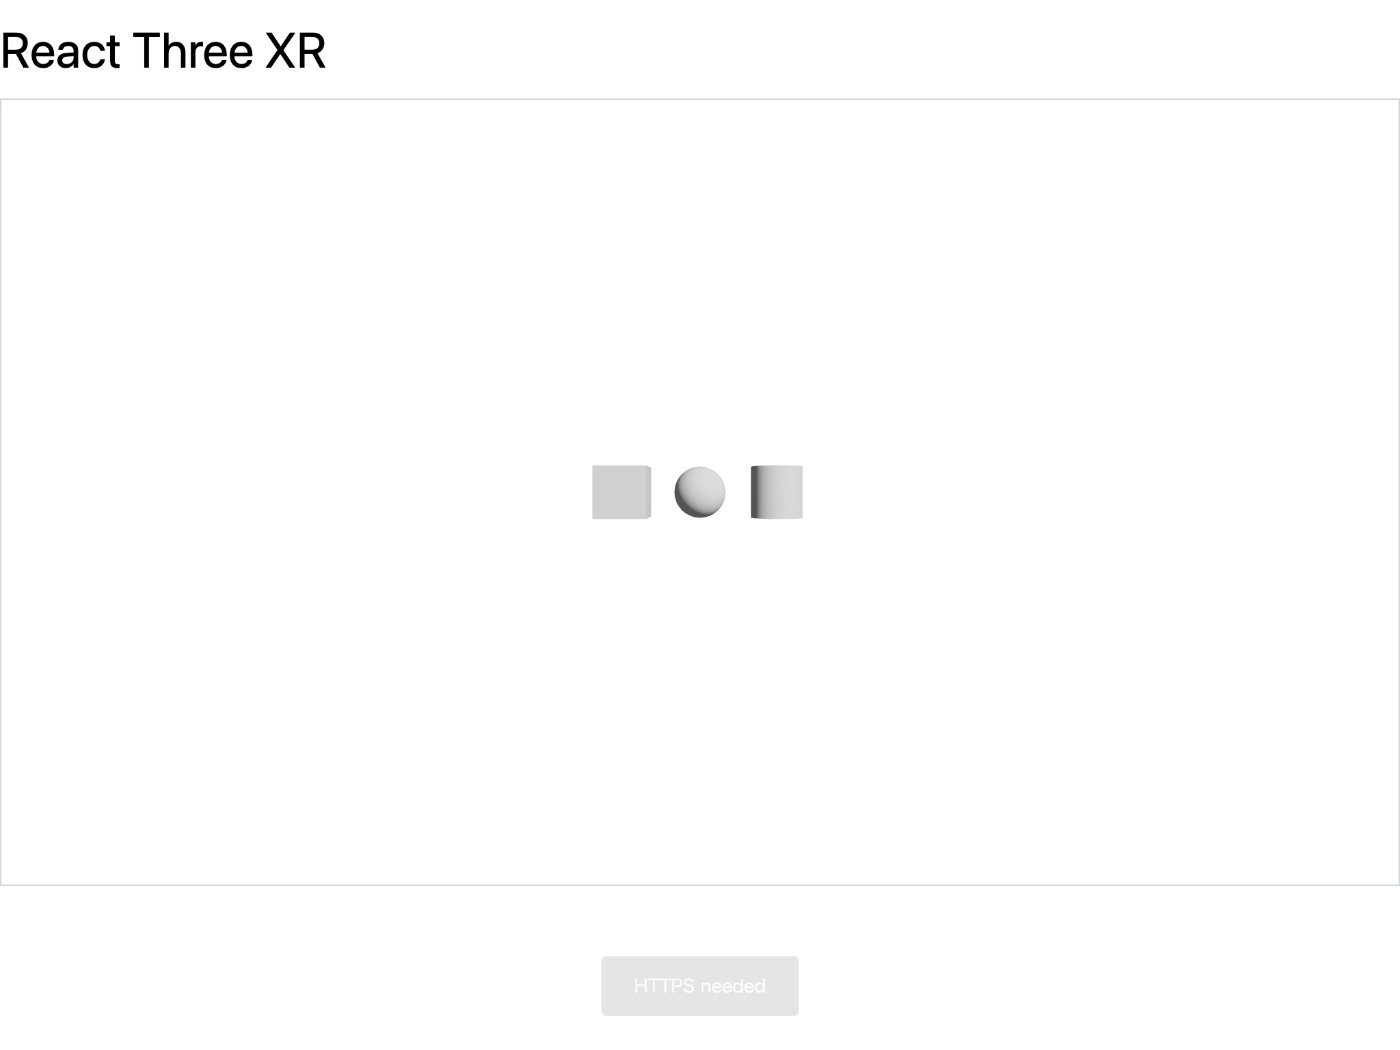
立方体が VR 動作確認に一番適していた
ボタンのスタイル調整
ソースコードを読むと style プロパティを渡すことでスタイルを調整できるようだ。
className も利用できるのでこれらを併用してボタンの見た目をカスタマイズする。
"use client";

import { Box, Cylinder, Sphere } from "@react-three/drei";
import { Canvas } from "@react-three/fiber";
import { VRButton, XR } from "@react-three/xr";

export default function Home() {
  return (
    <main className="container mx-auto">
      <h1 className="mt-4 mb-4 text-4xl">React Three XR</h1>
      <div className="mb-4">
        <VRButton
          style={{}}
          className="bg-blue-500 hover:bg-blue-700 text-white font-bold py-2 px-4 rounded"
        ></VRButton>
      </div>
      <Canvas className="aspect-video border border-gray-300">
        <XR>
          <ambientLight intensity={0.1}></ambientLight>
          <pointLight intensity={0.8} position={[10, 10, 10]}></pointLight>
          <Box args={[1, 1, 1]} position={[-1.5, 0, -5]}>
            <meshStandardMaterial color="#fafafa"></meshStandardMaterial>
          </Box>
          <Sphere args={[0.5]} position={[0, 0, -5]}>
            <meshStandardMaterial color="#fafafa"></meshStandardMaterial>
          </Sphere>
          <Cylinder args={[0.5, 0.5, 1]} position={[1.5, 0, -5]}>
            <meshStandardMaterial color="#fafafa"></meshStandardMaterial>
          </Cylinder>
        </XR>
      </Canvas>
    </main>
  );
}
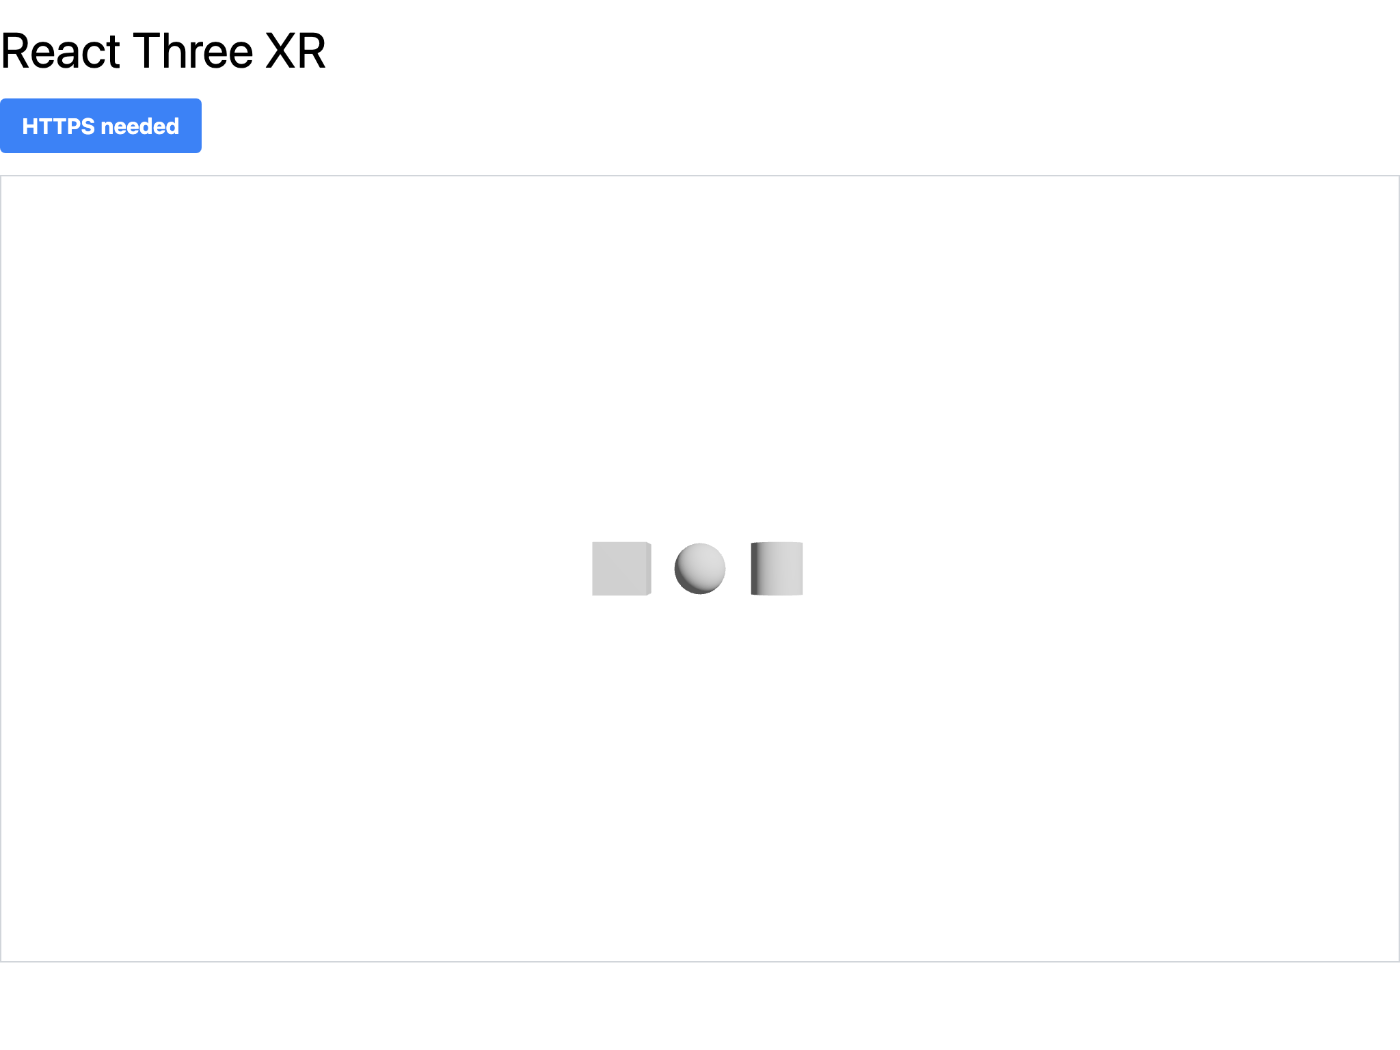
見栄えの良いボタンになった
コントローラーを表示する
VR 表示した時にコントローラーが見つからないと不便なので追加した。
"use client";

import { Box, Cylinder, Sphere } from "@react-three/drei";
import { Canvas } from "@react-three/fiber";
import { VRButton, XR, Controllers } from "@react-three/xr";

export default function Home() {
  return (
    <main className="container mx-auto">
      <h1 className="mt-4 mb-4 text-4xl">React Three XR</h1>
      <div className="mb-4">
        <VRButton
          style={{}}
          className="bg-blue-500 hover:bg-blue-700 text-white font-bold py-2 px-4 rounded"
        ></VRButton>
      </div>
      <Canvas className="aspect-video border border-gray-300">
        <XR>
          <Controllers />
          <ambientLight intensity={0.1}></ambientLight>
          <pointLight intensity={0.8} position={[10, 10, 10]}></pointLight>
          <Box args={[1, 1, 1]} position={[-1.5, 0, -5]}>
            <meshStandardMaterial color="#fafafa"></meshStandardMaterial>
          </Box>
          <Sphere args={[0.5]} position={[0, 0, -5]}>
            <meshStandardMaterial color="#fafafa"></meshStandardMaterial>
          </Sphere>
          <Cylinder args={[0.5, 0.5, 1]} position={[1.5, 0, -5]}>
            <meshStandardMaterial color="#fafafa"></meshStandardMaterial>
          </Cylinder>
        </XR>
      </Canvas>
    </main>
  );
}
おわりに
@react-three/xr を使うとめちゃくちゃ簡単に VR 対応できることに驚愕した。
このスクラップではごく簡単なことしか試さなかったが色々なことができるみたいなので今後もどうにかして機会を作って学びたい。
素晴らしいチュートリアルを発見した
