Omeka Sで独自の検索ページを作成する
概要
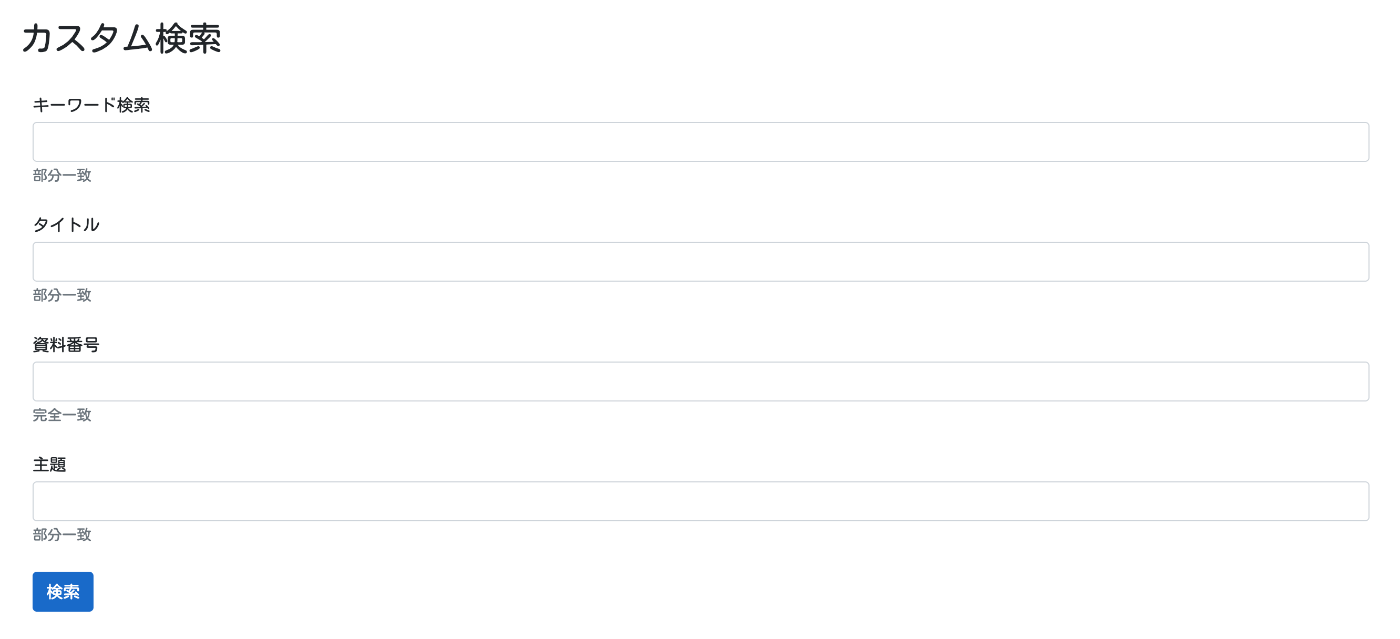
Omeka Sで以下のような独自の検索ページを作成する方法について紹介します。
背景
Omeka Sでの検索ページの作成にあたり、詳細検索画面で絞り込み項目を限定する方法を紹介しました。
一方、概要で紹介したように、指定した項目だけを列挙した検索画面を作成したい場合もあります。このような検索ページの作成にあたり、「Advanced Search」モジュールを使うことができます。
以下のページで使い方を説明しています。以下ではApache Solrとの連携を行っていますが、Referenceモジュールなどと組み合わせて、Omeka S単体で使用することもできます。
ただし、「Advanced Search」モジュールは機能が豊富なゆえに、使いこなすのが難しい面があります。そこで、今回は簡単に上記のようなカスタム検索ページを作成する方法について紹介します。
作成方法
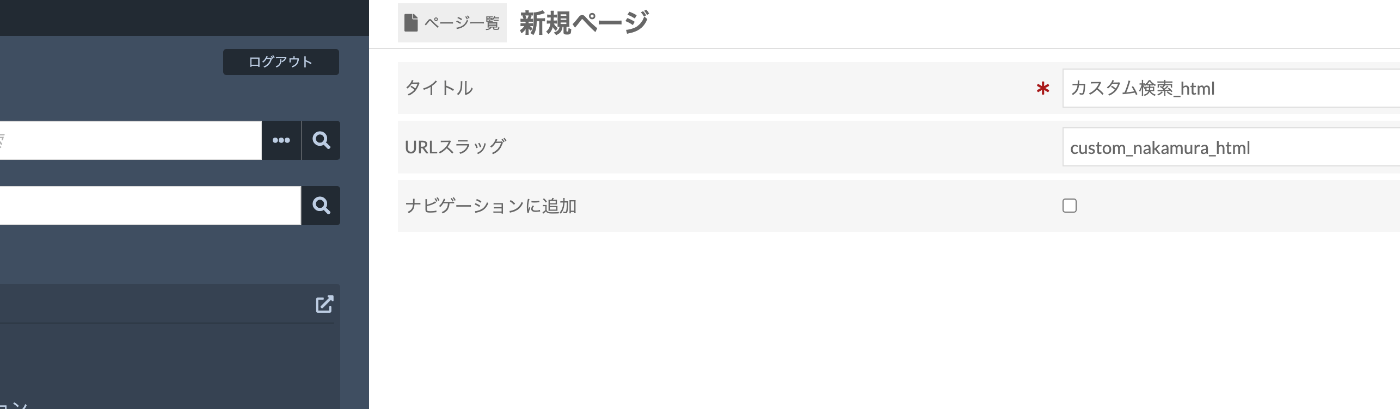
具体的には、検索用の独自ページを作成します。
以下のように、特定のサイトで、ページを作成します。
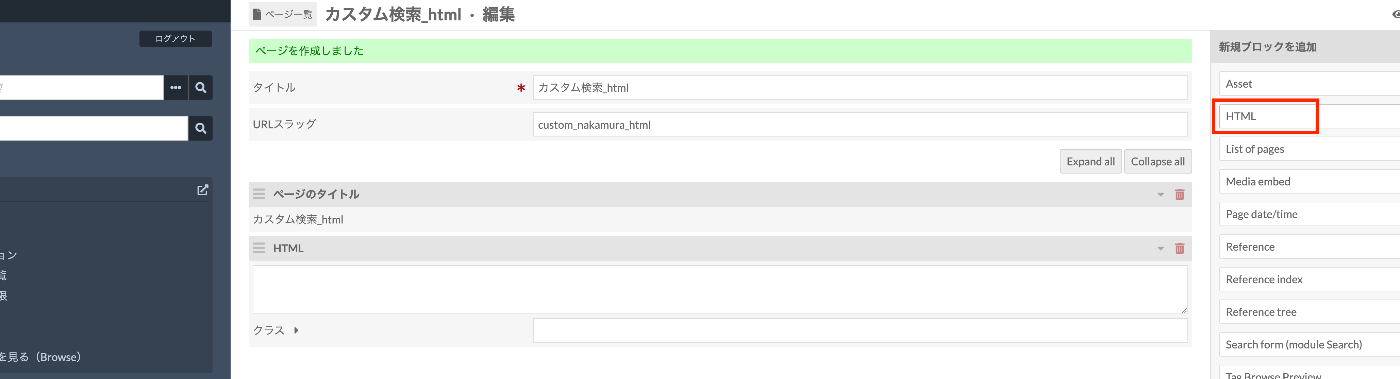
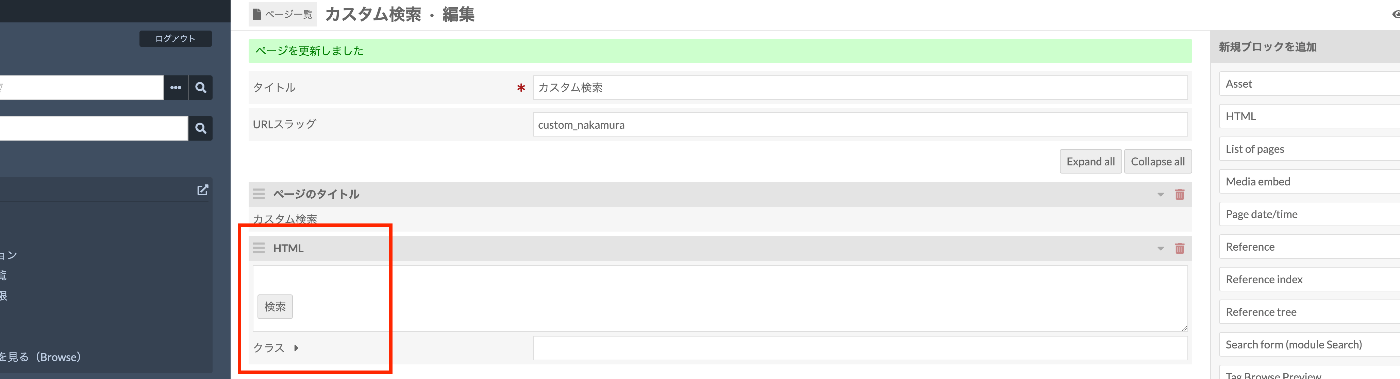
「HTML」ブロックを追加します。
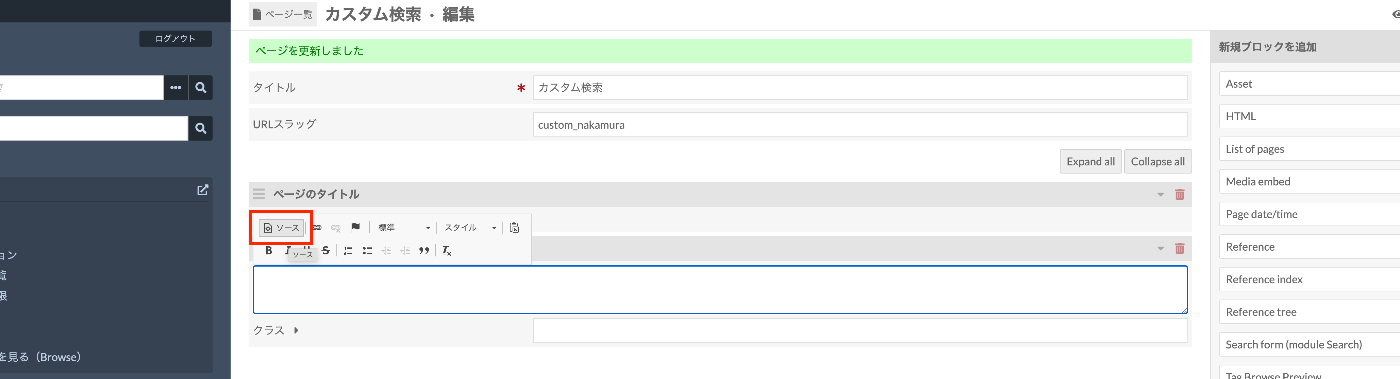
「ソース」ボタンをクリックして、以下のHTMLをコピペします。
    <div id="dynamic-fields"></div>
    <button id="submit" class="btn btn-primary">検索</button>

    <script>
      const params = [
        {
          label: "キーワード検索",
          type: "in",
          placeholder: "すべてのフィールドに対して検索します。",
          help: "部分一致",
        },
        { label: "タイトル", property: 1, type: "in", help: "部分一致" },
        { label: "資料番号", property: 10, type: "eq", help: "完全一致" },
        { label: "主題", property: 3, type: "in", help: "部分一致" },
      ];

      // 以下はそのまま

      document.addEventListener("DOMContentLoaded", () => {
        initializeSearchForm();
        setupFormSubmission();
      });

      function initializeSearchForm() {
        const container = document.getElementById("dynamic-fields");
        params.forEach((param, index) => {
          container.appendChild(createFormGroup(param, index));
        });
      }

      function createFormGroup(param, index) {
        const formGroup = document.createElement("div");
        formGroup.className = "form-group mb-4";

        formGroup.appendChild(createLabel(param.label));
        formGroup.appendChild(
          createInput(
            `property[${index}][text]`,
            "form-control",
            param.placeholder
          )
        );
        formGroup.appendChild(createHelpText(param.help));
        formGroup.appendChild(
          createHiddenInput(`property[${index}][type]`, param.type)
        );

        if (param.property) {
          formGroup.appendChild(
            createHiddenInput(`property[${index}][property][]`, param.property)
          );
        }
        formGroup.appendChild(
          createHiddenInput(`property[${index}][joiner]`, "and")
        );

        return formGroup;
      }

      function createLabel(text) {
        const label = document.createElement("label");
        label.className = "mb-1";
        label.textContent = text;
        return label;
      }

      function createInput(name, className, placeholder) {
        const input = document.createElement("input");
        input.type = "text";
        input.name = name;
        input.className = className;
        input.placeholder = placeholder || "";

        // set value
        const urlParams = new URLSearchParams(window.location.search);
        const value = urlParams.get(name);
        if (value) {
          input.value = value;
        }
        return input;
      }

      function createHelpText(text) {
        const small = document.createElement("small");
        small.className = "form-text text-muted";
        small.textContent = text;
        return small;
      }

      function createHiddenInput(name, value) {
        const input = document.createElement("input");
        input.type = "hidden";
        input.name = name;
        input.value = value;
        return input;
      }

      function setupFormSubmission() {
        document.getElementById("submit").addEventListener("click", () => {
          const form = document.createElement("form");
          form.method = "GET";
          form.action = "../item";
          form.style.display = "none";

          Array.from(
            document.querySelectorAll("#dynamic-fields input")
          ).forEach((input) => {
            form.appendChild(input.cloneNode(true));
          });

          document.body.appendChild(form);
          form.submit();
        });
      }
    </script>
結果、以下のように、ボタンのみが表示されます。
ページにアクセスしてみると、冒頭で示した検索ページが表示されます。
カスタマイズ
検索項目
以下の部分が設定項目です。
      const params = [
        {
          label: "キーワード検索",
          type: "in",
          placeholder: "すべてのフィールドに対して検索します。",
          help: "部分一致",
        },
        { label: "タイトル", property: 1, type: "in", help: "部分一致" },
        { label: "資料番号", property: 10, type: "eq", help: "完全一致" },
        { label: "主題", property: 3, type: "in", help: "部分一致" },
      ];
propertyには、プロパティのIDを指定します。未指定の場合は、プロパティを指定しない検索です。1がdcterms:title、10がdcterms:identifier、3がdcterms:subjectです。
IDの探し方として、以下のような語彙の一覧ページから検索してみると、URLからIDを確認することができます。

typeには、eqやinを指定します。eqが完全一致、inが部分一致検索です。これ以外の文字列も指定可能です。上記と同様、通常のOmekaの検索時に生成されるURLから、利用可能な文字列を確認してください。
そのほか、placeholderやhelpテキストを設定できます。
スタイル
現在はBootstrap 5が導入されていることを前提としたクラス(form-group mb-4など)を指定しています。お使いのテーマなどに合わせて、スタイルやクラスを変更してください。
まとめ
今回はOmeka Sの静的なページとして、カスタム検索ページを作成する方法を紹介しました。
ただ、プロパティのID指定の方法などに難がありますので、今回紹介したようなページを作成するカスタムモジュールを今後作成したいと思います。
参考になりましたら幸いです。
Discussion
HTMLのソースコードを貼り付けた後、保存する方法はどうすればよいですか?保存した後、ボタンが機能しなくなるのはなぜですか?Bootstrap 5をインストールしていないからですか?