🦪
OpenAPIで、{JSON} Placeholderを使ってみた!
読んでほしい人
- FlutterでOpenAPIを使うのに興味がある.
- 呪文みたいなコードを使いこなしたい?
補足情報
前回書いたOpenAPIの記事で作成したyamlファイルを使います。
自動生成されたコードが作成されたら、Flutterで使えるように設定してください。
OpenAPIをimportする
name: open_api_json_placefolder
description: A new Flutter project.
# The following line prevents the package from being accidentally published to
# pub.dev using `flutter pub publish`. This is preferred for private packages.
publish_to: 'none' # Remove this line if you wish to publish to pub.dev

# The following defines the version and build number for your application.
# A version number is three numbers separated by dots, like 1.2.43
# followed by an optional build number separated by a +.
# Both the version and the builder number may be overridden in flutter
# build by specifying --build-name and --build-number, respectively.
# In Android, build-name is used as versionName while build-number used as versionCode.
# Read more about Android versioning at https://developer.android.com/studio/publish/versioning
# In iOS, build-name is used as CFBundleShortVersionString while build-number is used as CFBundleVersion.
# Read more about iOS versioning at
# https://developer.apple.com/library/archive/documentation/General/Reference/InfoPlistKeyReference/Articles/CoreFoundationKeys.html
# In Windows, build-name is used as the major, minor, and patch parts
# of the product and file versions while build-number is used as the build suffix.
version: 1.0.0+1

environment:
  sdk: '>=3.1.3 <4.0.0'

# Dependencies specify other packages that your package needs in order to work.
# To automatically upgrade your package dependencies to the latest versions
# consider running `flutter pub upgrade --major-versions`. Alternatively,
# dependencies can be manually updated by changing the version numbers below to
# the latest version available on pub.dev. To see which dependencies have newer
# versions available, run `flutter pub outdated`.
dependencies:
  flutter:
    sdk: flutter
  # 自動生成したOpenAPIクライアントを利用するためのパッケージをimportできるように設定を追加
  openapi:
    path: ./client

  # The following adds the Cupertino Icons font to your application.
  # Use with the CupertinoIcons class for iOS style icons.
  cupertino_icons: ^1.0.2

dev_dependencies:
  flutter_test:
    sdk: flutter
  # The "flutter_lints" package below contains a set of recommended lints to
  # encourage good coding practices. The lint set provided by the package is
  # activated in the `analysis_options.yaml` file located at the root of your
  # package. See that file for information about deactivating specific lint
  # rules and activating additional ones.
  flutter_lints: ^2.0.0

# For information on the generic Dart part of this file, see the
# following page: https://dart.dev/tools/pub/pubspec

# The following section is specific to Flutter packages.
flutter:

  # The following line ensures that the Material Icons font is
  # included with your application, so that you can use the icons in
  # the material Icons class.
  uses-material-design: true

  # To add assets to your application, add an assets section, like this:
  # assets:
  #   - images/a_dot_burr.jpeg
  #   - images/a_dot_ham.jpeg

  # An image asset can refer to one or more resolution-specific "variants", see
  # https://flutter.dev/assets-and-images/#resolution-aware

  # For details regarding adding assets from package dependencies, see
  # https://flutter.dev/assets-and-images/#from-packages

  # To add custom fonts to your application, add a fonts section here,
  # in this "flutter" section. Each entry in this list should have a
  # "family" key with the font family name, and a "fonts" key with a
  # list giving the asset and other descriptors for the font. For
  # example:
  # fonts:
  #   - family: Schyler
  #     fonts:
  #       - asset: fonts/Schyler-Regular.ttf
  #       - asset: fonts/Schyler-Italic.ttf
  #         style: italic
  #   - family: Trajan Pro
  #     fonts:
  #       - asset: fonts/TrajanPro.ttf
  #       - asset: fonts/TrajanPro_Bold.ttf
  #         weight: 700
  #
  # For details regarding fonts from package dependencies,
  # see https://flutter.dev/custom-fonts/#from-packages
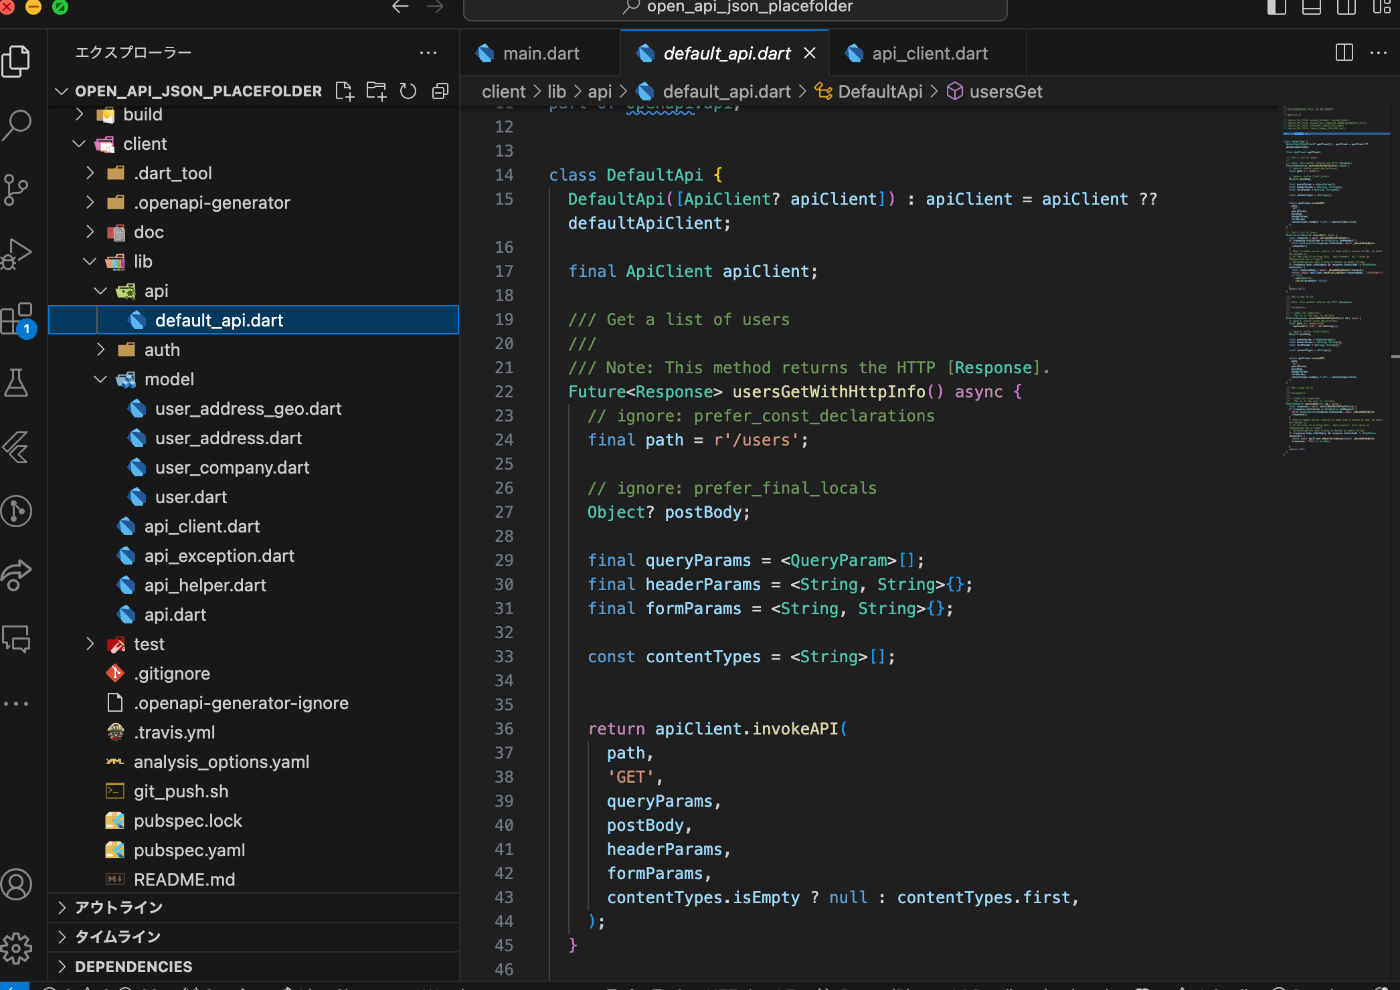
内部のコードを見てみると、なんとhttpパッケージがある!

/usersにアクセスするコードも作成されているようだ👁️
記事の内容
で、どうやって自動生成されたコードを使えば良いのか???
まずは、APIのJSONの構造に合わせて、モデルクラスを作りましょう。
UserStateモデル
JSONのエンコードとデコードをやってくれます。
class UserState {
  final int id;
  final String name;
  final String username;
  final String email;

  UserState({
    required this.id,
    required this.name,
    required this.username,
    required this.email,
  });

  factory UserState.fromJson(Map<String, dynamic> json) {
    return UserState(
      id: json['id'],
      name: json['name'],
      username: json['username'],
      email: json['email'],
    );
  }

  Map<String, dynamic> toJson() {
    return {
      'id': id,
      'name': name,
      'username': username,
      'email': email,
    };
  }
}
自動生成されて、APIからデータをHTTP GETするコードを使うクラスを作成しましょう。DefaultApiというものを呼び出せばできます!
ここで、取得したデータをモデルクラスに、for inでループして、addでListに追加して保持させます。
自動生成されてコードを使う
import 'package:flutter/material.dart';
import 'package:open_api_json_placefolder/model/user.dart';
import 'package:openapi/api.dart';

// OpenAPIで自動生成されたコードを呼び出して使う
class OpenApiClient {
  final ApiClient apiClient = ApiClient(
    basePath: 'https://jsonplaceholder.typicode.com',
  );

  Future<List<UserState>> getUser() async {
    try {
      final DefaultApi defaultApi = DefaultApi(apiClient);
      final response = await defaultApi.usersGet();
      final List<UserState> users = [];
      if (response != null) {
        debugPrint('APIのレスポンス${response}');
        debugPrint('APIのlength${response.length}');
        for (final r in response) {
          users.add(UserState.fromJson(r.toJson()));
        }
      }
      return users;
    } on Exception catch (e) {
      throw Exception('Failed to load post$e');
    }
  }
}
View側で、あとはAPIのデータを渡してあげれば表示することができます。
View
import 'package:flutter/material.dart';
import 'package:open_api_json_placefolder/api_client.dart';
import 'package:open_api_json_placefolder/model/user.dart';
void main() {
runApp(const MyApp());
}
class MyApp extends StatelessWidget {
const MyApp({super.key});
Widget build(BuildContext context) {
return MaterialApp(
title: 'Flutter Demo',
theme: ThemeData(
colorScheme: ColorScheme.fromSeed(seedColor: Colors.deepPurple),
useMaterial3: true,
),
home: const PostPage(),
);
}
}
class PostPage extends StatelessWidget {
const PostPage({super.key});
Widget build(BuildContext context) {
final List<UserState> userList = [];
return Scaffold(
appBar: AppBar(
title: const Text('OpenAPIのテスト'),
),
// FutureBuilderを使うと非同期処理を簡単に書ける
body: FutureBuilder<List<UserState>?>(
future: OpenApiClient().fetchPost(),
builder: (context, snapshot) {
// 通信中はスピナーを表示
if (snapshot.connectionState == ConnectionState.waiting) {
return const Center(
child: CircularProgressIndicator(),
);
}
// 通信が完了したらデータを表示
if (snapshot.hasData) {
userList.addAll(snapshot.data!); // DartのListはaddAllで一気に追加できる
return ListView.builder(
itemCount: userList.length,
itemBuilder: (context, index) {
final user = userList[index];
return ListTile(
title: Text('ユーザーID: ${user.id}'),
subtitle: Text('ユーザー名: ${user.name}'),
);
},
);
}
// 通信が失敗したらエラーを表示
if (snapshot.hasError) {
return Center(
child: Text(snapshot.error.toString()),
);
}
return const Center(
child: Text('データがありません'),
);
},
),
);
}
}
データが正しく取得できていればこのように表示される:

最後に
以前書いた記事は、mock-serverでやったので、外部APIを使ってみたいと思いました。他のAPIに変更して遊んでみたいな〜と思ってます。News API、お天気API色々試してみたい。
以前書いた記事:
こちらが完成品です。riverpodのコードに書き換えてますので、ご興味あれば見てみてください。
Discussion