【Docker入門#1】 Windowsでの環境構築
🔗 関連記事
【Docker入門#2】Hello Worldアプリケーション作成
はじめに
この記事では、Windows環境でDockerを使えるようにするためのステップを丁寧に解説していきます。
初めての方でも安心して進められるよう、画像付きで紹介していきますね。
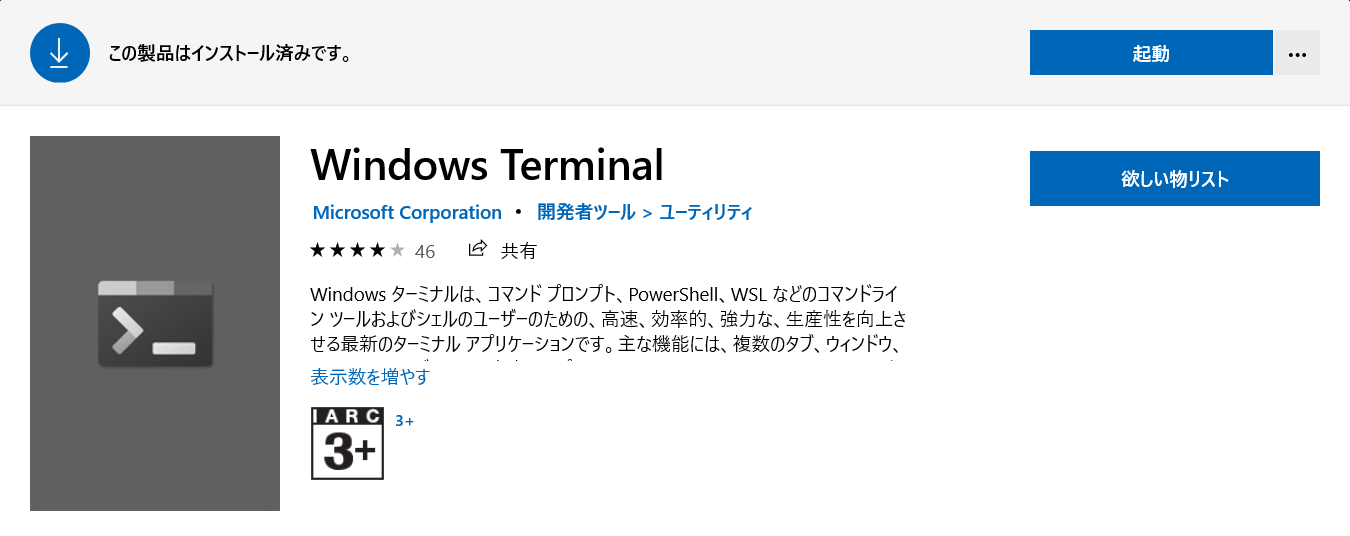
① Windowsターミナルのインストール
まずは、Windowsターミナルをインストールしましょう。
以下のリンクからMicrosoft Storeを開いてインストールできます。
👉 Microsoft Store – Windows Terminal
② Gitのインストール
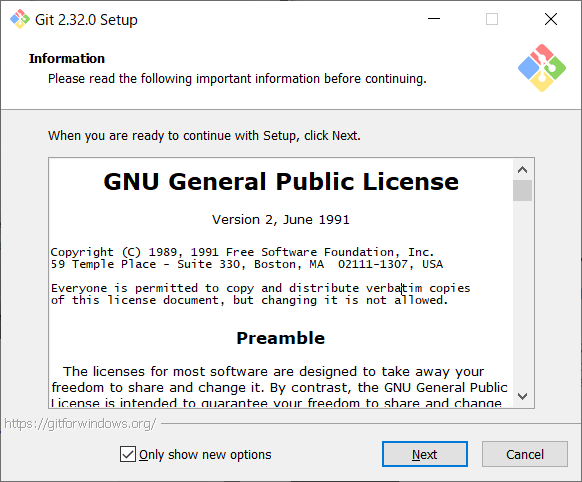
次にGitをインストールします。
-
公式サイトからインストーラをダウンロードして実行します。
-
ライセンスに同意して「次へ」。
-
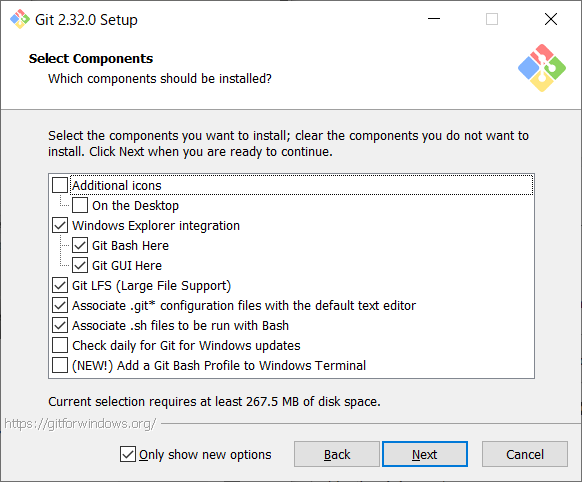
コンポーネントの選択ではそのまま「次へ」。
-
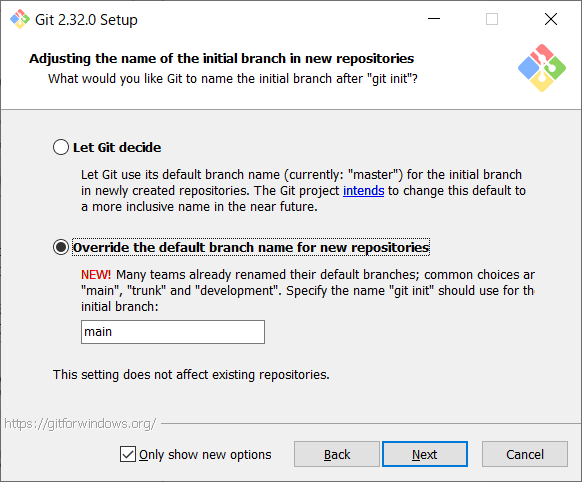
ブランチ名は「main」にしておくとGitHubと相性◎。
-
認証補助には「Git Credential Manager Core」を選んでおくと便利です。
(2回目以降のログインが楽になります)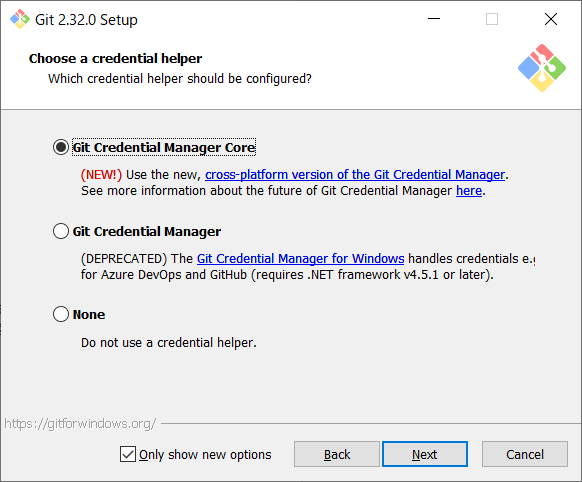
-
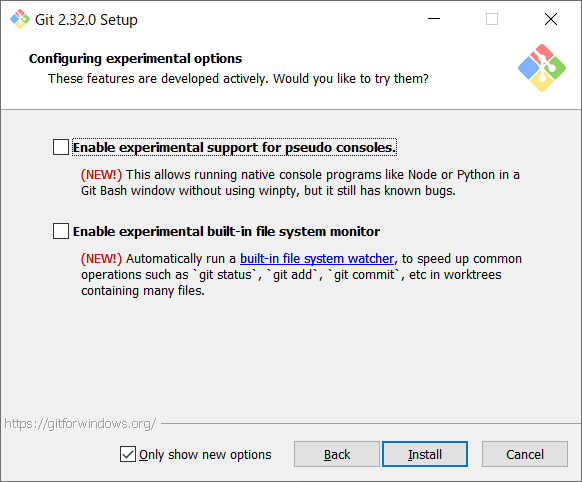
最後にそのまま進めてインストール完了!
インストールが終わったら、Git Bashを開いて動作確認します。
git --version
# git version 2.32.0.windows.1
これでGitの準備はOKです!
③ WSL2の有効化
DockerをWindowsで快適に使うには、WSL2(Windows Subsystem for Linux 2)を有効にする必要があります。
管理者モードでPowerShellを起動
Start-Process powershell.exe -Verb runas
必要な機能を有効化
dism.exe /online /enable-feature /featurename:Microsoft-Windows-Subsystem-Linux /all /norestart
dism.exe /online /enable-feature /featurename:VirtualMachinePlatform /all /norestart
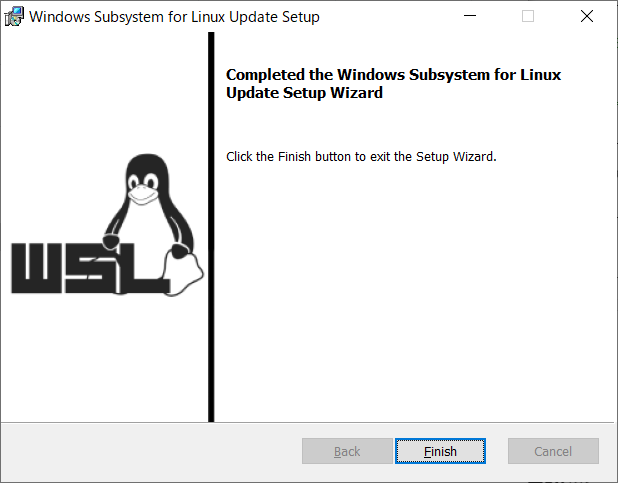
再起動とLinuxカーネル更新
PCを再起動後、以下のリンクからカーネル更新パッケージをダウンロードしてインストールします。
デフォルトWSLバージョンの設定
wsl --set-default-version 2
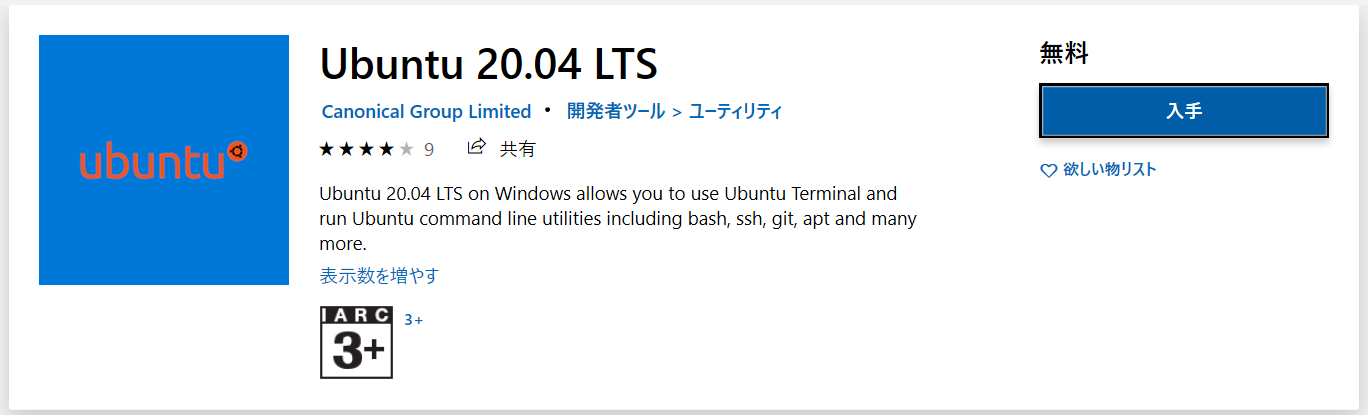
Ubuntuのインストール
以下のリンクから「Ubuntu 20.04 LTS」をインストールします。
👉 Ubuntu 20.04 LTS – Microsoft Store
初回起動時には、ユーザー名とパスワードを設定します。
Enter new UNIX username: takuya-motoshima
New password:
Retype new password:
passwd: password updated successfully
これでWSL2の準備は完了です!
④ Dockerのインストール
-
Docker公式サイトを開き、「Get started」からDocker Desktopのページへ。
-
「Download for Windows」でインストーラをダウンロードします。
-
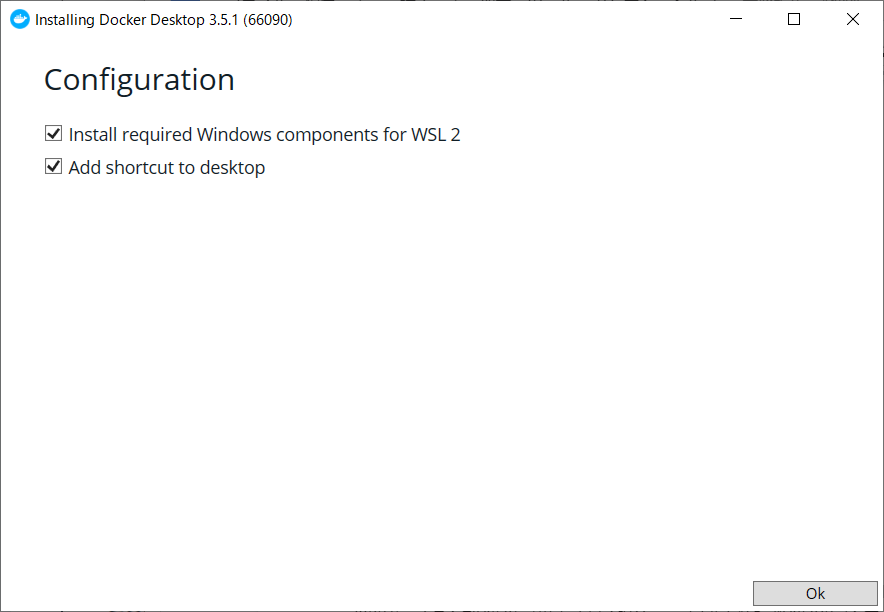
ダウンロードしたインストーラを実行し、「Install required Windows components for WSL 2」にチェックがあることを確認して次へ。
-
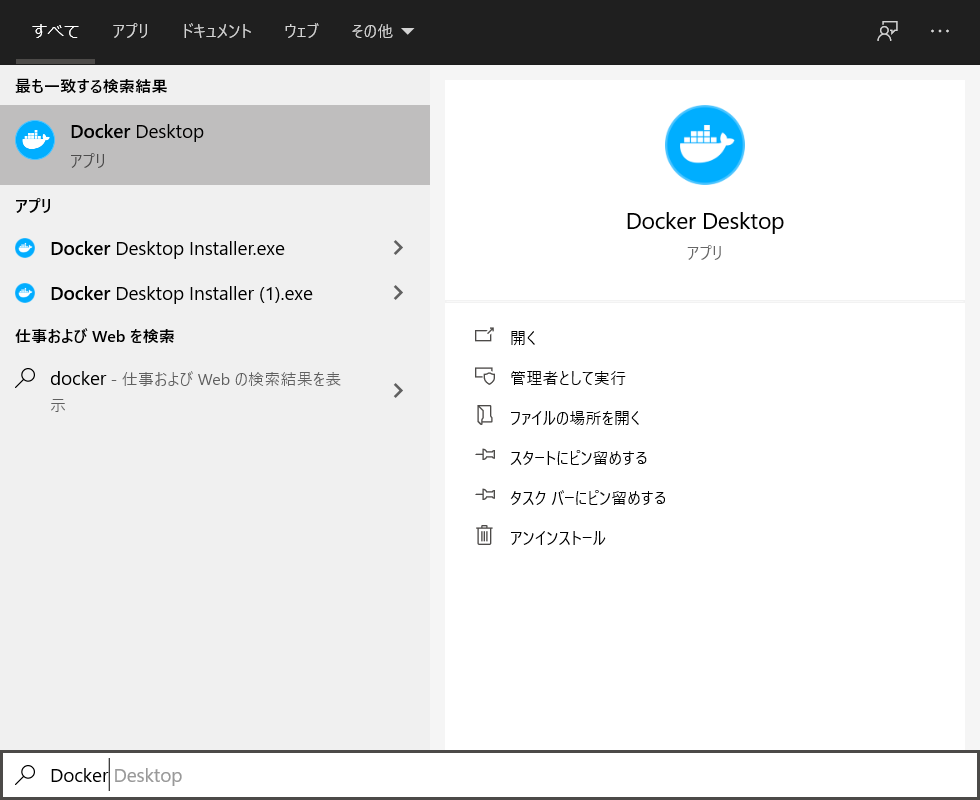
インストール完了後、Docker Desktopを起動。
-
チュートリアルは「Skip」でスキップ。

-
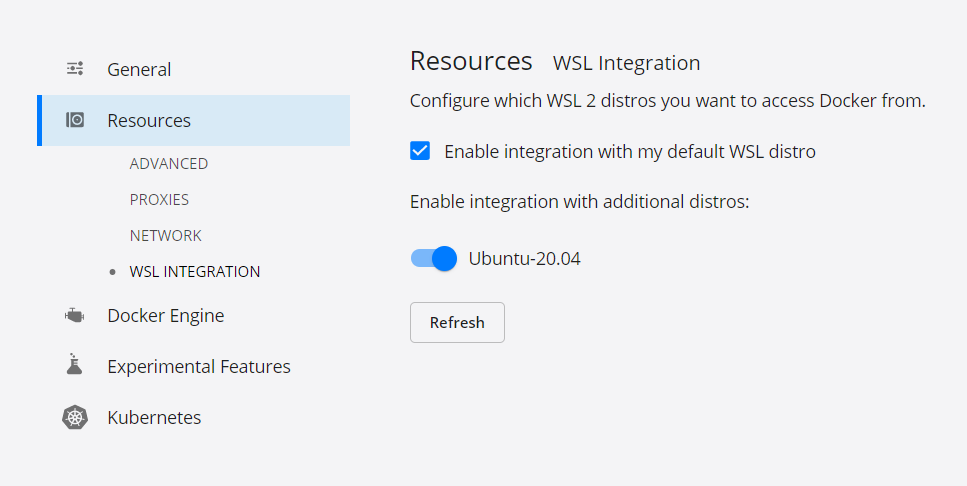
「Settings → Resources → WSL Integration」で「Ubuntu-20.04」にチェックを入れ、DockerをWSL上で使えるようにします。
これでDocker環境のセットアップは完了です!
⑤ Hello Worldコンテナを動かしてみよう!
さっそくDockerがちゃんと動いているか試してみましょう!
Ubuntu-20.04(WSL2)をWindows Terminalから起動します。
docker container run hello-world
すると、以下のようなメッセージが出力されます。
Hello from Docker!
This message shows that your installation appears to be working correctly.
...
このメッセージが出れば、Dockerはちゃんと動いています!
⑥ コンテナとイメージの確認・削除
イメージ一覧の確認
docker image ls
停止中のコンテナも含めて一覧表示
docker container ls -a
コンテナを削除
docker container rm <コンテナID>
イメージを削除
docker image rm <イメージID>
最後にクリーンアップしておくと、環境がスッキリします!
おわりに
これでDockerの環境構築はバッチリです!
次回は、実際にアプリを作ってDockerの基本操作に慣れていきましょう 🚀
👉 続きはこちら:【Docker入門#2】Hello Worldアプリケーション作成
Discussion