😸
ubuntu20.04+unreal engine 5+ROS2でturtolbot3をnavigatonする。
初めに
じぶんはunreal engineとrosが初めてなのですがunreal engineの中でrobotのnavigationを行いたいと思いこの記事を書きました。
研究なのでrobot simulation を行いたい人も使ってみてください。
1.ubuntu 20.04をinstallする。
上記のサイトなどを使用しLive usbを作成しubuntuをパソコンにインストールしましょう。
このようなエラーが発生する場合もあるので注意してください。
/homeではunreal engineは起動するのに100GB程度かかります。
/でROS2やnavigationなどを入れると20GBくらいかかると思います。
sudo apt-get update && sudo apt-get upgrade
をおこないましょう。安易に22.04にはアップグレードしないでください・
chomeを入れたい場合は
wget https://dl.google.com/linux/direct/google-chrome-stable_current_amd64.deb
sudo apt install ./google-chrome-stable_current_amd64.deb
2.unreal engine5をinstallする。
これらを参考にinstallしましょう。
ただし注意点があります。
リポジトリを指定しないとubuntuはmakeできなくなります。
なので
git clone --branch 5.1 --single-branch git@github.com:EpicGames/UnrealEngine.git
を使用しましょう。
参考
./Setup.sh && ./GenerateProjectFiles.sh && make
3.ros2とnavigation2をinstall
注意です。
echo "source /opt/ros/foxy/setup.bash" >> ~/.bashrc
これは行わないでください。
ros2を使うたびに
source /opt/ros/foxy/setup.bash
を行いましょう。
unreal engineを実行時にエラーが起きやすいです。
sudo apt install ros-foxy-navigation2
sudo apt install ros-foxy-nav2-bringup
sudo apt install ros-foxy-turtlebot3-gazebo
これで動かしてみましょう。

turtolbot3-UEを試してみる。
これらがあります。
まずは
git clone --recurse-submodules git@github.com:rapyuta-robotics/turtlebot3-UE.git
cd turtlebot3-UE
git-lfs pull && git submodule foreach git-lfs pull
export UE5_DIR=<path to UE5>
./update_project_files.sh
make turtlebot3Editor
./run_editor.sh <false or true to use dds server or not> $(pwd) ./UnrealEngine/Engine/Binaries/Linux/UnrealEditor
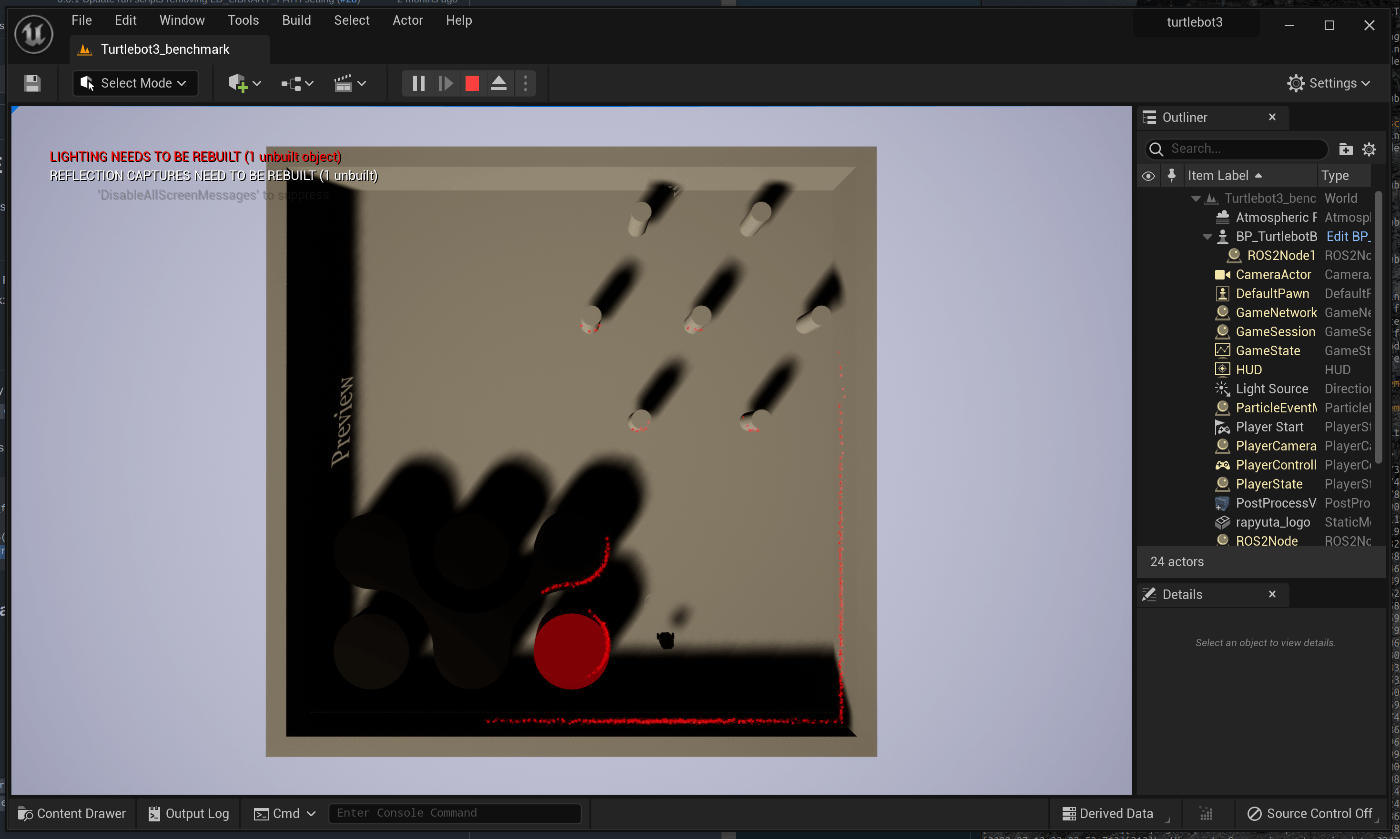
これでunrealengineが起動しますので、再生ボタンを押しましょう。

このようになれば成功です。
新しいターミナルを開いてください。
source /opt/ros/foxy/setup.bash
cd turtlebot3-UE && source fastdds_setup.sh
ros2 launch nav2_bringup tb3_simulation_launch.py use_simulator:=False map:=<path to turtlebot3-UE>/Content/Turtlebot3_benchmark.yaml
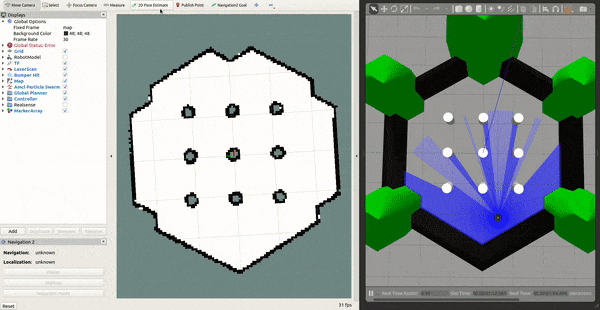
これでrvizが開くのでnaviagtionを行いましょう。
参考
Discussion