【挑戦】Laravel 9 でとてもシンプルなブログシステムを作ってみた
はじめに
今回の作ってみたシリーズは、マークダウンで書いた記事をhtmlで表示させる部分を勉強兼ねてアウトプットしたいと思います。
凝ったものではなく、本当に簡単なブログシステムといった感じで作成していきたいと思います。
開発環境
- XAMPP v3.3.0
- composer 2.1.3
- VS Code
利用言語
- PHP 8.1.1
- Laravel 9
企画
今回は、ブログの記事を書いていける様な仕組みを作っていきたいと思います。
メイン機能は、マークダウンで記事を書いて、記事閲覧画面ではHTMLに整形(パーサ?)するという部分です。その他の部分は、メモ帳アプリと同じ様な感じになると思っています。
作成の流れ
- 記事一覧画面
- 新規作成画面
- 編集画面
- 閲覧画面
プロジェクトの作成
早速、プロジェクトを作成していきます。
laravel new blog-app --git --branch="main"
次に、GitHub上に作成しておいたリポジトリと連携させていきます。
git remote add origin https://github.com/DaiNaka1207/blog-app.git
最後に、GitHub上に初期状態をプッシュしていきます。
git push -u origin main
Github
環境設定
- APP_NAME=laravel
+ APP_NAME="blog-app"
- 'timezone' => 'UTC',
+ 'timezone' => 'Asia/Tokyo',

- 'locale' => 'en',
+ 'locale' => 'ja',

- 'faker_locale' => 'en_US',
+ 'faker_locale' => 'ja_JP',
データベースの作成
Laravel側のデータベース設定の確認
データベースを作成する前に.envファイルのDB_DATABASEに入っている値(blog_app)を確認します。
DB_CONNECTION=mysql
DB_HOST=127.0.0.1
DB_PORT=3306
DB_DATABASE=blog_app
DB_USERNAME=root
DB_PASSWORD=
mysqlへデータベースの作成
コマンドプロンプトにて下記のコマンドを実行して、mysqlへアクセスします。
C:\XAMPP\mysql\bin\mysql -u root
次のコマンドを実行して、確認した値の名前(blog_app)でデータベースを作成します。
create database blog_app
次のコマンドを実行して、作成できているか確認する事ができます。
show databases;
Laravel起動
コマンドプロンプトにて下記コマンドを実行して、Laravelのサーバーを起動します。
php artisan serve
そして、ブラウザにて下記へアクセスして、起動している事を確認します。
http://localhost:8000/
無事にWelcome画面が表示された事を確認
ブレードテンプレートの用意
レイアウト機能を利用して、共通部分を再利用できる様にします。
この辺りは、第四弾のポートフォリオ作成でやったところですね。
共通部分はresources\views\layoutsフォルダを作成して、app.blade.phpとして新規に作成します。
<!DOCTYPE html>
<html lang="ja">
<head>
<meta charset="UTF-8">
<meta name="viewport" content="width=device-width, initial-scale=1.0">
<meta http-equiv="X-UA-Compatible" content="ie=edge">
<!-- Site Info -->
@yield('title')
<!-- CSS -->
<link rel="stylesheet" href="https://cdn.jsdelivr.net/npm/destyle.css@3.0.2/destyle.min.css">
<link rel="stylesheet" href="{{asset('css/style.min.css')}}">
<!-- Google Fonts -->
<link href="https://fonts.googleapis.com/css2?family=Klee+One:wght@400;600&display=swap" rel="stylesheet">
</head>
<body>
<div class="container">
<header id="header">
@yield('header')
</header>
<main id="main">
@yield('content')
</main>
<footer id="footer">
<small>© 2022 DaiNaka</small>
</footer>
</div>
</body>
</html>
記事一覧ページの作成
ビューの作成
ひとまず簡単に画面構成を考えつつ、下記の様な感じにしてみました。
@extends('layouts.app')

@section('title')
    <title>記事一覧 | {{config('app.name')}}</title>
@endsection

@section('header')
    <h1>記事一覧</h1>
@endsection

@section('content')
    <article class="article">
        <a href="#">
            <h3>Lorem ipsum dolor sit amet consectetur</h3>
            <p>Lorem ipsum dolor sit amet consectetur, adipisicing elit. Sint impedit deleniti neque optio doloremque beatae illum iure officia, esse error quia consequuntur est molestiae aperiam fugit, nisi velit tempore eos.</p>
        </a>
    </article>

    <article class="article">
        <a href="#">
            <h3>Lorem ipsum dolor sit amet</h3>
            <p>Lorem ipsum dolor sit amet consectetur adipisicing elit. Temporibus eum nihil dolor, eius in, assumenda recusandae ducimus porro animi cumque nostrum explicabo. Minima ratione ea mollitia nam animi ipsa cumque rerum, sed corporis quasi? Mollitia vero aliquid dolorem eligendi nesciunt.</p>
        </a>
    </article>

    <article class="article">
        <a href="#">
            <h3>Lorem ipsum dolor sit amet consectetur</h3>
            <p>Lorem ipsum dolor sit amet consectetur adipisicing elit. Ratione, blanditiis. Magnam eum unde adipisci nisi voluptates. Architecto necessitatibus voluptates nihil.</p>
        </a>
    </article>

    <article class="article">
        <a href="#">
            <h3>Lorem ipsum dolor sit amet</h3>
            <p>Lorem ipsum dolor sit amet consectetur, adipisicing elit. Omnis, itaque.</p>
        </a>
    </article>

    <article class="article">
        <a href="#">
            <h3>Lorem, ipsum dolor</h3>
            <p>Lorem ipsum dolor sit amet consectetur adipisicing elit. Tempore perferendis natus amet accusamus! Possimus, libero? Nihil nostrum molestias sed reiciendis delectus. Natus, debitis minus? Unde non expedita recusandae maxime vel id atque provident! Inventore quae cum ratione porro rem ab exercitationem expedita doloremque sit! Itaque error, in blanditiis iusto, aspernatur nobis ipsa voluptate sequi culpa soluta molestias, rerum optio officia!</p>
        </a>
    </article>
@endsection
@charset 'UTF-8';

/* Common
-------------------------------------------------- */
h1 {font-size: 1.50rem; text-transform: capitalize;}
h2 {font-size: 1.25rem;}

body {
    font-family: "Klee One";
    display: flex;
    flex-direction: column;
    align-items: center;
    margin: 20px 0;
}

.container {
    width: 80%;
    max-width: 1000px;
    padding: 0 4%;
}

/* Header
-------------------------------------------------- */
#header {
    border-bottom: solid 1px #555;
    margin-bottom: 16px;
    padding-bottom: 4px;
}

/* Article
-------------------------------------------------- */
#main {
    .article {
        a {
            display: block;
            margin-bottom: 16px;
            border-radius: 10px;
            padding: 8px;
            border: solid 1px rgba(#555, 0.7);
            box-shadow: 1px 1px 5px rgba(#555, 0.3);

            h3 {
                font-size: 1.10rem;
                margin-bottom: 4px;
            }

            p {
                font-size: 0.90rem;
                overflow: hidden;
                display: -webkit-box;
                -webkit-box-orient: vertical;
                -webkit-line-clamp: 2;
            }
        }
    }
}

/* Footer
-------------------------------------------------- */
#footer {
    border-top: solid 1px #555;
    text-align: center;
    margin-top: 28px;
    padding: 16px 0;
}

/* Mobile
-------------------------------------------------- */
@media (max-width: 600px) {
    /* Common
    -------------------------------------------------- */
    .container {
        width: 100%;
    }

    /* Header
    -------------------------------------------------- */


    /* Article
    -------------------------------------------------- */
    #main {
        .article {
            p {
                -webkit-line-clamp: 3;
            }
        }
    }

    /* Footer
    -------------------------------------------------- */


}
ルート設定
Route::get('/', function () {
-   return view('welcome');
+   return view('dashboard');
});
ルート設定が上手く反映されない場合には
コマンドプロンプトにてphp artisan route:cacheを実行してください。
ルート情報のキャッシュをクリアしてくれます。
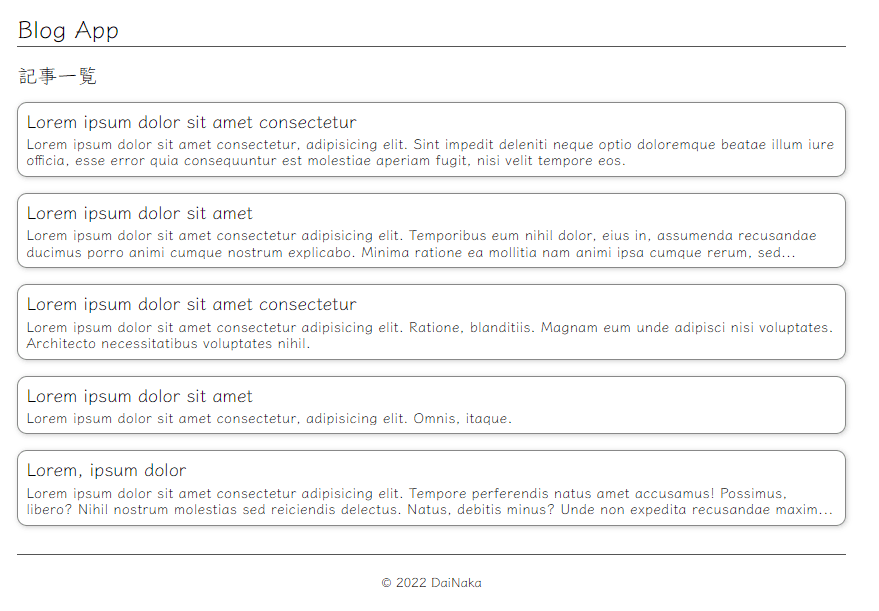
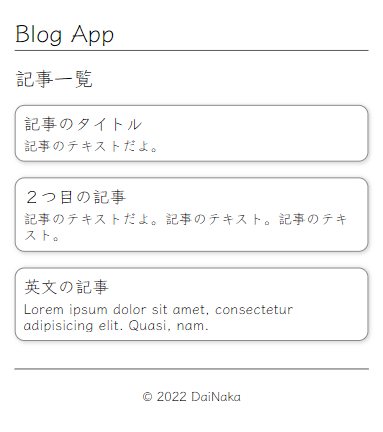
-
デスクトップ
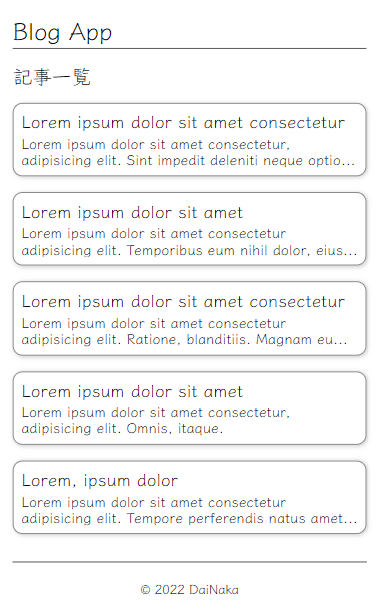
-
モバイル
データベース連携
記事一覧ページとデータベース連携を行っていきます。
モデルとコントローラーとマイグレーションファイルを作成
次のコマンドを実行して、それぞれのファイルを作成します。
php artisan make:model Article -mcr
-
php artisan make:model ArticleはArticleというモデルを作成する事ができます -
-mcrは、マイグレーションファイル、コントローラー(リソース)を一緒に作成する事ができます
マイグレーションファイルへテーブル情報の記述
database\migrationsフォルダ内に新しくマイグレーションファイルが作成されていますので、テーブル作成の追記をしていきます。
        Schema::create('articles', function (Blueprint $table) {
            $table->id();
+           $table->string('title', 50);
+           $table->text('content');
            $table->timestamps();
        });
次のコマンドを実行してデータベースへテーブルを作成していきます。
php artisan migrate
マイグレーション情報の確認方法
php artisan migrate:statusを実行するとマイグレーション情報を確認する事ができます。
ルート設定
今はコントローラーを介さずにビューを表示させている為、コントーローラーを介してビューが表示される様にします。
+ use App\Http\Controllers\ArticleController;

- Route::get('/', function () {
-     return view('dashboard');
- });

+ Route::redirect('/', 'article');
+ Route::resource('article', ArticleController::class);
ルート設定が上手く反映されない場合には
コマンドプロンプトにてphp artisan route:cacheを実行してください。
ルート情報のキャッシュをクリアしてくれます。
コントローラーでビュー表示
コントローラーのindexへビューを表示する処理を記述します。
    public function index()
    {
+       // 記事一覧画面を表示
+       return view('dashboard', compact('articles'));
    }
ここまででlocalhost:8000にアクセスすると、自動的にlocalhost:8000/articleにリダイレクトされて、これまでの画面が表示される様になります。
これまでの画面が表示されない場合には、設定を見直してください。
データベース情報の取得
コントローラーを更新してデータベースから情報を取得する処理を記述します。
    public function index()
    {
+       // データベースから記事情報を取得して変数に代入
+       $articles = Article::all();

        // 記事一覧画面を表示
-       return view('dashboard');
+       return view('dashboard', compact('articles'));
    }
ビューの更新
これまではベタ打ちで書いていた記事情報をデータベースから取得してきた情報にしていきます。
@section('content')
    <h2>記事一覧</h2>

-       <article class="article">
-           <a href="#">
-               <h3>{{$article->title}}</h3>
-               <p>{{$article->content}}</p>
-           </a>
-       </article>

+   @foreach ($articles as $article)
+       <article class="article">
+           <a href="{{route('article.show', ['article' => $article->id])}}">
+               <h3>{{$article->title}}</h3>
+               <p>{{$article->content}}</p>
+           </a>
+       </article>
+   @endforeach
@endsection
<article>から</article>までを、@foreachから@endforeachまでに書き換えてください。
@foreachは記事が存在している分を繰り返す為、複数書く必要はありません。
データベースに記事を追加投稿
コマンドプロンプトにて下記のコマンドを実行して、mysqlへアクセスします。
C:\XAMPP\mysql\bin\mysql -u root
次のコマンドを実行して操作するデータベースを選択します。
use blog_app;
次のコマンドを実行して記事を追加していきます。
insert into articles(title, content) values ('記事のタイトル', '記事のテキストだよ。');
次のコマンドを実行して、作成できているか確認する事ができます。
select * from articles;
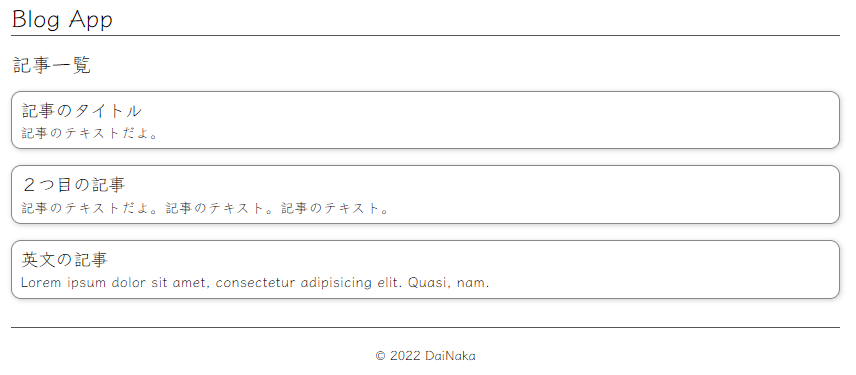
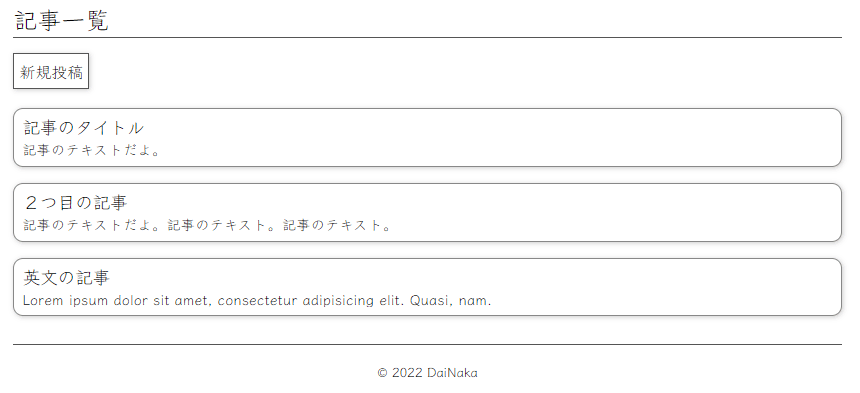
-
デスクトップ
-
モバイル
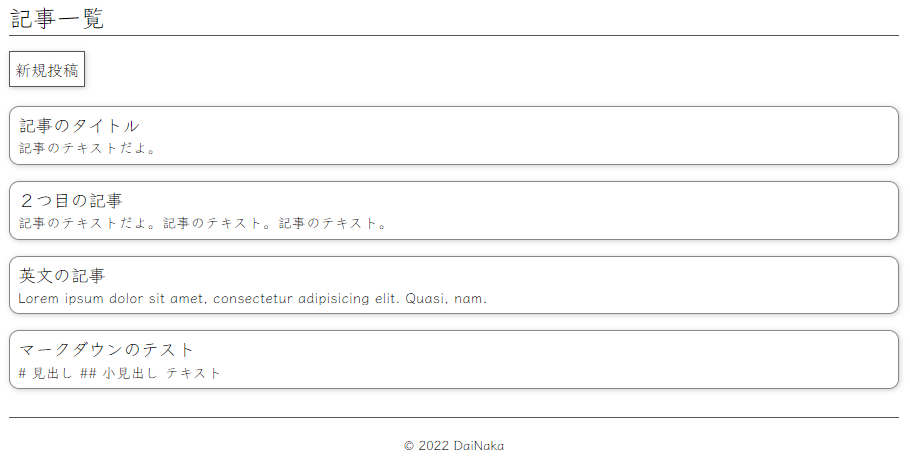
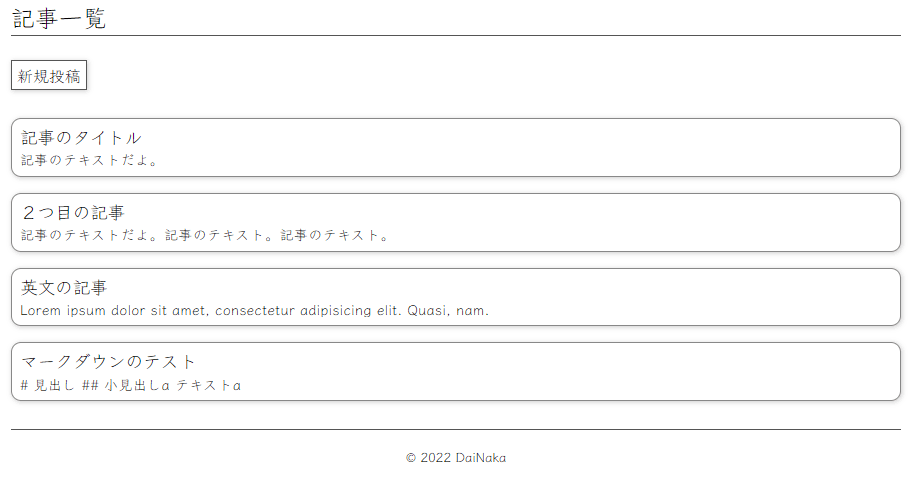
新規投稿ボタンの追加
記事一覧画面で新規投稿ボタンをクリックする事で新規記事の投稿ができる準備をしていきます。
@section('header')
-   <h1>{{str_replace('-', ' ', config('app.name'))}}</h1>
+   <h1>記事一覧</h1>
@endsection

@section('content')
-   <h2>記事一覧</h2>

+   <ul id="blog-menu">
+       <li><a href="{{route('article.create')}}" class="btn">新規投稿</a></li>
+   </ul>

    @foreach ($articles as $article)
        <article class="article">
            <a href="{{route('article.show', ['article' => $article->id])}}">
                <h3>{{$article->title}}</h3>
                <p>{{$article->content}}</p>
            </a>
        </article>
    @endforeach
@endsection
/* Header
-------------------------------------------------- */
#header {
    border-bottom: solid 1px #555;
-   margin-bottom: 16px;
+   margin-bottom: 24px;
    padding-bottom: 4px;
}

+ /* Menu Button
+ -------------------------------------------------- */
+ #blog-menu {
+     margin-bottom: 28px;
+
+     .btn {
+         padding: 5px;
+         box-shadow: 1px 1px 5px rgba(#555, 0.3);
+         border: solid 1px #555;
+     }
+ }

/* Article
-------------------------------------------------- */
#main {
-    h2 {
-        margin-bottom: 24px;
-    }
}
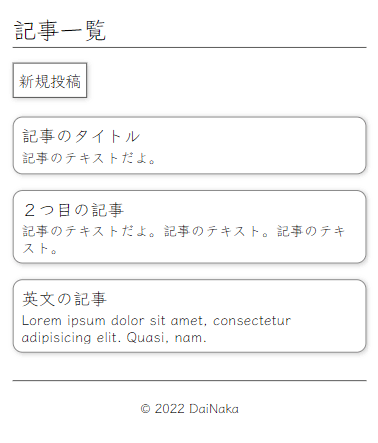
-
デスクトップ
-
モバイル
記事投稿画面の作成
新規投稿ボタンが押された後の処理を作っていきます。
コントローラーへ画面遷移の処理を追加
新規投稿ボタンが押された後、ArticleController@createに処理が移るので、そこに処理を書いていきます。
    public function create()
    {
-       //
+       // 記事投稿画面を表示
+       return view('create');
    }
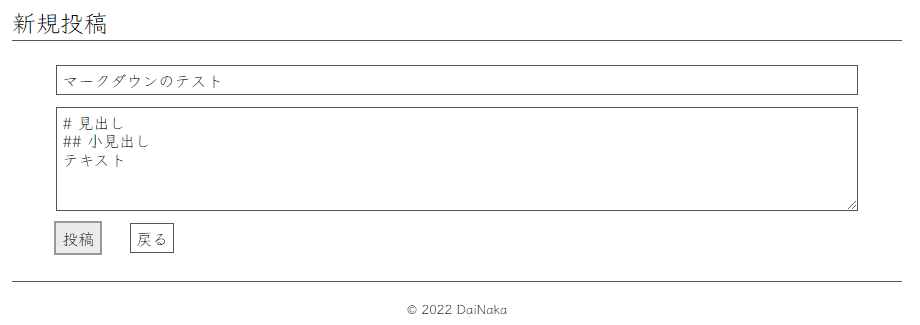
記事投稿画面の作成
新規ビューを作成して、下記の通り記述していきます。
@extends('layouts.app')

@section('title')
    <title>新規投稿 | {{config('app.name')}}</title>
@endsection

@section('header')
    <h1>新規投稿</h1>
@endsection

@section('content')
    <form action="{{route('article.store')}}" method="post">
        @csrf
        <ul>
            <li><input type="text" name="title" id="title" placeholder="記事タイトル" required autofocus></li>
            <li><textarea name="content" placeholder="ここに内容を入力してください。" rows="5" required></textarea></li>
            <li>
                <div>
                    <button type="submit">投稿</button><br>
                    <button type="button" onclick="location.href='{{route('article.index')}}'">戻る</button>
                </div>
            </li>
        </ul>
    </form>
@endsection
/* Entry
-------------------------------------------------- */
#main {
    form {
        width: 90%;
        margin: auto;

        ul {
            display: flex;
            flex-direction: column;
            gap: 12px;

            input, textarea {
                width: 100%;
                resize: vertical;
            }

            input, textarea, button {
                border: solid 1px #555;
                padding: 5px;

                &:focus {
                    background-color: rgba(#999, 0.2);
                    outline: solid 2px #999;
                    border: solid 1px rgba(#000, 0);
                }
            }

            div {
                display: flex;
                gap: 15px;
            }
        }
    }
}

/* Mobile
-------------------------------------------------- */
@media (max-width: 600px) {
    /* Common
    -------------------------------------------------- */
    .container {
        width: 100%;
    }

    /* Entry
    -------------------------------------------------- */
    #main {
        form {
            ul {
                div {
                    justify-content: space-between;
                }
            }
        }
    }
}
コントローラーへ投稿ボタンが押された時の処理を追記
戻るボタンは記事一覧画面に遷移する様になっています。
投稿ボタンが押されたらArticleController@storeに処理が移るので、処理を書いていきます。
    public function store(Request $request)
    {
        // フォームに入力された内容を変数に取得
        $form = $request->all();

        // フォームに入力された内容をデータベースへ登録
        $article = new Article();
        $article->fill($form)->save();

        // 記事一覧画面を表示
        return redirect()->route('article.index');
    }
-
入力時

-
送信後
※一番下に新規に登録した記事が追加されているのが確認できました。
記事閲覧画面の作成
新規のリンクがクリックされた時の処理を作っていきます。
コントローラーへ画面遷移の処理を追加
dashboard.blade.phpの各記事にはArticleController@showへのリンクが既に入力されています。
リンク:localhost:8000/article/{記事のID}
+ use Illuminate\Support\Str;

+   public function show(Article $article)
+   {
+       // 記事閲覧画面を表示
+       return view('show', compact('article'));
+   }
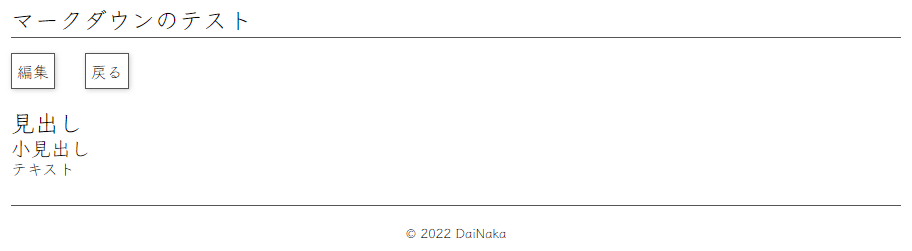
閲覧画面のビューを作成
@extends('layouts.app')

@section('title')
    <title>記事閲覧 | {{config('app.name')}}</title>
@endsection

@section('header')
    <h1>{{$article->title}}</h1>
@endsection

@section('content')
    <ul id="blog-menu">
        <li><a href="{{route('article.edit', ['article' => $article->id])}}" class="btn">編集</a></li>
        <li><a href="{{route('article.index')}}" class="btn">戻る</a></li>
    </ul>

    <div id="show">
        {!! Str::markdown($article->content) !!}
    </div>
@endsection
/* Menu Button
-------------------------------------------------- */
#blog-menu {
    display: flex;
+   gap: 30px;
+   margin-bottom: 28px;

    .btn {
        padding: 5px;
        box-shadow: 1px 1px 5px rgba(#555, 0.3);
        border: solid 1px #555;
    }
}

/* Show
-------------------------------------------------- */
#main {
    #show {
        p {
            white-space: pre-line;
        }
    }
}
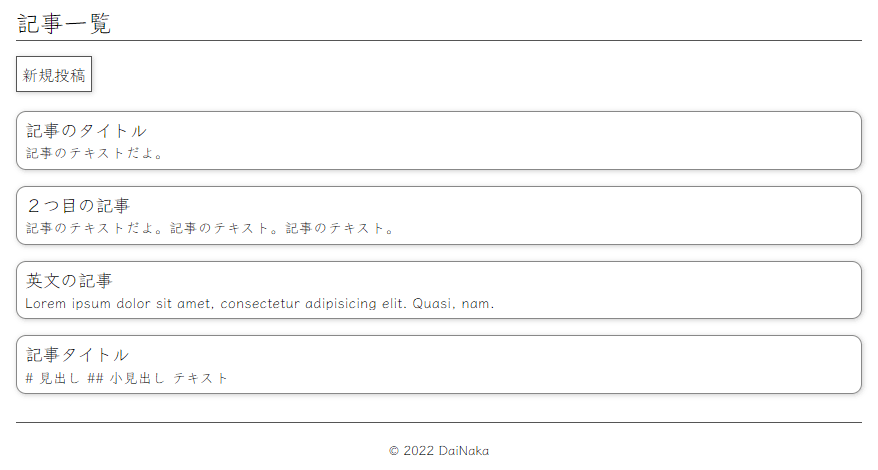
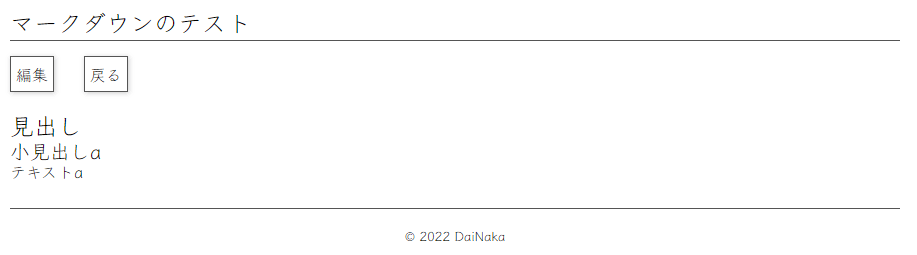
マークダウンのテスト
-
入力時
-
記事一覧画面
-
記事閲覧画面
記事編集画面の作成
記事閲覧画面で編集ボタンがクリックされた時の処理を作っていきます。
コントローラーへ画面遷移の処理を追加
+    public function edit(Article $article)
+    {
+        // 記事編集画面を表示
+        return view('edit', compact('article'));
+    }
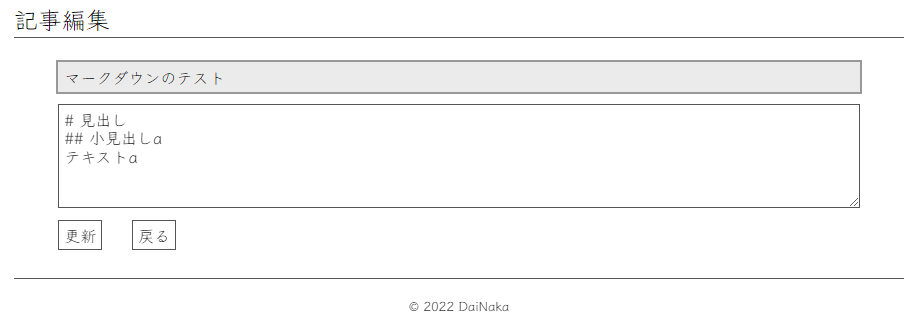
記事編集画面のビューを作成
@extends('layouts.app')

@section('title')
    <title>記事編集 | {{config('app.name')}}</title>
@endsection

@section('header')
    <h1>記事編集</h1>
@endsection

@section('content')
    <form action="{{route('article.update', ['article' => $article->id])}}" method="post">
        @csrf
        @method('put')
        <ul>
            <li><input type="text" name="title" id="title" placeholder="記事タイトル" value="{{$article->title}}" required autofocus></li>
            <li><textarea name="content" placeholder="ここに内容を入力してください。" rows="5" required>{{$article->content}}</textarea></li>
            <li>
                <div>
                    <button type="submit">更新</button><br>
                    <button type="button" onclick="location.href='{{url()->previous()}}'">戻る</button>
                </div>
            </li>
        </ul>
    </form>
@endsection
更新ボタンをクリックした後の処理を作成
更新ボタンがクリックされるとArticleController@updateへ処理が移ります。
+    public function update(Request $request, Article $article)
+    {
+        // フォームに入力された内容を変数に取得
+        $form = $request->all();
+
+        // フォームに入力された内容をデータベースへ登録
+        $article->fill($form)->save();
+
+        // 記事閲覧画面を表示
+        return redirect(route('article.show', ['article' => $article->id]));
+    }
-
記事閲覧画面
-
記事編集画面
-
更新ボタンを押した後
記事削除の処理を作成
記事閲覧画面より記事が削除できる様にしていきます。
記事閲覧画面に削除ボタンを追加
    <ul id="blog-menu">
        <li><a href="{{route('article.edit', ['article' => $article->id])}}" class="btn">編集</a></li>
+       <li>
+           <form action="{{route('article.destroy', ['article' => $article->id])}}" method="post" onsubmit="return confirm('本当に削除しますか?')">
+               @csrf
+               @method('delete')
+               <button type="submit" class="btn">削除</button>
+           </form>
+       </li>
        <li><a href="{{route('article.index')}}" class="btn">戻る</a></li>
    </ul>
コントローラ
+    public function destroy(Article $article)
+    {
+        // データベースから削除
+        $article->delete();
+
+        // 記事一覧画面を表示
+        return redirect(route('article.index'));
+    }
-
記事閲覧画面で削除ボタンをクリックした時
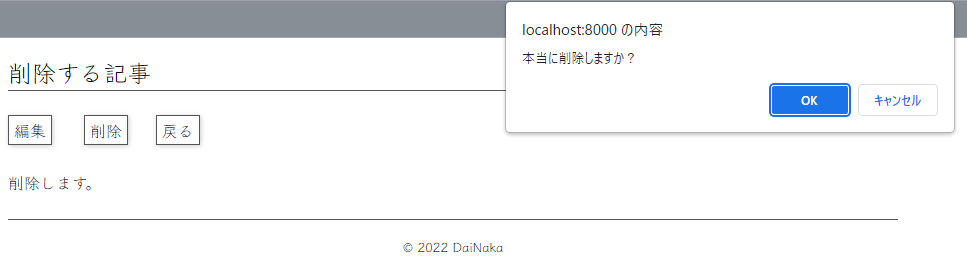
-
OKをクリックした後
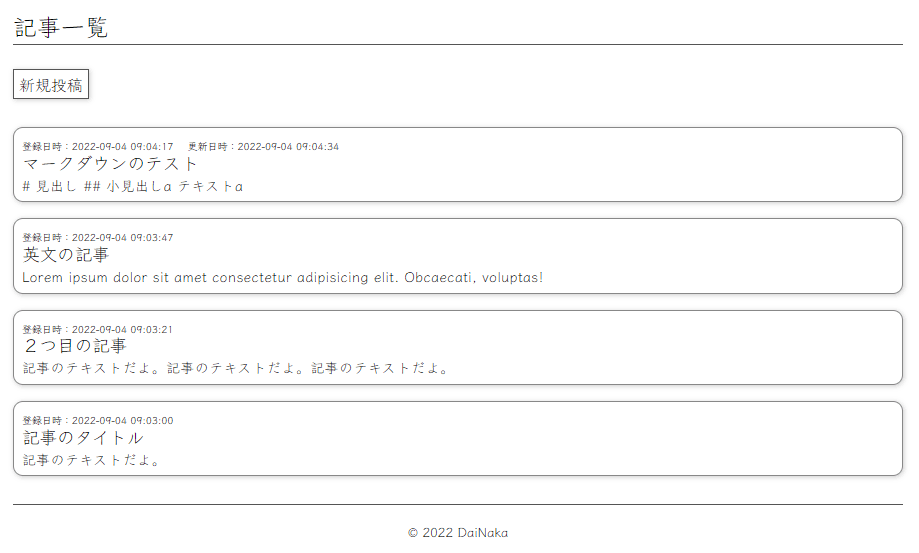
記事一覧画面の一部修正
このままでは記事一覧画面は古い順に並んでいる為、最新の投稿が一番上にくる様に修正します。
また記事が作成された時間や更新された時間が分からない為、時間も表示させたいと思います。
記事一覧画面のビューを修正
    @foreach ($articles as $article)
        <article class="article">
            <a href="{{route('article.show', ['article' => $article->id])}}">
+               <p>
+                   @if ($article->created_at == $article->updated_at)
+                       <time datetime="{{Str::limit($article->created_at, 20)}}">登録日時:{{Str::limit($article->created_at, 20, "")}}</time>
+                   @else
+                       <time datetime="{{Str::limit($article->created_at, 20)}}">登録日時:{{Str::limit($article->created_at, 20, "")}}</time> <time datetime="{{Str::limit($article->updated_at, 20)}}">更新日時:{{Str::limit($article->updated_at, 20, "")}}</time>
+                   @endif
+               </p>
                <h3>{{$article->title}}</h3>
                <p>{{$article->content}}</p>
            </a>
        </article>
    @endforeach
/* Article
-------------------------------------------------- */
#main {
    .article {
        a {
+           time {
+               font-size: 0.50rem;
+               font-weight: bold;
+           }
        }
    }
}
コントローラーへ並び順を変更する処理を記述
    public function index()
    {
        // データベースから記事情報を取得して変数に代入
-       $articles = Article::all();
+       $articles = Article::orderby('created_at', 'desc')->get();

        // 記事一覧画面を表示
        return view('dashboard', compact('articles'));
    }
- 記事一覧画面
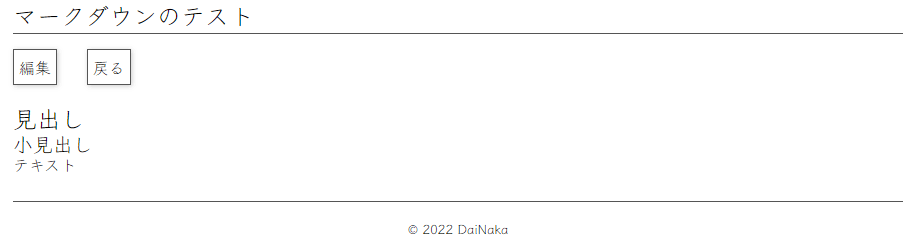
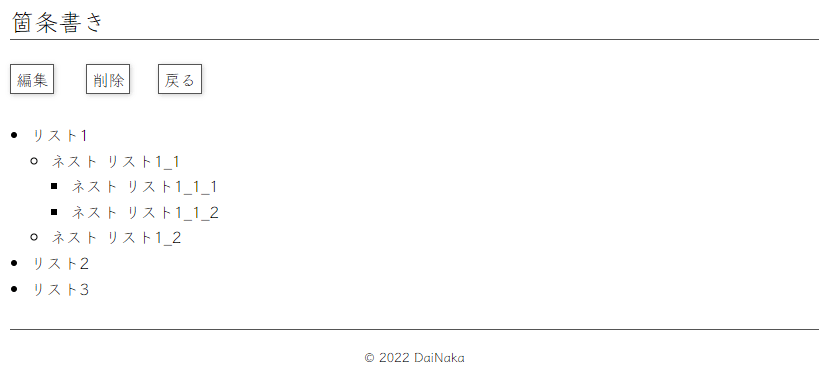
記事閲覧画面の装飾
app.blade.phpに記述がある通り、リセットCSSを利用している為、装飾が打ち消されていました。
そこで、style.scssへ下記の通り編集します。
/* Show
-------------------------------------------------- */
#show {
    line-height: 1.60rem;

    /* Title
    -------------------------------------------------- */
    h1 {font-size: 1.50rem; text-transform: normal;}
    h2 {font-size: 1.25rem;}
    h3 {font-size: 1.10rem;}
    h4 {font-size: 1.00rem;}
    h5 {font-size: 0.90rem;}
    h6 {font-size: 0.80rem;}

    /* List
    -------------------------------------------------- */
    ul {list-style: initial;}
    ol {list-style: decimal;}
    li {
        margin-left: 20px;

        li {
            list-style: circle;

            li {
                list-style: square;
            }
        }
    }

    /* BlockQuote
    -------------------------------------------------- */
    blockquote {
        padding-left: 20px;
        border-left: solid 3px rgba(#555, 0.3);
    }

    /* Code
    -------------------------------------------------- */
    code {
        font-family: "Klee One";
        background-color: #ddd;
        padding: 2px 3px;
        border-radius: 5px;
    }

    pre>code {
        display: block;
    }

    /* Table
    -------------------------------------------------- */
    table {
        border: solid 1px #555;

        th {
            border: solid 1px #555;
            background-color: #ccc;
            font-size: 1.10rem;
            font-weight: bold;
            padding: 2px;
        }

        td {
            padding: 2px;
            border: solid 1px #555;
        }
    }
}
- 記事閲覧画面

デモサイト
作成したデモサイトは下記にデプロイしてあります。
ご自由に書き込みをテストしてください。