👋
iOS 16からのDrag & Dropのやり方
iOS 16からのDrag & Dropのやり方
iOS 16からDrag&Drop用に、関数やプロトコルが用意されました。
これらを使うことで自前実装ではなく、標準の方法でDrag&Dropすることが可能になります。
Drag & Dropでアイテムの条件
Drag & DropするアイテムはTransferableというプロトコルに準拠しなければいけません。
Transferableは難しいものではなくほぼCodableのようなものです。
モデル -> Data, Data -> モデルが可能であれば準拠可能です。
Drag & Drop
Dragはdraggable(_:preview:)というもので実装します。
DropはdropDestination(for:action:isTargeted:)というもので実装します。
previewとisTargetedは指定しなくても問題ないです。
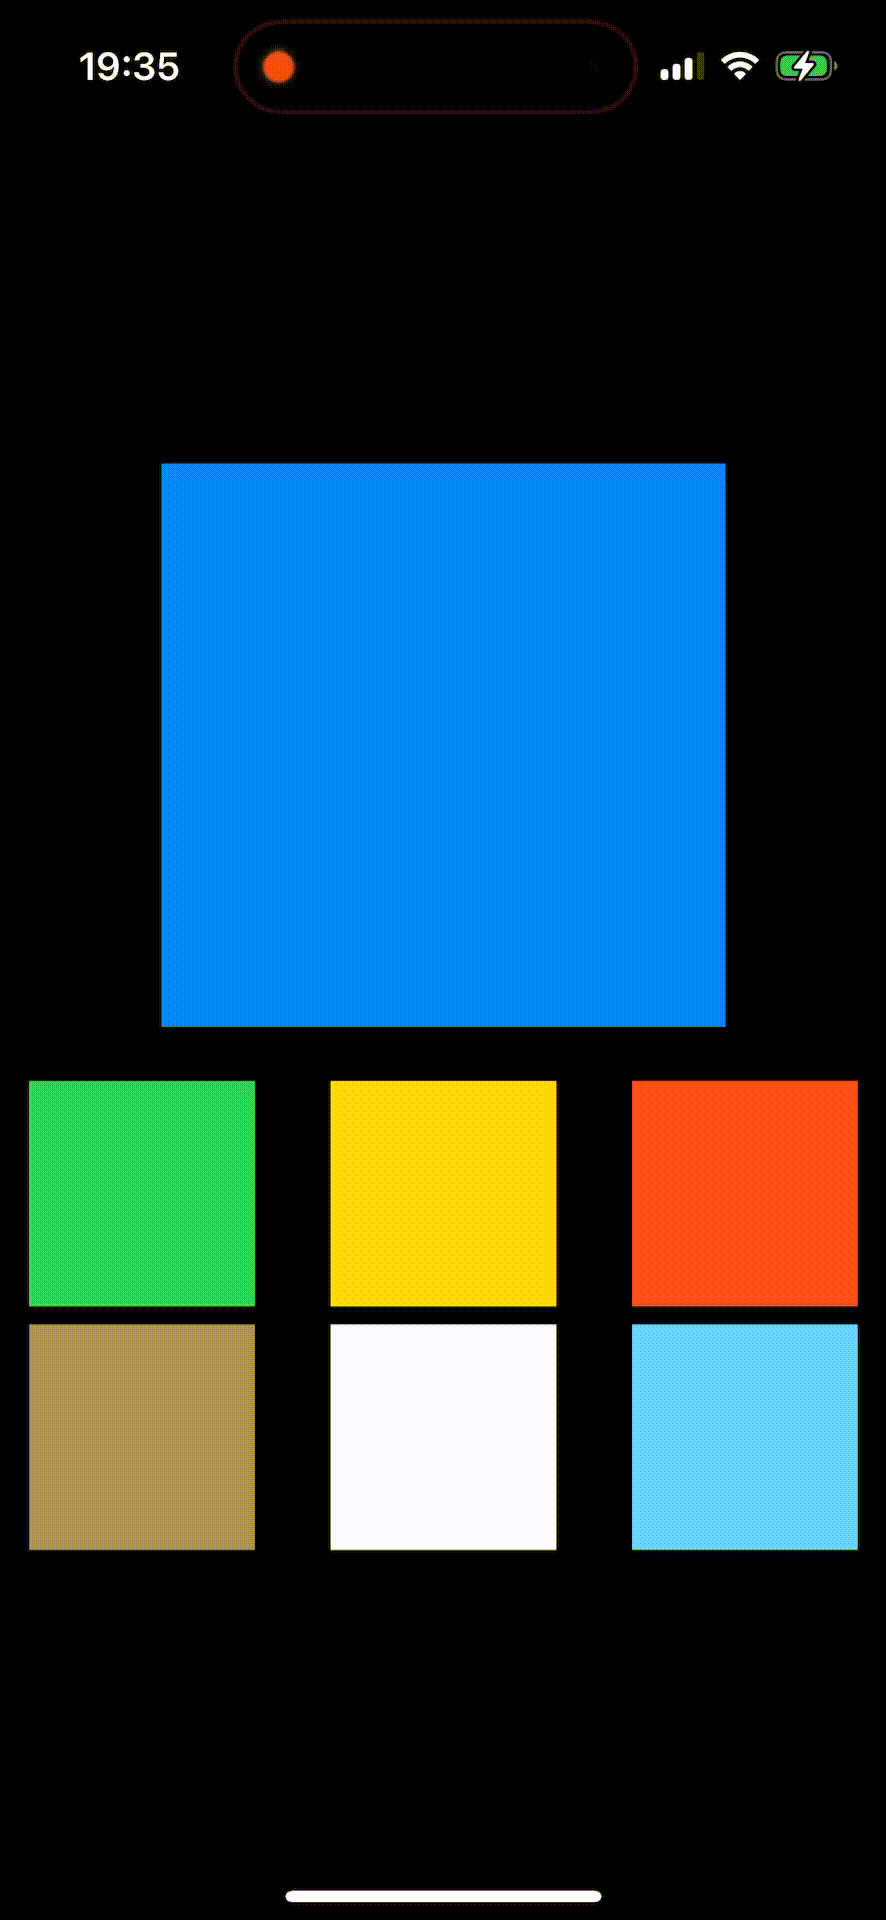
実装例
Transferableに準拠しているColorをDrag & Dropさせています。
isTargedはDropが可能になった際にtrueになります。
previewはDrag中のViewを指定することができます。
struct ContentView: View {
  @State var selectedColor: Color = .blue
  @State var isTargeted = false

  let sampleColors: [Color] = [.green, .yellow, .red, .brown, .white, .cyan]

  var body: some View {
    selectedColor
      .frame(width: 250, height: 250)
      .padding()
      .border(.red, width: isTargeted ? 10 : .zero)
      .dropDestination(for: Color.self) { colors, location in
        selectedColor = colors.first!
        return true
      } isTargeted: { isTargeted in
        self.isTargeted = isTargeted
      }

    LazyVGrid(columns: .init(repeating: .init(), count: 3)) {
      ForEach(sampleColors, id: \.self) { color in
        color
          .frame(width: 100, height: 100)
          .draggable(color) {
            color.border(.secondary)
              .frame(width: 200, height: 200)
              .overlay {
                Text("dragging")
              }
          }
      }
    }
  }
}
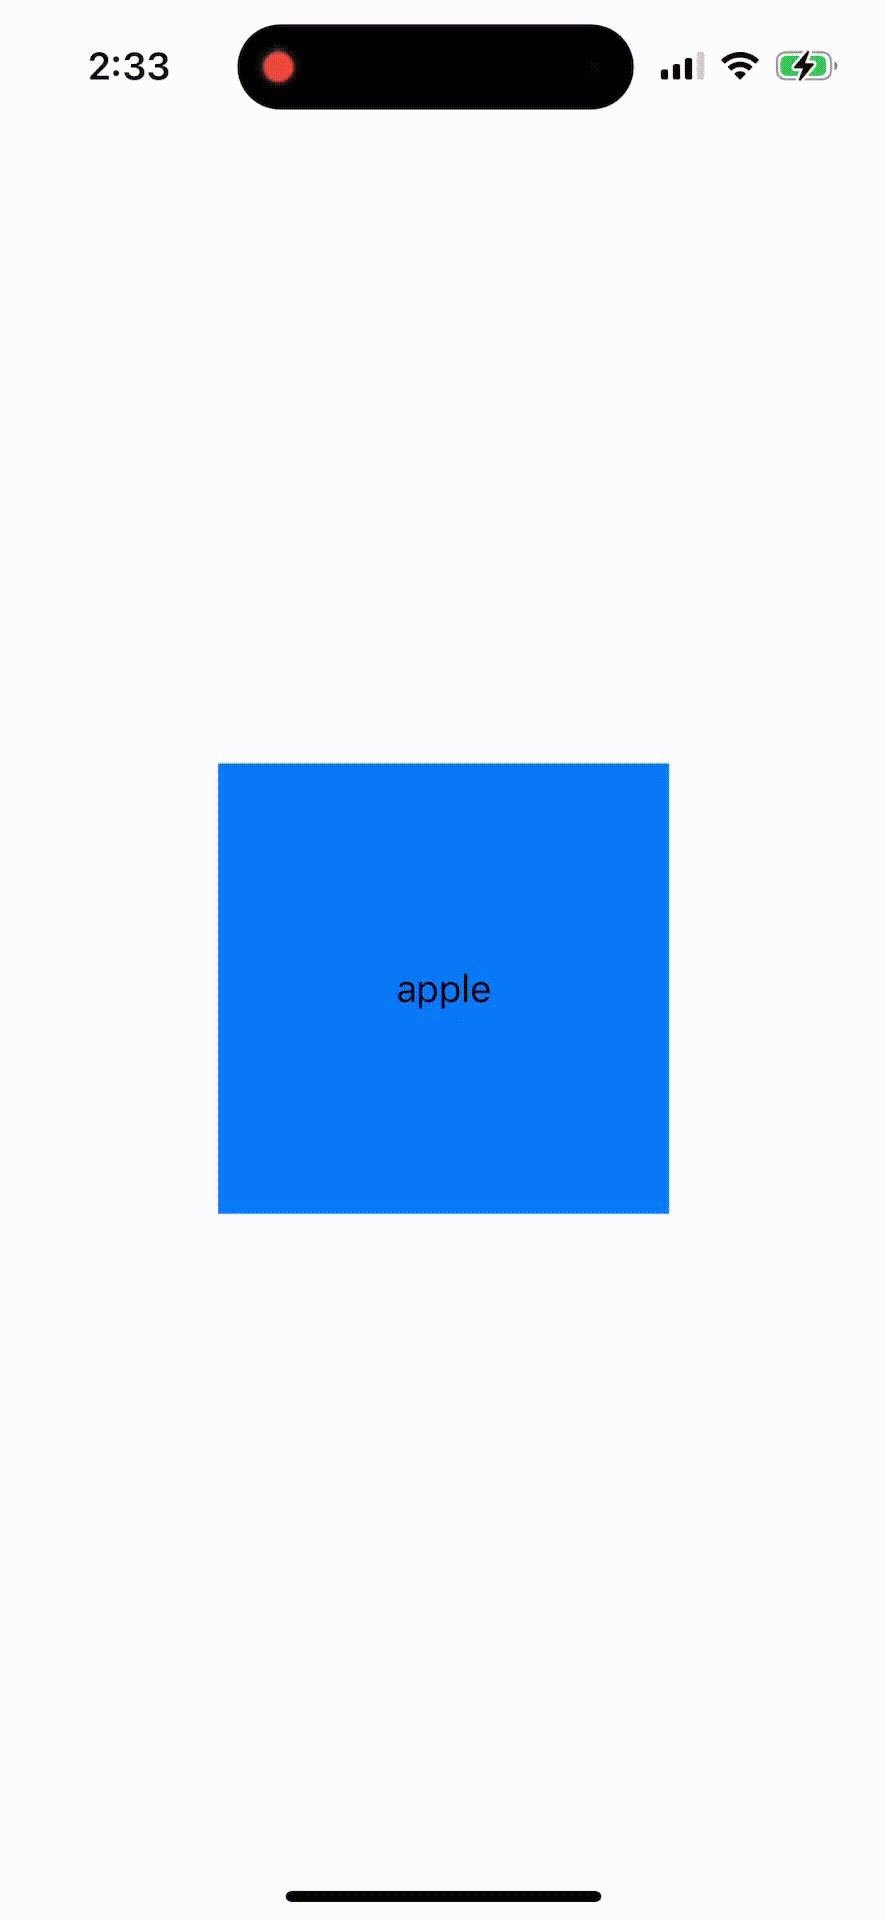
カスタムアイテム
Personという新しいモデルをTransferableに準拠させてView内でDrag & Dropさせています。

struct Person: Codable, Identifiable {
  let id = UUID()
  let age: Int
  let name: String
}

extension Person: Transferable {
  static var transferRepresentation: some TransferRepresentation {
    CodableRepresentation(for: Person.self, contentType: .person)
  }
}

extension UTType {
  static var person: UTType { UTType(exportedAs: "com.example.person") }
}

struct PeopleView: View {
  @State var selectedPerson: Person?

  let samplePeople: [Person] = [
    .init(age: 3, name: "mikan"),
    .init(age: 4, name: "apple"),
    .init(age: 8, name: "lemon"),
  ]

  var body: some View {
    VStack {
      Rectangle()
        .foregroundColor(.secondary)
        .frame(width: 300, height: 100)
        .overlay {
          if let selectedPerson {
            HStack {
              Text(selectedPerson.name)
              Spacer()
              Text("\(selectedPerson.age) years old")
            }
          } else {
            Text("Drag & Drop")
          }
        }
        .dropDestination(for: Person.self) { people, location in
          selectedPerson = people.first!
          return true
        }

      List(samplePeople) { person in
        HStack {
          Text(person.name)
          Spacer()
          Text("\(person.age) years old")
        }
        .draggable(person) {
          Text("\(person.name) is dragging")
            .foregroundColor(.red)
        }
      }
    }
  }
}
異なるアプリ間でのDrag & Drop
それぞれのアプリに同じUTTYpe(identifier)を設定していれば、異なるアプリ間でもDrag & Dropが可能です。
アニメーションを使った Drag & Drop
アニメーションを綺麗に用いて、アイテムの並び替えをSwiftUIで実装している動画がYouTubeに上がっているので是非みてください。
Discussion