【Flutter】SingleChildScrollView の使い所と Tips 集(中で Expanded 使ったり)
SingleChildScrollView とは
ListView や GridView、CustomScrollView と並ぶ、スクロール可能なウィジェットです。
SingleChildScrollView は単一の child を渡せば、それがスクロール可能になるシンプルなウィジェットです。
便利な点として、コンテンツがスクロール不要なほど小さい場合は、スクロールされないことが挙げられます。
これにより、デバイスが小さい時にだけ、スクロールを付与するようなコンテンツを作成で来ます。
SingleChildScrollView の使い所
画面を縦に長いコンテンツを表示する場合、Column を SingleChildScrollView でラップすることで、RenderFlex のオーバーフローエラーを起こすことなく、簡単にスクロール対応できます。
パフォーマンスの考慮
SingleChildScrollView は、child の中身を全て描画します。
多くの場合問題にならないですが、もし、スクロール外のウィジェットを破棄したい場合は、ListView の採用をお勧めします。
SingleChildScrollView(
  child: Column(
    children: [
      MyWidget1(),
      MyWidget2(),
    ]
  )
);
↓
ListView(
  children: [
    MyWidget1(),
    MyWidget2(),
  ]
);
この場合、当然ですが、「スクロール外のものが破棄されてしまう」ので、Riverpod の Provider の監視が外れてりまったり、初期表示のアニメーションがリセットされたりもします。
その場合は AutomaticKeepAliveClientMixin の導入とかが検討されますね。
その他、Align が少し面倒だったり、ウィジェット切り出しも少ししづらかったりするので、個人的には、基本的に SingleChildScrollView を使用するのがいいかなと思います。
[Tips1]: Center の使い方
モバイルアプリの画面開発は、上から順にコンテンツを表示するだけでなく、画面中央にコンテンツを表示することがよくあります。
例
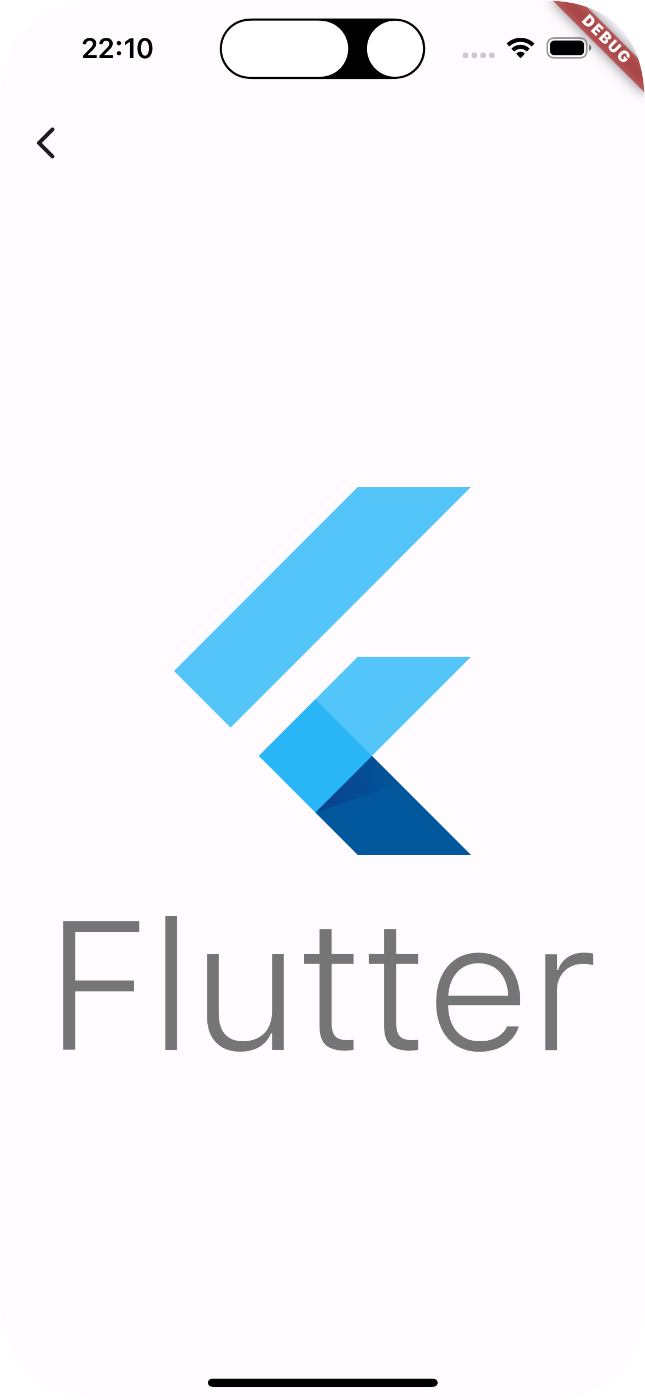
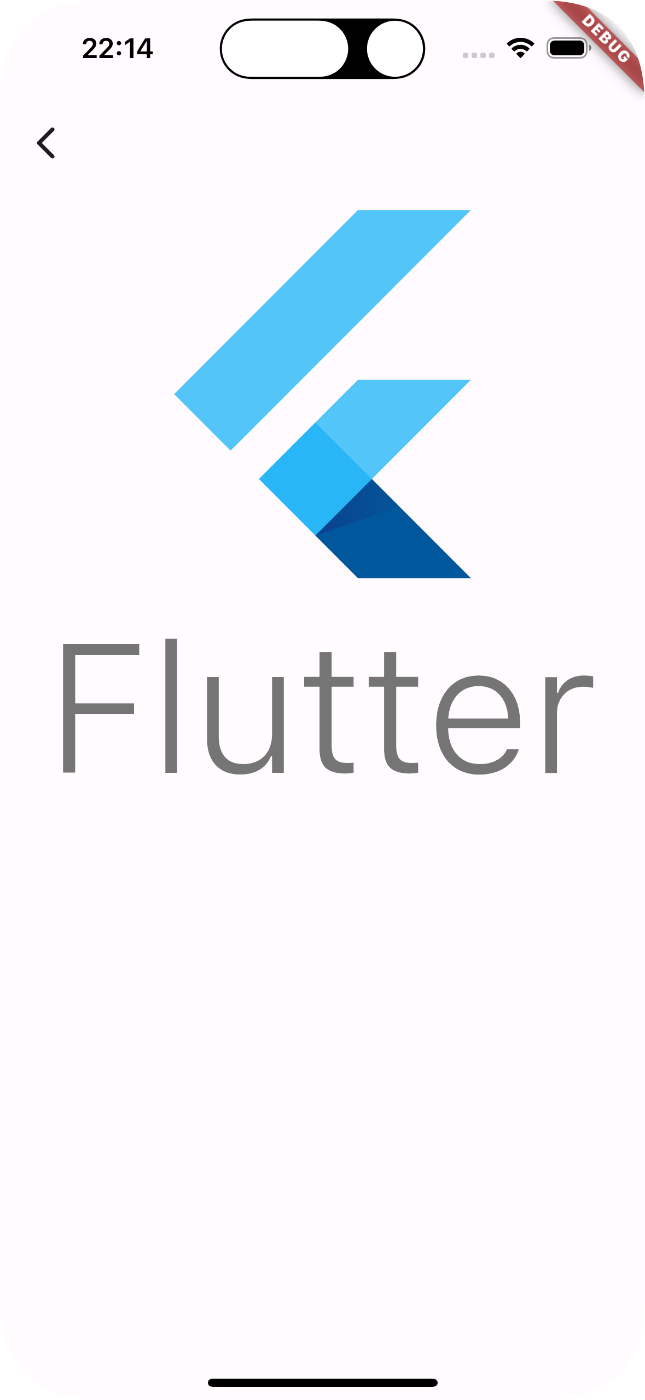
こういうコンテンツを、デバイスが収まりきらなかった時にスクロール可能するために SingleChildScrollView を使うとすると、下のようにあるように top に寄ってしまいます。
SingleChildScrollViewなし |
SingleChildScrollViewあり |
|---|---|
 |
 |
class MyWidget extends StatelessWidget {
const MyWidget({super.key});
Widget build(BuildContext context) {
return Scaffold(
appBar: AppBar(),
body: const SingleChildScrollView(
child: Center(
child: FlutterLogo(
size: 400,
style: FlutterLogoStyle.stacked,
),
),
),
);
}
}
これでは、SingleChildScrollView を使いたいのに邪魔で使えません。
原因と解決方法
原因としては、SingleChildScrollView で囲むことで、BoxConstraints が上書きされて 0 ~ double.infinity になっちまってるからです。
なので、BoxConstraints を SingleChildScrollView 適応前のように振る舞うようにしてあげましょう。
手順は以下です。
-
SingleChildScrollViewのすぐ上に、LayoutBuilderを入れる。 -
SingleChildScrollViewのすぐ下に、ConstrainedBoxを入れる。 - constraints の最小値に、
LayoutBuilderから取得した最大値 を入れる。
class MyWidget extends StatelessWidget {
const MyWidget({super.key});
Widget build(BuildContext context) {
return Scaffold(
appBar: AppBar(),
+ body: LayoutBuilder(
+ builder: (context, constraints) {
return SingleChildScrollView(
+ child: ConstrainedBox(
+ constraints: BoxConstraints(
+ minHeight: constraints.maxHeight,
+ ),
child: const Center(
child: FlutterLogo(
size: 400,
style: FlutterLogoStyle.stacked,
),
),
),
);
},
),
);
}
}
これによって、以下の要件が満たせるようになります。
- スクロール不要な場合、
SingleChildScrollViewがない時と同じようにセンタリングされる。 - スクロールする場合、コンテンツの表示範囲でセンタリングされる。
おそらく、理想通りの見た目になると思います。
[Tips2]: Expanded を使う
次は、SingleChildScrollView の中で Expanded を使う方法です。
普通に考えたら、「スクロール可能なコンテンツの中で、最大限拡げる」というのは矛盾しているように思いますが、最初に挙げた、以下のようなコンテンツを作成したい場合は必要になってきます。
便利な点として、コンテンツがスクロール不要なほど小さい場合は、スクロールされないことが挙げられます。
これにより、デバイスが小さい時にだけ、スクロールを付与するようなコンテンツを作成で来ます。
具体的には、Expanded/Flexible を使用したウィジェットに SingleChildScrollView を適応させる場合です。
例
上に固定の高さ、下に Expanded を並べた Column を用意します。
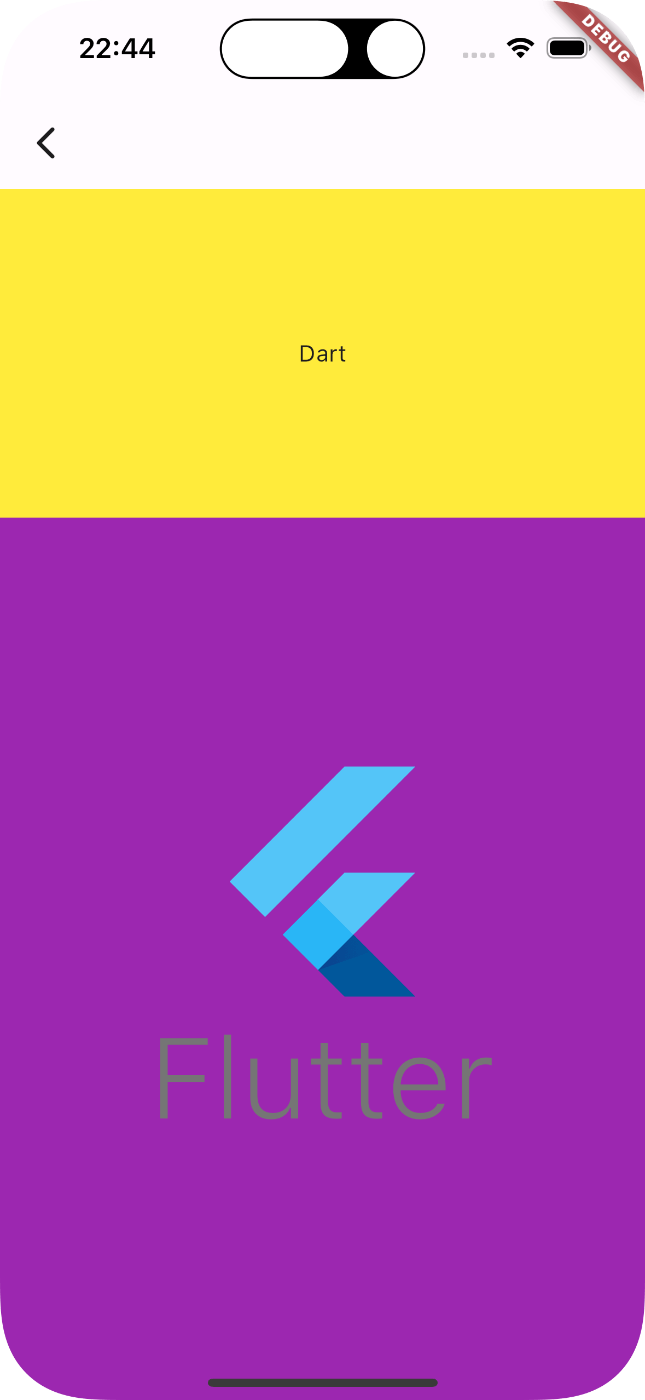
class MyWidget extends StatelessWidget {
const MyWidget({super.key});
Widget build(BuildContext context) {
return Scaffold(
appBar: AppBar(),
body: Column(
children: [
Container(
color: Colors.yellow,
height: 200,
child: const Center(child: Text('Dart')),
),
const Expanded(
child: ColoredBox(
color: Colors.purple,
child: Center(
child: FlutterLogo(
size: 250,
style: FlutterLogoStyle.stacked,
),
),
),
),
],
),
);
}
}
では、SingleChildScrollView で囲んでみましょう。
class MyWidget extends StatelessWidget {
const MyWidget({super.key});
Widget build(BuildContext context) {
return Scaffold(
appBar: AppBar(),
+ body: SingleChildScrollView(
+ child: Column(
children: [
Container(
color: Colors.yellow,
height: 200,
child: const Center(child: Text('Dart')),
),
const Expanded(
child: ColoredBox(
color: Colors.purple,
child: Center(
child: FlutterLogo(
size: 250,
style: FlutterLogoStyle.stacked,
),
),
),
),
],
),
+ ),
);
}
}
エラー出ました色々。解決していきましょう。
════════ Exception caught by rendering library ═════════════════════════════════
The following assertion was thrown during performLayout():
RenderFlex children have non-zero flex but incoming height constraints are unbounded.
When a column is in a parent that does not provide a finite height constraint, for example if it is in a vertical scrollable, it will try to shrink-wrap its children along the vertical axis. Setting a flex on a child (e.g. using Expanded) indicates that the child is to expand to fill the remaining space in the vertical direction.
原因と解決法
Expanded は、Column の BoxConstraints.maxHeight から高さを計算して提供します[1]。
ここでは、最大値が double.infinity では計算できないので、上に貼ったエラーが出るようになっています。
解決方法の手順として、始めは #Tips1 と同じで、それにプラスアルファの実装を加えます。
-
SingleChildScrollViewのすぐ上に、LayoutBuilderを入れる。 -
SingleChildScrollViewのすぐ下に、ConstrainedBoxを入れる。 - constraints の最小値に、
LayoutBuilderから取得した最大値 を入れる。 -
ColumnをIntrinsicHeightで囲む。(ここが新規)
class MyWidget extends StatelessWidget {
const MyWidget({super.key});
Widget build(BuildContext context) {
return Scaffold(
appBar: AppBar(),
+ body: LayoutBuilder(
+ builder: (context, constraints) {
return SingleChildScrollView(
+ child: ConstrainedBox(
+ constraints: BoxConstraints(
+ minHeight: constraints.maxHeight,
+ ),
+ child: IntrinsicHeight(
child: Column(
children: [
Container(
color: Colors.yellow,
height: 200,
child: const Center(child: Text('Dart')),
),
const Expanded(
child: ColoredBox(
color: Colors.purple,
child: Center(
child: FlutterLogo(
size: 250,
style: FlutterLogoStyle.stacked,
),
),
),
),
],
),
+ ),
+ ),
+ );
+ },
+ ),
);
}
}
IntrinsicHeight は、描画前に child のレイアウト計算をした後、その計算結果の child のサイズを tight にして child に送って描画します。
つまり、計算を描画前と実際の描画の、2度行うので、公式のドキュメント通り O(N²) になります。
この IntrinsicHeight を使用するのを怖がったり、ましてや非推奨なんて言ってる記事がありますが、そこまで忌避する必要はありません。
なんなら、IntrinsicHeightの公式ドキュメントの2行目には This class is useful とまで書いてあります。
A widget that sizes its child to the child's intrinsic height.
This class is useful,
引用元:https://api.flutter.dev/flutter/widgets/IntrinsicHeight-class.html
アニメーションで頻繁にサイズが変わったり、ウィジェットツリーが特別に深い(BoxConstraints を渡したり計算する回数が多くなる)場合でなければ、特別に怖がることはありません。
ウィジェットツリーの深さに関しては、再描画後にサイズが変わらなければ、レイアウト計算はキャッシュされるので、大きな問題にはなりません。
詳しくは、以下の公式動画をご覧ください。
まとめ
SingleChildScrollView について色々まとめました。
CustomScrollView で、より自由に書くことも可能かもしれませんが、もしそれよりシンプルに書けるのなら、SingleChildScrollView を採用した方がいい場合もあるでしょう。
もちろん、SingleChildScrollView を何も考えず使うのはよくないですが、ちゃんと特性を理解して利用すれば便利に使えるはずです。
追記:(シンプルとか言いながら、LayoutBuilder と ConstrainedBox で複雑にしてる)
Discussion