📌
[JavaScript]マウスポインタに補助画像を描画する
はじめに
Webサイトにて、マウスポインタに補助画像を描画するスクリプトを作りました。
スクリプトは以下を参考にさせていただきました。
完成したもの
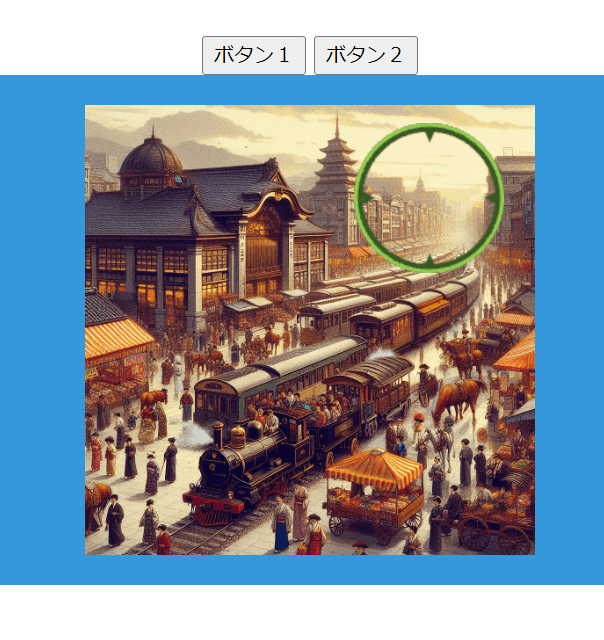
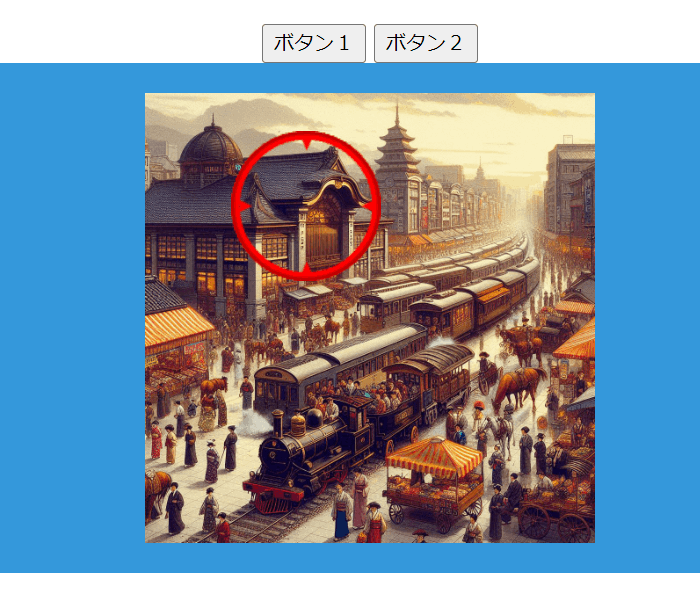
あとで紹介するsample.htmlをブラウザで開くとこのようになります。

ボタン1をクリックすると、マウスポインタの周りに緑の円が表示されます。

ボタン2をクリックすると、マウスポインタの周りに赤の円が表示されます。

デモ動画
実際に動かしている様子です。
スクリプト
スクリプトの紹介です。
sample.html
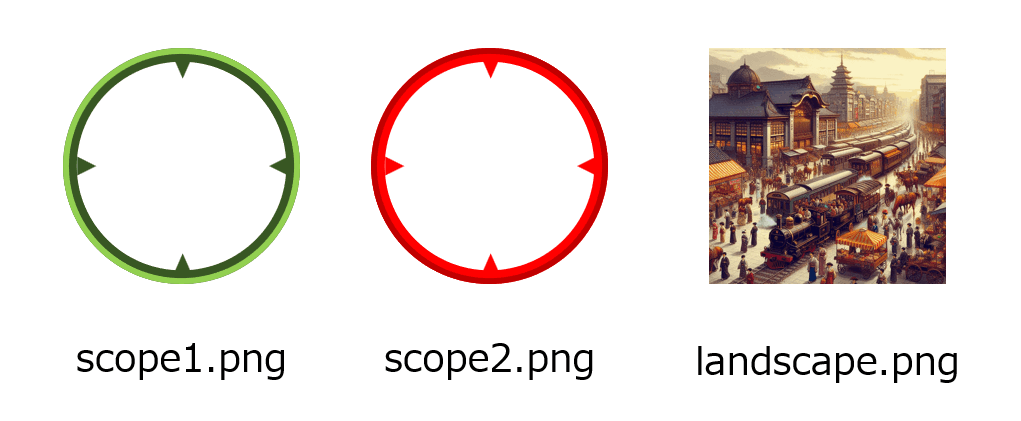
landscape.png
scope1.png
scope2.png
画像 scope1.png, scope2.png が補助画像です。landscape.pngはただ背景として使用した画像です。

sample.html
<!DOCTYPE html>
<html>
<head>
  <title>マウスポインタに補助画像を描画する</title>
  <meta charset="UTF-8">
<style>
.cursor-pointer {
  visibility: hidden;
  opacity: 0;
  position: fixed;
  z-index: 10;
  transform: scale(0);
  height: 160px;
  width: 160px;
  margin: -80px 0 0 -80px;
  transition: transform .3s,opacity .3s,visibility .3s;
  pointer-events: none;
}

.cursor-pointer.is-active {
  opacity: 1;
  visibility: visible;
  transform: scale(1);
}

.cursor-none {
  cursor: none;
}

.js-cursor-pointer01 {
  height: 100px;
  width: 100px;
  margin: -50px 0 0 -50px;
}

.js-cursor-pointer01 img {
  height: 100%;
  width: 100%;
  object-fit: cover;
}

body {
  margin: 0;
  padding: 50px 0;
  text-align: center;
}
h1 {
  text-align: center;
  margin-bottom: 80px;
  font-size: 36px;
}
img {
  height: auto;
  max-width: 100%;
  vertical-align: top;
}
ul {
  display: flex;
  justify-content: center;
  list-style: none;
  padding: 0 40px;
  margin: 0 0 100px;
}

.colored-div {
    background-color: #3498db; /* 背景色を青に指定 */
    color: white; /* 文字色を白に指定 */
    padding: 20px;
    text-align: center;
}
</style>
</head>
<body>
<button type="button" onClick="changePointerSubImage('./scope1.png')">ボタン1</button>
<button type="button" onClick="changePointerSubImage('./scope2.png')">ボタン2</button>
<div class="js-cursor-elm01 colored-div">
    <img src="./landscape.png" alt="" width="300" height="300">
</div>

<script>
function addDivWithImage() {
    // 新しい div 要素を作成
    const newDiv = document.createElement("div");
    newDiv.className = "js-cursor-pointer01 cursor-pointer";

    // 新しい img 要素を作成
    const newImg = document.createElement("img");
    newImg.src = "./scope1.png";
    newImg.alt = "";
    newImg.width = 8;
    newImg.height = 8;

    // img 要素を div 要素に追加
    newDiv.appendChild(newImg);

    // div 要素を body に追加
    document.body.appendChild(newDiv);
}

function changePointerSubImage(argImg) {
    const imgElement = document.querySelector(".js-cursor-pointer01 img");
    if (imgElement) {
        imgElement.src = argImg;
    }
}


//指定エリアでマウスポインタを変更する関数 target:表示エリア, pointer:表示させたいポインタ
const changeCursor = (target, pointer) => {
  //ポインタがない場合は終了
  if(!window.matchMedia('(pointer: fine)').matches) {
    return;
  }

  //対象が存在しない場合は終了
  const pointerAreas = document.querySelectorAll(target);
  const targetPointer = document.querySelector(pointer);
  if(pointerAreas.length === 0 || !targetPointer) {
    return;
  }

  //ポインタ設定
  pointerAreas.forEach((pointerArea) => {
    //ポインタ表示
    pointerArea.addEventListener('mouseenter', () => {
      targetPointer.classList.add('is-active');
    });
    //ポインタ非表示
    pointerArea.addEventListener('mouseleave', () => {
      targetPointer.classList.remove('is-active');
    });
    //ポインタ移動
    pointerArea.addEventListener('mousemove', (e) => {
      targetPointer.style.top = e.clientY + 'px';
      targetPointer.style.left = e.clientX + 'px';
    });
  });
}

// 関数を呼び出し
addDivWithImage();

//関数呼び出し target:表示エリア, pointer:表示させたいポインタ
changeCursor('.js-cursor-elm01','.js-cursor-pointer01');
</script>
</body>
</html>
おわりに
マウスポインタに補助画像を配置するこの仕組みは、Webアプリに使えそうです。
今、構成図エディタのWebアプリを開発している(*1)のですが、この仕組みを取り入れると編集モード、閲覧モードとか、モードの切り替えを明示できるかもと期待しています。
(*1)
開発中の構成図エディタはこちら。自分好みのAWSの構成図が描けるエディタが欲しくて作ってます。


Discussion