【Hello World⑱】GitLab Pages(プロジェクト作成編)
GitLab PagesでWebページを作ります
Windows11のDocker環境上で
GitLabのGitLab Pagesを使ったHello Worldのページを作ります。今回はプロジェクト作成までを行います。
環境
Windows 11 Pro 23H2
WLS 2.1.5.0(Ubuntu 22.04.1 LTS)
Docker Desktop 4.29.0
Visual Studio Code
①フォルダ・ファイルを作成
以下の構成でフォルダとファイルを作ります。
gitlab
 ├─compose.yaml
 └─Dockerfile
mkdir gitlab          ;`
cd gitlab             ;`
New-Item compose.yaml ;`
New-Item Dockerfile   ;`
code compose.yaml     ;`
code Dockerfile
ファイルには以下の内容を記載します。
services:
  gitlab:
    build          : .
    container_name : gitlab
    restart        : always
    hostname       : 'localhost'
    environment:
      GITLAB_OMNIBUS_CONFIG: |
        external_url       'http://localhost'
        pages_external_url 'http://pages.localhost'
        gitlab_pages['enable'] = true
        gitlab_pages['listen_proxy'] = 'localhost:8090'
        gitlab_pages['internal_gitlab_server'] = 'http://localhost:8080'
    ports:
      - '80:80'
      - '22:22'
    shm_size: '256m'
    volumes:
      - "gitlab-etc:/etc/gitlab"
      - "gitlab-opt:/var/opt/gitlab"
      - "gitlab-runner:/home/gitlab-runner"
volumes:
  gitlab-etc:
    driver: local
  gitlab-opt:
    driver: local
  gitlab-runner:
    driver: local
FROM gitlab/gitlab-ee
RUN  apt update && apt -y install git \
 &&  curl -L --output /usr/local/bin/gitlab-runner \
     https://gitlab-runner-downloads.s3.amazonaws.com/latest/binaries/gitlab-runner-linux-amd64 \
 &&  chmod 777 /usr/local/bin/gitlab-runner \
 &&  useradd \
       --comment 'GitLab Runner' \
       --create-home gitlab-runner \
       --shell /bin/bash \
 &&  gitlab-runner install \
       --user=gitlab-runner \
       --working-directory=/home/gitlab-runner
②コンテナを起動
以下のコマンドを実行し、Dockerのイメージを作成してコンテナを起動します。
※数分かかります。
docker compose up -d
以下のコマンドを実行し、STATUSが「healthy」になれば起動完了です。
docker ps
③rootの初期パスワードを確認
以下のコマンドを実行し、rootの初期パスワードを確認します。
docker compose exec gitlab cat /etc/gitlab/initial_root_password
④GitLabにサインイン
http://localhostに接続するとGitLabのログイン画面が表示されるので、ユーザー名(root)と③で確認したパスワードを入力してサインインします。
<ログイン画面>

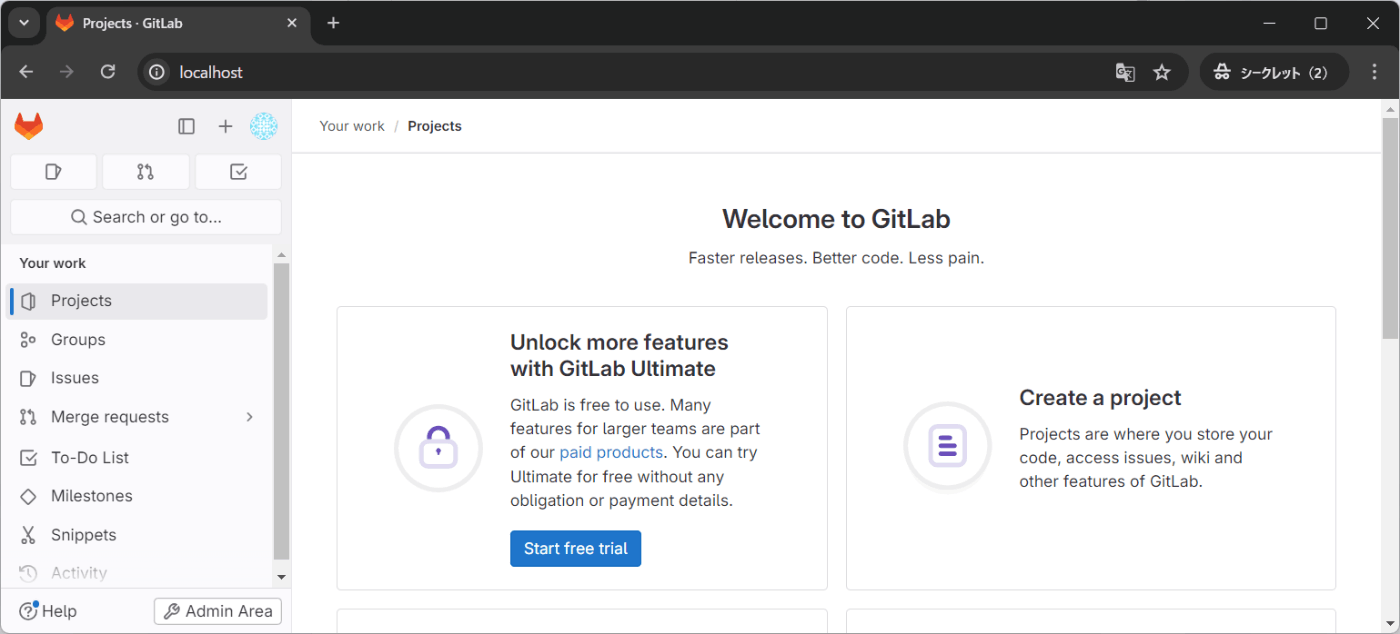
<トップページ>
⑤rootの初期パスワードを変更
画面左上のメニューを表示するアイコンをクリックして、「Edit Profile」を選択します。

メニューから「Password」を選択します。

パスワードを変更します。
※パスワードを変更すると、自動的にサインアウトされ、ログイン画面が表示されるので、再度ログインします。

⑥GitLab Pagesが有効になっていることを確認
画面左下の「Admin Area」ボタンをクリックして管理ページを開きます。

「Features」欄の「GitLab Pages」にチェックが入っていることを確認します。

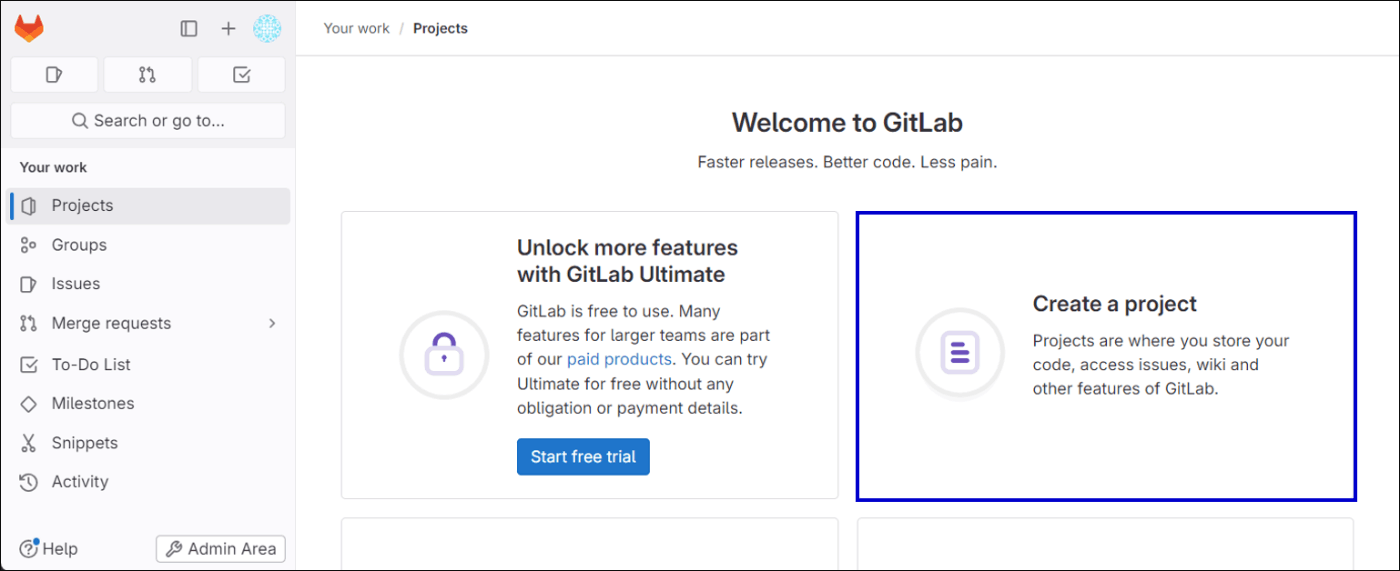
⑦プロジェクトを作成
画面左上のGitLabのアイコンをクリックしてトップページに戻り、「Create a project」をクリックします。
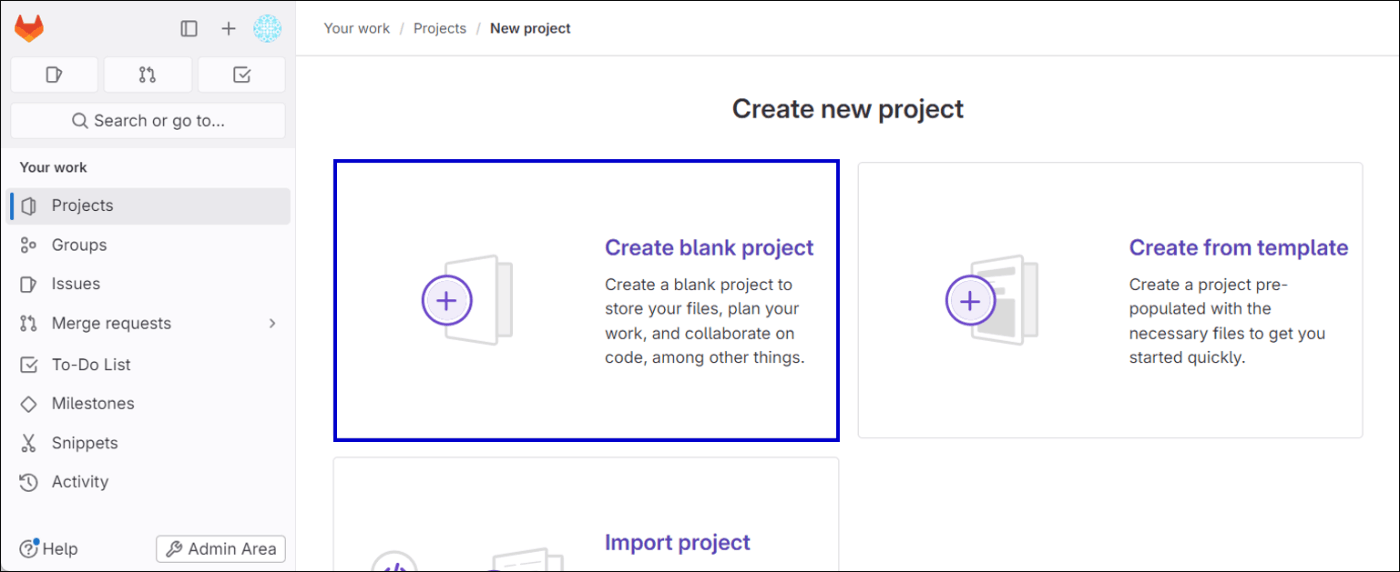
新規プロジェクト作成ページで「Create blank project」をクリックします。
「Project name」、「Project URL」を設定し、「Create project」ボタンをクリックします。
※「Project slug」は自動で入力されます。
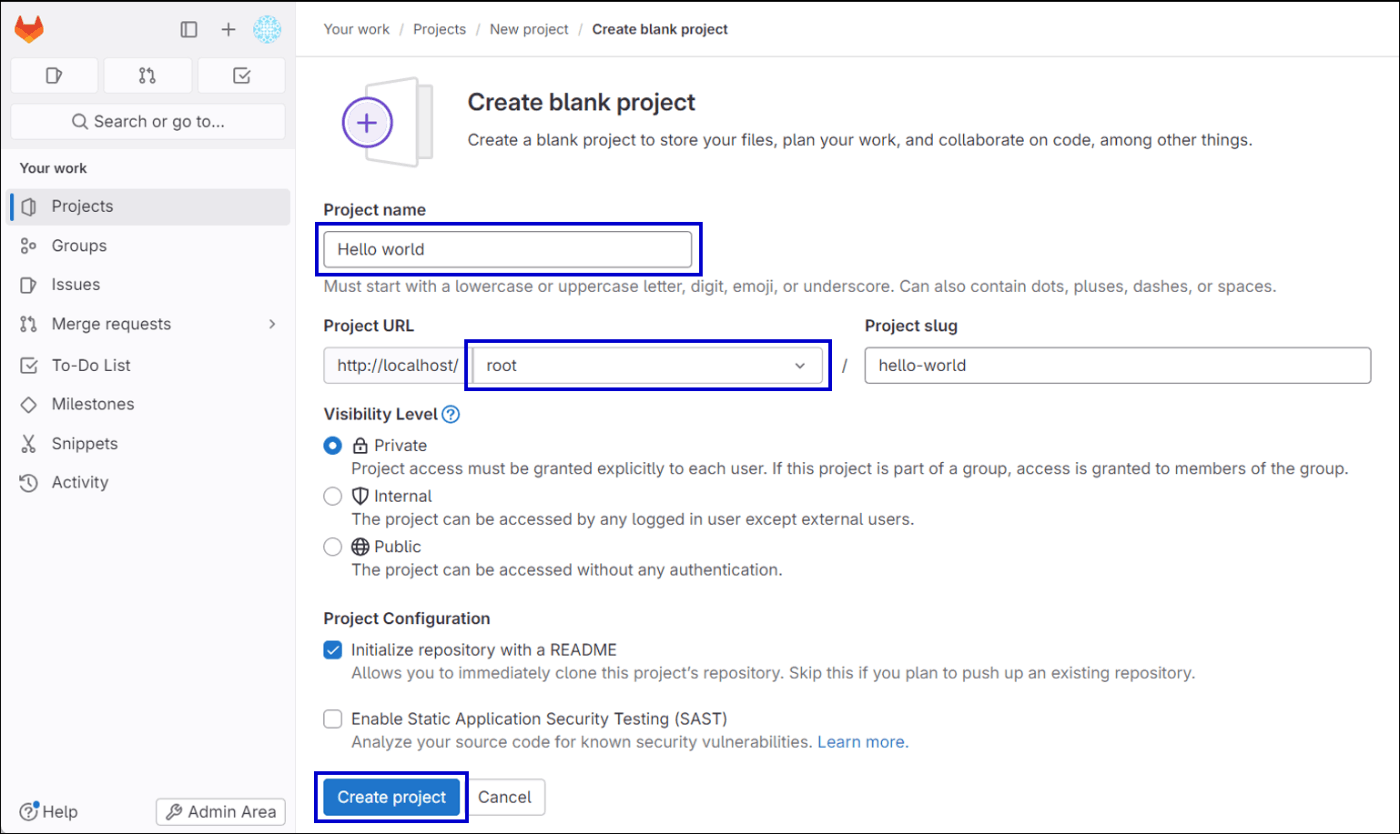
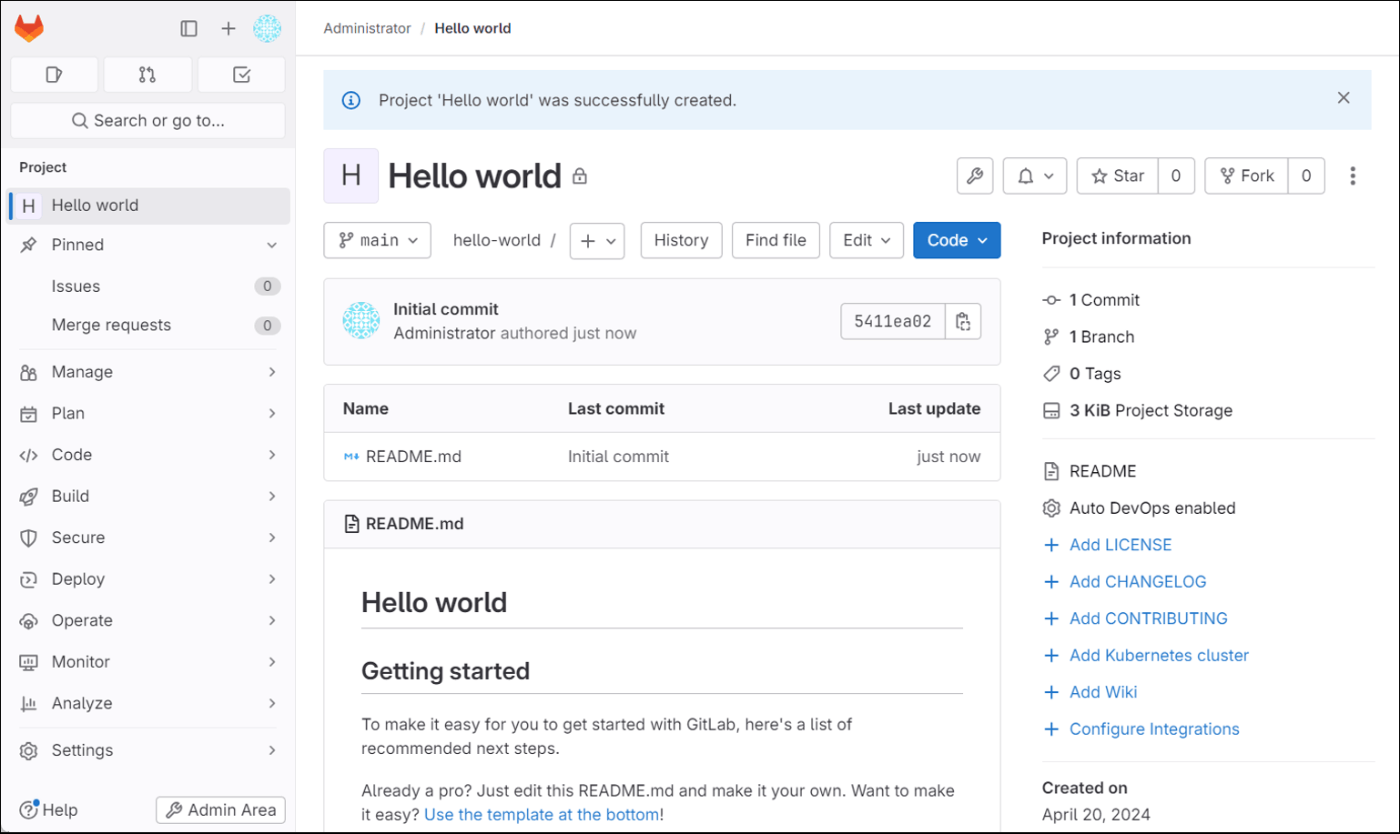
作成したプロジェクトのページが表示されれば完了です。
次回はGitLab PagesでWebページの作成を行います。
Discussion