H2O AutoMLの解説
AutoMLとは何か
Kaggleでh2oのAutoMLを用いたコードを書いている人がいたので、調査しました。
AutoML(Automated Machine Learning)とは、機械学習の専門家でない人でも少ないコードで機械学習を試すことができるライブラリー/サービスです。Google AutoML TabularやAWS AutoMLをはじめとした様々なサービスが提供されています。本記事はオープンソースライブラリーであるH2O AutoMLについて公式ドキュメントの内容に沿って解説をします。
またKaggleの有名コンペのタイタニック号の生存予測を行います。
H2O AutoMLの概要
H2O AutoMLはRとPythonで利用できるAutoMLのオープンソースライブラリーで
①データの前処理
②モデル選び
③パラメータチューニング
の3ステップを自動化してしてくれます。テーブルデータについて回帰・分類の両方を行うことができます。
データの前処理
公式ドキュメントによると現在開発中とのことです。
As of H2O 3.32.0.1, AutoML now has a preprocessing option with minimal support for automated Target Encoding of high cardinality categorical variables. The only currently supported option is preprocessing = ["target_encoding"]: we automatically tune a Target Encoder model and apply it to columns that meet certain cardinality requirements for the tree-based algorithms (XGBoost, H2O GBM and Random Forest). Work to improve the automated preprocessing support (improved model performance as well as customization) is documented in this ticket.
モデル
H2Oライブラリーでは以下のモデルが使用可能です。またどのモデルを使用したいor除きたいかも指定することができます。
-
DRF(This includes both the Distributed Random Forest (DRF) and Extremely Randomized Trees (XRT) models. Refer to the Extremely Randomized Trees section in the DRF chapter and the histogram_type parameter description for more information.) -
GLM(Generalized Linear Model with regularization) -
XGBoost(XGBoost GBM) -
GBM(H2O GBM) -
DeepLearning(Fully-connected multi-layer artificial neural network) -
StackedEnsemble(Stacked Ensembles, includes an ensemble of all the base models and ensembles using subsets of the base models)
モデルを学習すると以下のように精度順にソートされて、モデルが出力されます。model_idを保存・指定してアンサンブルすることも可能です。

パラメータチューニング
H2Oライブラリーでは、引数に探索したい値を渡すことでその値を組み合わせたgrid searchを行うことができます。
例) XGBoost
| Parameter | Searchable Values |
|---|---|
| booster | gbtree、dart |
| col_sample_rate | {0.6, 0.8, 1.0} |
| col_sample_rate_per_tree | {0.7, 0.8, 0.9, 1.0} |
| max_depth | {5, 10, 15, 20} |
| min_rows | {0.01, 0.1, 1.0, 3.0, 5.0, 10.0, 15.0, 20.0} |
| ntrees | Hard coded: 10000 (true value found by early stopping) |
| reg_alpha | {0.001, 0.01, 0.1, 1, 10, 100} |
| reg_lambda | {0.001, 0.01, 0.1, 0.5, 1} |
| sample_rate | {0.6, 0.8, 1.0} |
よく使いそうな機能
-
balance_classes:クラス分布が偏っている時に、少数クラスをオーバーサンプリングすることができます。
例) 二値分類のラベルが10対1の割合で入っている場合、うまく学習が進みません。少数クラスをオーバーサンプリングして比率を調整することで、学習を効率的に進めることができます。 -
max_runtime_secs_per_model : AutoML 実行で各モデルのトレーニングに費やす最大時間を指定することができます。
-
stop_metric :学習の早期停止ができます。
-
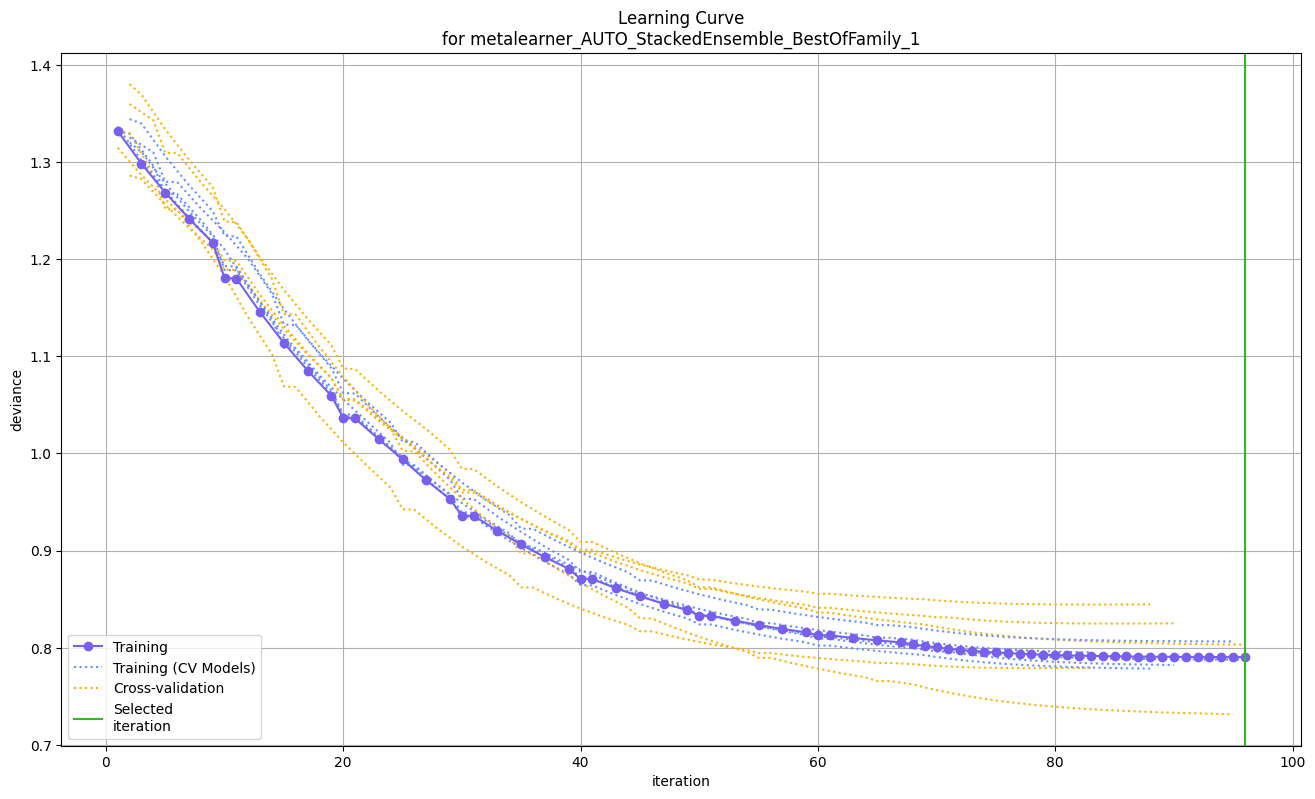
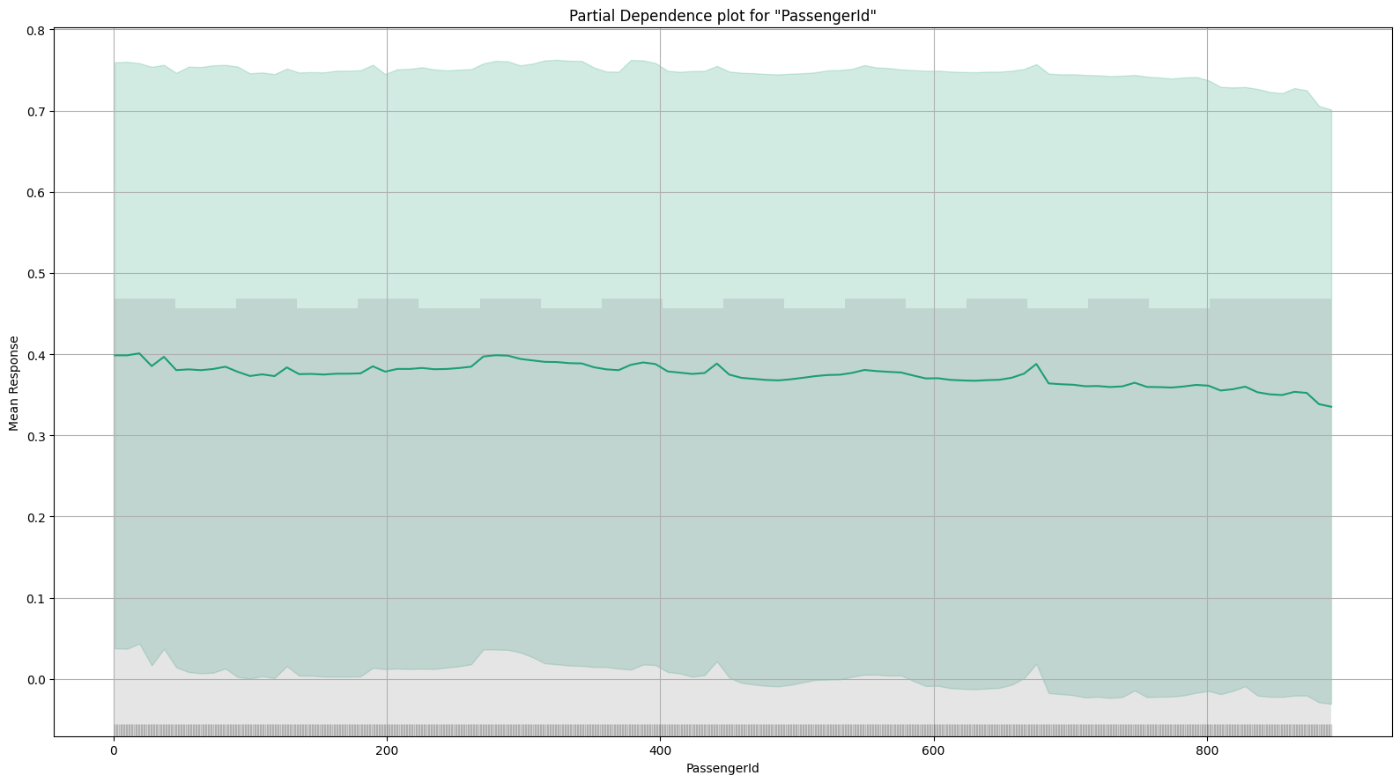
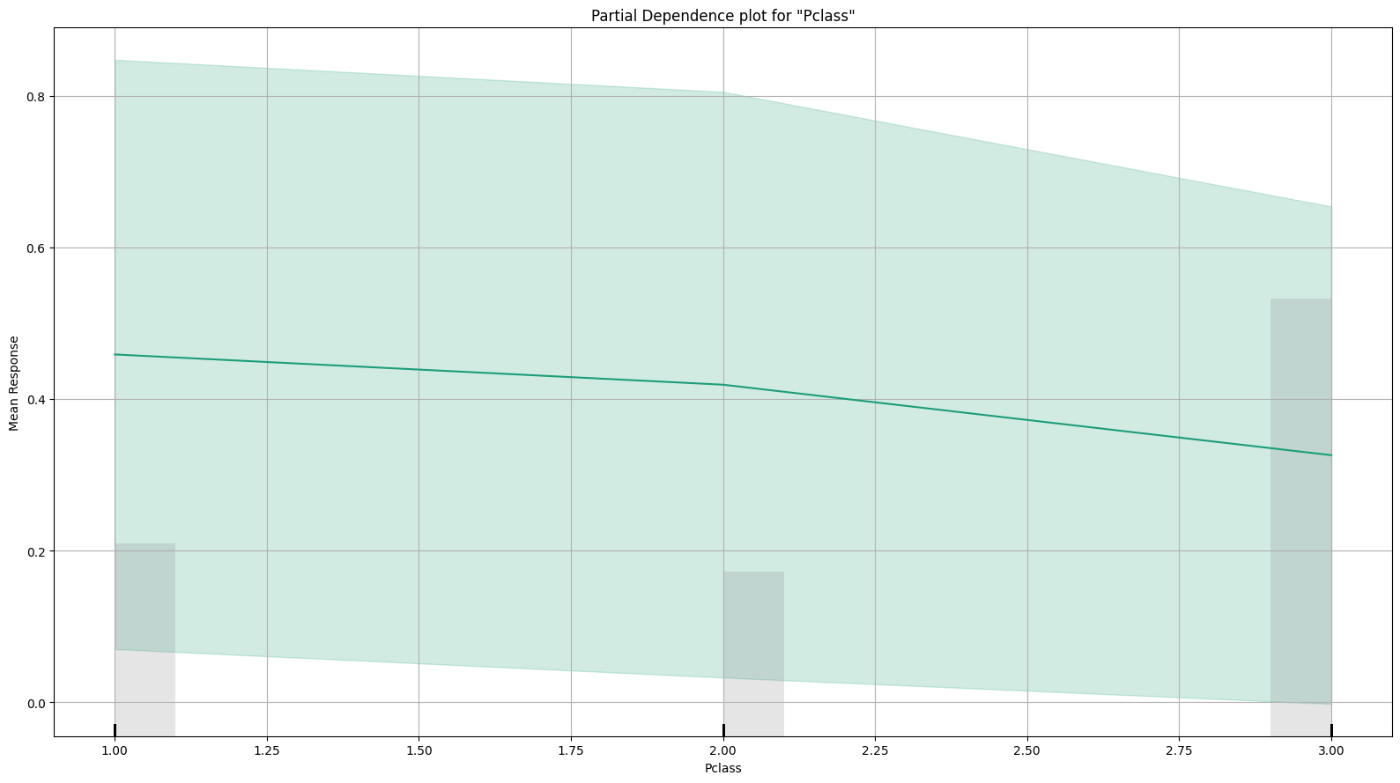
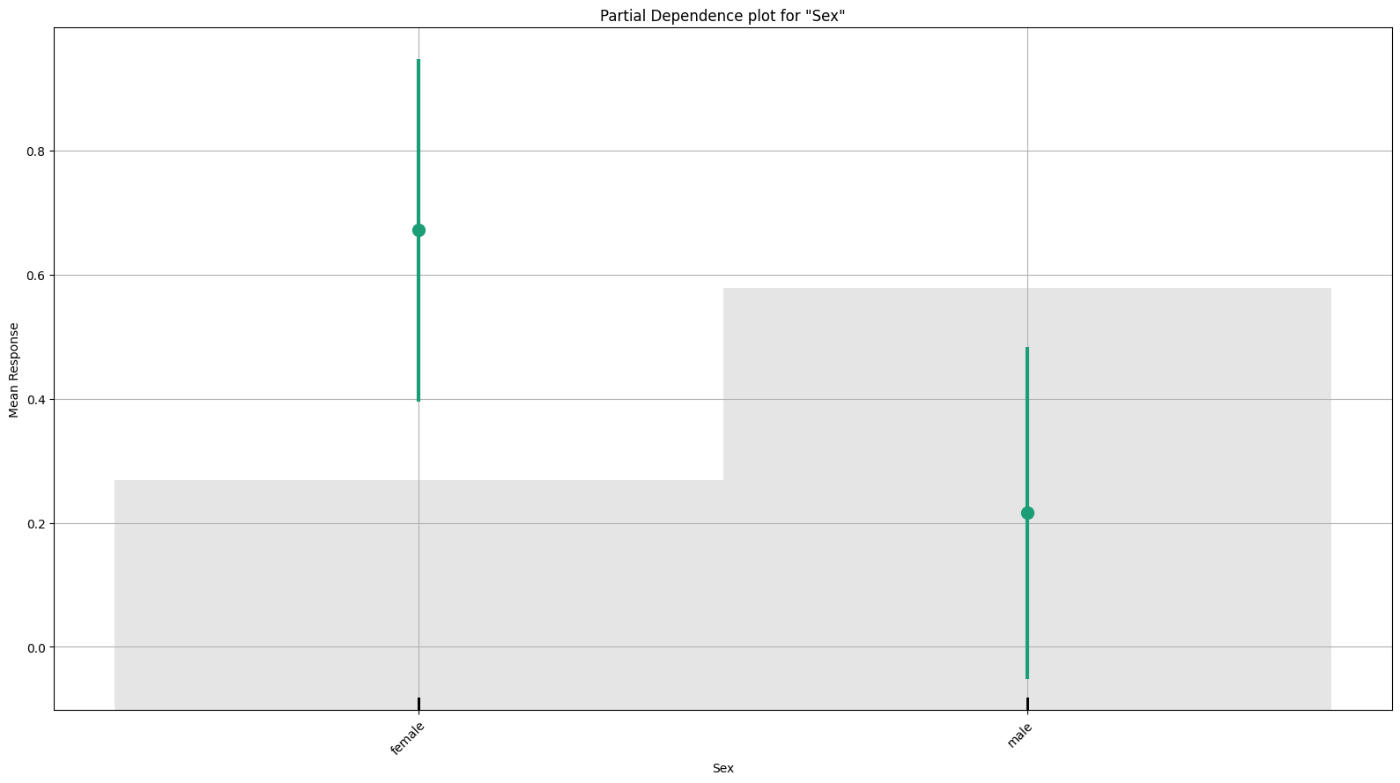
h2o.explain:変数の重要性・ヒートマップ・SHAP・学習曲線などを可視化することができます。
タイタニックデータセットでAutoMLを使ってみる
H20ライブラリーをPythonで使用し、Google Colab上でタイタニック号の生存予測を行います。
import h2o
from h2o.automl import H2OAutoML
from google.colab import drive
drive.mount('/content/drive')

# Start the H2O cluster (locally)
h2o.init()

# Import a sample binary outcome train/test set into H2O
train = h2o.import_file('your-train-data-path')
test = h2o.import_file('your-test-data-path')

# Identify predictors and response
x = train.columns
y = "Survived"
x.remove(y)

# For binary classification, response should be a factor
train[y] = train[y].asfactor()

# Run AutoML for 20 base models
aml = H2OAutoML(max_models=20, seed=1)
aml.train(x=x, y=y, training_frame=train)

# Predict on the test set
preds = aml.predict(test)
このプログラムだけで、自動的に機械学習を行なってくれるので驚きです。Google ColabのA100 GPUで6分で学習が完了しました。
A100 GPUは1時間あたり約11.77のコンピューティングユニットを消費します。2024年6月16日時点では、1,179円/100コンピューティングユニットなので約13.87円で学習できました。
次にリーダーボードを見てみます。
lb = h2o.automl.get_leaderboard(aml, extra_columns = "ALL")
lb
出力結果
| model_id | auc | logloss | aucpr | mean_per_class_error | rmse | mse | training_time_ms | predict_time_per_row_ms | algo |
|---|---|---|---|---|---|---|---|---|---|
| StackedEnsemble_BestOfFamily_1_AutoML_3_20240616_90129 | 0.878226 | 0.396505 | 0.865766 | 0.175942 | 0.349707 | 0.122295 | 1100 | 0.086325 | StackedEnsemble |
| XRT_1_AutoML_3_20240616_90129 | 0.876112 | 0.423699 | 0.844624 | 0.18469 | 0.362896 | 0.131693 | 254 | 0.022538 | DRF |
| StackedEnsemble_AllModels_1_AutoML_3_20240616_90129 | 0.874325 | 0.402137 | 0.861526 | 0.183779 | 0.352924 | 0.124556 | 1208 | 0.090248 | StackedEnsemble |
| GBM_5_AutoML_3_20240616_90129 | 0.868362 | 0.405451 | 0.859626 | 0.182557 | 0.35304 | 0.124637 | 122 | 0.015786 | GBM |
| DRF_1_AutoML_3_20240616_90129 | 0.867872 | 0.439153 | 0.851719 | 0.187135 | 0.361404 | 0.130613 | 283 | 0.026663 | DRF |
| GBM_3_AutoML_3_20240616_90129 | 0.866773 | 0.417518 | 0.849762 | 0.188573 | 0.361016 | 0.130333 | 123 | 0.01568 | GBM |
| GBM_2_AutoML_3_20240616_90129 | 0.866208 | 0.417647 | 0.849211 | 0.192599 | 0.361524 | 0.1307 | 108 | 0.014222 | GBM |
| XGBoost_grid_1_AutoML_3_20240616_90129_model_2 | 0.863787 | 0.423809 | 0.836945 | 0.1688 | 0.358497 | 0.12852 | 167 | 0.007981 | XGBoost |
| GBM_grid_1_AutoML_3_20240616_90129_model_2 | 0.861476 | 0.416184 | 0.846277 | 0.194085 | 0.359838 | 0.129483 | 94 | 0.012532 | GBM |
| GBM_4_AutoML_3_20240616_90129 | 0.860065 | 0.434708 | 0.838945 | 0.202306 | 0.371085 | 0.137704 | 154 | 0.016312 | GBM |
StackedEnsemble_BestOfFamily_1_AutoML_3_20240616_90129のアンサンブルモデルが最高の精度となっています。このモデルについてexplainメソッドで具体的に調べていきます。
# Get a specific model by model ID
model = h2o.get_model("StackedEnsemble_BestOfFamily_1_AutoML_2_20240616_84339")
exm = model.explain(train)


のように Mean Responseと説明変数との関係がいっぱい出てきます。
まとめ
H2OのAutoMLについて、解説しタイタニックのデータセットで2値分類を行いました。少ないプログラムで、専門家でなくてもデータ分析・MLを行うことができます。
データサイエンティストにとっても、どのようなモデルがスコアが出やすいのかを調べる手段としても使えます。より特徴量エンジニアリングに集中することができるので、初心者・専門家の両方にとって有用な手段のように思えます。
しかしながら、現段階ではデータの前処理の関数などがまだ開発中であることやXGBoost等が制限付きでしか利用できないため注意が必要です。
質問や間違いなどございましたら、Xアカウントまでお願いします!
Discussion