playwright-pythonを使ってE2Eテストを始める
playwright-pythonに関する記事はzennでも既にいくつかありますが、PyTestでの運用を書いた記事は無さそうだったので、Qiitaに書いてた内容をとりあえずzennにも転記してみただけです。
Playwright (TypeScript版)は microsoft/folio ベースのplaywright-testという独自フレームワークを使うが、playwright-pythonにはPyTest用のプラグインがある。
Pytest plugin for Playwright
Getting Started!
macOSであれば
playwright-pythonのインストール
brew install python3
pip3 install playwright
python3 -m playwright install
playwright-pytestのインストール
pip3 install pytest-playwright
VSCodeの人は Pylance を入れておきましょう。(メソッド名などの補完能力が格段にアップします)
これでテストできる環境が整う。
from playwright.sync_api import Page


def test_github(page: Page):
    page.goto('https://github.com/YusukeIwaki')
    assert page.query_selector('text="Yusuke Iwaki"') is not None
テストの実行は pytest するだけ。
$ pytest
================================================= test session starts ==================================================
platform darwin -- Python 3.9.1, pytest-6.2.2, py-1.10.0, pluggy-0.13.1
rootdir: /Users/yusuke-iwaki/Desktop/some_test
plugins: base-url-1.4.2, playwright-0.0.11
collected 1 item

github_YusukeIwaki_test.py .                                                                                     [100%]

================================================== 1 passed in 3.49s ===================================================
Allureを導入する
エンジニアであればコマンドラインの結果だけで十分だが、テスターフレンドリーではないので、レポートツールのAllureを入れる。
PyTest用のインテグレーションをインストールする。
公式ドキュメント
https://docs.qameta.io/allure/#_pytestSelenium + pytest + Allure の構成の参考記事
https://qiita.com/YoshikiIto/items/cc018cb2d92d26bf1df6
macOSであれば以下を実行する。
brew install allure
pip3 install allure-pytest
あとは、 以下のコマンドのようにpytestを実行するだけ。
pytest --alluredir=hoge
allure serve hoge
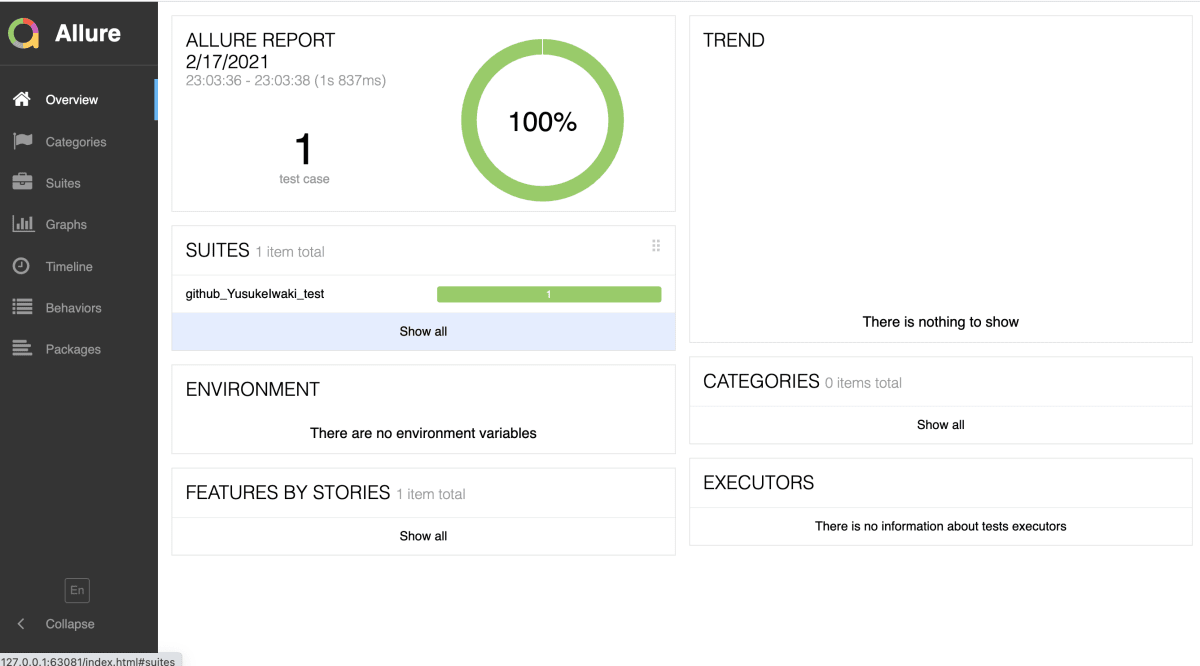
テストスクリプトはなにも変更せずとも、まぁまぁおしゃれなレポートが表示される。


テストタイトルをわかりやすくする
Allureレポートで表示されるテストタイトルを変更するには、 @allure.title という専用のデコレータが用意されているので、これを利用する。
ちなみに、テストメソッド名を日本語にするという方法もなくはないが、メソッド名で使用できる文字に限りがあることから、 @allure.title を素直に使ったほうがよいだろう。
from playwright.sync_api import Page
import allure


@allure.title('GitHubでYusukeIwakiのページを確認する')
def test_github(page: Page):
    '''
    https: // github.com/YusukeIwaki へアクセスし、
    "Yusuke Iwaki" の表示があることを確認する。
    '''
    page.goto('https://github.com/YusukeIwaki')
    assert page.query_selector('text="Yusuke Iwaki"') is not None

allure.titleがタイトルになり、docstringがdescriptionになる。
テストが落ちたときに、スクリーンショットをAllureに貼り付ける
playwright-pytestのドキュメントには、失敗時に特定のディレクトリに画面キャプチャを格納する手順が書かれている。が、特定のディレクトリに置かれても、どのケストケースの失敗画面か、紐付けて管理するのが面倒だ。
Allure上にスクリーンショットを残す手順は、Seleniumでの模範手順があったのでありがたく拝借
pip3 install python-slugify して、以下を追記する。
from playwright.sync_api import Page
import allure
from slugify import slugify


# Screenshot on test failure
# https://github.com/microsoft/playwright-pytest#screenshot-on-test-failure
def pytest_runtest_makereport(item, call) -> None:
    if call.when == "call":
        if call.excinfo is not None and "page" in item.funcargs:
            page: Page = item.funcargs["page"]

            # ref: https://stackoverflow.com/q/29929244
            allure.attach(
                page.screenshot(type='png'),
                name=f"{slugify(item.nodeid)}.png",
                attachment_type=allure.attachment_type.PNG
            )
これで、テストが落ちると、以下のようにAllure上でそのときの画面が確認できる。便利。

まとめ
playwright-python, playwright-pytestがあれば、前準備がほとんど不要でE2Eテストをサクッと書き始めることができます。
Allureを使えば、テスターフレンドリーなレポートも出力できますし、「つくってみた」レベルではなく実運用でもなかなかいい感じです。
Discussion