Appium Inspectorを始める
※The English version follows the Japanese version.
Appium Inspectorの導入ガイド(雑)
諸事情でAppium Inspectorを導入することになりました。
この記事では、Appium Inspectorの概要、導入手順、そして実際にAppium ServerとUiAutomator2 Driverをセットアップする過程を簡単に紹介説明します。
Appium Inspectorとは?
Appium Inspectorは、モバイルアプリケーションのUIを検査し、自動テストの作成を支援するツールです。このツールにより、アプリの要素を簡単に識別し、テストスクリプトの作成に必要なセレクタやコマンドを取得できます。
公式GitHubリポジトリ:Appium Inspector GitHub
導入手順
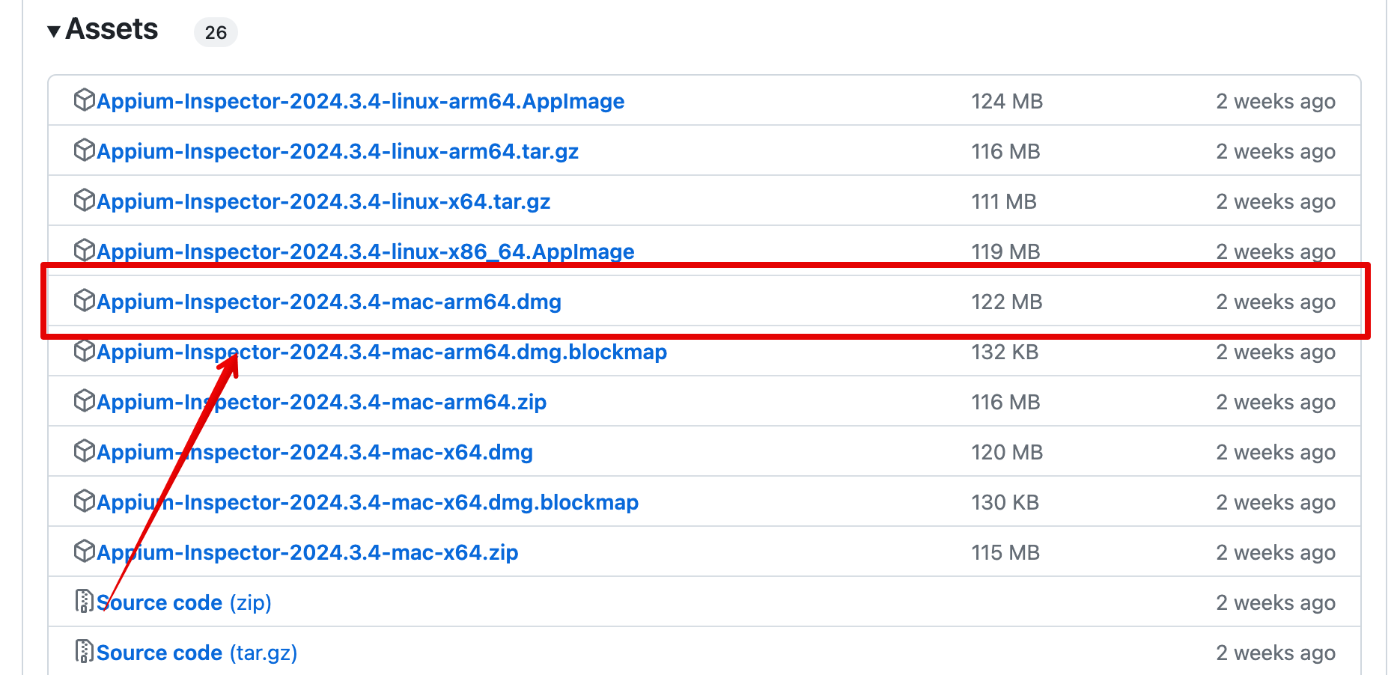
導入の手順については、Appium Inspectorの公式クイックスタートガイドに従って進めます。Windows、Linux、Macの各OS向けのビルドが用意されており、各自の環境に合ったものを選択してインストールできます。
リリースページ:Appium Inspector Releases
私の環境はApple Silicon搭載のMacなので、Arm64向けビルドを使用しました。
dmgファイルを展開してインストールでOK。お手軽に行けます。

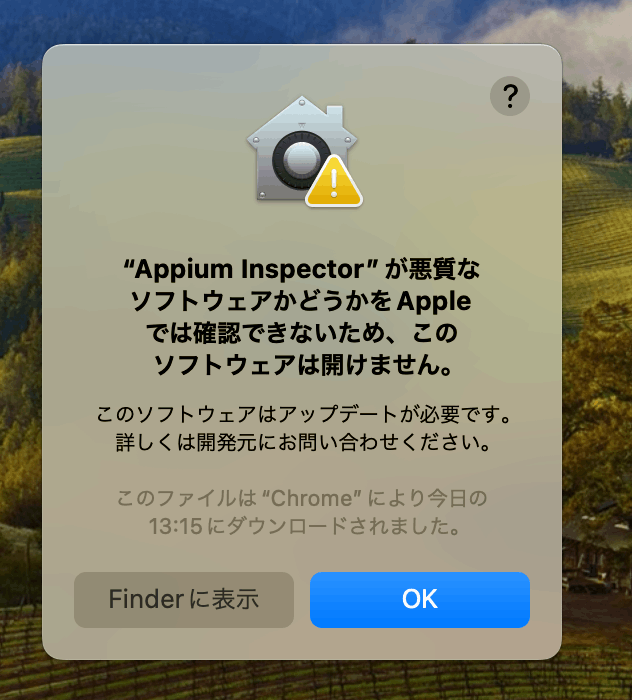
しかし、起動しようとすると...

ちゃんと、インストールドキュメントに解決方法が載っていた(ちゃんとよもう)
以下を実行すると解決。

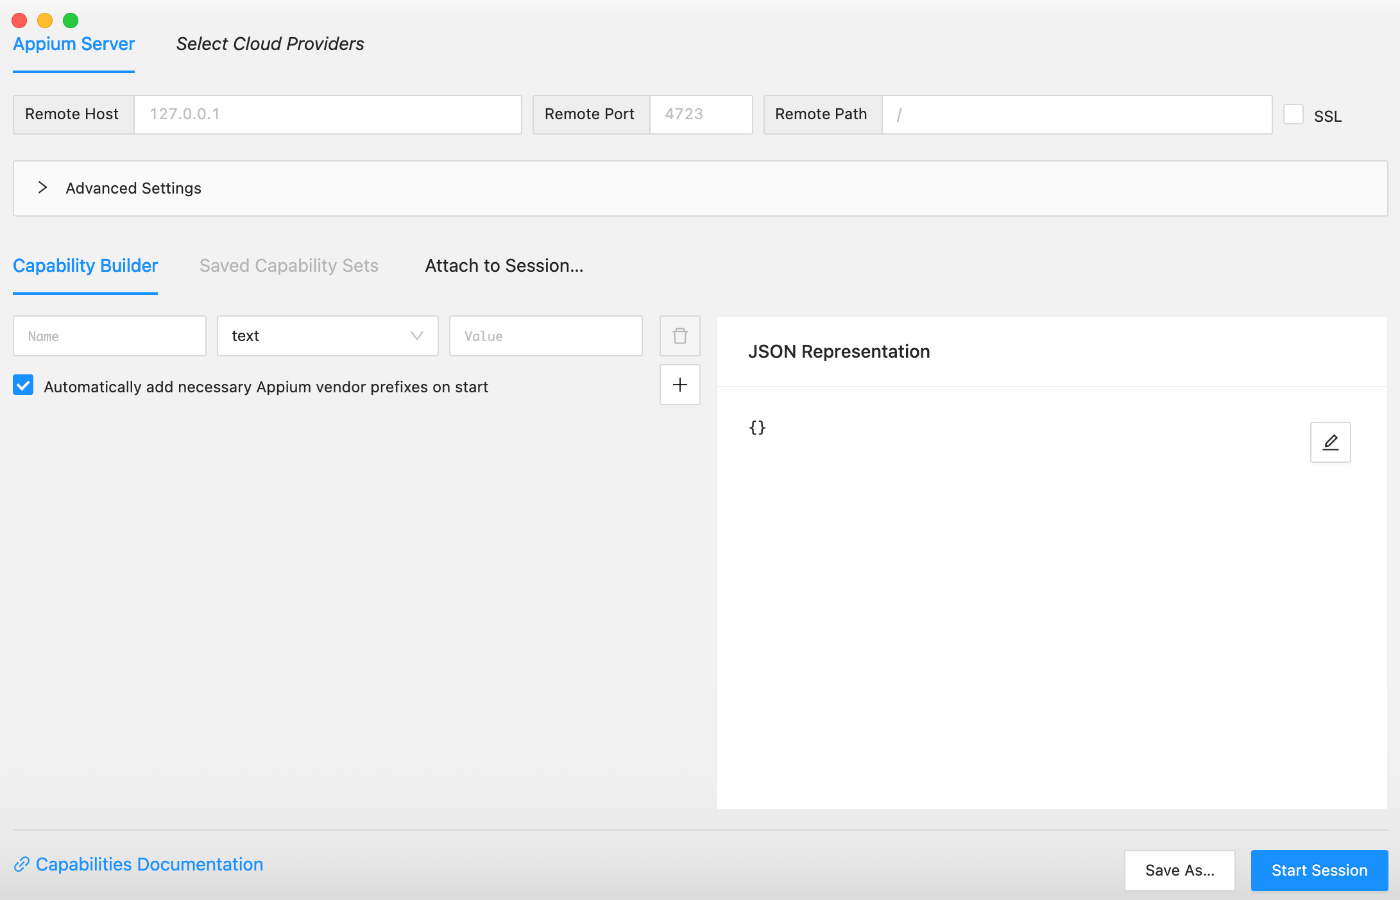
Appuim Inspectorが起動できるように!
(これだけでは使えないので、引き続きセットアップを行っていく)

Appium Serverのセットアップ
Appuim Inspectorを動かすためにAppium Serverをセットアップしていきます。
※今回はローカル環境でサーバーを動かす方法についてのみ記述します。クラウドサービスを利用する方法などもあります。
※ローカル環境でAppium Serverをインストールなどするための前提として、npmコマンドが利用環境が必要です。事前にnode.jsのインストールをお願いいたします。
Appiumのインストールは、公式ドキュメントに従って行います。
※特に迷うところはないはず。
インストールが成功すると、以下のような画面が表示されます。

UiAutomator2 Driverのインストール
AndroidアプリのテストにはUiAutomator2 Driverが必要です。そのためには、事前に以下の準備が必要です:
-
Android SDKのインストール:テスト対象のアプリターゲットバージョンに応じたAndroid Platform SDKとAndroid SDK Platform-Toolsをインストールし、ANDROID_HOME環境変数を設定して、
/platform-toolsへのパスを通します。AndroidStudioをインストールしてその中のSDK Managerを使ってダウンロードするとすぐにできます。 - JDKのインストール:JDKインストールして、JAVA_HOMEを設定します。
- ADBのセットアップ:Android Device Bridgeが実行できる状態にする。
以下のコマンドを実行してUiAutomator2 Driverを
インストールします:
$ appium driver install uiautomator2
インストールが成功したら、以下のように表示されます。

その後、Appiumサーバーを再起動します。
$ appium
インストールしたドライバーが表示されれば、セットアップは成功です。

最後に、以下のURLを使ってAppiumアプリからサーバーに接続します。

ドライバーの設定をアプリに設定する必要があります。

これでAppium Inspectorの導入は完了しました!

次回はAppiumを使用したテストの作成について詳しく説明します。
A Rough Guide to Installing Appium Inspector
For various reasons, we've decided to install Appium Inspector. This article briefly introduces what Appium Inspector is, how to install it, and how to set up both the Appium Server and the UiAutomator2 Driver.
What is Appium Inspector?
Appium Inspector is a tool that inspects the UI of mobile applications and aids in the creation of automated tests. It allows you to easily identify app elements and obtain the selectors and commands necessary for creating test scripts.
Official GitHub Repository: Appium Inspector GitHub
Installation Steps
Follow the official Appium Inspector Quick Start Guide for installation instructions. Builds for Windows, Linux, and Mac OS are available, allowing you to choose the one that fits your environment.
Release Page: Appium Inspector Releases
My environment is a Mac with Apple Silicon, so I used the build for Arm64. Installing from the dmg file is straightforward and hassle-free.

However, when trying to launch it...

Thankfully, the installation documentation had the solution (make sure to read it thoroughly). Executing the following resolved the issue.

Now, Appium Inspector can be launched!
(But this isn't enough to use it, so let's continue with the setup.)

Setting Up the Appium Server
To run Appium Inspector, we'll set up the Appium Server. This article only describes how to run the server locally, although using cloud services is also an option.
※As a prerequisite for installing the Appium Server in a local environment, you need an environment where npm commands can be used. Please install node.js in advance.
Follow the official documentation to install Appium.
※There shouldn't be any particularly confusing parts.
Successful installation will display the following screen.

Installing the UiAutomator2 Driver
The UiAutomator2 Driver is necessary for testing Android apps. Before installing it, the following preparations are needed:
-
Install Android SDK: Install the Android Platform SDK corresponding to your app's target version and Android SDK Platform-Tools. Set the ANDROID_HOME environment variable and path to
/platform-tools. Installing AndroidStudio and using its SDK Manager for downloads is a quick way to do this. - Install JDK: Install JDK and set the JAVA_HOME environment variable.
- Setup ADB: Ensure Android Device Bridge (ADB) is executable.
Run the following command to install the UiAutomator2 Driver:
$ appium driver install uiautomator2
If the installation is successful, it will display like this.

Next, restart the Appium server.
$ appium
If the installed drivers are displayed, the setup is successful.

Finally, use the URLs below to connect to the server from the Appium app.

You'll need to configure the driver settings in the app.

This completes the installation of Appium Inspector!

Next time, I will explain in detail about creating tests using Appium.
Discussion