😎
Airbyte: Notion→BigQuery
はじめに
Airbyteの環境がまだ立ち上がっていない方はこちらを先にお読みください。
Create Connection
Define source
Notion
まず、Notionからインテグレーションを作成します。
-
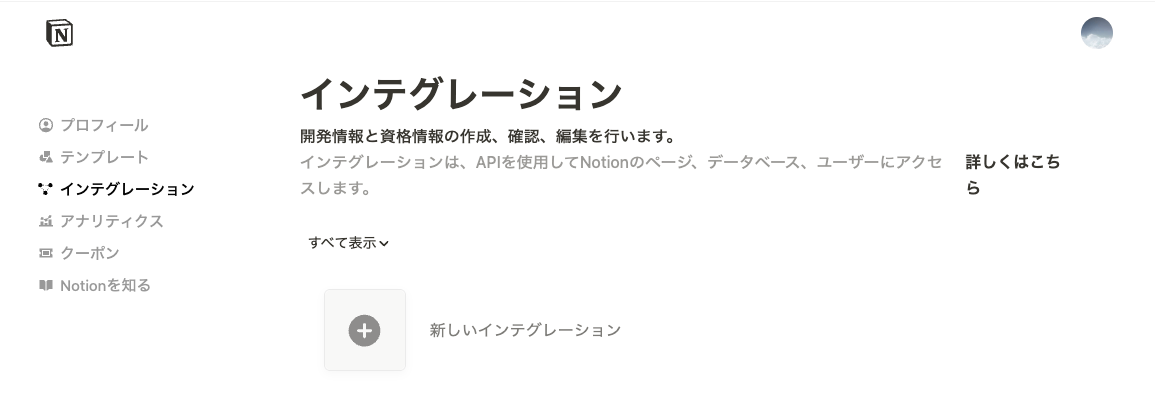
https://www.notion.so/profile/integrations の➕新しいインテグレーションから新しいインテグレーションを作成する
- 抽出対象のワークスペースを選択してください。
- 今回は、AirbyteとNotionの認証でAccessTokenを使用するため、種類は内部を選択します
-
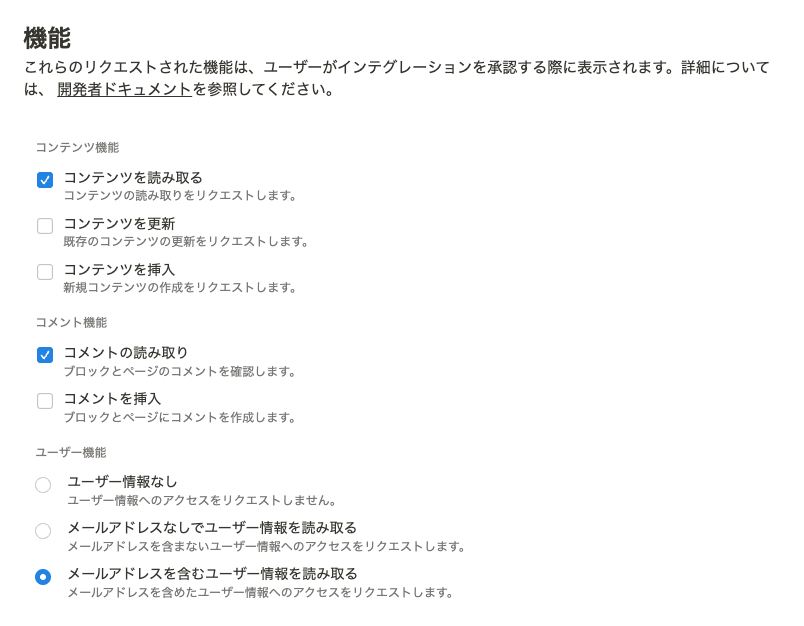
必要な機能を選択します。書き込み系はいらないので消しましょう
-
内部インテグレーションシークレットを控えます。これがAccessTokenです。
-
[重要]: 対象とするページのConnectionにここで作成したintegrationを与えましょう

Airbyte
-
Create Connection→Set up a new sourceからNotion connectorを選択
-
Authentication MethodでAccess Tokenを選択し、Access TokenにNotionの内部インテグレーションシークレットを与え、Set up sourceします

Define destination
Google Cloud
IAMと管理 > サービスアカウントからBigQuery UserおよびBigQuery Data Editorロールを持つGoogle Cloudサービスアカウントを作成し、JSON形式のサービスアカウントキーを取得してきてください。
日本語の場合、BigQuery データ編集者・BigQuery ユーザーと表示されます。

Airbyte
BigQueryを選択して、適切なproject id, service account keyを与え、その他の変数はお好みで設定します。
Service Account Keyはjsonファイルの中身を丸々コピペしてきてください。


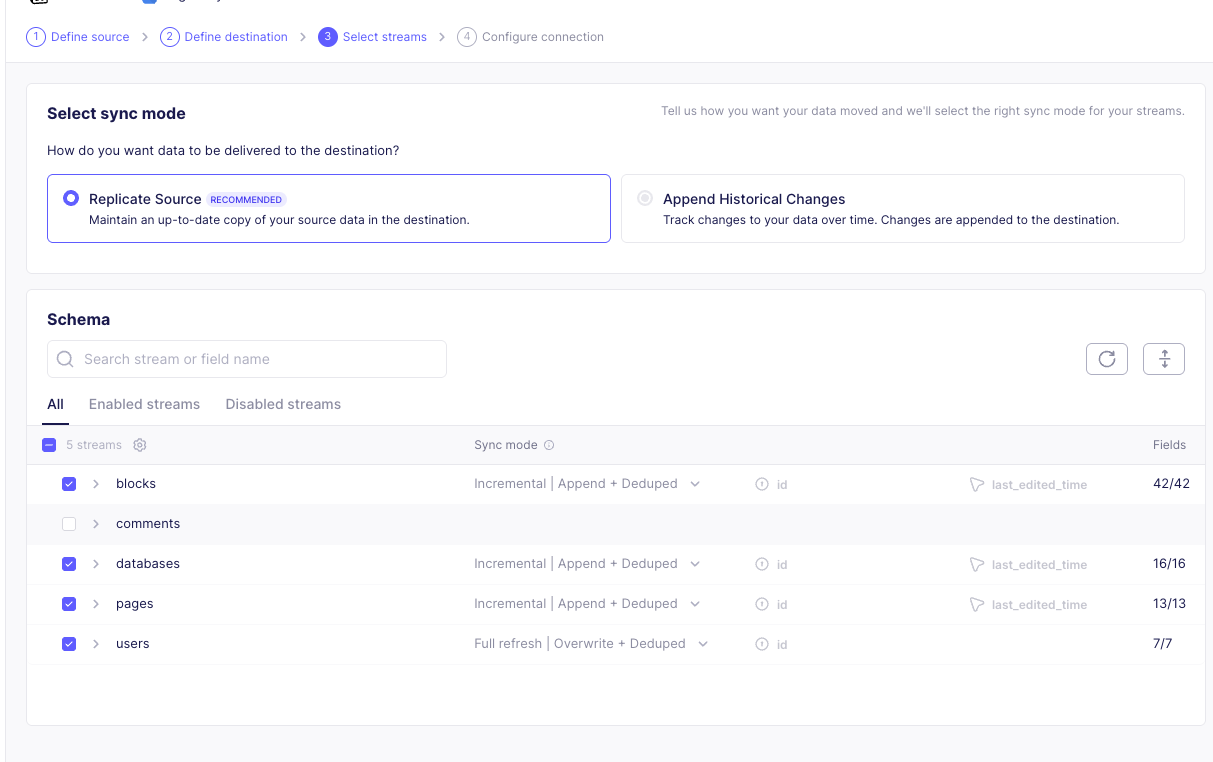
Select streams
お好みで
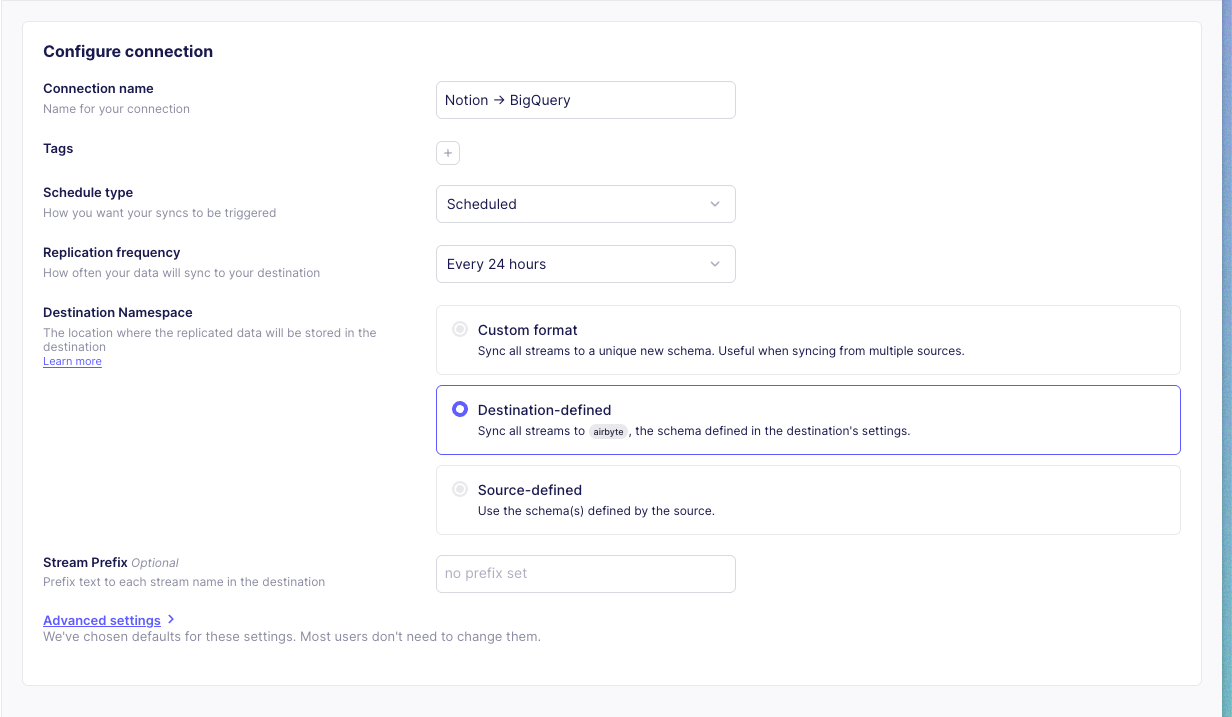
Configure connection
お好みで
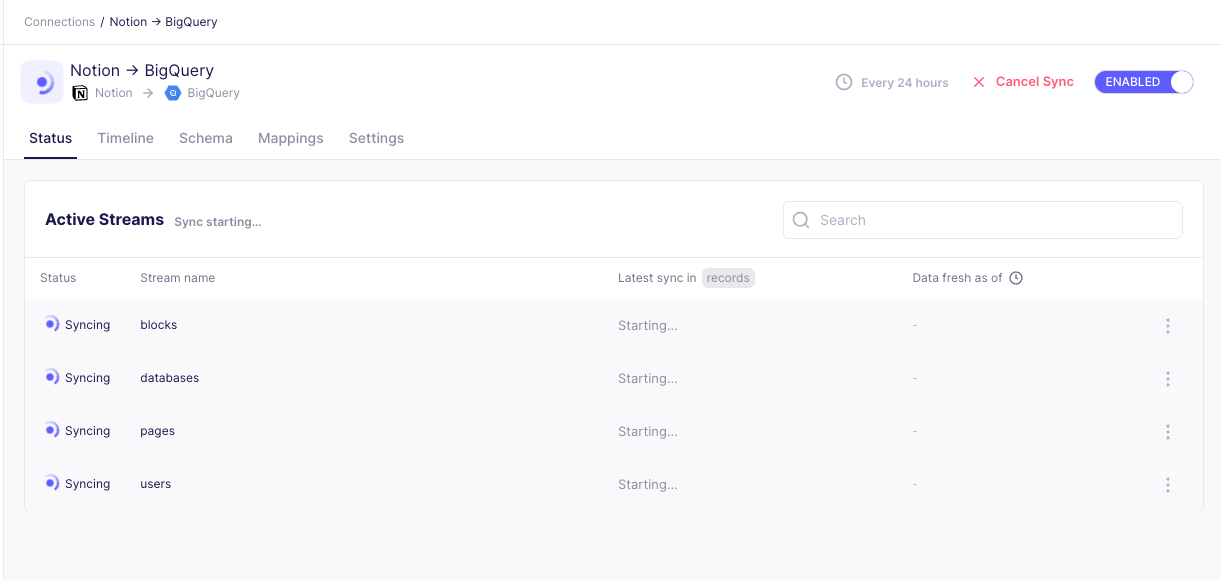
Execution
自分の場合は50分程度で終わりました
Discussion