[Rails]deviseのパスワードリセット機能
deviseを使用したパスワードリセット機能で開発環境と本番環境で設定方法が違い、実装に苦労したので記事として残しておきます。
前提
- devise導入済み
- Admin、Member(public)をdeviseで用いている
- AWS cloud9を使用している
行いたいこと
- deviseを使用したパスワードリセット機能の実装
- パスワードリセットメールの送信
- パスワードリセットメールのリンクのページからパスワードの変更
メールアドレスの作成
開発用のメールアドレスを作成します。
今回はgmailを使用するので、まずは開発用のgmailとGoogleアカウントを作成してください。
Googleアカウントの作成が完了後、 https://myaccount.google.com/ こちらにアクセスします。
ログインが完了したら検索バーからアプリパスワードと検索しアプリパスワードの画面へ遷移します。
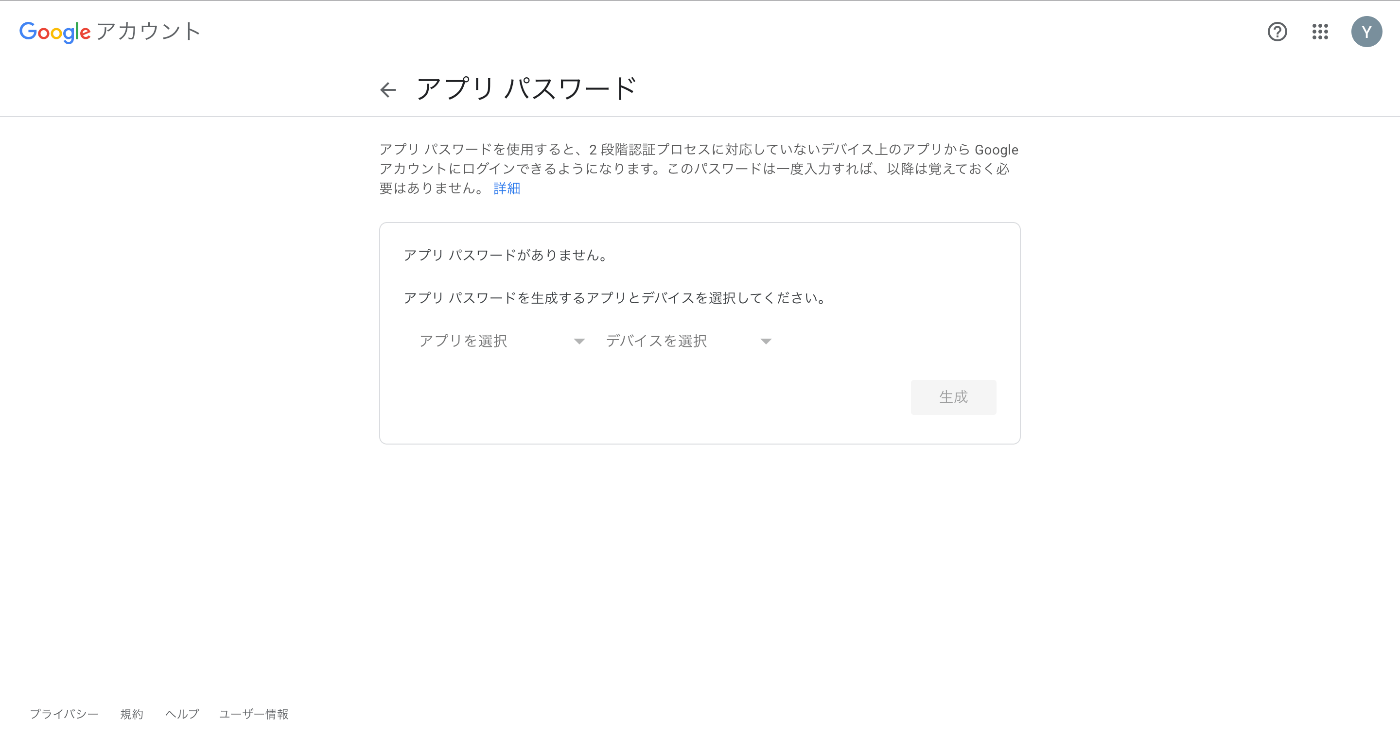
今回はアプリを選択からその他を選択し、testと入力しました。
入力が完了したら生成を押下します。

※画像は例です
このようにアプリパスワードが生成されるので控えておきます。
こちらは後ほど使います。
環境変数の設定(dotenv-rails)
先ほど取得したメールアドレスとパスワードをGitHub上にアップロードするのは危険なので環境変数として管理する為にdotenv(ドットエンブ)をインストールします。
gem 'dotenv-rails'
bundle installが完了したら.envファイルを作成します。
ec2-user:~/environment/hogehoge (develop) $ touch .env
ファイルの作成が完了したらまず初めに.gitignoreに.envを追加します。
追加場所はファイルの最終行で大丈夫です。
/.env
作成した.envファイルに先ほど取得したemailとパスワードを環境変数として設定します。
 GMAIL_USERNAME = hogehoge@gmail.com
 GMAIL_PASSWORD = hogefugahogefuga
最後にgit statusでファイルが除外されているか確認や、rails cで設定した環境変数が使用できるか確認を行ってください。
rails c使用時の入力方法
[1] pry(main)> ENV["GMAIL_USERNAME"]
※デバッグ用にpry-railsというgemを使用しているのでこのような表記になっております。
これで環境変数の設定は以上です。
パスワードリセットメールのテンプレートの設定
それではメールのテンプレートを確認します。
 <p>Hello <%= @resource.email %>!</p>

 <p>Someone has requested a link to change your password. You can do this through the link below.</p>

 <p><%= link_to 'Change my password', edit_password_url(@resource, reset_password_token: @token) %></p>

 <p>If you didn't request this, please ignore this email.</p>
 <p>Your password won't change until you access the link above and create a new one.</p>
編集前のデフォルトの状態ではこのような内容になっています。
 <p><%= t(".title") %> <%= @resource.nickname %> 様!</p>

 <p><%= t(".reset_password_explanation") %></p>

 <p><%= link_to t(".reset_password_link"), edit_password_url(@resource, :reset_password_token => @token ) %></p>
 <p><%= t(".reset_password_within") %></p>

 <p><%= t(".please_ignore") %></p>
 <p><%= t(".wont_change") %></p>
どうやらこのメールテンプレートは I18n での翻訳を前提として生成されてるそうなので、翻訳前提でファイルの編集を行いました。
※一応メールの内容を全て日本語に変えて送信したところ問題なく表示されました。どちらの方法でも問題なさそうですが、お好みの方法でお試しください。
パスワードリセットメールの翻訳の設定
メールテンプレートの作成ができたので私のように翻訳前提で作成した方はメール翻訳の設定を行なっていきます。I18n用のyml翻訳ファイルをまだ作成されていない方はconfig/locales配下に作成してください。
ja:
 public:
  mailer:
   reset_password_instructions:
     subject:                    "パスワードの再設定"
     title:                      "こんにちは、"
     reset_password_explanation: "パスワードの変更を受け付けました。以下のリンクから変更できます。"
     reset_password_link:        "パスワードを変更する"
     please_ignore:              "※パスワードリセットの申請に心当たりがない場合は、以降の対応は不要となります。"
     wont_change:                "※上記リンクをクリックして新しいパスワードを作成しない限り、パスワードは変更されません。"
     reset_password_within:      "※リンクの有効期限は1時間です。"
次にconfig/application.rb に追記します。
 module HogeHoge
  class Application < Rails::Application
 ...
 config.i18n.default_locale = :ja
 config.i18n.load_path += Dir[Rails.root.join('config/locales/*.yml').to_s]
 ...
基本的な翻訳の設定は完了しました。
カスタマイズ用のMailer作成
Mailerのテンプレートを独自に編集するだけだとうまく先程作ったメールテンプレートが参照されませんでした。考えてみれば、そもそもdeviseが指定もなく参照してくれるはずもなく。。
と、いうことで独自のMailerを作成してそれにdeviseのmailerを継承させていきます。
まずは、controllers/public配下にmailer.rbファイルを作成します。
作成できましたら少しだけ記述をします。
 class Public::Mailer < Devise::Mailer
 end
今回、アクションに関しては、デフォルトのままで良いので継承するだけで中身は空のままです。
次にconfig/initializers/devise.rbに追記していきます。
 Devise.setup do |config|
  ...
   # config.mailer = 'Devise::Mailer'
   config.mailer = 'Public::Mailer'
  ...
   config.reset_password_within = 1.hours
  ...
 end
config.mailerでMailerの指定を行いました。
ついでにリセットパスワードメールのトークンの有効期限を1時間に変更しました。
ルーティングの設定
deviseが用意してくれているルーティングを使用します。
 Rails.application.routes.draw do
  ...
   devise_for :members, controllers: {
     registrations: "public/registrations",
     sessions:      "public/sessions",
     passwords:     "public/passwords"
   }
  ...
 end
今回ユーザー側はpublicと指定しています。
rails routesで確認をします。
...
  new_member_password GET /members/password/new(.:format) public/passwords#new
 edit_member_password GET /members/password/edit(.:format)  public/passwords#edit
    member_password PATCH /members/password(.:format) public/passwords#update
                      PUT /members/password(.:format) public/passwords#update
                     POST /members/password(.:format) public/passwords#create
 ...
ルーティングの確認ができました。
ビューファイルの設定
ビューファイルの編集はログイン画面等の編集と特に変わりありません。
変更するファイルはviews/passwordsにあるnewとeditの2ファイルをdevise導入時に生成していると思うのでそちらをお好みで編集します。
環境の設定(開発環境)
記事のタイトルにもあるように開発環境と本番環境で環境設定が変わります。まず開発環境から。
こちらは基本的なMailerの設定とほとんど同じになります。
...
 # Don't care if the mailer can't send.
  host = 'xxxxxxxxxxxxxx.vfs.cloud9.ap-northeast-1.amazonaws.com'
  config.action_mailer.default_url_options = { protocol: 'https', host: host } # メール内で生成されるURLに関するデフォルトの設定
  config.action_mailer.raise_delivery_errors = true # メール送信時にエラーが発生した場合、エラーを表示
  config.action_mailer.delivery_method = :smtp # メール送信の方法をSMTP経由に設定
  config.action_mailer.smtp_settings = { # SMTPの設定
    :port => 587,
    :domain => 'gmail.com',
    :address => "smtp.gmail.com",
    :user_name => ENV["GMAIL_USERNAME"] ,
    :password => ENV["GMAIL_PASSWORD"] ,
    :authentication => :plain, # 認証方式としてPLAINを使用
    :enable_starttls_auto => true # STARTTLS(Transport Layer Security)を自動的に有効にする設定(セキュアな通信)
  }
 ...
↓※ここから実装に苦労した点の説明になります。
ネットの記事を参考に実装していたのですが、hostの設定で詰まってしまいました。
よくある記事だとhost = 'localhost:3000'のようなhost指定だったのですが、この方法ですとメールリンクを押下するとFirewallのエラーとでてしまいました。
次にホストの指定が悪いのだと疑い、cloud9のターミナルでrails s後、hostの確認をしました。
その結果がこちらです↓
 ec2-user:~/environment/hogehoge (develop) $ rails s
 => Booting Puma
 => Rails 6.1.7.4 application starting in development
 => Run `bin/rails server --help` for more startup options
 Puma starting in single mode...
 * Version 3.12.6 (ruby 3.1.2-p20), codename: Llamas in Pajamas
 * Min threads: 5, max threads: 5
 * Environment: development
 * Listening on tcp://localhost:8080 ## ←こちらを確認しました
 Use Ctrl-C to stop
Listening on tcp://localhost:8080とは?
Rails開発用サーバーが指定されたポート(今回の場合は8080番ポート)で待機し、リクエストを受け付けていることを示しています。tcp://localhost:8080は、TCPプロトコル(インターネット上でデータを信頼性のある方法で送受信するための通信プロトコルの一種)を使用して、ローカルホスト(自分自身のコンピュータ)の8080番ポートで接続を待っていることを意味するそうです。
これか!と思いhost = 'localhost:8080'と指定。
しかしhost = 'localhost:3000'と指定した時と同様ブラウザでエラーとなってしましました。
URLをよくみてみると開発環境のサーバー割り当てられている英数字にいつも変化がないと思い、直にhostを指定したところ解決しました。
それでは本番環境も設定していきます。
環境の設定(本番環境)
本番環境の設定は開発環境の設定が済んでいればほぼコピペで対応できます。
production.rbを編集していきます。
...
 # Don't care if the mailer can't send.
  host = 'hogehoge.com'
  config.action_mailer.default_url_options = { protocol: 'https', host: host }
  config.action_mailer.raise_delivery_errors = true
  config.action_mailer.delivery_method = :smtp
  config.action_mailer.smtp_settings = {
    :port => 587,
    :domain => 'gmail.com',
    :address => "smtp.gmail.com",
    :user_name => ENV["GMAIL_USERNAME"] ,
    :password => ENV["GMAIL_PASSWORD"] ,
    :authentication => :plain,
    :enable_starttls_auto => true
  }
...
変わったのはhostの指定くらいです。
こちらはドメイン取得が済んでいればご自身のドメイン.comで対応できます。
取得が済んでいないようであればパブリックIPアドレスで対応できると思われます。
本番環境もこれで設定完了です。
ターミナル(開発環境)
Public::Mailer#reset_password_instructions: processed outbound mail in 49.3ms
Delivered mail xxxxxxxxxxxxxx.vfs.cloud9.ap-northeast-1.compute.internal.mail (2674.3ms)
Date: Thu, 10 Aug 2023 00:42:39 +0000
From: devise@example.com
Reply-To: devise@example.com
To: hogehoge@gmail.com
Message-ID: <xxxxxxx@ip-xxx-xx-x-xx.ap-northeast-1.compute.internal.mail>
Subject: Reset password instructions
Mime-Version: 1.0
Content-Type: text/html;
 charset=UTF-8
Content-Transfer-Encoding: base64

PHA+44GT44KT44Gr44Gh44Gv44CBIHl1bmEg5qeY77yBPC9wPg0KDQo8cD7j
...
oOOBqOWLleOBjeOBvuOBm+OCk+OAguOBvuOAgeOBneOCiuOCg+OBneOBhuOB
i+OAgjwvcD4=
本番ログ
I, [2023-08-10...] INFO -- : [xxxxxx] Processing by Public::PasswordsController#create as HTML
I, [2023-08-10...] INFO -- : [xxxxxx] Parameters: {"authenticity_token"=>"[FILTERED]", "member"=>{"email"=>"hogehoge@gmail.com"}, "commit"=>"パスワード変更メールを送信"}
I, [2023-08-10...] INFO -- : [xxxxxx] Rendered public/mailer/reset_password_instructions.html.erb (Duration: 1.1ms | Allocations: 636
I, [2023-08-10...] INFO -- : [xxxxxx] Delivered mail xxxxxx@ip-xxx-xx-x-xx.ap-northeast-1.compute.internal.mail (3350.3ms)
問題なく送信できました。
実際にパスワードリセット画面に遷移でき、パスワードの変更も行えたので問題ないかと思われます。
最後に
だいぶ長くなってしまいましたが、ここまで実装お疲れ様でした。
記事を探してもいろいろな実装法がありますが、どれを当てはめてもうまくいかなかったので割と苦労しました。
私はこの機能の実装で恐らく20~30程記事をハシゴしたので、記事を見ていただいた方の労力をこの記事で少しでも解消できたら幸いです。
大分バーっと書いてしまったのでなにか間違い(誤字脱字、技術面等)があればご指摘ください。
最後まで見てくださりありがとうございました。一緒に勉強がんばりましょう!
Discussion