DockerでCodeIgniter 4の環境構築をする
CodeIgnitorの環境構築をしたときのメモです。
環境
- WSL 2
- Ubuntu 20.04
- Docker 20.10.7
- PHP 8.0.9 (新規インストール)
- composer 2.1.5 (新規インストール)
- codeigniter 4.1.3 (新規インストール)
ベースとなるDockerイメージはphp:8.0-apacheとした。
Php - Official Image | Docker Hub
マルチステージビルドを使って、Composerをインストールする。
We do not provide a Composer image for each supported PHP version because we do not want to encourage using Composer as a base image or a production image.
とあるように、ComposerのDockerイメージはそのまま使わない。
Composer - Official Image | Docker Hub
Docker に Composer をインストールするベストプラクティス(と解説) - Qiita
FROM php:8.0-apache
COPY /usr/bin/composer /usr/bin/composer
Dockerコンテナ内でCodeIgniterをインストールするときにエラーになった。
以下のリンクを参考に解決できそうだが、Node.jsと同じようにローカル環境にPHP, composerをインストールしても良いのでは?と思い、方針を変更。
CodeIgnitorをインストールする前に、ローカル環境 (Ubuntu 20.04)にPHP, composerをインストールする。
PHP 8.0をインストールする。
$ sudo add-apt-repository ppa:ondrej/php
$ sudo apt update
$ sudo apt install php8.0
PHPのインストールを確認。
$ php -v
PHP 8.0.9 (cli) (built: Jul 30 2021 13:03:39) ( NTS )
Copyright (c) The PHP Group
Zend Engine v4.0.9, Copyright (c) Zend Technologies
    with Zend OPcache v8.0.9, Copyright (c), by Zend Technologies
composerのインストール
公式ページにある通り、コマンドを実行。
php -r "copy('https://getcomposer.org/installer', 'composer-setup.php');"
php -r "if (hash_file('sha384', 'composer-setup.php') === '756890a4488ce9024fc62c56153228907f1545c228516cbf63f885e036d37e9a59d27d63f46af1d4d07ee0f76181c7d3') { echo 'Installer verified'; } else { echo 'Installer corrupt'; unlink('composer-setup.php'); } echo PHP_EOL;"
php composer-setup.php
php -r "unlink('composer-setup.php');"
グローバルで利用するために生成されたcomposer.pharを移動する。
mv composer.phar /usr/local/bin/composer
composerのインストールを確認。
composer -v
CodeIgniterのプロジェクトを新規作成
プロジェクトを作成したい場所で以下のコマンドを実行。
composer create-project codeigniter4/appstarter <project-name>
zip, unzipが必要だった
sudo apt install zip unzip
インストール時に
Your requirements could not be resolved to an installable set of packages.
というエラーが発生。
Updating dependencies
Your requirements could not be resolved to an installable set of packages.

  Problem 1
    - codeigniter4/framework[4.0.0, ..., v4.1.3] require ext-curl * -> it is missing from your system. Install or enable PHP's curl extension.
    - Root composer.json requires codeigniter4/framework ^4 -> satisfiable by codeigniter4/framework[4.0.0, ..., v4.1.3].

To enable extensions, verify that they are enabled in your .ini files:
    - /etc/php/8.0/cli/php.ini
    - /etc/php/8.0/cli/conf.d/10-opcache.ini
    - /etc/php/8.0/cli/conf.d/10-pdo.ini
    - /etc/php/8.0/cli/conf.d/20-calendar.ini
    - /etc/php/8.0/cli/conf.d/20-ctype.ini
    - /etc/php/8.0/cli/conf.d/20-exif.ini
    - /etc/php/8.0/cli/conf.d/20-ffi.ini
    - /etc/php/8.0/cli/conf.d/20-fileinfo.ini
    - /etc/php/8.0/cli/conf.d/20-ftp.ini
    - /etc/php/8.0/cli/conf.d/20-gettext.ini
    - /etc/php/8.0/cli/conf.d/20-iconv.ini
    - /etc/php/8.0/cli/conf.d/20-phar.ini
    - /etc/php/8.0/cli/conf.d/20-posix.ini
    - /etc/php/8.0/cli/conf.d/20-readline.ini
    - /etc/php/8.0/cli/conf.d/20-shmop.ini
    - /etc/php/8.0/cli/conf.d/20-sockets.ini
    - /etc/php/8.0/cli/conf.d/20-sysvmsg.ini
    - /etc/php/8.0/cli/conf.d/20-sysvsem.ini
    - /etc/php/8.0/cli/conf.d/20-sysvshm.ini
    - /etc/php/8.0/cli/conf.d/20-tokenizer.ini
You can also run `php --ini` inside terminal to see which files are used by PHP in CLI mode.
エラーメッセージにあるように、curl拡張機能をインストール
sudo apt install php-curl
もう一度実行したら、今度はintl拡張機能がないと言われた。
Updating dependencies
Your requirements could not be resolved to an installable set of packages.

  Problem 1
    - codeigniter4/framework[4.0.0, ..., v4.1.3] require ext-intl * -> it is missing from your system. Install or enable PHP's intl extension.
    - Root composer.json requires codeigniter4/framework ^4 -> satisfiable by codeigniter4/framework[4.0.0, ..., v4.1.3].
同じように、インストール。
sudo apt install php-intl
今度はPHPUnitのインストールのために、dom拡張モジュールがないと言われた。
Updating dependencies
Your requirements could not be resolved to an installable set of packages.

  Problem 1
    - phpunit/phpunit[9.1.0, ..., 9.5.8] require ext-dom * -> it is missing from your system. Install or enable PHP's dom extension.
    - Root composer.json requires phpunit/phpunit ^9.1 -> satisfiable by phpunit/phpunit[9.1.0, ..., 9.5.8].
php-xmlをインストール
sudo apt install php-xml
(パッケージ名がphp-domではないのがややこしい。)
PHP: インストール手順 - ManualにUbuntu 20ではインストールする必要があると記載があった。
This dom extension was not enabled by default on Ubuntu 20.
Composer had thrown this during phpunit installation:must enable php dom extension.
That problem went away once I ransudo apt-get install php-xml. Now everything is fine; phpunit installed fine
再度実行したら、mbstringがないとのこと。
Updating dependencies
Your requirements could not be resolved to an installable set of packages.

  Problem 1
    - phpunit/phpunit[9.1.0, ..., 9.5.8] require ext-mbstring * -> it is missing from your system. Install or enable PHP's mbstring extension.
    - Root composer.json requires phpunit/phpunit ^9.1 -> satisfiable by phpunit/phpunit[9.1.0, ..., 9.5.8].
インストール。
sudo apt install php-mbstring
再度実行したら、成功!
長かった、、、。
GitHubのページには、以下のように必要な拡張モジュールが記載されていた。
PHP version 7.3 or higher is required, with the following extensions installed:
・intl
・libcurl if you plan to use the HTTP\CURLRequest library
Additionally, make sure that the following extensions are enabled in your PHP:
・json (enabled by default - don't turn it off)
・mbstring
・mysqlnd
・xml (enabled by default - don't turn it off)
GitHub - codeigniter4/appstarter: CodeIgniter 4 app starter
公式ドキュメントServer Requirements — CodeIgniter 4.1.3 documentationにも載ってあった。
プロジェクトの作成が完了したら、ローカル開発用のサーバーを起動
$ php spark serve
CodeIgniter v4.1.3 Command Line Tool - Server Time: 2021-08-07 04:59:43 UTC-05:00
CodeIgniter development server started on http://localhost:8080
Press Control-C to stop.
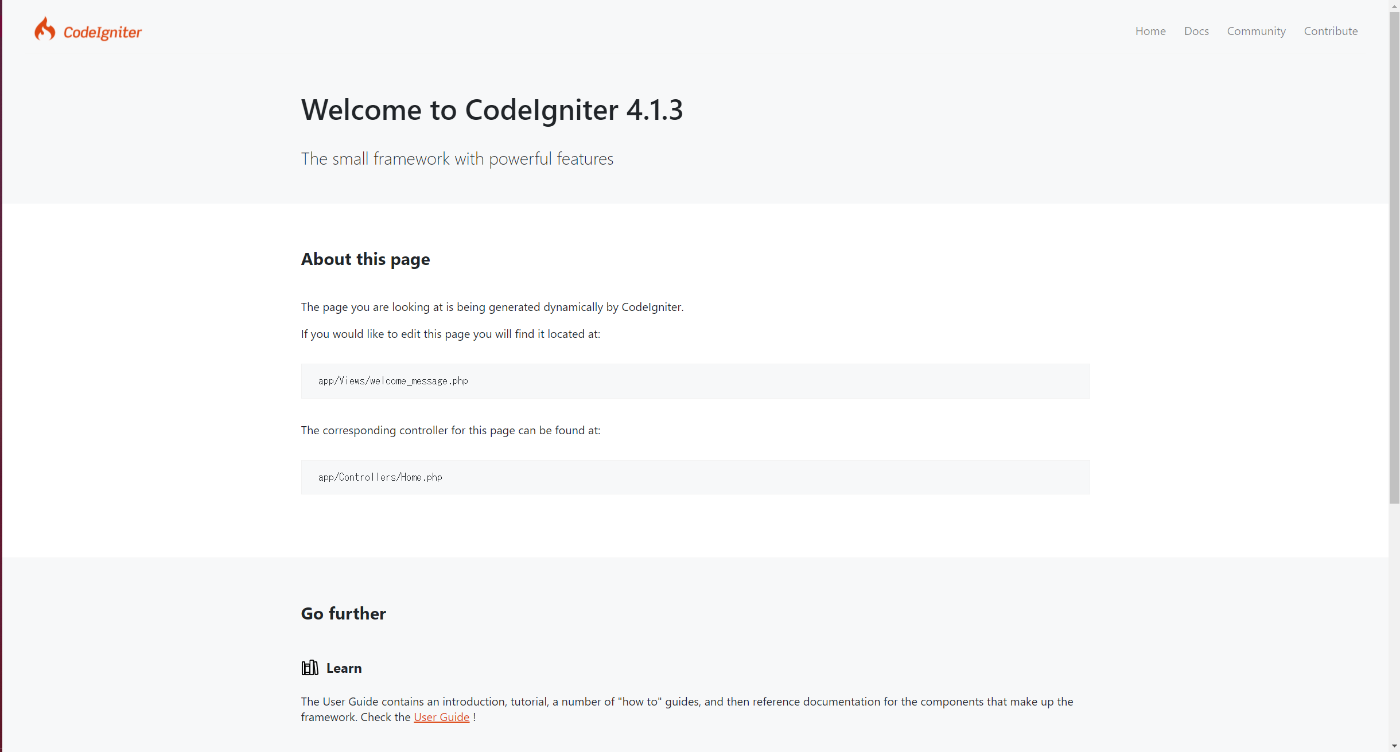
ブラウザからhttp://localhost:8080/にアクセスして画面が表示されたら、ひとまず完了。
次はDockerを使って、CodeIgnitorのローカル開発用サーバーを起動、ブラウザからアクセスできるようにする。
Dockerイメージはphp:8.0-apacheをベースに利用。Dockerfileとdocker-compose.ymlは以下。
FROM php:8.0-apache

RUN apt update \
    && apt-get install -y libicu-dev \
    && docker-php-ext-install intl

EXPOSE 8080
version: '3'

services:
  web:
    build: .
    volumes:
      - ./sample:/var/www/html
    ports:
      - "80:80"
      - "8080:8080"
docker-php-ext-installはPHP拡張モジュールをインストールするためのコマンド。
intlをインストールする際に、libicu-devが必要なので合わせてインストールする。
(ローカル環境で躓いたcurlに関してはすでにインストールされていた)
composerでCodeIgniter 4をインストール〜ローカルサーバ起動 - Web Programmerメモ
alpineでPHP-intlインストール時にエラーが起きる原因 | ハックノート
Dockerコンテナをビルド&立ち上げる。
docker-compose up -d --build
先程と同様にローカル開発用のサーバーを起動。
$ php spark serve

CodeIgniter v4.1.3 Command Line Tool - Server Time: 2021-08-07 07:34:04 UTC-05:00

CodeIgniter development server started on http://localhost:8080
Press Control-C to stop.
[Sat Aug  7 12:34:04 2021] PHP 8.0.9 Development Server (http://localhost:8080) started
しかし、コンテナの外(WSL)からcurlすると応答が返ってこない。
$ curl http://localhost:8080
curl: (52) Empty reply from server
※コンテナ内でcurlすると応答がちゃんと返ってくる。
$ curl http://localhost:8080
<!DOCTYPE html>
<html lang="en">
<head>
        <meta charset="UTF-8">
        <title>Welcome to CodeIgniter 4!</title>
(以下、略)
原因
CodeIgnitorの開発用サーバーはコンテナ内でlocalhostをlistenしているが、ホストマシン(WSL)のlocalhostとコンテナ内のlocalhostが異なることが原因。
- ホストマシンでのlocalhost:
127.0.0.1 - コンテナ内でのlocalhost:
Dockerによって自動的に割り当てられたIP
となる。
解決策
docker上のアプリにlocalhostでアクセスしたらERR_EMPTY_RESPONSEが出る - Qiitaにあるように、
- アプリケーションサーバを0.0.0.0でLISTENするよう変更する
- ポートフォワードの設定を -p localhost:8000:8000 などに変更して外部からのアクセスを遮断する
を行う。
つまり、CodeIgnitorの開発用サーバーを0.0.0.0:8080で起動する。(--hostオプション)
$ php spark serve  --host 0.0.0.0

CodeIgniter v4.1.3 Command Line Tool - Server Time: 2021-08-07 07:50:05 UTC-05:00

CodeIgniter development server started on http://0.0.0.0:8080
Press Control-C to stop.
[Sat Aug  7 12:50:05 2021] PHP 8.0.9 Development Server (http://0.0.0.0:8080) started
また、docker-compose.ymlのportの設定も変更する。
    ports:
      - "80:80"
      - "127.0.0.1:8080:8080"
コンテナ外(WSL)からcurlでリクエストすると応答が返ってきた。
 $ curl http://localhost:8080
<!DOCTYPE html>
<html lang="en">
<head>
        <meta charset="UTF-8">
        <title>Welcome to CodeIgniter 4!</title>
(以下略)
また、ブラウザ(Windows)からhttp://localhost:8080にアクセスしても画面が表示されるようになった。
毎回コマンドを打つのは面倒なので、composer.jsonにスクリプトを追加する。
	"scripts": {
		"test": "phpunit",
		"serve": "php spark serve  --host 0.0.0.0"
	}
以下のコマンドで実行できる。
composer serve
次はDBのコンテナを使って、DBに接続できるようにする。
今回はPostgreSQLを利用する。(Postgres - Official Image | Docker Hub)
まずは、docker-compose.ymlにDBコンテナ設定を追加する。
version: '3'

volumes:
  postgres_data:

services:
  web:
    # 省略
  db:
    image: postgres
    ports:
      - 5432:5432
    volumes:
      - postgres_data:/var/lib/postgresql/data/
    environment:
      POSTGRES_USER: huser
      POSTGRES_PASSWORD: Passw0rd
      POSTGRES_DB: codeigniter
    tty: true
app/Config/Database.phpにあるDB接続情報を変更する。
// デフォルト
	public $default = [
		'DSN'      => '',
		'hostname' => 'db', // DBコンテナ名
		'username' => 'huser',
		'password' => '',
		'database' => 'codeigniter',
		'DBDriver' => 'Postgre',
		'DBPrefix' => '',
		'pConnect' => false,
		'DBDebug'  => (ENVIRONMENT !== 'production'),
		'charset'  => 'utf8',
		'swapPre'  => '',
		'encrypt'  => false,
		'strictOn' => false,
		'failover' => [],
		'port'     => 5432,
	];

// PHPUnitで実行するとき
	public $tests = [
		'DSN'      => '',
        'hostname' => 'localhost', // コンテナの外から実行するため
		'username' => 'huser',
		'password' => 'Passw0rd',
		'database' => 'codeigniter',
		'DBDriver' => 'Postgre',
		'DBPrefix' => 'db_',  // Needed to ensure we're working correctly with prefixes live. DO NOT REMOVE FOR CI DEVS
		'pConnect' => false,
		'DBDebug'  => (ENVIRONMENT !== 'production'),
		'charset'  => 'utf8',
		'DBCollat' => 'utf8_general_ci',
		'swapPre'  => '',
		'encrypt'  => false,
		'compress' => false,
		'strictOn' => false,
		'failover' => [],
		'port'     => 5432,
	];
参考: Database Configuration — CodeIgniter 4.1.3 documentation
PHPでPostgreSQLに接続するためにphp-pgsqlパッケージをインストール
sudo apt update
sudo apt install php-pgsql
Dockerfileでもパッケージをインストールするように追加
RUN apt update \
-    && apt-get install -y libicu-dev \
+    && apt-get install -y libicu-dev libpq-dev \
-    && docker-php-ext-install intl
+    && docker-php-ext-install intl pgsql
一度、Call to undefined function CodeIgniter\Database\Postgre\pg_connect()というエラーが出たが、パッケージをインストールしていないためだった。
composerでプロジェクトを作成したら、DBに接続するためのテストコードがあったので、それを実行する。
composer test -- ./tests/database/ExampleDatabaseTest.php
> phpunit './tests/database/ExampleDatabaseTest.php'
PHPUnit 9.5.8 by Sebastian Bergmann and contributors.

..                                                                  2 / 2 (100%)

Time: 00:00.134, Memory: 10.00 MB
※composer testはcomposer.jsonに定義してあったスクリプト。実際のコマンドはphpunit。
テストが通れば成功である。
または、Controller (例えば、Controllers/Home.php)で以下のコマンドを実行する。
$db = db_connect();