🐠
【Rails7】ステップ式フォーム(ラジオボタン)の実装手順[stimulus]
はじめに
こんにちは!! プログラミング初学者のyukimuraです!
今回は「ステップ式フォーム」の実装について記述しました!!!
ステップ式フォームという呼び方が正しいかはわかりません笑
間違いなどありましたら、優しくご指摘いただけましたら幸いです。
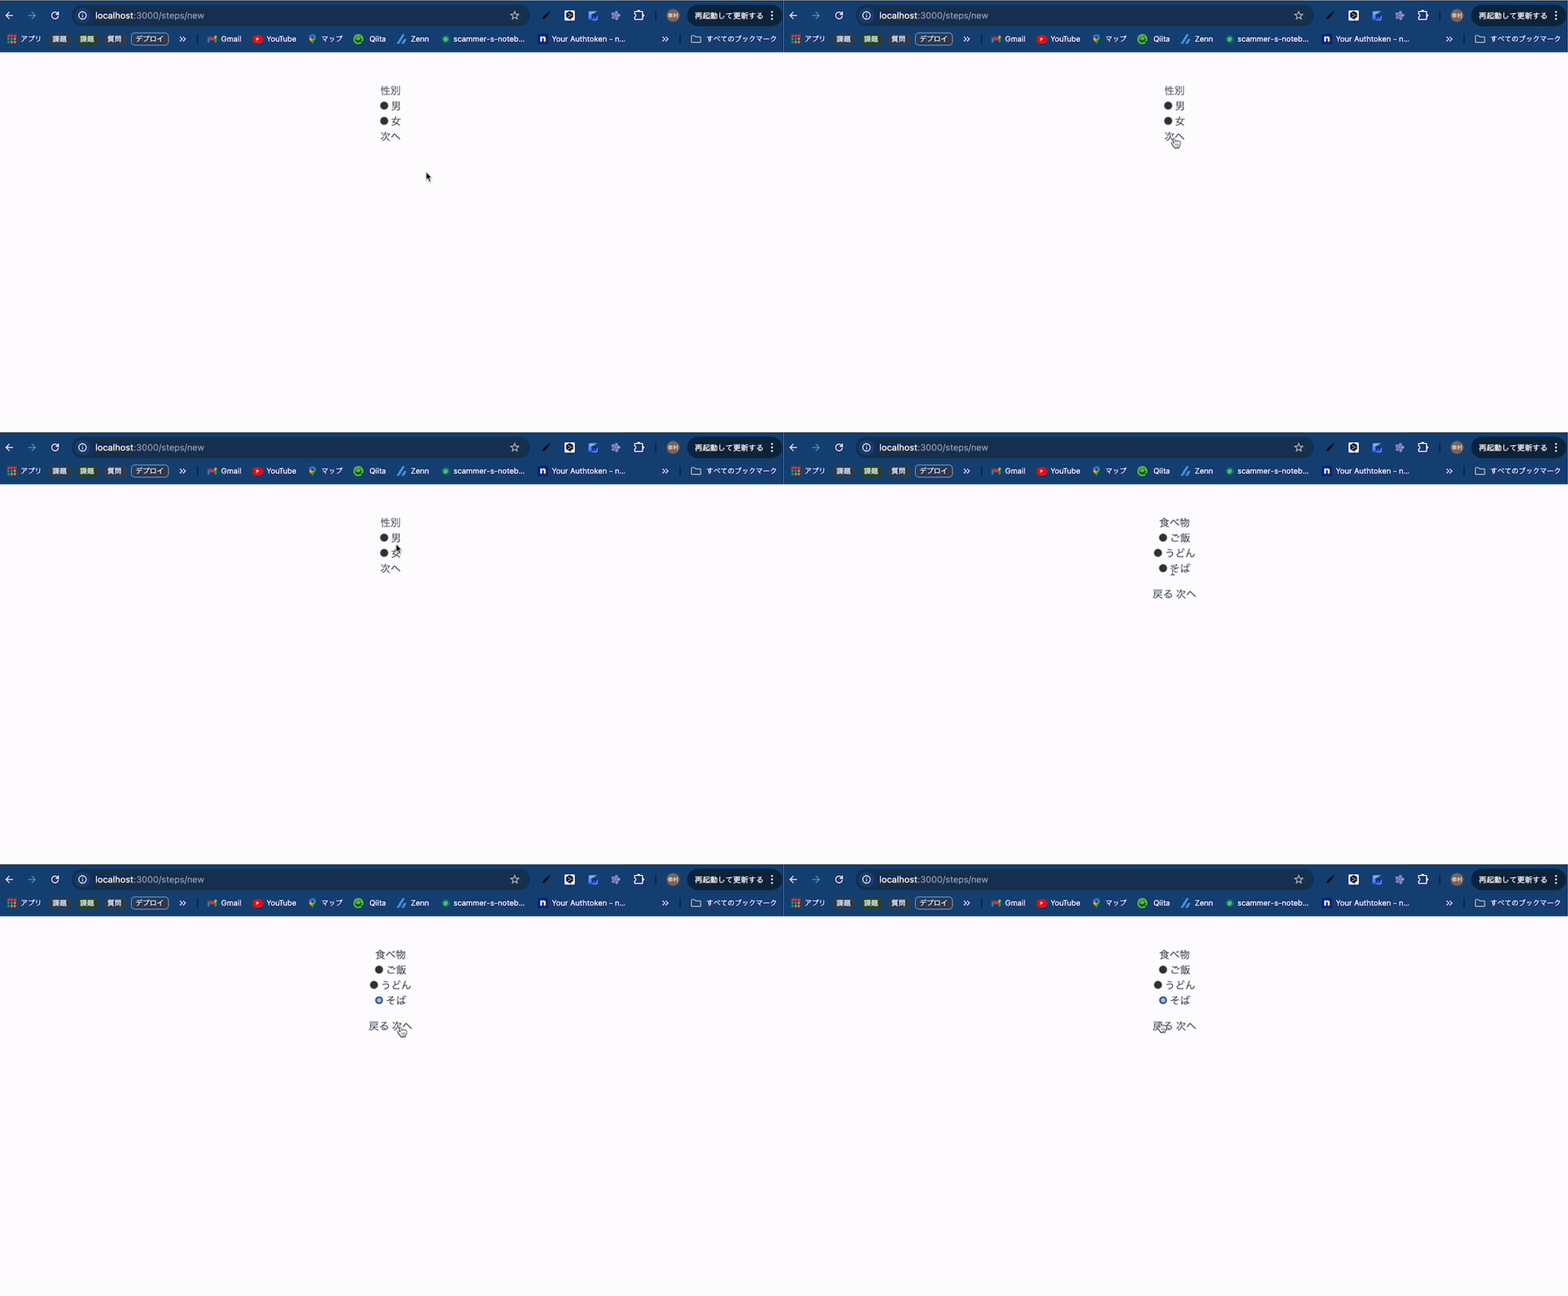
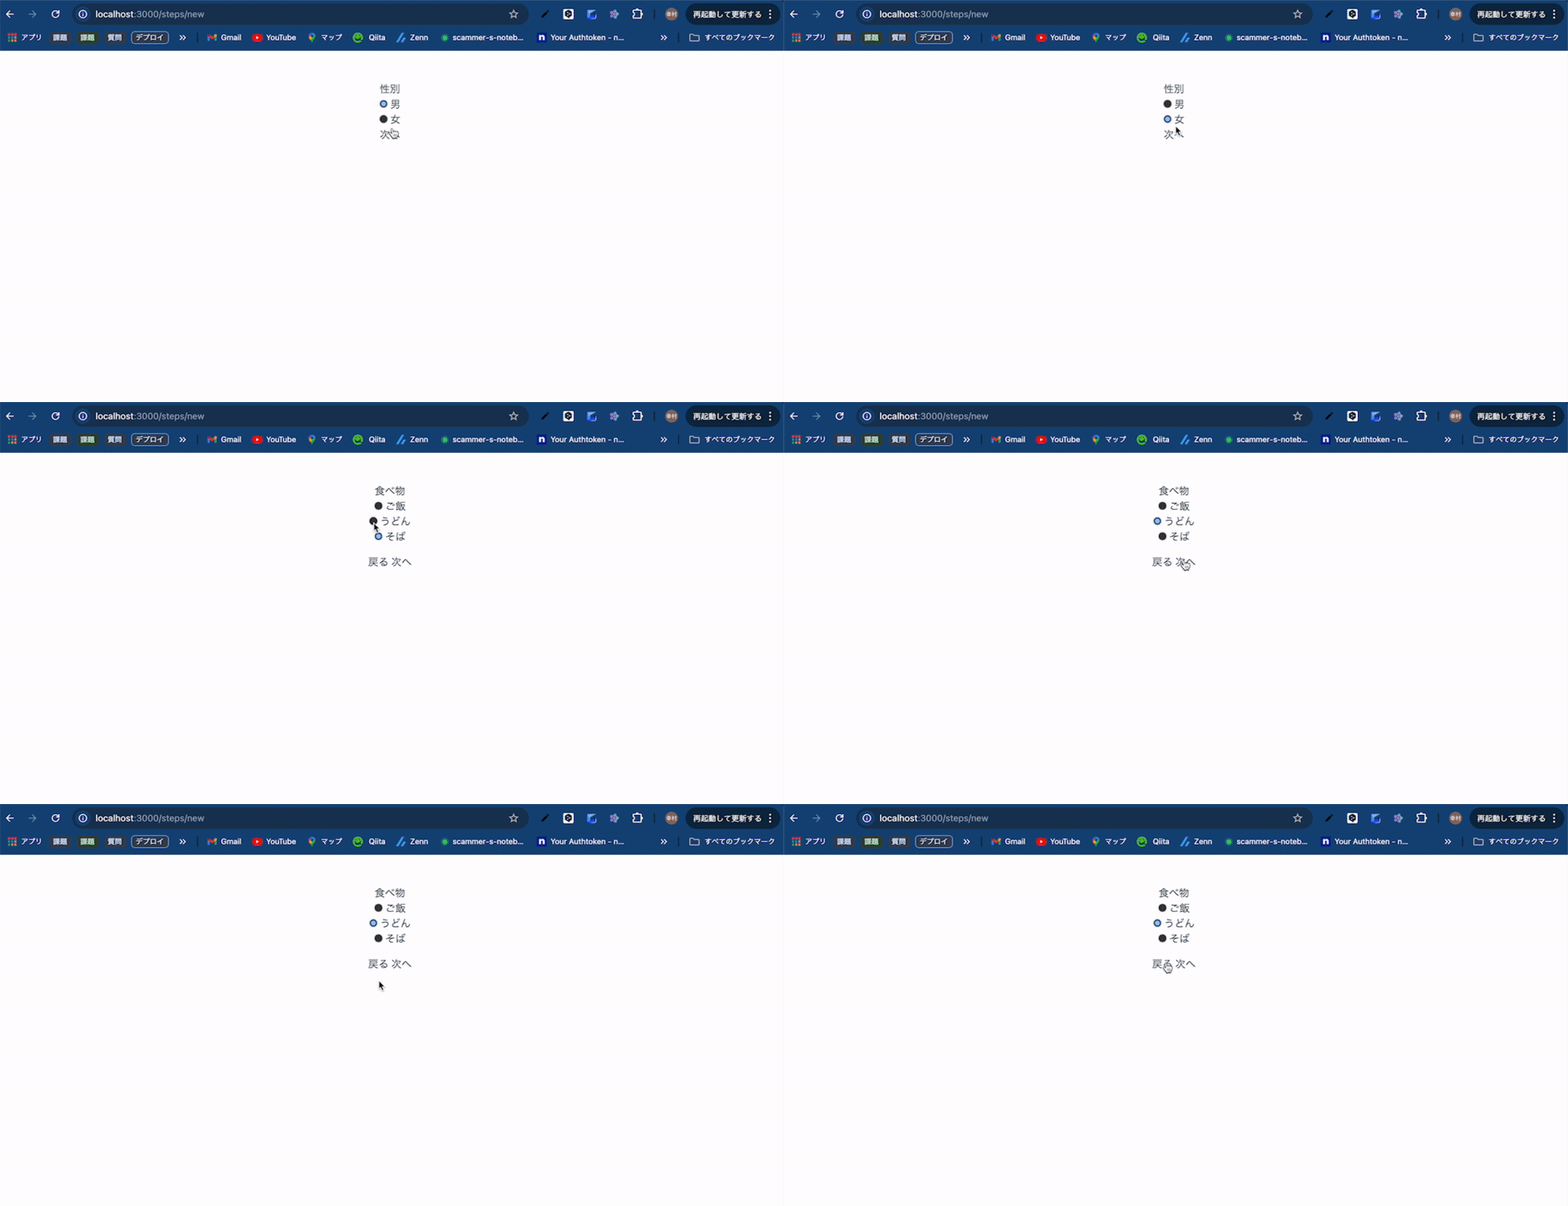
完成系
環境
- docker
- rails 7.0.8.4
- ruby 3.2.3
- tailwind
実装開始
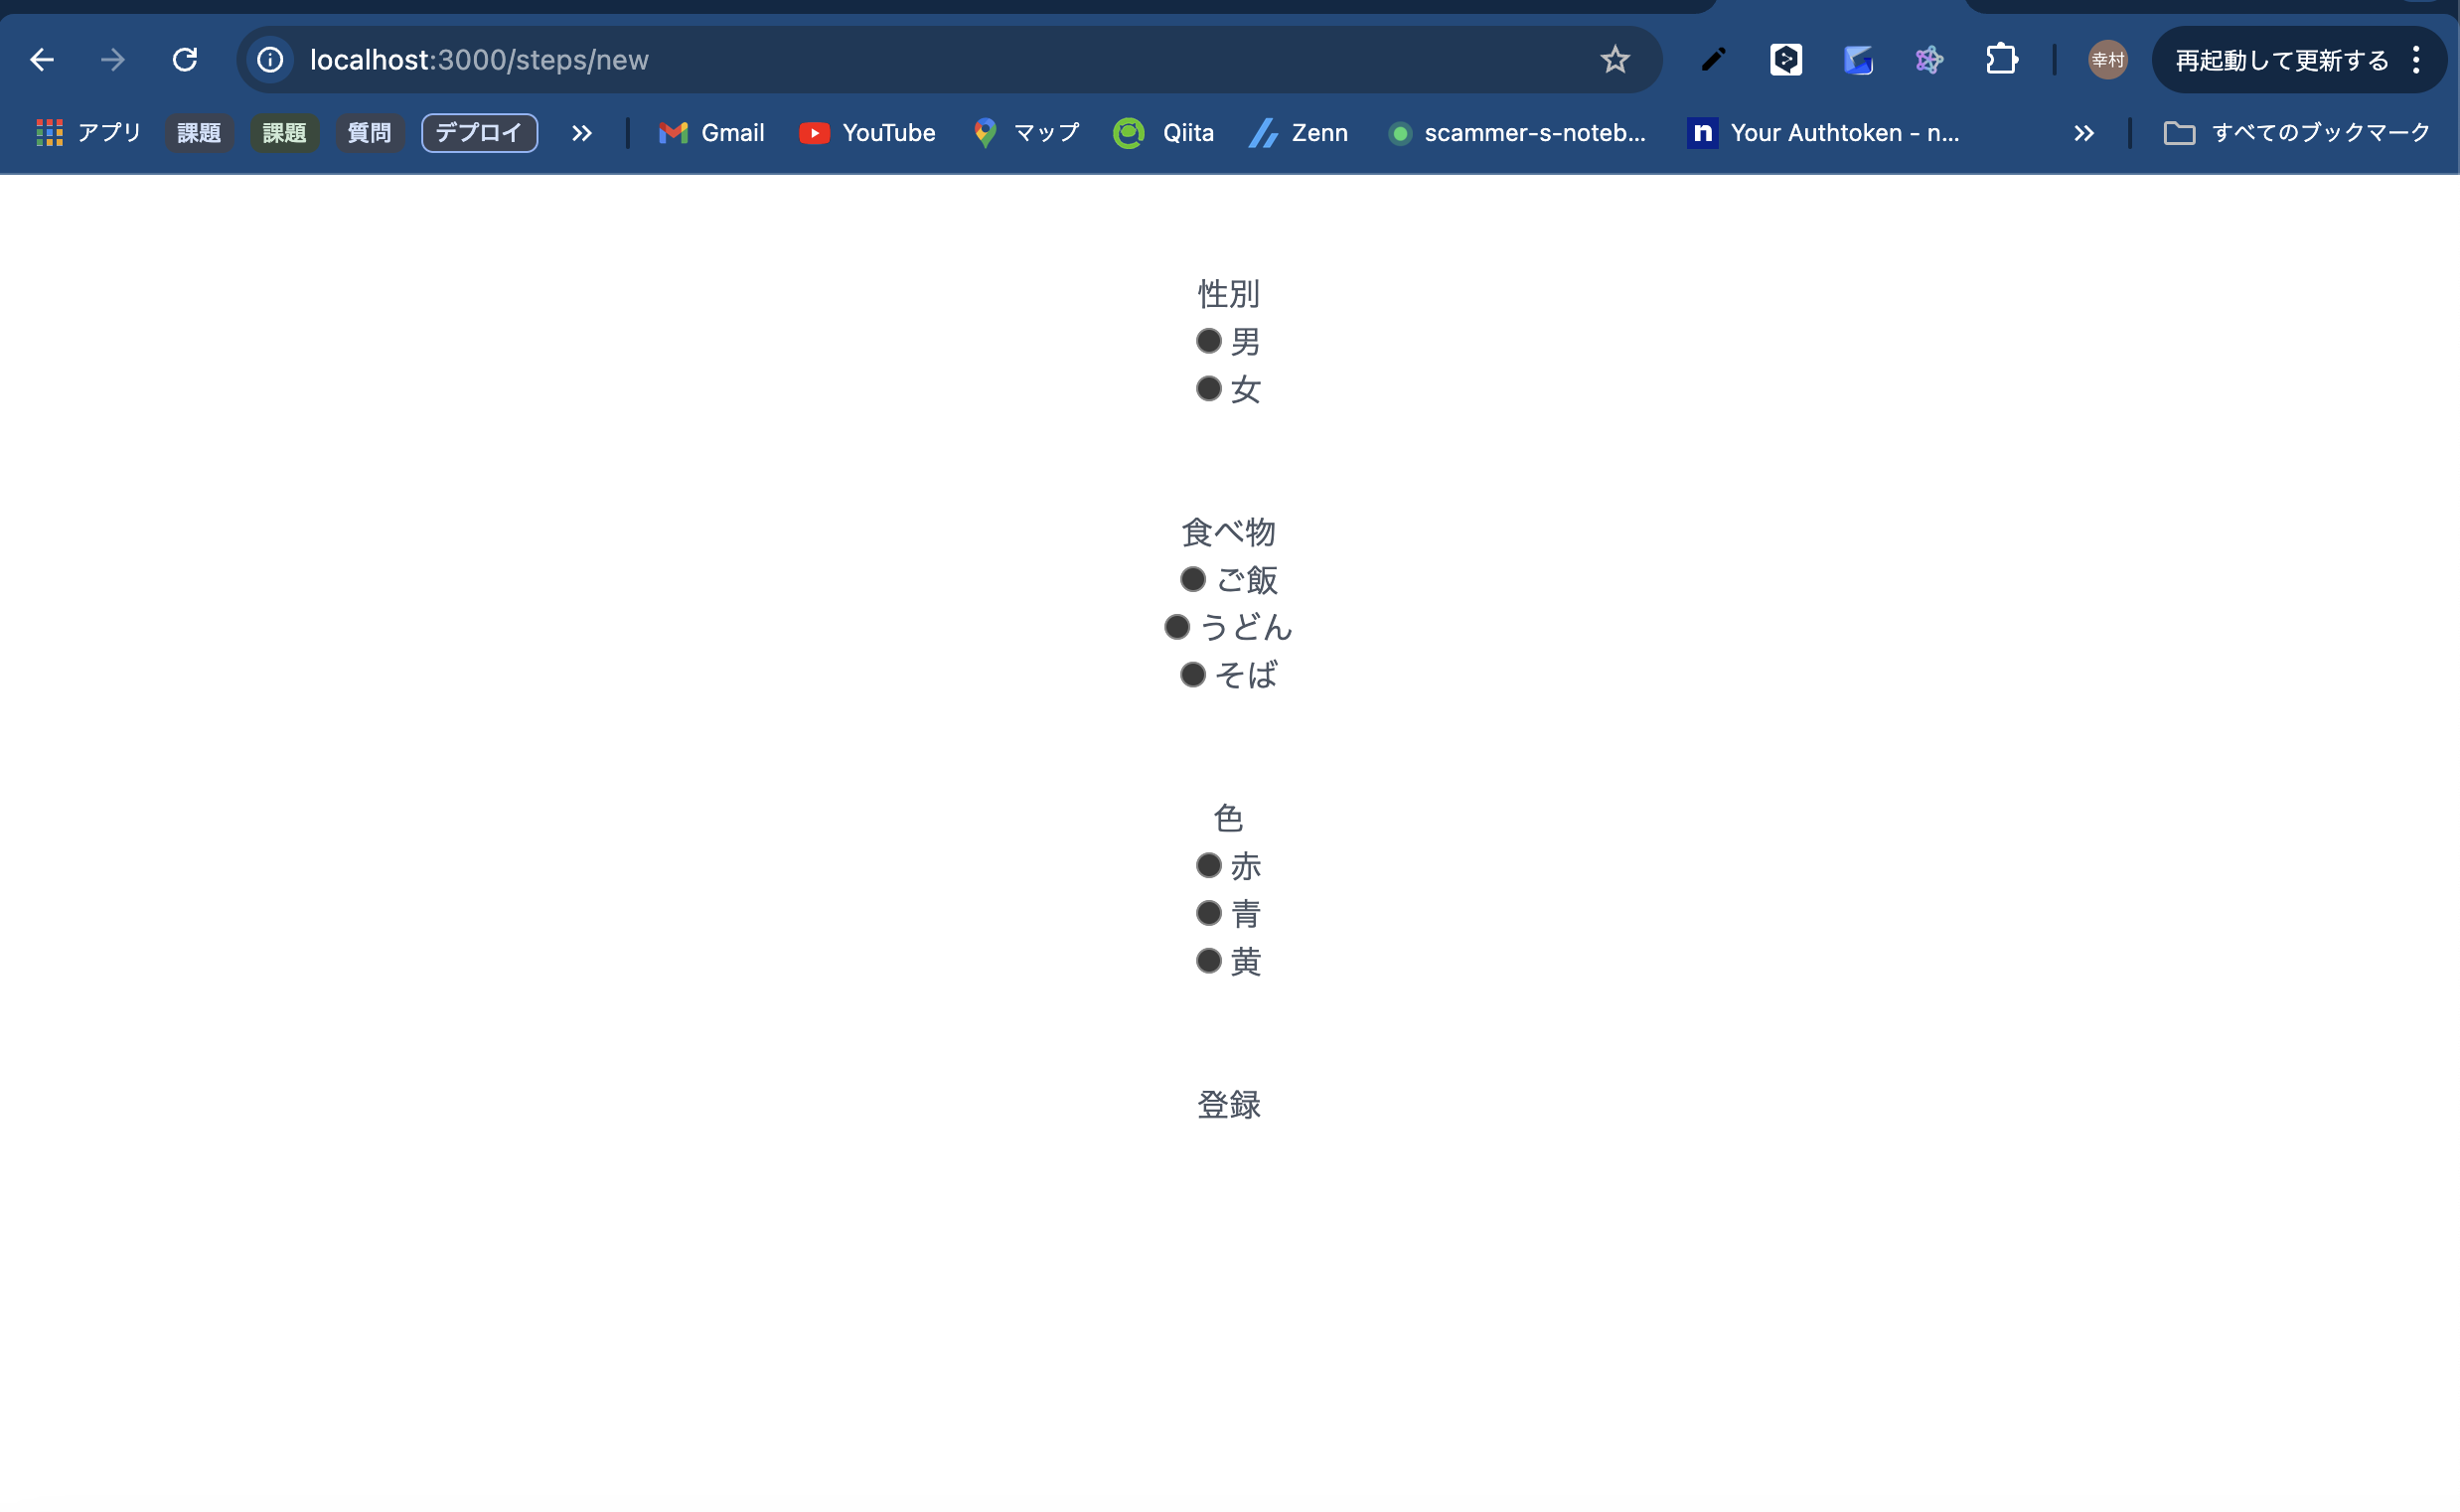
1. 初期のラジオボタンでの入力フォーム
app/views/steps/new.html.erb
<%= form_with model: @step  do |f| %>
<div class="text-center">
  <!-- 性別 -->
  <div class="form-control my-12">
    <%= f.label :gender, "性別" %>
    <div>
      <%= f.radio_button :gender, "male" %> 男
    </div>
    <div>
      <%= f.radio_button :gender, "female" %> 女
    </div>
  </div>

  <!-- 食べ物 -->
  <div class="form-control my-12">
    <%= f.label :food, "食べ物" %>
    <div>
      <%= f.radio_button :food, "rice" %> ご飯
    </div>
    <div>
      <%= f.radio_button :food, "udon" %> うどん
    </div>
    <div>
      <%= f.radio_button :food, "soba" %> そば
    </div>
  </div>

  <!-- 色 -->
  <div class="form-control my-12">
    <%= f.label :color, "色" %>
    <div>
      <%= f.radio_button :color, "red" %> 赤
    </div>
    <div>
      <%= f.radio_button :color, "blue" %> 青
    </div>
    <div>
      <%= f.radio_button :color, "yellow" %> 黄
    </div>
  </div>

  <!-- フォーム送信ボタン -->
  <div class="actions">
    <%= f.submit "登録" %>
  </div>
</div>
<% end %>
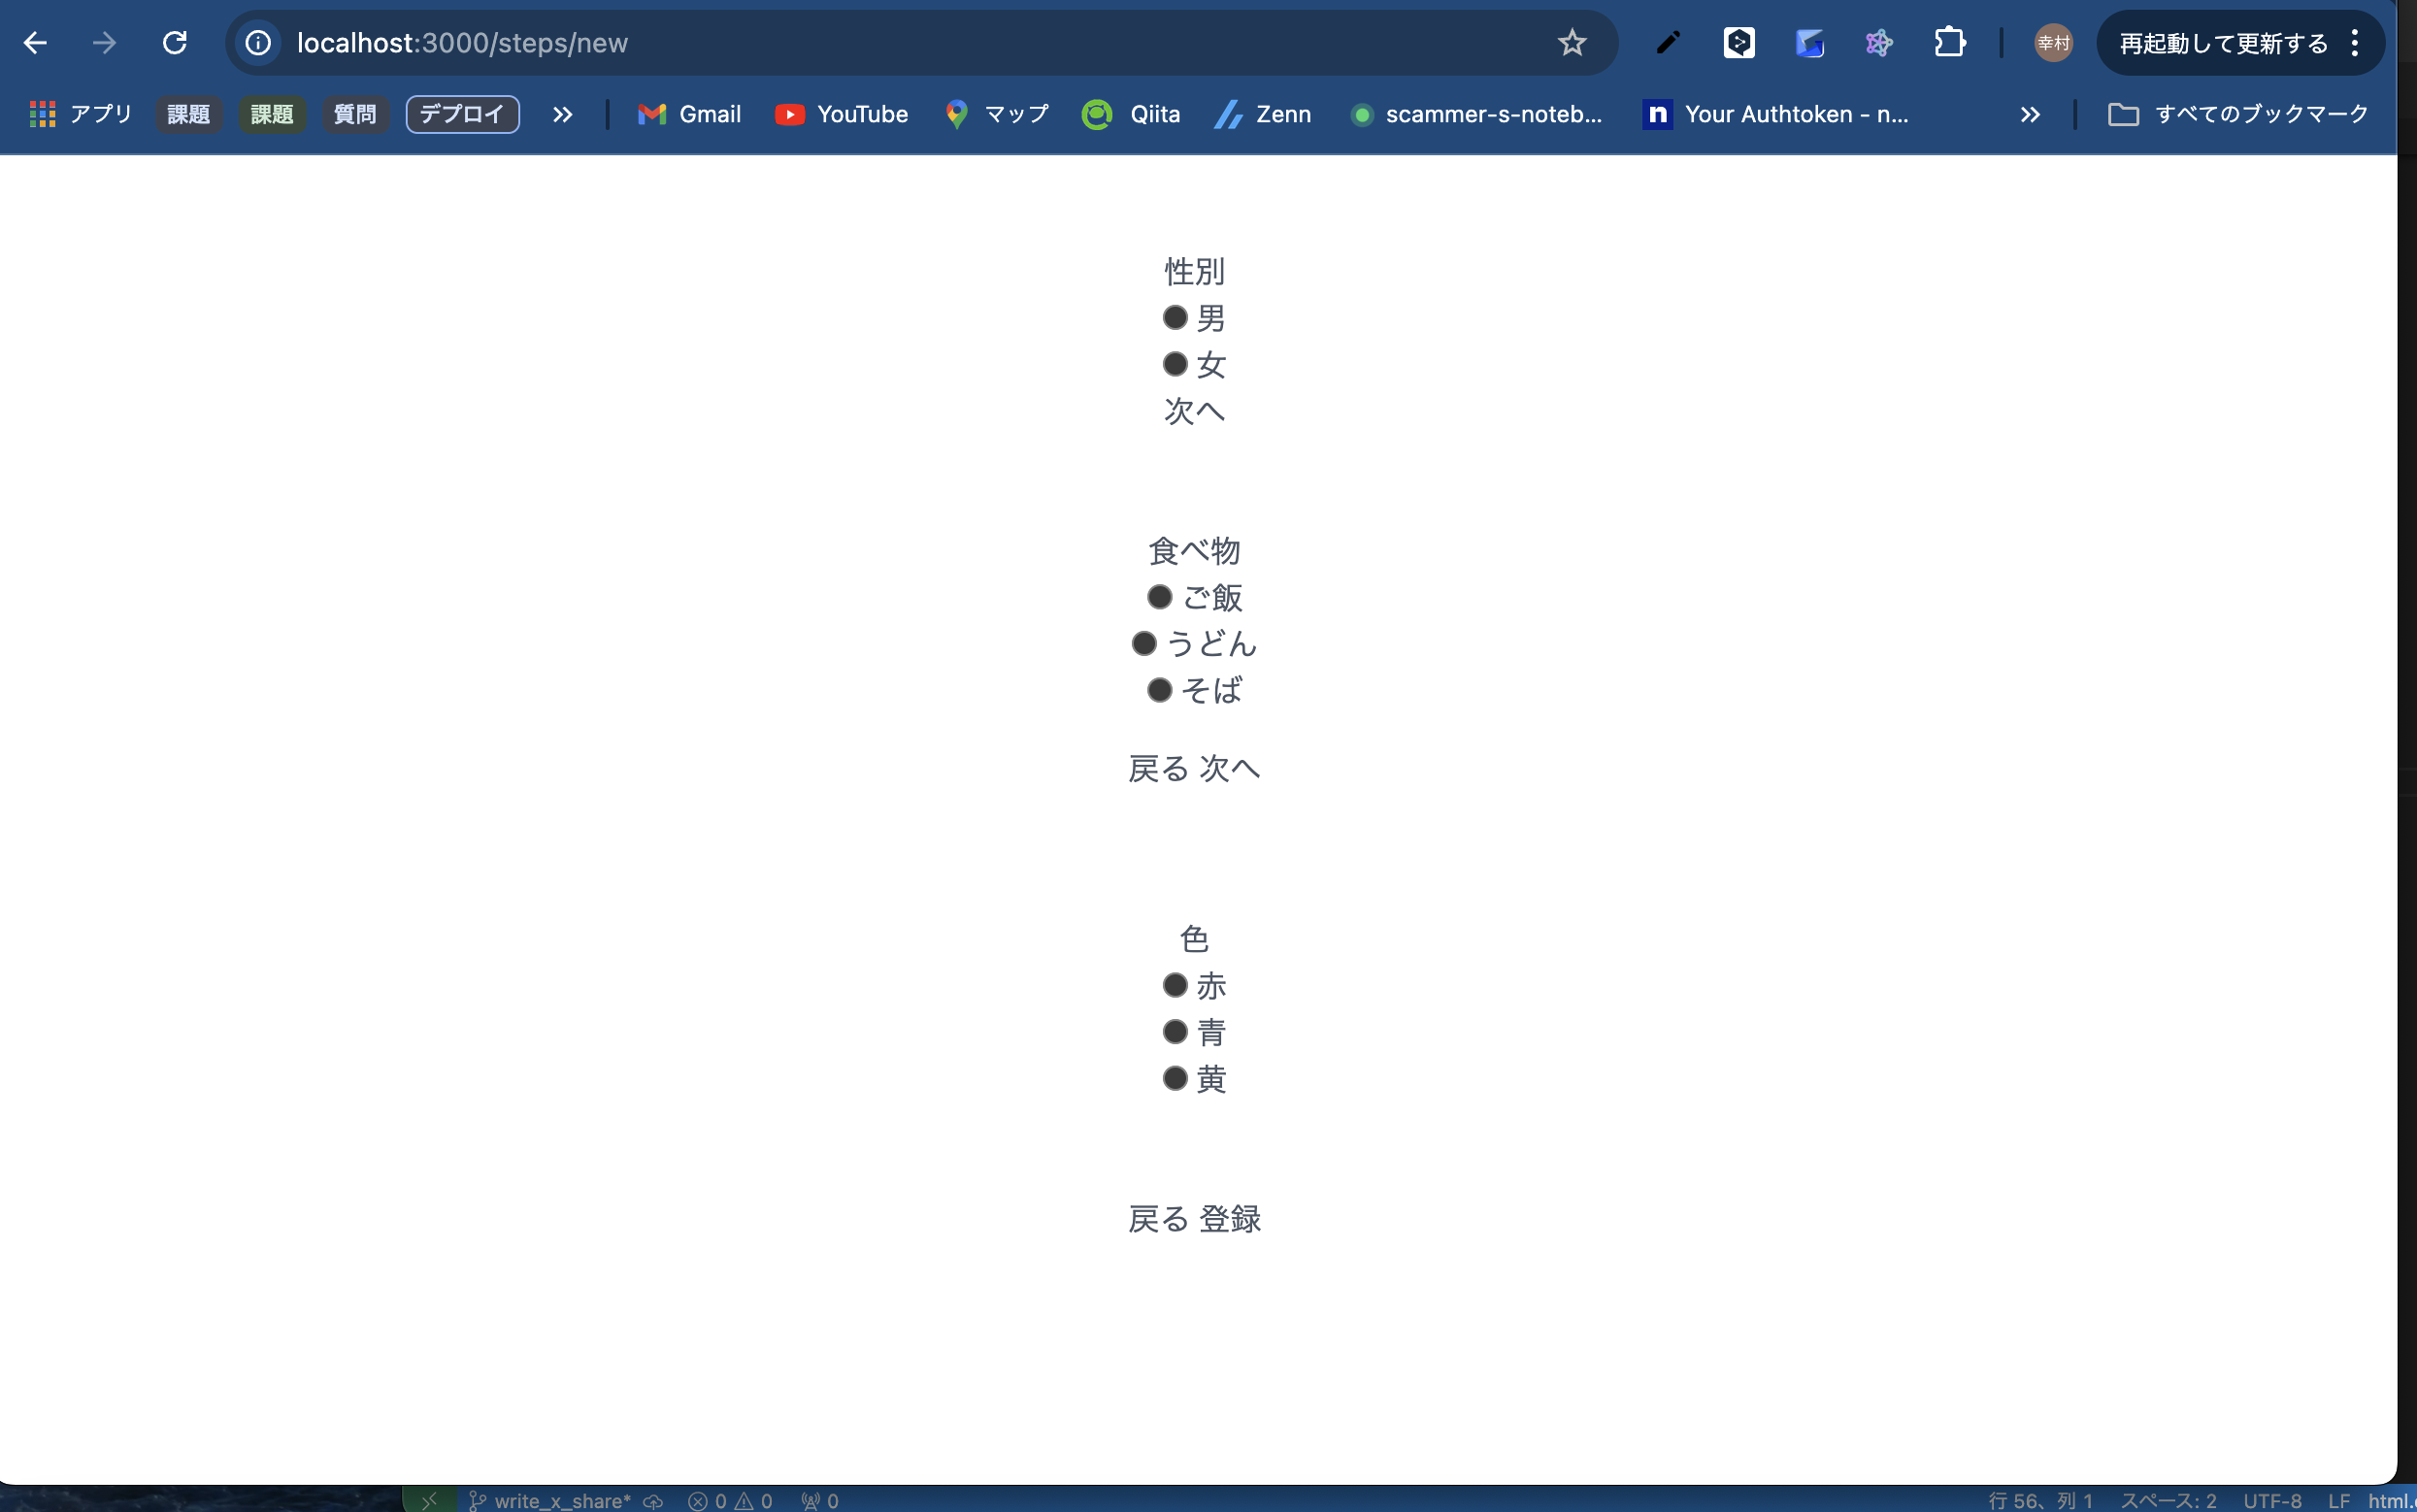
2. 「次へ」「戻る」のボタンをそれぞれ追加する
app/views/steps/new.html.erb
<!-- app/views/users/new.html.erb -->
<%= form_with model: @step  do |f| %>
<div class="text-center">
  <!-- 性別 -->
  <div class="form-control my-12">
    <%= f.label :gender, "性別" %>
    <div>
      <%= f.radio_button :gender, "male" %> 男
    </div>
    <div>
      <%= f.radio_button :gender, "female" %> 女
    </div>

    <button type="button">次へ</button> ## 追加
  </div>

  <!-- 食べ物 -->
  <div class="form-control my-12">
    <%= f.label :food, "食べ物" %>
    <div>
      <%= f.radio_button :food, "rice" %> ご飯
    </div>
    <div>
      <%= f.radio_button :food, "udon" %> うどん
    </div>
    <div>
      <%= f.radio_button :food, "soba" %> そば
    </div>
    <div class="m-4">
      <button type="button">戻る</button> ## 追加
      <button type="button">次へ</button> ## 追加
    </div>
  </div>

  <!-- 色 -->
  <div class="form-control my-12">
    <%= f.label :color, "色" %>
    <div>
      <%= f.radio_button :color, "red" %> 赤
    </div>
    <div>
      <%= f.radio_button :color, "blue" %> 青
    </div>
    <div>
      <%= f.radio_button :color, "yellow" %> 黄
    </div>
  </div>

  <!-- フォーム送信ボタン -->
  <div class=>
    <button type="button">戻る</button> ## 追加
    <%= f.submit "登録" %>
  </div>
</div>
<% end %>
3. Stimulusでステップ式フォームに使うコントローラーを作成
bin/rails g stimulus step_form
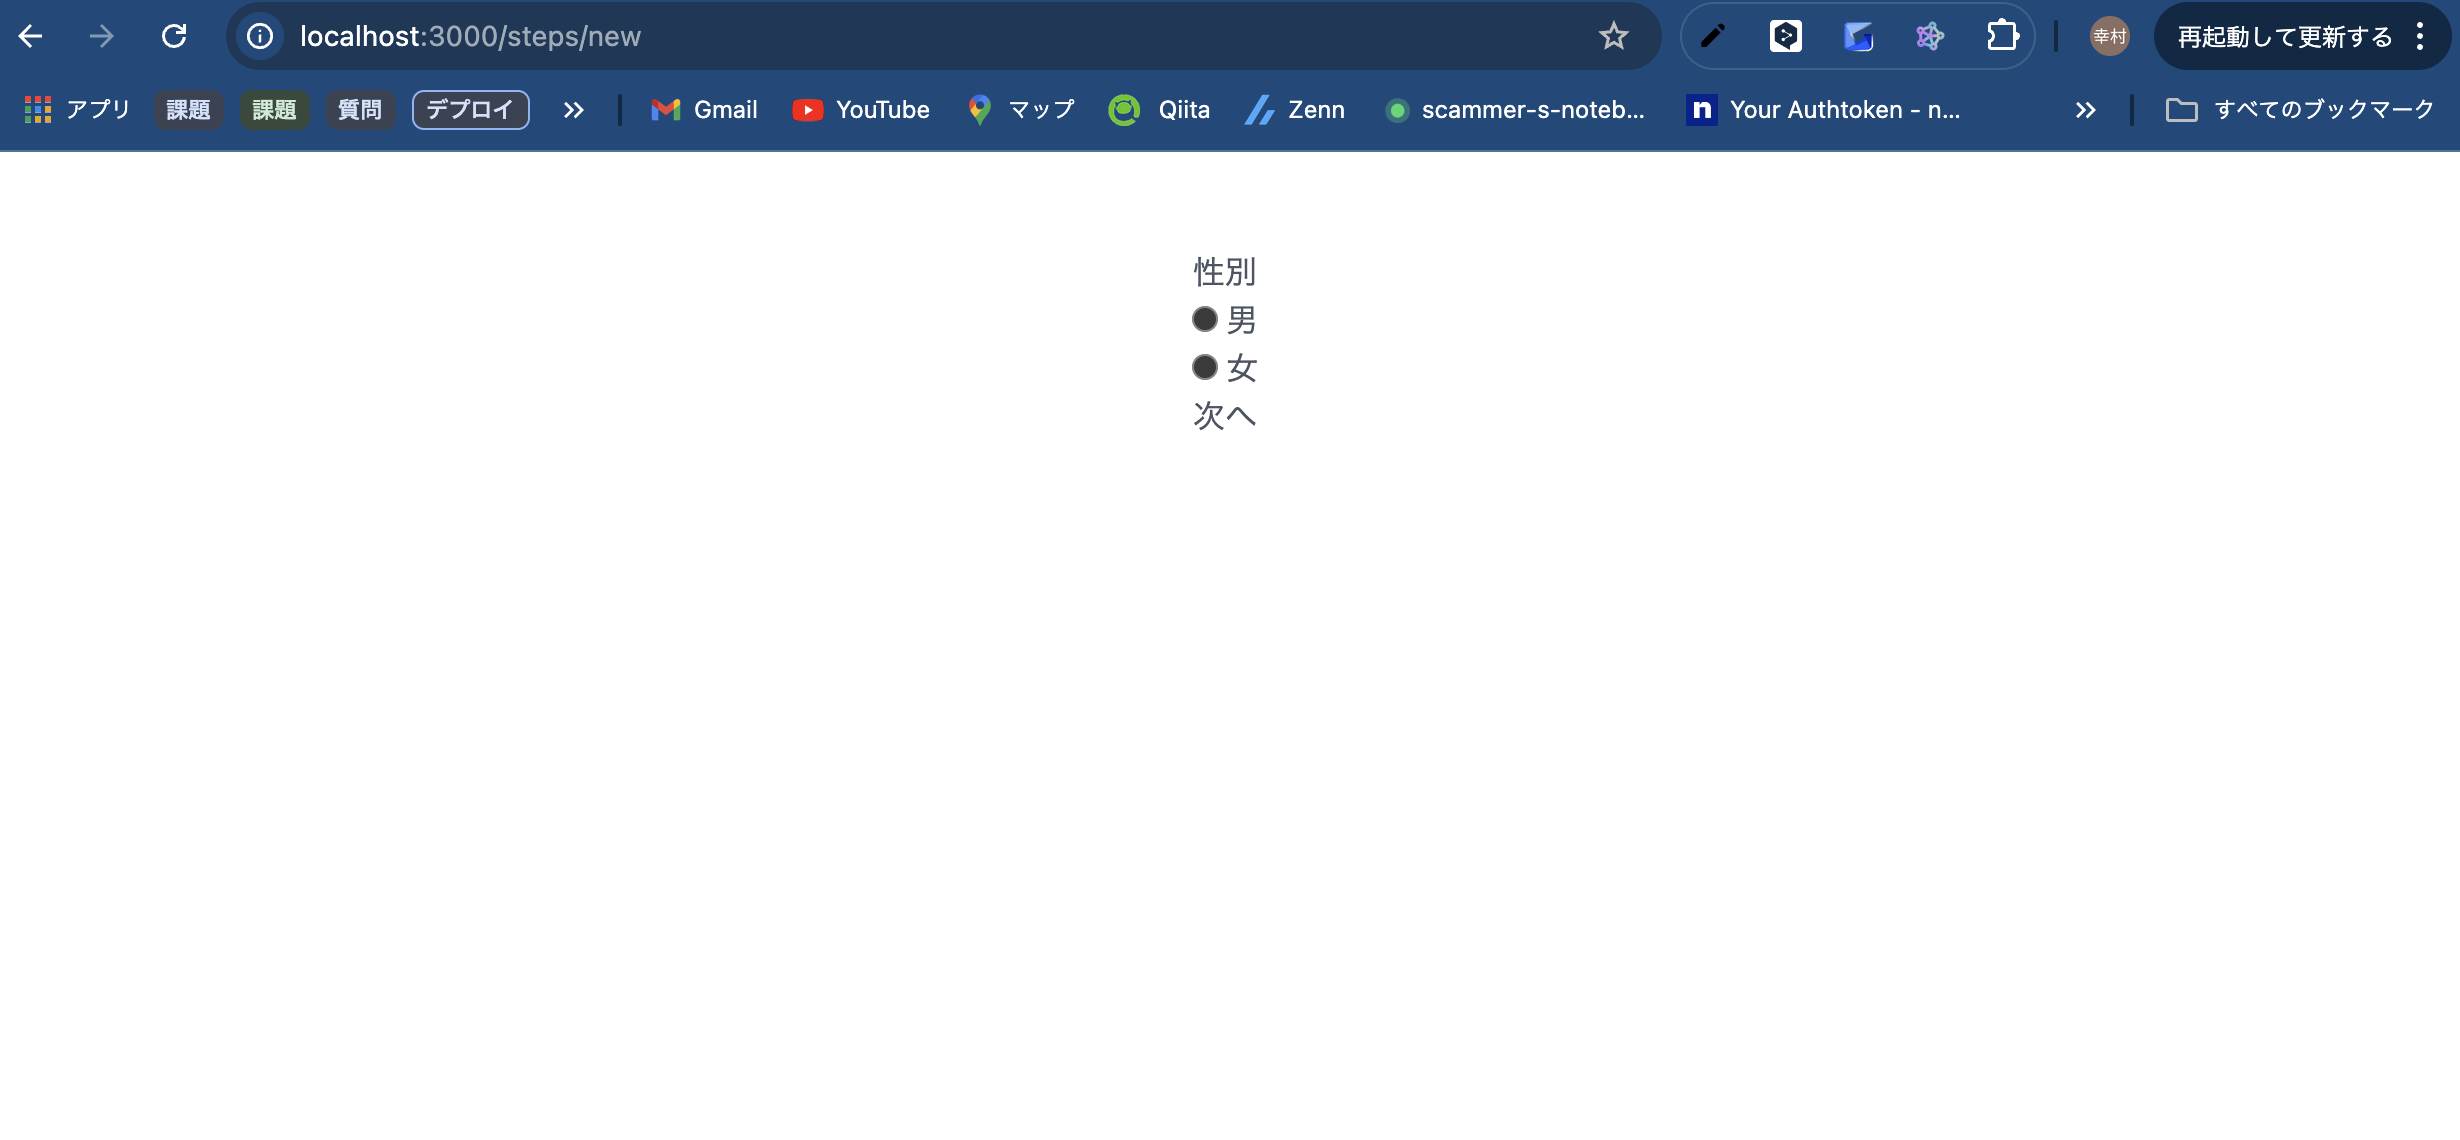
4. data-controllerでフォーム全体を囲む。そして、display:blockとdisplay:noneを使って<div id="step1"のフォームのみを表示する
app/views/steps/new.html.erb
<!-- app/views/users/new.html.erb -->
<%= form_with model: @step  do |f| %>
<div class="text-center" data-controller="step-form"> ## 追加
  <!-- 性別 -->
## 追加
    <div id="step1" style="display: block;" data-step-form-target="step">
      <div class="form-control my-12">
        <%= f.label :gender, "性別" %>
        <div>
          <%= f.radio_button :gender, "male" %> 男
        </div>
        <div>
          <%= f.radio_button :gender, "female" %> 女
        </div>

        <button type="button">次へ</button>
      </div>
    </div>
      <!-- 食べ物 -->
## 追加
    <div id="step2" style="display: none;" data-step-form-target="step">
      <div class="form-control my-12">
        <%= f.label :food, "食べ物" %>
        <div>
          <%= f.radio_button :food, "rice" %> ご飯
        </div>
        <div>
          <%= f.radio_button :food, "udon" %> うどん
        </div>
        <div>
          <%= f.radio_button :food, "soba" %> そば
        </div>
        <div class="m-4">
          <button type="button">戻る</button>
          <button type="button">次へ</button>
        </div>
      </div>
    </div>
      <!-- 色 -->
## 追加
    <div id="step3" style="display: none;" data-step-form-target="step">
      <div class="form-control my-12">
        <%= f.label :color, "色" %>
        <div>
          <%= f.radio_button :color, "red" %> 赤
        </div>
        <div>
          <%= f.radio_button :color, "blue" %> 青
        </div>
        <div>
          <%= f.radio_button :color, "yellow" %> 黄
        </div>
      </div>

      <!-- フォーム送信ボタン -->
      <div class=>
        <button type="button">戻る</button>
        <%= f.submit "登録" %>
      </div>
    </div>
  </div>
    <% end %>
5. 作成したstep-formコントローラーに下記コードを記述
app/javascript/controllers/step_form_controller.js
import { Controller } from "@hotwired/stimulus"

export default class extends Controller {
  static targets = ["step"]

  connect() {
    this.currentStep = 1; // 初期ステップを1に設定
    this.showCurrentStep();
  }

  showCurrentStep() {
    this.stepTargets.forEach((stepElement, index) => {
      if (index === this.currentStep - 1) {
        stepElement.style.display = "block"; // 現在のステップを表示
      } else {
        stepElement.style.display = "none"; // それ以外のステップを非表示
      }
    });
  }

  validateCurrentStep() {
    const currentStepElement = this.stepTargets[this.currentStep - 1];
    const radioGroups = currentStepElement.querySelectorAll('input[type="radio"]');
    let isValid = false;

    radioGroups.forEach((radio) => {
      if (radio.checked) {
        isValid = true;
      }
    });

    return isValid;
  }

  nextStep() {
    if (this.validateCurrentStep()) {
      if (this.currentStep < this.stepTargets.length) {
        this.currentStep++;
        this.showCurrentStep();
      }
    } else {
      alert("選択してください");
    }
  }

  prevStep() {
    if (this.currentStep > 1) {
      this.currentStep--;
      this.showCurrentStep();
    }
  }
}
6. 「次へ」「戻る」のボタンにそれぞれのdata-actionを追加
<button type="button" data-action="step-form#prevStep">戻る</button>
<button type="button" data-action="step-form#nextStep">次へ</button>
- 全体
app/views/steps/new.html.erb
<%= form_with model: @step  do |f| %>
<div class="text-center" data-controller="step-form">
  <!-- 性別 -->
    <div id="step1" style="display: block;" data-step-form-target="step">
      <div class="form-control my-12">
        <%= f.label :gender, "性別" %>
        <div>
          <%= f.radio_button :gender, "male" %> 男
        </div>
        <div>
          <%= f.radio_button :gender, "female" %> 女
        </div>

        <button type="button" data-action="step-form#nextStep">次へ</button>
      </div>
    </div>
      <!-- 食べ物 -->
    <div id="step2" style="display: none;" data-step-form-target="step">
      <div class="form-control my-12">
        <%= f.label :food, "食べ物" %>
        <div>
          <%= f.radio_button :food, "rice" %> ご飯
        </div>
        <div>
          <%= f.radio_button :food, "udon" %> うどん
        </div>
        <div>
          <%= f.radio_button :food, "soba" %> そば
        </div>
        <div class="m-4">
          <button type="button" data-action="step-form#prevStep">戻る</button>
          <button type="button" data-action="step-form#nextStep">次へ</button>
        </div>
      </div>
    </div>
      <!-- 色 -->
    <div id="step3" style="display: none;" data-step-form-target="step">
      <div class="form-control my-12">
        <%= f.label :color, "色" %>
        <div>
          <%= f.radio_button :color, "red" %> 赤
        </div>
        <div>
          <%= f.radio_button :color, "blue" %> 青
        </div>
        <div>
          <%= f.radio_button :color, "yellow" %> 黄
        </div>
      </div>

      <!-- フォーム送信ボタン -->
      <div class=>
        <button type="button" data-action="step-form#prevStep">戻る</button>
        <%= f.submit "登録" %>
      </div>
    </div>
  </div>
    <% end %>
解説
- イメージとしては、
display:block(表示)とdisplay:none(非表示)の切り替えを行ってる感じです。
app/javascript/controllers/step_form_controller.js
import { Controller } from "@hotwired/stimulus"

export default class extends Controller {
  static targets = ["step"]
  // "step" というターゲットを指定しています。
  // このターゲットはHTML側で data-step-form-target="step" という属性がある要素を指します。

  connect() {
    this.currentStep = 1; // フォームの最初のステップ(1番目)を現在のステップとして設定します。
    this.showCurrentStep(); // 現在のステップを表示する関数を呼び出します。
  }

  showCurrentStep() {
    this.stepTargets.forEach((stepElement, index) => {
      // stepTargetsは、全てのステップ(フォームのパート)を配列として持っています。
      // その配列をforEachで1つずつ確認していきます。

      if (index === this.currentStep - 1) {
        stepElement.style.display = "block";
        // 今のステップの要素(indexが現在のステップ - 1 に等しいもの)は表示します。
      } else {
        stepElement.style.display = "none";
        // それ以外のステップは非表示にします。
      }
    });
  }

  validateCurrentStep() {
    const currentStepElement = this.stepTargets[this.currentStep - 1];
    // 現在表示されているステップの要素を取得します。

    const radioGroups = currentStepElement.querySelectorAll('input[type="radio"]');
    // 現在のステップ内にあるラジオボタンを全て取得します。

    let isValid = false;
    // 選択肢が選ばれているかどうかを判定するための変数です。
    // 最初は "false" に設定します(何も選ばれていない状態)。

    radioGroups.forEach((radio) => {
      // 取得したラジオボタンを1つずつ確認します。
      if (radio.checked) {
        // もしラジオボタンがチェックされていれば
        isValid = true;
        // "isValid" を true に変更します(つまり、選択されているということです)。
      }
    });

    return isValid;
    // 最終的に、このステップでラジオボタンが選ばれているかどうかを返します。
  }

  nextStep() {
    if (this.validateCurrentStep()) {
      // 現在のステップでラジオボタンが選ばれているかどうかをチェックします。
      if (this.currentStep < this.stepTargets.length) {
        // 現在のステップが最後のステップでなければ次に進めます。
        this.currentStep++;
        // 現在のステップを1つ進めます。
        this.showCurrentStep();
        // 次のステップを表示します。
      }
    } else {
      alert("選択してください");
      // もしラジオボタンが選ばれていなかったら、警告メッセージを表示します。
    }
  }

  prevStep() {
    if (this.currentStep > 1) {
      // 現在のステップが1番目より後であれば戻ることができます。
      this.currentStep--;
      // 現在のステップを1つ戻します。
      this.showCurrentStep();
      // 前のステップを表示します。
    }
  }
}
以下のポイントを確認します:
-
this.currentStepの初期値は1に設定されています。 - 配列やリストのインデックスは0から始まるため、
stepTargets配列の最初の要素のインデックスは0です。
動作の流れ:
-
this.currentStepが1の場合、1 - 1 = 0となり、index === 0の条件が真になります。- つまり、最初の
stepElement(インデックスが0のステップ)が表示されます。 - 他のステップ(インデックスが
1以上の要素)は非表示になります。
- つまり、最初の
-
次のステップに進むと、
this.currentStepが2になり、2 - 1 = 1となります。- そのため、
index === 1のステップが表示され、インデックス0と2のステップは非表示になります。
- そのため、
まとめ:
-
this.currentStep - 1を使うことで、ステップの番号と配列のインデックスを一致させているので、初期値が1でも配列のインデックスが0から始まるルールにうまく対応しています。 -
最初に
currentStepが1なら、配列の最初の要素(index 0)が表示されるという理解で合っています。 -
以上になります!! 最後までご覧いただきありがとうございました!!!!
参考文献
Discussion