Next.jsのプロジェクトにSentryを入れてエラーが発生したらSlackで通知されるようにする
Next.jsのプロジェクトでエラー時の対応が不十分なものがあったので、Sentryを入れてエラーが発生したらSlackに通知するようにしました。
こうすることで、すぐにエラーの発生に気がつけるようにしました。
今回はその手順を書きます。
前提
Sentryのアカウントの作成、organizationの作成、プロジェクトの作成は完了しているものとします。
もしまだ完了していない場合は以下からアカウント登録等してください。
Sentryのインストール
今回はNext.jsのアプリなので、以下をインストールします。
yarn add @sentry/nextjs
npx @sentry/wizard -i nextjs
を実行すると、Sentryのログイン画面が開くのでログインします。
ターミナルに戻って指定のプロジェクトを選択すれば、必要ファイルが自動で作られます。
私のケースだと、next.config.jsがすでにあったので、next.config.wizardcopy.jsが作られました。
next.config.jsに統合して、next.config.wizardcopy.jsを消します。
ただ、next.config.js内ですでに別のプラグインを入れていたため、私の場合はnext-compose-pluginsを入れて対応しました。
yarn add -D next-compose-plugins
/** @type {import('next').NextConfig} */
const { withSentryConfig } = require('@sentry/nextjs');
const withPlugins = require('next-compose-plugins');

const nextConfig = {
  reactStrictMode: true,
  sentry: {
    hideSourceMaps: true,
  },
};

const sentryWebpackPluginOptions = {
  silent: true,
};

module.exports = withPlugins(
  [<-- 他のプラグインのconfig -->, withSentryConfig],
  nextConfig,
  sentryWebpackPluginOptions
);
参考: https://fwywd.com/tech/next-compose-plugins
これでNext.jsとSentryのつなぎこみは完了です。
自動作成のファイルを書き換える(任意)
これはマストじゃないですが、自動生成のファイルのままだと少し気持ち悪いのでいくつか書き換えます。
まず、今回だとTypeScriptで書いていたので自動生成された_error.jsを_error.tsxに書き換えます。
statusCodeの型はNextErrorComponentの型定義を見てnumber型だったので型をつけると以下のようになりました。
import * as Sentry from '@sentry/nextjs';
import { NextPage } from 'next';
import NextErrorComponent from 'next/error';

type Props = {
  statusCode: number;
};
const CustomErrorComponent: NextPage<Props> = ({ statusCode }) => {
  return <NextErrorComponent statusCode={statusCode} />;
};

CustomErrorComponent.getInitialProps = async (contextData) => {
  await Sentry.captureUnderscoreErrorException(contextData);

  return NextErrorComponent.getInitialProps(contextData);
};

export default CustomErrorComponent;
sentry.server.config.jsでdsn部分が直接書かれているのが気持ち悪いので、環境変数から呼ぶように変更します。
Sentry.init({
  dsn:
    SENTRY_DSN ||
    'https://xxxxxx.ingest.sentry.io/xxxxxx',
  tracesSampleRate: 1.0,
});
と書かれてあるのを以下に変更
Sentry.init({
  dsn: process.env.SENTRY_DSN,
  tracesSampleRate: 1.0,
});
また、sentry.propertiesの中にも具体的な値が直接入ってて嫌なので、環境変数から呼ぶことにします。next.config.jsの中で必要な環境変数を埋め込みます。
const sentryWebpackPluginOptions = {
  silent: true,
  authToken: process.env.SENTRY_AUTH_TOKEN,
  org: process.env.SENTRY_ORG,
  project: process.env.SENTRY_PROJECT,
};
ここまで書くとsentry.propertiesが不要なので消しておきます。
エラーが起こったときにSentryに通知する
さて、Sentryとの接続できたので次はエラーが起きた場合にSentryに通知が送れるようにします。
とはいえ、やることは以下の2個だけです。
- API部分を
withSentryで囲む - エラーが発生する箇所でthrow new Errorをする
まずAPI部分をwithSentryで囲みます。
import type { NextApiRequest, NextApiResponse } from "next"
import { withSentry } from "@sentry/nextjs";

const handler = async (req: NextApiRequest, res: NextApiResponse) => {
  // 省略
};

export default withSentry(handler);
API部分はこれでOK。非常に簡単でありがたいです。
あとはエラーが発生した場合にthrow new Errorしておきます。
私のケースだと以下のように書きました。
export const errorMessage = (error): string => {
  if (error instanceof Error) {
    return error.message;
  } else if (typeof error === 'string') {
    return error;
  }
  return 'unexpected error';
};
使う場合は以下
try {

} catch (e) {
  throw new Error(errorMessage(e));
}
これでエラーが発生した場合にSentryに通知がいくようになりました。
Slackに通知を送る
Slackへの通知はSentryの管理画面から行えます。
管理画面から今回設定するプロジェクトのページを開きます。
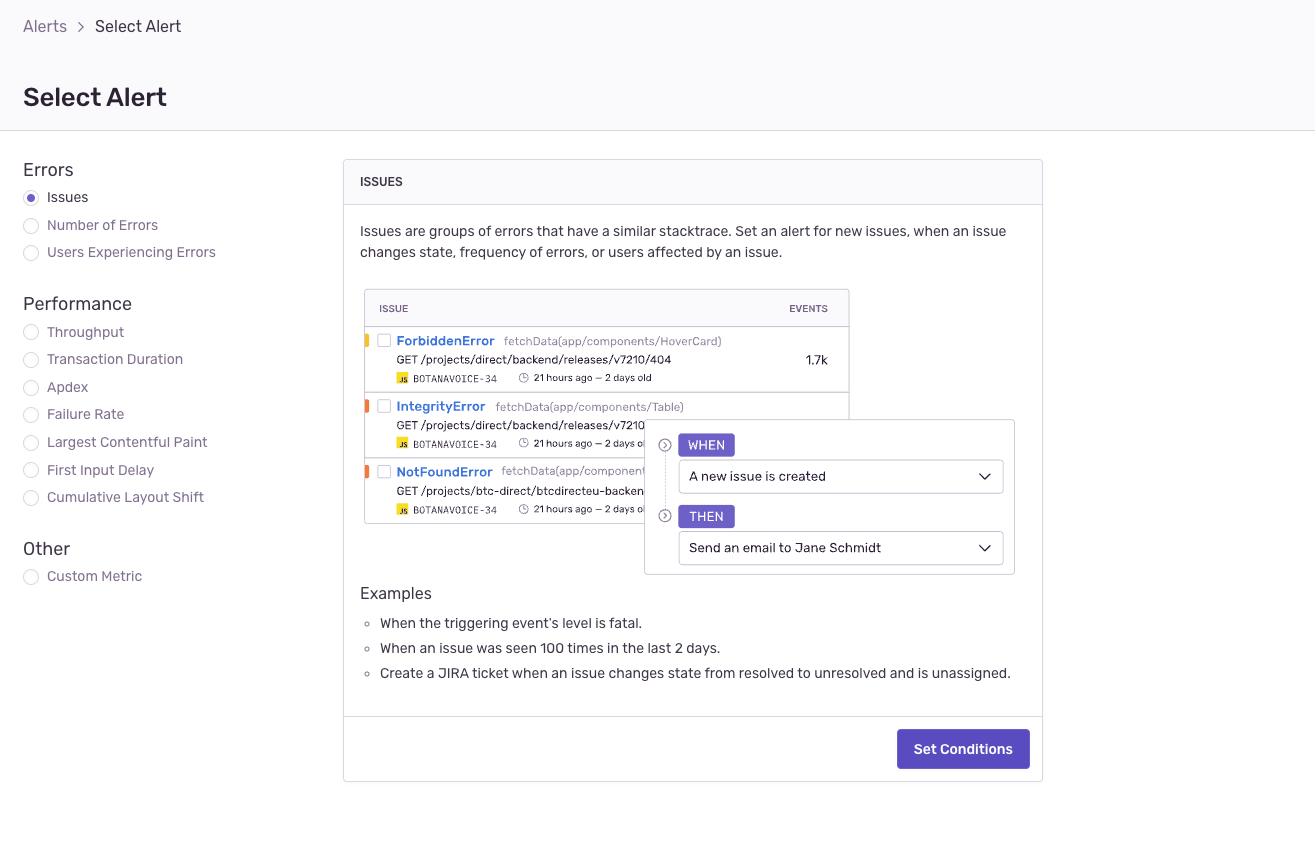
右上のCreate Alertをクリック

Set Conditionsをクリックして、必要条件を設定します。
デフォルトではすべてのエラーを30分ごとに送る形になります。この辺はプロジェクトに応じて変更してください。
Slackに通知を送るために、Set conditionsのperform these actionsの部分でSend a Slack notificationを選択します。

するとどのワークスペースのどのChannelに送るのかを設定できるので入力します。
諸々の設定ができたら、Establish ownershipの部分で、アラートの名前を設定してからSave Roleをクリックします。

これで完了です🎉🎉🎉
参考
Discussion