Spring Bootで作成したWEB APIにSwaggerを導入して簡単ドキュメント管理
Swaggerとは
Swaggerとは、APIの開発を手助けしてくれる一連のツールのことです。OpenAPI Specificationの書式で書かれたAPI定義から、ドキュメントを作成したり、クライアントのコードを自動生成してくれます。
この記事では主にSwagger UIについて書いています。
Spring BootへのSwaggerの導入
Spring BootへのSwaggerの導入はとても簡単です。以下の依存を追加します。
<dependency>
  <groupId>io.springfox</groupId>
  <artifactId>springfox-boot-starter</artifactId>
  <version>3.0.0</version>
</dependency>
(なお、springfox-boot-starterバージョン3.0.0はSpring bootバージョン2.6.4との相性が悪く、Spring Bootを2.5.10にダウングレードしました。参考: Spring Fox3.0.0 cannot be started with Spring Boot 2.6.2)
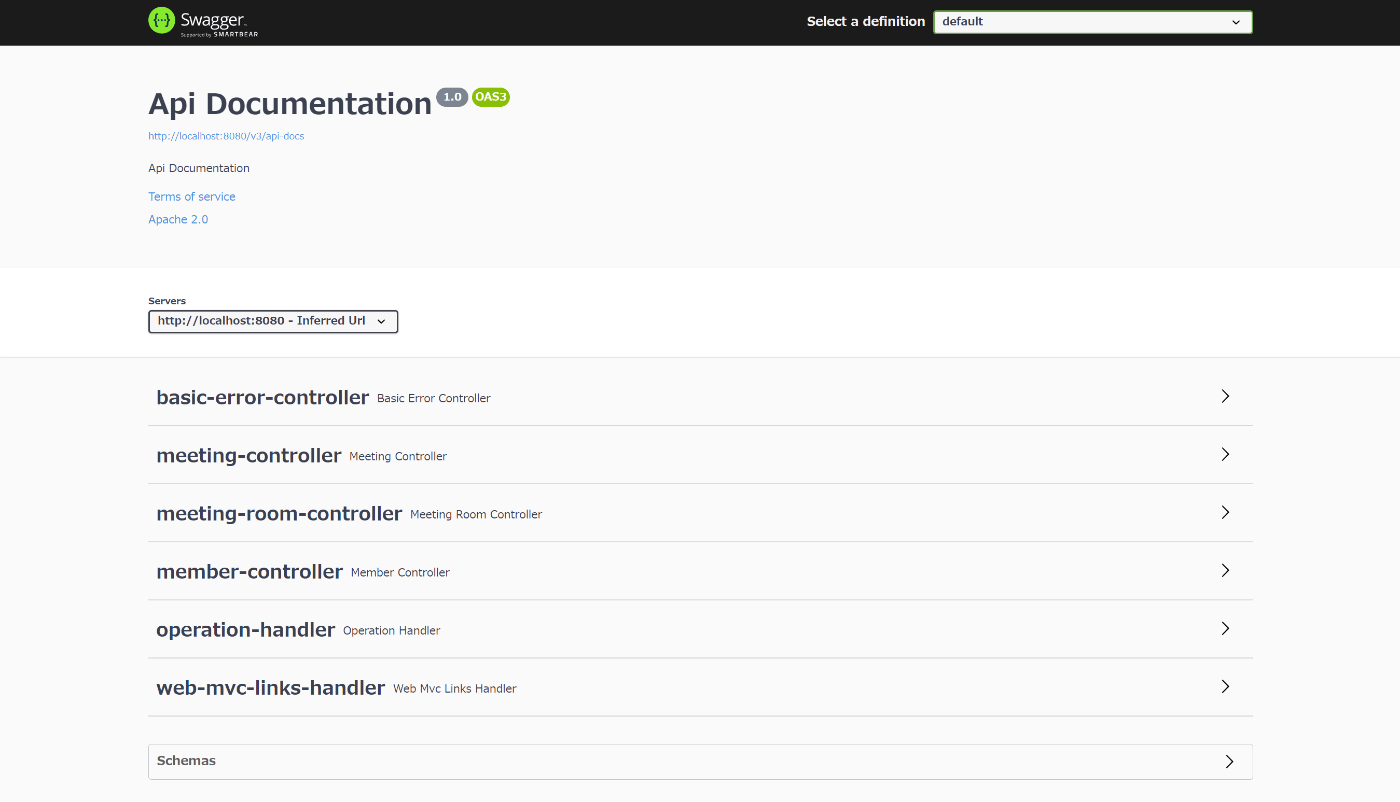
Swagger UIを表示する
Swagger UIを表示してみましょう。${ドキュメントルート}/swagger-ui/を開きます。ローカルで開発しているのであれば、http://localhost:8080/swagger-ui/を開きます。

Swagger-UIからリクエストを送信する
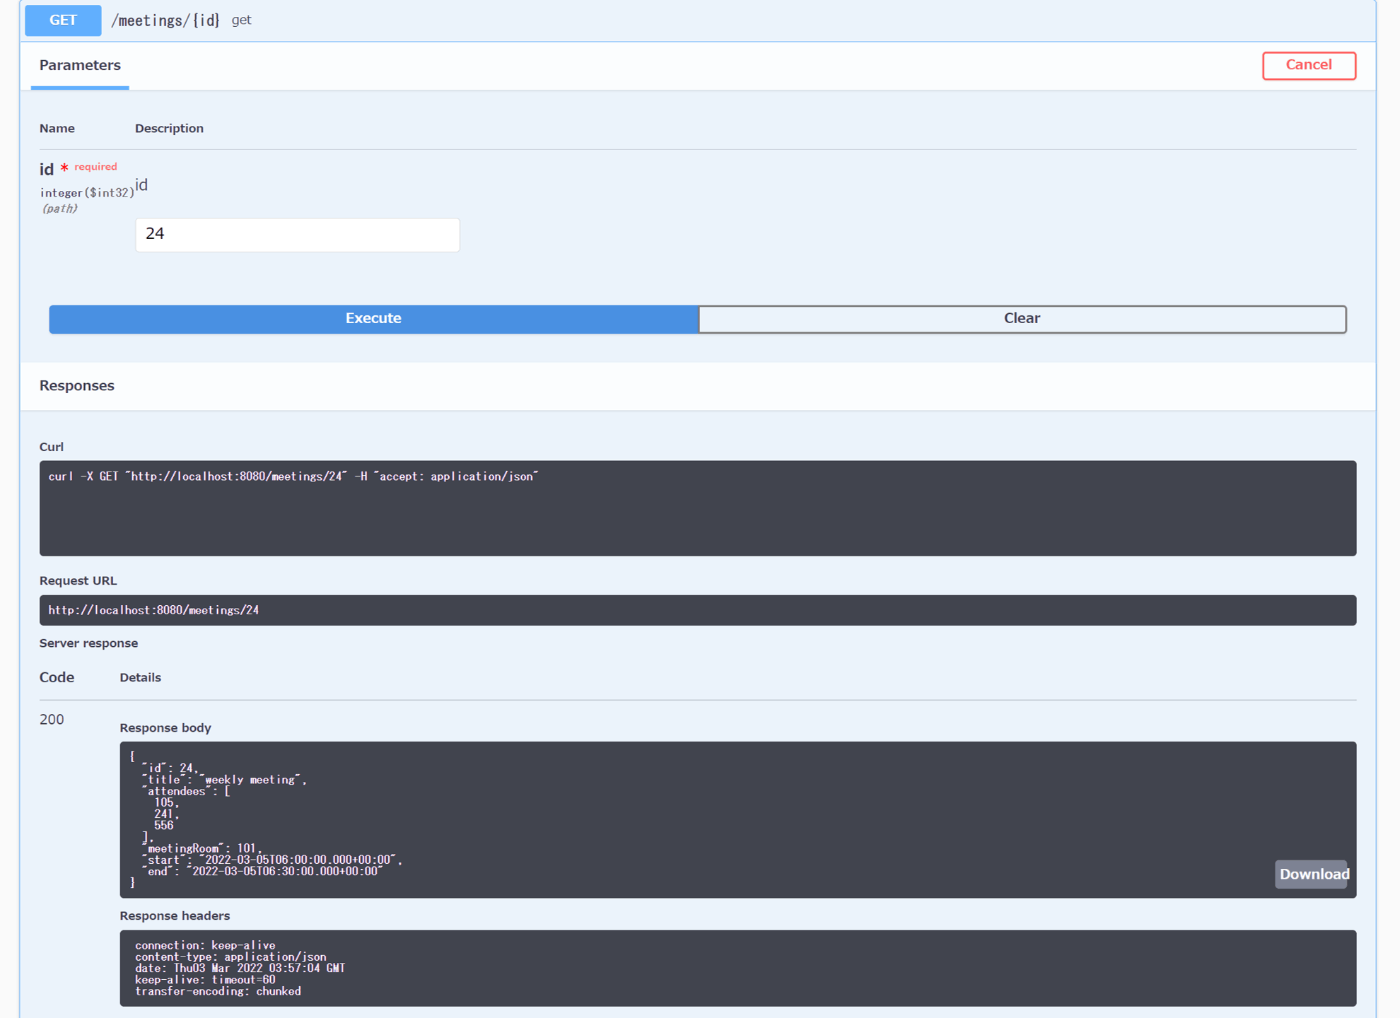
送信したいAPIを選び、"Try it out"をクリックします。

値を入力して"Execute"をクリックします。

実行結果が表示されました。

Configurationでドキュメントをカスタマイズ
API情報の編集
ドキュメントのタイトルやバージョン、ライセンス情報などを編集します。
@Configurationを付与したクラスに、Docketを返すBeanを登録します。
@Configuration
public class SwaggerConfiguration {
  @Bean
  public Docket api() {
    return new Docket(DocumentationType.SWAGGER_2)
        .apiInfo(apiInfo());
  }

  private ApiInfo apiInfo() {
    return new ApiInfoBuilder()
        // タイトル
        .title("会議室予約API")
        // 詳細な説明
        .description("会議の作成・更新・削除ができるAPIです")
        // バージョン
        .version("2.0.0")
        // 連絡先
        .contact(new Contact("yucatio", "http://yucatio.hatenablog.com", "yucatio@example.com"))
        // ライセンス名
        .license("Apache 2.0")
        // ライセンスURL
        .licenseUrl("https://www.apache.org/licenses/LICENSE-2.0")
        // 利用規約のURL
        .termsOfServiceUrl("http://example.com/termsofuse")
        .build();
  }
}
実行します。タイトルやバージョンが変更されました。

表示するAPIを絞り込む
デフォルトでは/errorなどのパスも含まれていますが、表示したいAPIだけに絞ることができます。
@Configuration
public class SwaggerConfiguration {
  @Bean
  public Docket api() {
    return new Docket(DocumentationType.SWAGGER_2)
        .select()
        // パッケージを指定して表示するAPIを絞り込む
        .apis(RequestHandlerSelectors.basePackage("com.example.demo.controller"))
        .paths(PathSelectors.any())
        // パスを指定して絞り込むこともできる
        //.paths(PathSelectors.ant("/meetings/**"))
        .build()
        .apiInfo(apiInfo());
  }
  // 略
}
実行します。/erororや/actuatorのAPIが消えました。

Responseにデフォルトで表示されているエラーを非表示にする
デフォルトでは401エラーなどもレスポンスに表示されていますが、不要の場合は設定で非表示にできます。
@Configuration
public class SwaggerConfiguration {
  @Bean
  public Docket api() {
    return new Docket(DocumentationType.SWAGGER_2)
        // 略
        // デフォルトのレスポンスを非表示に
        .useDefaultResponseMessages(false)
        .apiInfo(apiInfo());
  }
  // 略
}
実行します。401や404の表示が消えました。

アノテーションでドキュメントをカスタマイズ
Swagger用のアノテーションを使用してドキュメントを充実させます。
アノテーションの一覧はこちら。
いくつかのアノテーションを紹介します。
@ApiOperation
コントローラのメソッドに説明を追加します。
@RestController
@RequestMapping(path = "meetings", produces = MediaType.APPLICATION_JSON_VALUE)
public class MeetingController {
  @Autowired
  MeetingService service;

  @GetMapping("{id}")
  @ApiOperation(value = "会議情報を取得します", notes = "詳細な説明をここに書く。")
  public Meeting get(@PathVariable Integer id) {
    return service.get(id);
  }

  // 略
}
このように表示されます。

@ApiResponses, @ApiResponse
200以外のレスポンスコードが返る場合の説明を書きます。
@RestController
@RequestMapping(path = "meetings", produces = MediaType.APPLICATION_JSON_VALUE)
public class MeetingController {
  @Autowired
  MeetingService service;

  @GetMapping("{id}")
  @ApiOperation(value = "会議情報を取得します", notes = "詳細な説明をここに書く。")
  @ApiResponses(value = {
      @ApiResponse(code = 400, message = "IDが不正な場合", response = ErrorResponse.class),
      @ApiResponse(code = 404, message = "IDに対応する会議が存在しなかった場合", response = ErrorResponse.class) })
  public Meeting get(@PathVariable Integer id) {
    return service.get(id);
  }
  // 略
}
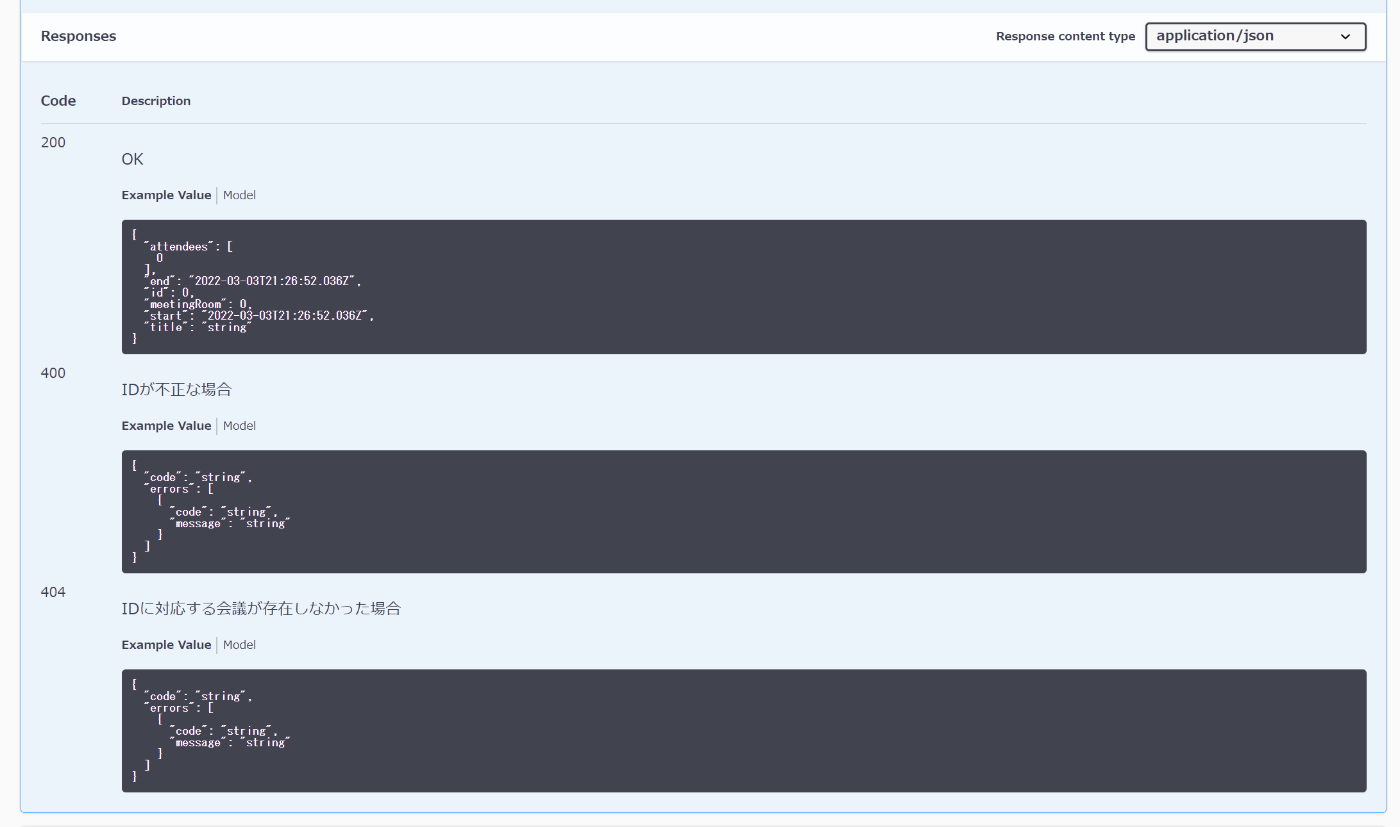
実行結果です。ステータスコード400と404がResponseに追加されました。

@ApiParam
パラメータの説明を追加します。
  @GetMapping("{id}")
  public Meeting get(@ApiParam(value = "会議ID", example = "123") @PathVariable Integer id) {
    return service.get(id);
  }
実行結果です。valueの内容が表示され、exampleの値が初期値として設定されました。

@ApiModelProperty
モデルのプロパティに説明を追加します。
@Data
public class Meeting {

  private Integer id;

  @NotNull
  @Size(min = 3, max = 64)
  @ApiModelProperty(value = "件名", example = "Weekly meeting")
  private String title;

  // 略
}
実行結果です。valueとexampleの内容が表示されました。

Discussion