🐙
【Flutter】カスタムTabバーは、IndexedStackがおすすめ!
カスタムタブバーを作りたくて、TabControllerを使用していました。
TabControllerは、paddingを持っていることに気づきました。しかも、padding値の変更をどこですればいいかわからない。

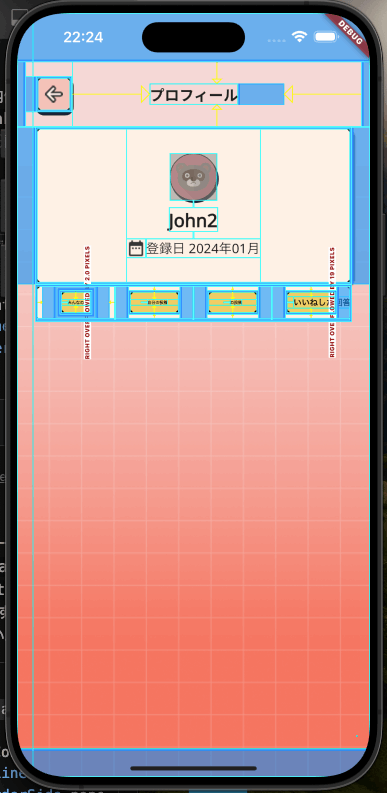
タブ4つの左右に、paddingがあり、テキストが潰れてしまう。。。
IndexedStackを使えば、自由にタブの形を決めれました!
まず、タブの状態を管理するための変数をStateクラスに追加し、タブをタップしたときにその状態を更新するようにします。次に、IndexedStackを使用して、現在選択されているタブに対応するウィジェットを表示します。
以下は、IndexedStackを使用してカスタムタブバーを実装する例です。
class ProfilePage extends StatefulWidget {
_ProfilePageState createState() => _ProfilePageState();
}
class _ProfilePageState extends State<ProfilePage> {
int _selectedIndex = 0; // 選択されているタブのインデックス
Widget build(BuildContext context) {
return Scaffold(
appBar: AppBar(
title: Text('プロフィール'),
),
body: Column(
children: <Widget>[
Container(
// タブバーのコンテナ
child: Row(
mainAxisAlignment: MainAxisAlignment.spaceEvenly,
children: List.generate(4, (index) {
return GestureDetector(
onTap: () {
setState(() {
_selectedIndex = index;
});
},
child: Container(
padding: EdgeInsets.symmetric(vertical: 10, horizontal: 20),
child: Text(
['みんなの投稿', '自分の投稿', 'の投稿', 'いいねした回答'][index],
style: TextStyle(
color: _selectedIndex == index ? Colors.blue : Colors.black,
fontWeight: FontWeight.bold,
),
),
),
);
}),
),
),
Expanded(
// タブの内容を表示する部分
child: IndexedStack(
index: _selectedIndex,
children: <Widget>[
// 各タブの内容をここに配置
Center(child: Text('みんなの投稿の内容')),
Center(child: Text('自分の投稿の内容')),
Center(child: Text('の投稿の内容')),
Center(child: Text('いいねした回答の内容')),
],
),
),
],
),
);
}
}
このコードでは、Rowウィジェットを使用してカスタムタブバーを作成し、GestureDetectorを使用してタップイベントを処理しています。タップされたタブのインデックスに基づいて_selectedIndexを更新し、IndexedStackを使用して選択されたタブの内容を表示しています。


Discussion