🦀
Rustの勉強 1日目
Rustの環境設定
Rust自体のツールインストール
公式のGetting startedとQiitaに出ていたmacOSの場合でのインストール方法を参照してインストールした。
brew install rustup-init
rustup-init
exec $SHELL -l
またおすすめされているツールも入れる。
cargo install cargo-edit
エディタの設定
またVisual Studio Codeでコードを書くため、その設定もしておく。
rustup component add rls rust-src rust-analysis
Visual Studio Code側では rust-analyzer の拡張を入れておく。
簡単なコードを書く
公式のGetting startedに従ってコードを書いた。
cargo new hello-rust
これでプロジェクトができたので、 ferris-says を使ったコードを書く。 cargo-edit を入れたので、自分でCargo.tomlをいじらずに追加する。
cargo add ferris-says
main.rs にサンプルコードを写経してみる。
use ferris_says::say; // from the previous step
use std::io::{stdout, BufWriter};

fn main() {
    let stdout = stdout();
    let message = String::from("Hello fellow Rustaceans!");
    let width = message.chars().count();

    let mut writer = BufWriter::new(stdout.lock());
    say(message.as_bytes(), width, &mut writer).unwrap();
}
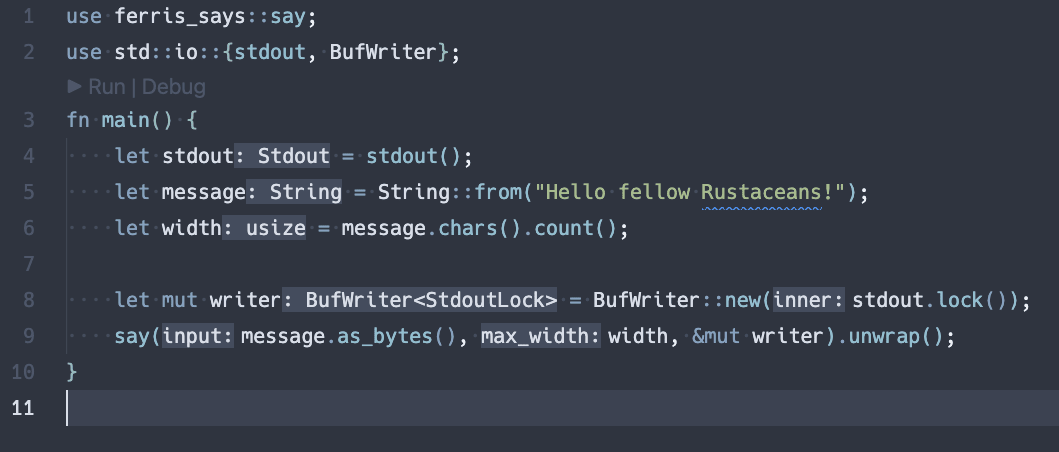
するとエディタ側で補完とか型情報とかが表示される。

cargo run したら表示された。
$ cargo run
    Finished dev [unoptimized + debuginfo] target(s) in 0.07s
     Running `target/debug/hello_rust`
 __________________________
< Hello fellow Rustaceans! >
 --------------------------
        \
         \
            _~^~^~_
        \) /  o o  \ (/
          '_   -   _'
          / '-----' \


Discussion