👥
動画の中の顔全てにモザイクをかける
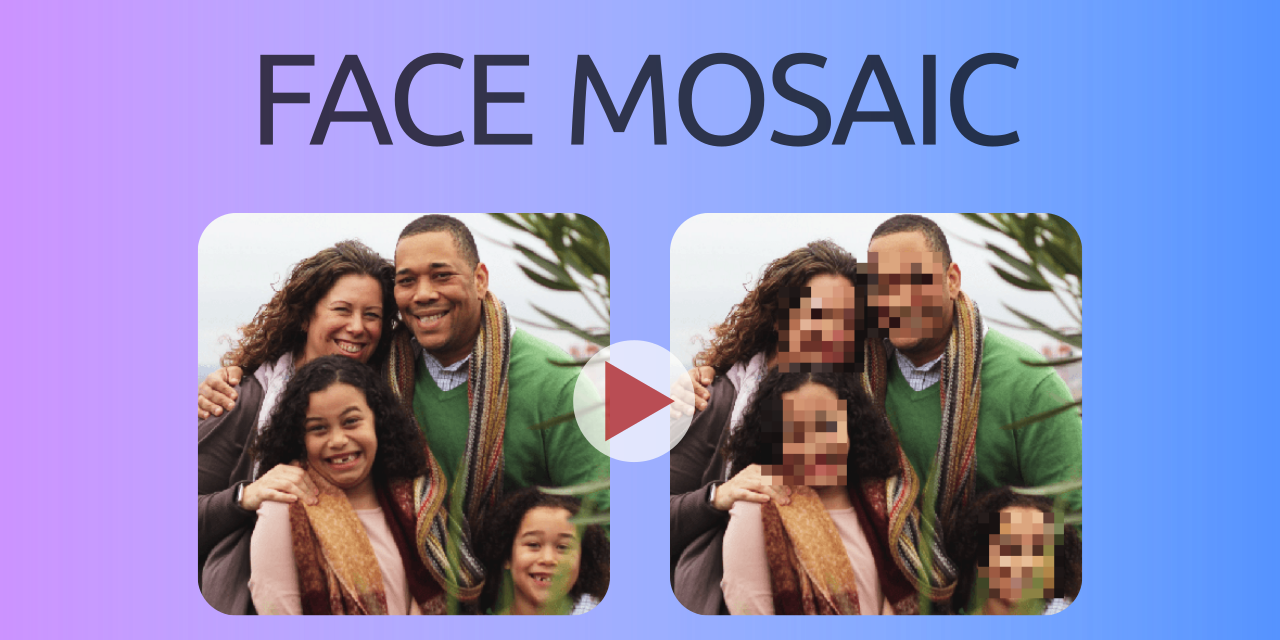
動機
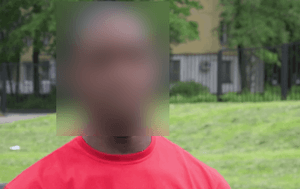
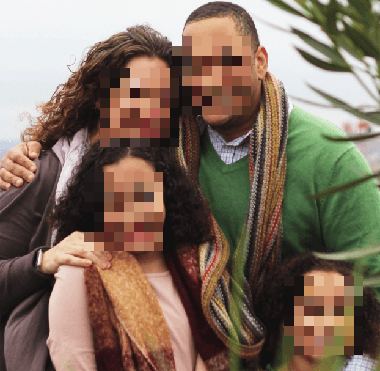
face_recognitionを使用して得られる顔座標は長方形であり、この座標をそのまま用いてぼかし処理を行った場合得られる画像は醜い。
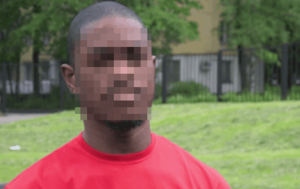
それに対してモザイクによってぼかし処理を行うと自然に見える。
これを静止画だけでなく動画にも適用したい。
同じ働きを持つものはORB-HD/defaceが既に存在する。defaceがcenterface.onnxを用いるのに比べこちらはdlibを使用する。これらは顔検出のみか顔認識まで行うかで使い分けすると良いと思う。
方法
静止画の場合
face_recognitionのメソッドであるface_recognition.face_locationsの返り値は(top, right, bottom, left)の配列。
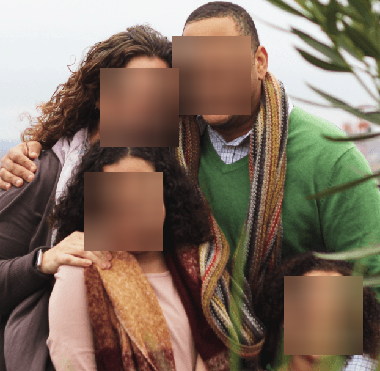
顔周りの長方形をぼかす
original.png

import cv2
import face_recognition

image = cv2.imread('img/original.png')
face_location_list = face_recognition.face_locations(
    image, 0, 'cnn')
if len(face_location_list) > 0:
    dst = image.copy()
    for (top, right, bottom, left) in face_location_list:
        dst[top:top + (bottom - top), left:left + (right - left)] = cv2.blur(
            dst[top:top + (bottom - top), left:left + (right - left)], (50, 50))
    cv2.imwrite('img/rectangle_blur.png', dst)
モザイク処理
モザイク処理の方法はnote.nkmk.me Python, OpenCVで画像にモザイク処理(全面、一部、顔など)様よりアイデアを頂戴致しました。
def mosaic(src, ratio):
    small = cv2.resize(src, None, fx=ratio, fy=ratio,
                       interpolation=cv2.INTER_NEAREST)
    return cv2.resize(small, src.shape[:2][::-1], interpolation=cv2.INTER_NEAREST)


if len(face_location_list) > 0:
    dst = image.copy()
    for (top, right, bottom, left) in face_location_list:
        dst[top:top + (bottom - top), left:left + (right - left)] = mosaic(
            dst[top:top + (bottom - top), left:left + (right - left)], 0.1)
    cv2.imwrite('img/rectangle_mosaic.png', dst)
動画に適用
Pixabayが提供するOybek Ostanovの動画をvideo.mp4としてblur処理を行う。
import cv2
import face_recognition
import PySimpleGUI as sg

vcap = cv2.VideoCapture('img/video.mp4', cv2.CAP_FFMPEG)


def mosaic(src, ratio):
    small = cv2.resize(src, None, fx=ratio, fy=ratio,
                       interpolation=cv2.INTER_NEAREST)
    return cv2.resize(small, src.shape[:2][::-1], interpolation=cv2.INTER_NEAREST)


sg.theme('Reddit')
layout = [
    [sg.Text('blur')],
    [sg.Image(key='display')],
    [sg.Button('terminate', key='terminate', button_color='red')]
]
window = sg.Window('blur', layout, location=(50, 50))

while True:
    ret, frame = vcap.read()
    if ret == False:
        break
    face_location_list = face_recognition.face_locations(
        frame, 0, 'cnn')

    if len(face_location_list) > 0:
        dst = frame.copy()
        for (top, right, bottom, left) in face_location_list:
            # rectangle blur ======
            # dst[top:top + (bottom - top), left:left + (right - left)] = cv2.blur(
            #     dst[top:top + (bottom - top), left:left + (right - left)], (50, 50))
            # mosaic blur =========
            dst[top:top + (bottom - top), left:left + (right - left)] = mosaic(
                dst[top:top + (bottom - top), left:left + (right - left)], 0.1)

    event, _ = window.read(timeout=1)
    imgbytes = cv2.imencode(".png", dst)[1].tobytes()
    window["display"].update(data=imgbytes)
    if event == 'terminate':
        break
vcap.release()
結果
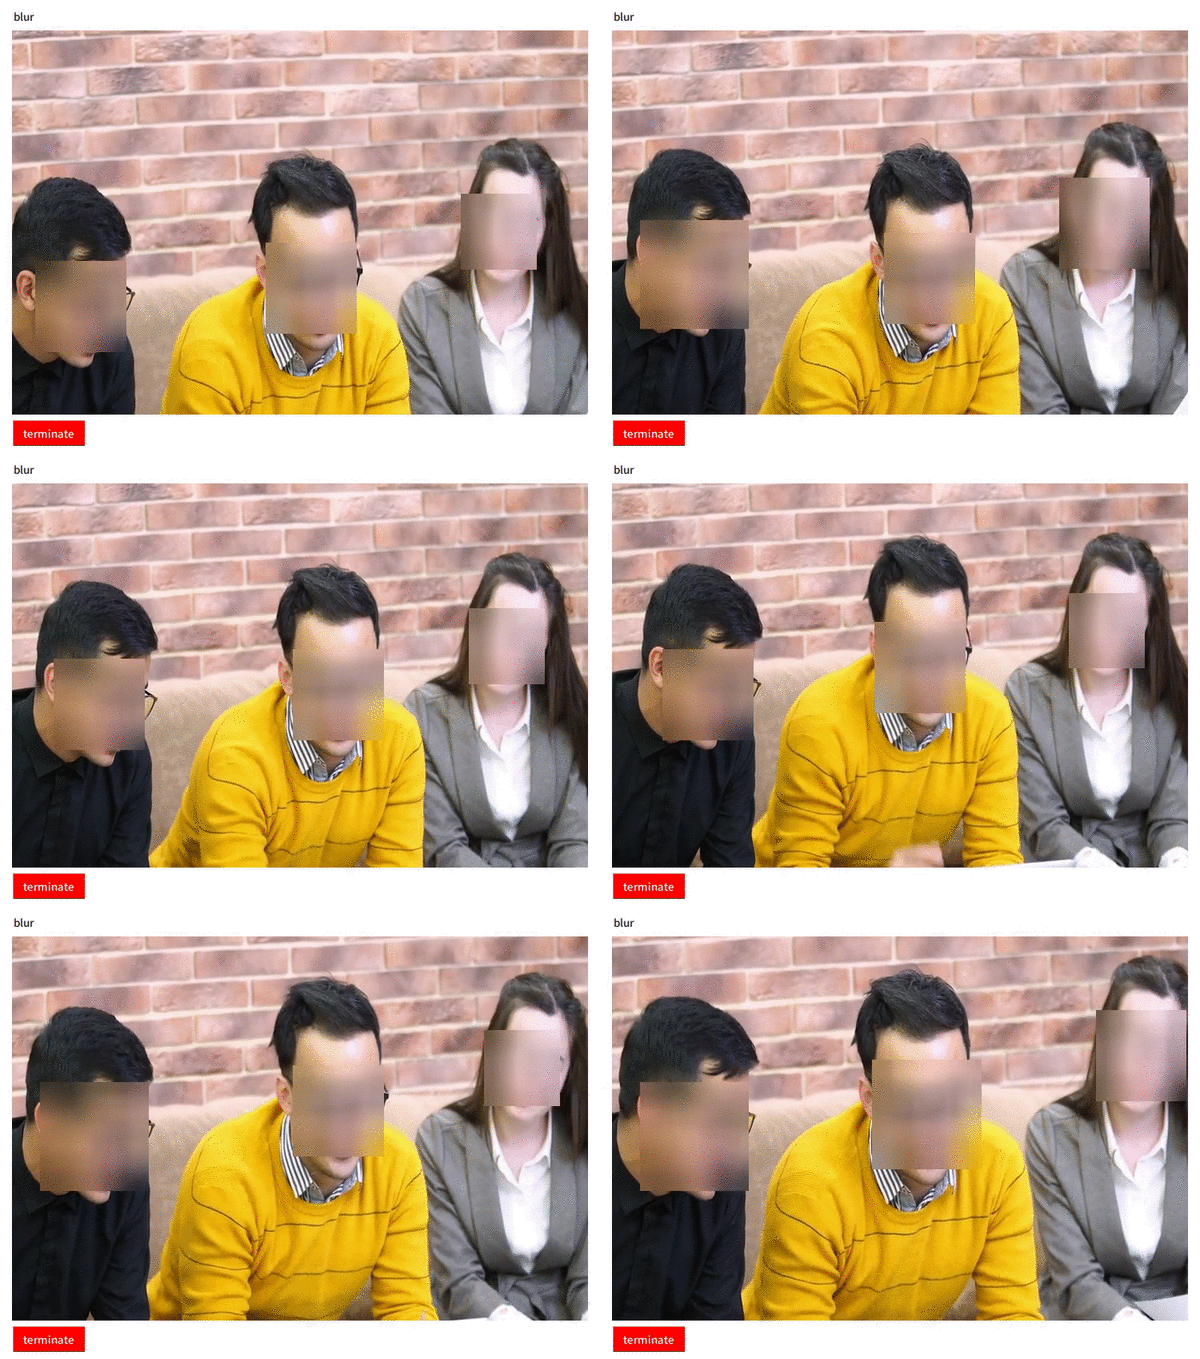
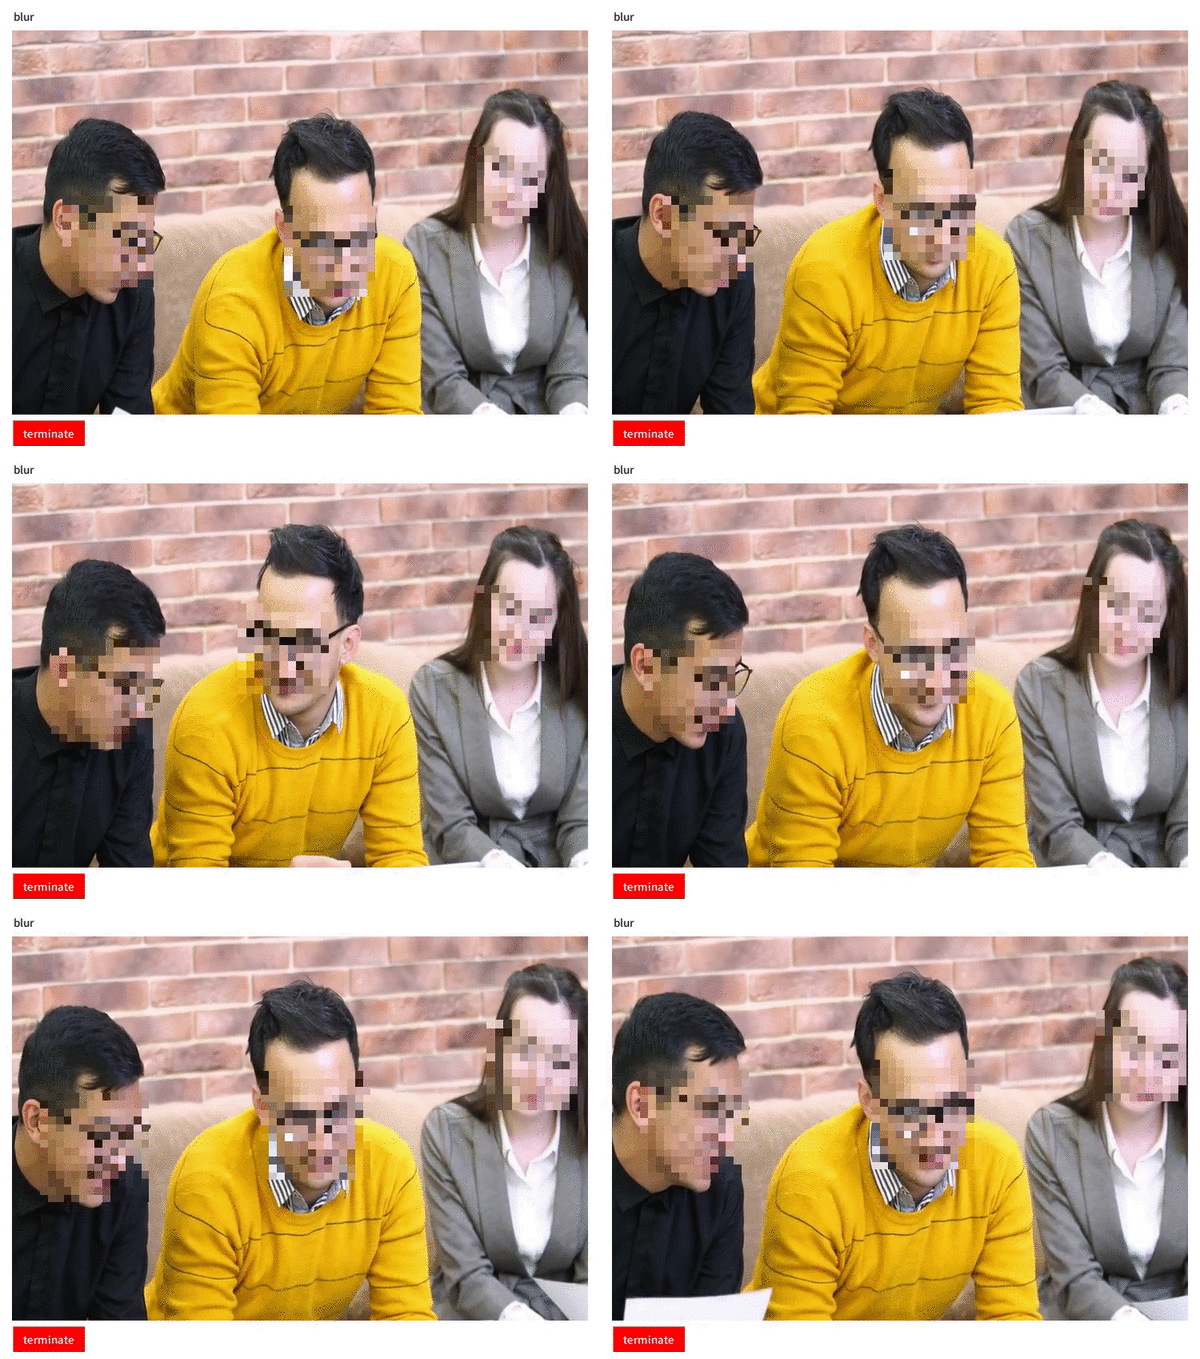
期待通りの結果が得られました。

Discussion