README.mdの画像を美しく。
TOC
動機
README.mdを作る際、Imageにシャドーをつけたい。
Desktop entryとして登録して右クリックから複数ファイルを選択できるようにしたい。
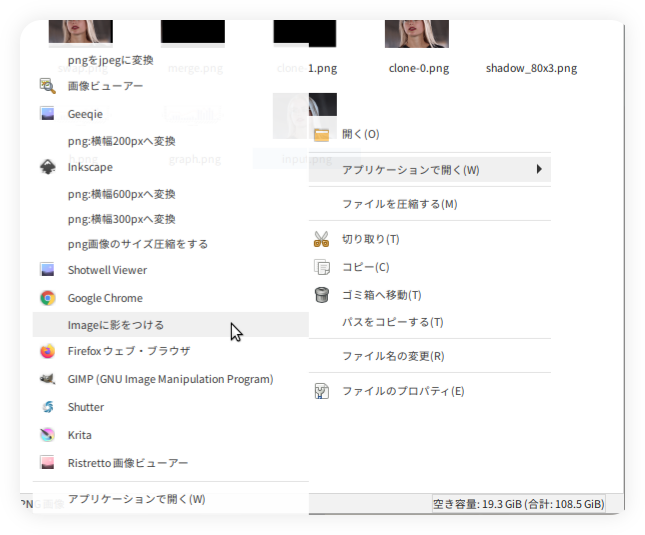
変更前
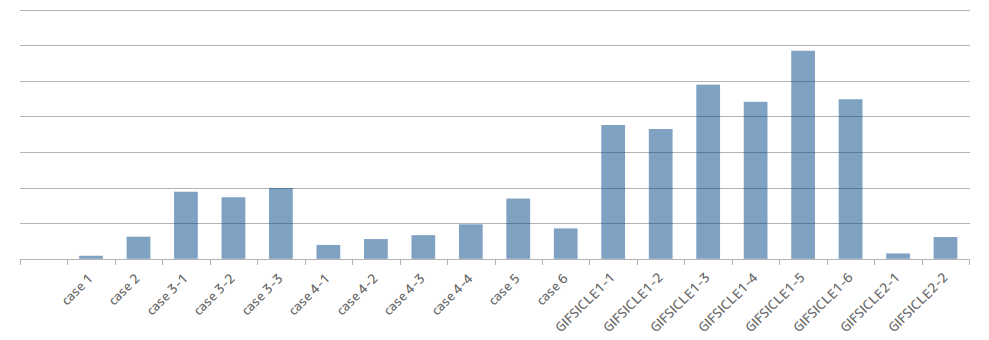

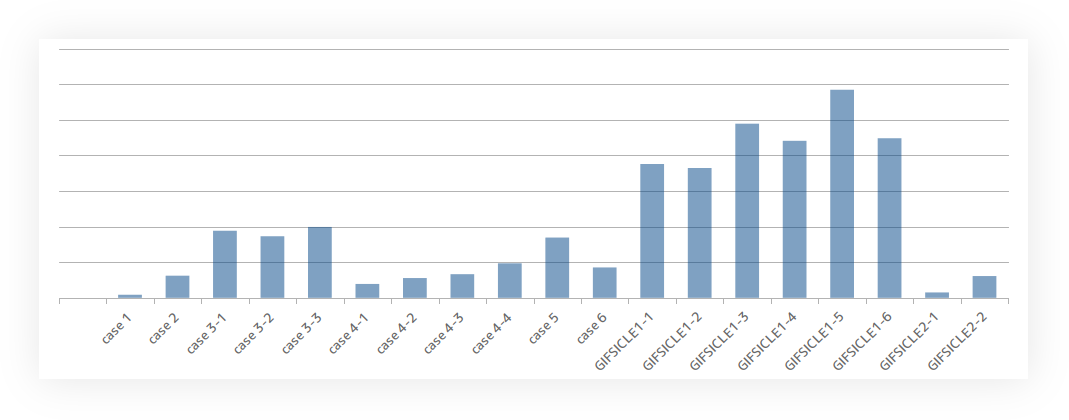
変更後

方法
$HOME/.local/share/applications/以下に.desktopファイルとして実行権限をつけたシェルスクリプトを作成する。[1]
[Desktop Entry]
Type=Application
Name=Imageに影をつける
Exec=bash -c "/home/{path}/image_shadow.sh %F"  # {path}は適宜変えてください
Categories=Application;
NoDisplay=true
MimeType=image/jpeg;image/png;
Terminal=false
%Fは複数の引数(ここではファイル)を意味します。%fは単一のファイルです。%Fにする場合はシェルスクリプトで複数ファイルに対応するようにしなければなりません。ファイルパスは絶対パスにしてください。
シェルスクリプトの中身
#!/bin/bash

while (( $# > 0 ))
do
  case $1 in
  *.png | *.jpg | *.jpeg)
    file_path=$(dirname "$1")
    old_name=$(basename "$1")
    new_name=shadow_"$old_name"
    cp "$1" "$new_name"
    convert "$new_name" \
      \( +clone -background black -shadow 10x10+0+0 \) \
      +swap -background none -layers merge +repage \
      "${file_path}/${new_name}"
    ;;
  esac
  shift
done
${file_path}/${new_name}としないと$HOMEにファイルができてしまう。
環境
convert -version
    Version: ImageMagick 6.9.7-4 Q16 x86_64 20170114 http://www.imagemagick.org
    Copyright: © 1999-2017 ImageMagick Studio LLC
    License: http://www.imagemagick.org/script/license.php
    Features: Cipher DPC Modules OpenMP
    Delegates (built-in): bzlib djvu fftw fontconfig freetype jbig jng jpeg lcms lqr ltdl lzma openexr pangocairo png tiff wmf x xml zlib

lsb_release -a
    No LSB modules are available.
    Distributor ID: Ubuntu
    Description: Ubuntu 18.04.6 LTS
    Release: 18.04
    Codename: bionic
Options
convertコマンドのオプションについてざっくりとメモします。
リファレンス
元画像

-shadow
convert input.png -shadow 80% shadow_80.png
引数は数値だけでも良いし%をつけてもよい。
-shadow リファレンス該当箇所
percent-opacity{xsigma}{+-}x{+-}y{%}

-shadowのsigma値
convert input.png -shadow 80%x3 shadow_80x3.png
Sigma値は度合いを表す。数値が大きいほどblurが強くなる。

-clone
convert input.png \( +clone -background black -shadow 100x3+10+10 \) clone.png
-cloneによって与えられたイメージを複製する。ファイルは2つ出来る。+cloneは最後に与えられたイメージを単純に複製する。()でくくる。
-clone index(s) リファレンス該当箇所
Make a clone of an image (or images).
Inside parenthesis (where the operator is normally used) it will make a clone of the images from the last 'pushed' image sequence, and adds them to the end of the current image sequence. Outside parenthesis (not recommended) it clones the images from the current image sequence.
Specify the image by its index in the sequence. The first image is index 0. Negative indexes are relative to the end of the sequence; for example, −1 represents the last image of the sequence. Specify a range of images with a dash (e.g. 0−4). Separate multiple indexes with commas but no spaces (e.g. 0,2,5). A value of '0−−1 will effectively clone all the images.
The +clone will simply make a copy of the last image in the image sequence, and is thus equivalent to using an argument of '−1'.

-layers merge
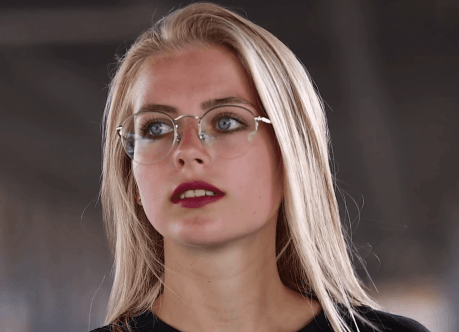
convert input.png \( +clone -background black -shadow 100x3+10+10 \) -layers merge +repage merge.png
レイヤーをマージする。mergeは画像の端がクロップされることを防ぐ。+repageで仮想キャンバスのメタデータを取り除く。
-layers method リファレンス該当箇所
Handle multiple images forming a set of image layers or animation frames.
Perform various image operation methods to a ordered sequence of images which may represent either a set of overlaid 'image layers', a GIF disposal animation, or a fully-'coalesced' animation sequence.
merge As 'flatten' method but merging all the given image layers to create a new layer image just large enough to hold all the image without clipping or extra space. The new images virtual offset will preserve the position of the new layer, even if this offset is negative. The virtual canvas size of the first image is preserved.
mosaic As 'flatten' method but expanding the initial canvas size of the first image in a positive direction only so as to hold all the image layers. However as a virtual canvas is 'locked' to the origin, by its own definition, image layers with a negative offsets will still become clipped by the top and left edges. See 'merge' or 'trim-bounds' if this could be a problem.
Caution is advised when handling image layers with negative offsets as few image file formats handle them correctly. Following this operation method with +repage will remove the layer offset, and create an image in which all the overlaid image positions relative to each other is preserved, though not necessarily exactly where you specified them.
Use +repage to completely remove/reset the virtual canvas meta-data from the images.
To print a complete list of layer types, use -list layers.
The operators -coalesce, -deconstruct, -flatten, and -mosaic are only aliases for the above methods and may be deprecated in the future. Also see -page, -repage operators, the -compose setting, and the GIF -dispose and -delay settings.

-swap
convert input.png \( +clone -background black -shadow 100x3+10+10 \) -layers merge +repage +swap swap.png
上のようにswapの順序を間違えるとエラーになります。
convert-im6.q16: no such image `input.png' @ error/mogrify.c/MogrifyImageList/8787.
正しくは下。
convert input.png \( +clone -background black -shadow 100x3+10+10 \) +swap -layers merge +repage swap.png
-swap index,index リファレンス該当箇所
Swap the positions of two images in the image sequence.
For example, -swap 0,2 swaps the first and the third images in the current image sequence. Use +swap to switch the last two images in the sequence.
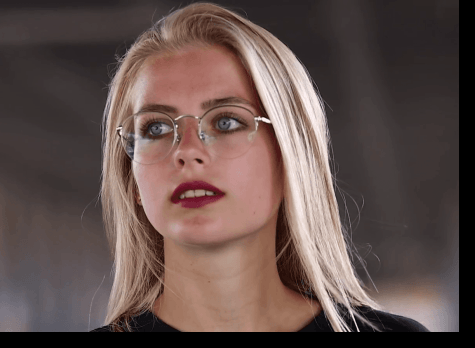
-background color
convert input.png \( +clone -background black -shadow 100x3+10+10 \) +swap -background none -layers merge +repage bg_none.png
デフォルトは白。noneを指定することで色を削除する。
-background color リファレンス該当箇所
Set the background color.
The color is specified using the format described under the -fill option. The default background color (if none is specified or found in the image) is white.
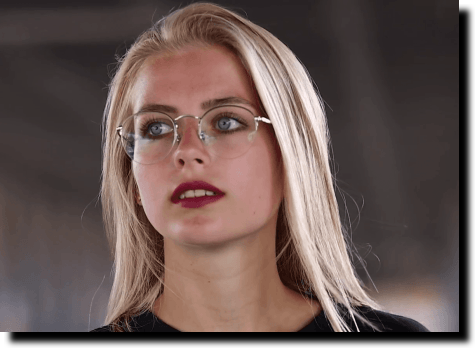
調整
convert input.png \( +clone -background black -shadow 10x10+0+0 \) +swap -background none -layers merge +repage last.png

期待通りにできました。
Reference
Desktop entry
Imagemagick
-
使用するファイルマネージャによって表示されるファイル名が異なる ↩︎
Discussion