Next.jsとweb3authを使ってDAppsを作る
本記事の対象者
- web3authを使って認証を導入したい
- Next.jsにWeb3技術を導入したい
本記事のリポジトリ
ぜひ参考にしてください!
web3authとは
全てのソーシャルログイン、Webおよびモバイルネイティブプラットフォーム、ウォレット、およびそのほかのキー管理方法を全て集約してくれるサービス。
開発者が新しいユーザーに対して、GoogleやTwitterのようなプラットフォームのサインインページに似た、より一般的なログインフローを提供できるようにする。また、開発者は現在のユーザーに対してシードフレーズ認証の提供を継続することができる。
Dappsとは
DappsはDecentralized Applicationsの略称です。
ブロックチェーン上でソフトウェアを動作させる仕組み「スマートコントラクト」を応用したもの。
Dappsがパソコンやスマートフォンといった通常のアプリと異なる点は、
- 耐久性:スマートコントラクトをベースとしているため、ブロックチェーンに履歴やデータを記録しつつ、分散管理によって常に稼働し続けられる。
- 透明性:誰もがコードを検査可能で、操作ログがブロックチェーン上に永遠に保存される。
- 検閲耐性:中央集権的な管理者なしでDappsと通信可能。一度デプロイ(本番環境に設置)されると、コードを変更できない。
アプリのアップデートにはユーザーの合意形成が必要。
Next.jsの環境構築
- プロジェクトの作成
## Next.jsのプロジェクトを作成
$ npx create-next-app . -e with-tailwindcss
- 絶対パスに変更
  "compilerOptions": {
    "target": "es5",
    "lib": ["dom", "dom.iterable", "esnext"],
    "allowJs": true,
    "skipLibCheck": true,
    "strict": true,
    "forceConsistentCasingInFileNames": true,
    "noEmit": true,
    "esModuleInterop": true,
    "module": "esnext",
    "moduleResolution": "node",
    "resolveJsonModule": true,
    "isolatedModules": true,
    "jsx": "preserve",
-    "incremental": true
+    "incremental": true,
+    "baseUrl": "."
  },
web3authを使用するための準備
web3authにおけるクライアントIDが必要になるため
DashboardでクライアントIDを取得する
- アカウントでサインアップ・ログイン
※サインアップしてなくても、
本記事ではGoogleのアカウントでログインしました
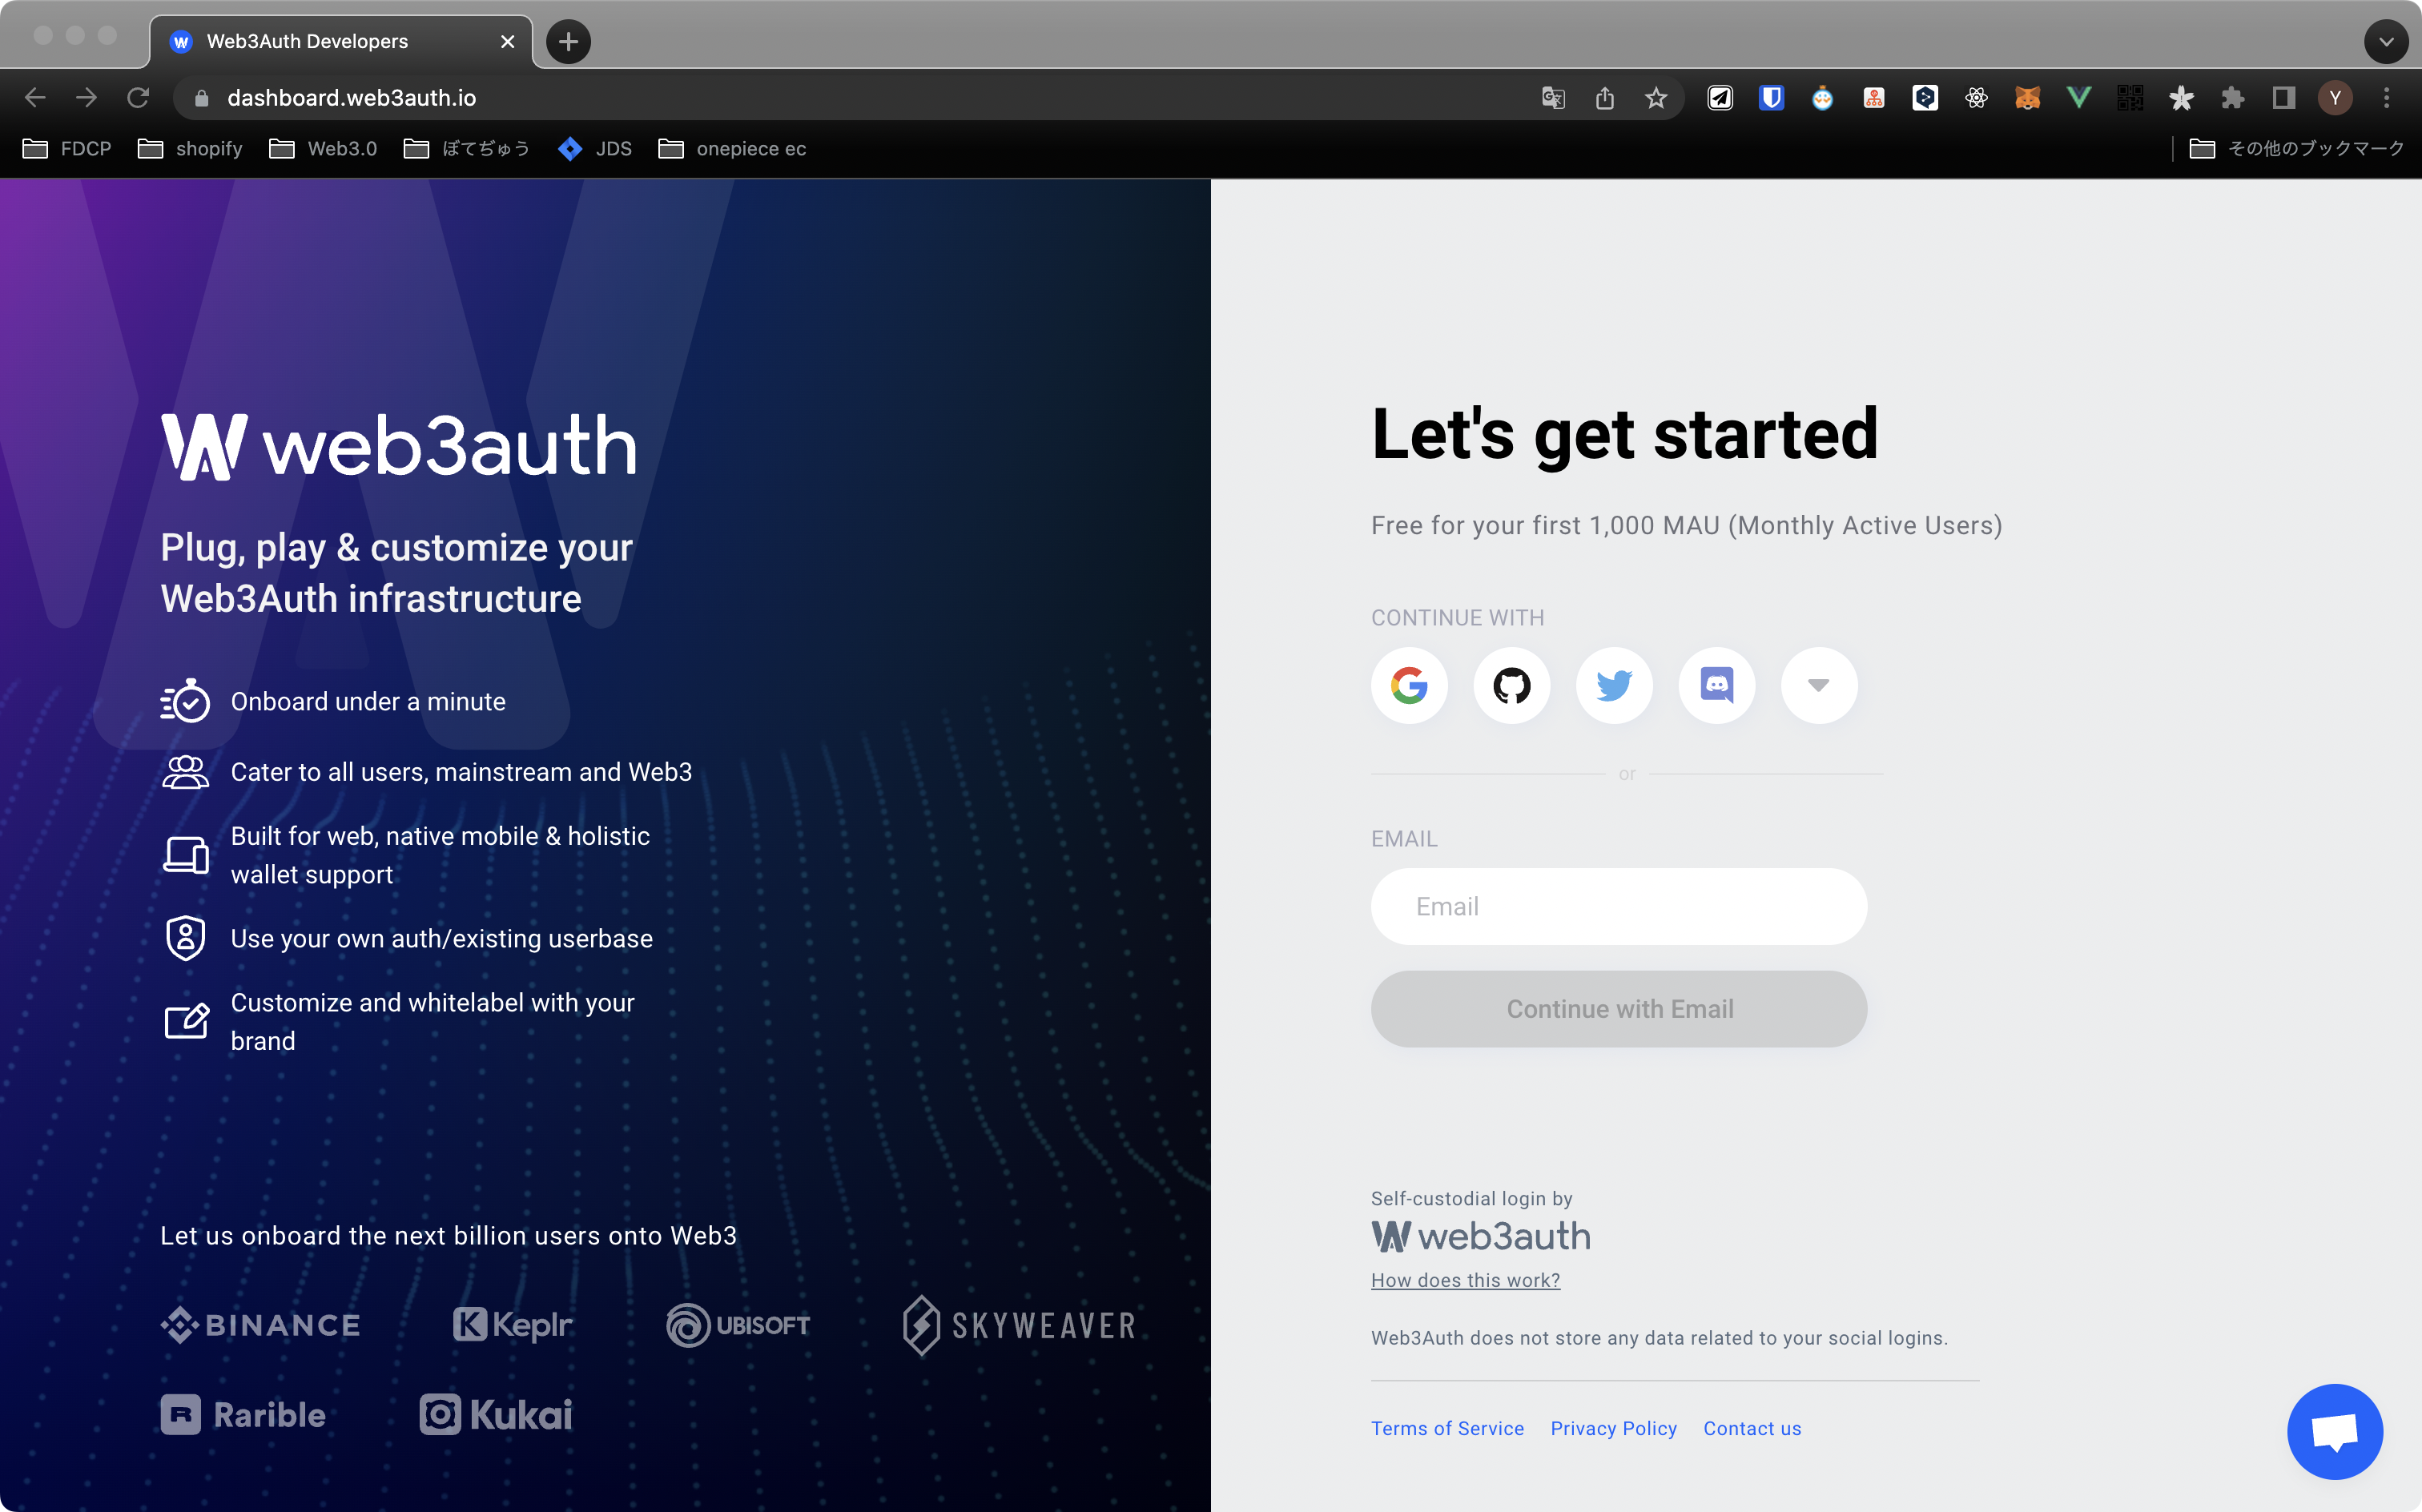
1000 Monthly Active UsersであればFreeで使えるようです
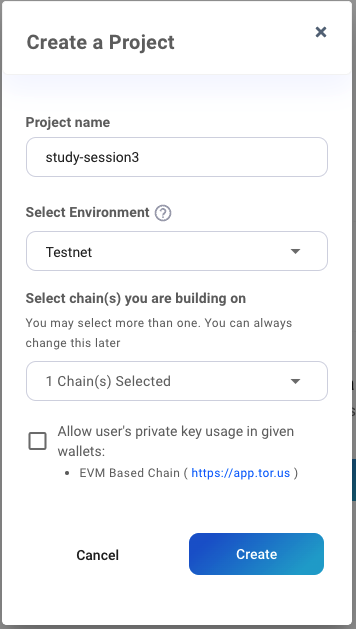
- プロジェクトを作成
Web3authを使用するためには、開発者ダッシュボードでプロジェクトを作成し、クライアントIDを取得する必要があります。
web3authの導入
下記公式サイトを参考にして導入します
- package.jsonに下記コードを追加してインストール
  "dependencies": {
+    "@web3auth/base": "^1.1.0",
+    "@web3auth/web3auth": "^1.1.0",
+    "@web3auth/ethereum-provider": "^1.0.0",
+    "web3": "^1.7.0",
    "next": "latest",
    "react": "18.1.0",
    "react-dom": "18.1.0"
  },
  "devDependencies": {
+    "@types/elliptic": "^6.4.14",
    "@types/node": "17.0.35",
    "@types/react": "18.0.9",
    "@types/react-dom": "18.0.5",
    "autoprefixer": "^10.4.7",
    "postcss": "^8.4.14",
    "tailwindcss": "^3.1.2",
    "typescript": "4.7.2"
  }
$ npm i
- App.tsxを作成して下記コードを貼り付ける
$ touch pages/App.tsx
import { useEffect, useState } from "react";
import { Web3Auth } from "@web3auth/web3auth";
import { CHAIN_NAMESPACES, SafeEventEmitterProvider } from "@web3auth/base";
import RPC from "./evm";

const clientId = "#######################"; // get from https://dashboard.web3auth.io Torus walletクライアントID

function App() {
  const [web3auth, setWeb3auth] = useState<Web3Auth | null>(null);
  const [provider, setProvider] = useState<SafeEventEmitterProvider | null>(null);

  useEffect(() => {
    const init = async () => {
      try {
      const web3auth = new Web3Auth({
        clientId,
        chainConfig: {
          chainNamespace: "eip155", // polygon-mumbai用
          chainId:  "0x13881", // polygon-mumbai用
          rpcTarget: "####################", // 私はinfura経由でpolygon-mumbaiにアップしておりますが、テスト環境はお任せします。
        },
      });

          setWeb3auth(web3auth);

      await web3auth.initModal();
      if (web3auth.provider) {
        setProvider(web3auth.provider);
      }
        } catch (error) {
          console.error(error);
        }
      };

      init();
  }, []);

  const login = async () => {
    if (!web3auth) {
      console.log("web3auth not initialized yet");
      return;
    }
    const web3authProvider = await web3auth.connect();
    setProvider(web3authProvider);
  };

  const getUserInfo = async () => {
    if (!web3auth) {
      console.log("web3auth not initialized yet");
      return;
    }
    const user = await web3auth.getUserInfo();
    console.log(user);
  };

  const logout = async () => {
    if (!web3auth) {
      console.log("web3auth not initialized yet");
      return;
    }
    await web3auth.logout();
    setProvider(null);
  };

  const getChainId = async () => {
    if (!provider) {
      console.log("provider not initialized yet");
      return;
    }
    const rpc = new RPC(provider);
    const chainId = await rpc.getChainId();
    console.log(chainId);
  };
  const getAccounts = async () => {
    if (!provider) {
      console.log("provider not initialized yet");
      return;
    }
    const rpc = new RPC(provider);
    const address = await rpc.getAccounts();
    console.log(address);
  };

  const getBalance = async () => {
    if (!provider) {
      console.log("provider not initialized yet");
      return;
    }
    const rpc = new RPC(provider);
    const balance = await rpc.getBalance();
    console.log(balance);
  };

  const signMessage = async () => {
    if (!provider) {
      console.log("provider not initialized yet");
      return;
    }
    const rpc = new RPC(provider);
    const signedMessage = await rpc.signMessage();
    console.log(signedMessage);
  };

  const getPrivateKey = async () => {
    if (!provider) {
      console.log("provider not initialized yet");
      return;
    }
    const rpc = new RPC(provider);
    const privateKey = await rpc.getPrivateKey();
    console.log(privateKey);
  };
  const loggedInView = (
    <>
      <button onClick={getUserInfo} className="card">
        Get User Info
      </button>
      <button onClick={getChainId} className="card">
        Get Chain ID
      </button>
      <button onClick={getAccounts} className="card">
        Get Accounts
      </button>
      <button onClick={getBalance} className="card">
        Get Balance
      </button>
      <button onClick={signMessage} className="card">
        Sign Message
      </button>
      <button onClick={getPrivateKey} className="card">
        Get Private Key
      </button>
      <button onClick={logout} className="card">
        Log Out
      </button>

      <div id="console" style={{ whiteSpace: "pre-line" }}>
        <p style={{ whiteSpace: "pre-line" }}></p>
      </div>
    </>
  );

  const unloggedInView = (
    <button onClick={login} className="card">
      Login
    </button>
  );

  return (
    <div className="container">
      <h1 className="title">
        <a target="_blank" href="http://web3auth.io/" rel="noreferrer">
          Web3Auth
        </a>
        & ReactJS Example
      </h1>

      <div className="grid">{provider ? loggedInView : unloggedInView}</div>

      <footer className="footer">
        <a href="https://github.com/Web3Auth/Web3Auth/tree/master/examples/react-app" target="_blank" rel="noopener noreferrer">
          Source code
        </a>
      </footer>
    </div>
  );
}

export default App;
※各ネットワークのChainIdなどの情報まとめ
-
App.tsxのclientIdのYOUR_CLIENT_IDに自分のクライアントIDを入力する
-
下記サイトにアクセスする
https://dashboard.web3auth.io -
evm.tsを作成して下記コードを貼り付ける
$ touch pages/evm.ts
import type { SafeEventEmitterProvider } from "@web3auth/base";
import Web3 from "web3";

export default class EthereumRpc {
  private provider: SafeEventEmitterProvider;

  constructor(provider: SafeEventEmitterProvider) {
    this.provider = provider;
  }

  async getChainId(): Promise<string> {
    try {
      const web3 = new Web3(this.provider as any);

      // Get the connected Chain's ID
      const chainId = await web3.eth.getChainId();

      return chainId.toString();
    } catch (error) {
      return error as string;
    }
  }

  async getAccounts(): Promise<any> {
    try {
      const web3 = new Web3(this.provider as any);

      // Get user's Ethereum public address
      const address = (await web3.eth.getAccounts())[0];

      return address;
    } catch (error) {
      return error;
    }
  }

  async getBalance(): Promise<string> {
    try {
      const web3 = new Web3(this.provider as any);

      // Get user's Ethereum public address
      const address = (await web3.eth.getAccounts())[0];

      // Get user's balance in ether
      const balance = web3.utils.fromWei(
        await web3.eth.getBalance(address) // Balance is in wei
      );

      return balance;
    } catch (error) {
      return error as string;
    }
  }

  async signMessage() {
    try {
      const web3 = new Web3(this.provider as any);

      // Get user's Ethereum public address
      const fromAddress = (await web3.eth.getAccounts())[0];

      const originalMessage = "YOUR_MESSAGE";

      // Sign the message
      const signedMessage = await web3.eth.personal.sign(
        originalMessage,
        fromAddress,
        "test password!" // configure your own password here.
      );

      return signedMessage;
    } catch (error) {
      return error as string;
    }
  }

  async getPrivateKey(): Promise<any> {
    try {
      const privateKey = await this.provider.request({
        method: "eth_private_key",
      });

      return privateKey;
    } catch (error) {
      return error as string;
    }
  }
}
- index.tsxを下記のコードのように修正
import type { NextPage } from 'next';
import dynamic from "next/dynamic";

const App = dynamic(
  () => {
    return import("./App");
  },
  { ssr: false }
);

const Home: NextPage = () => {
  return <App />;
}

export default Home
- global.cssを下記に修正する
html,
body {
  padding: 0;
  margin: 0;
  font-family: -apple-system, BlinkMacSystemFont, Segoe UI, Roboto, Oxygen,
    Ubuntu, Cantarell, Fira Sans, Droid Sans, Helvetica Neue, sans-serif;
}

a {
  color: inherit;
  text-decoration: none;
}

* {
  box-sizing: border-box;
}

.container {
  width: 60%;
  margin: auto;
  padding: 0 2rem;
}

.main {
  min-height: 100vh;
  padding: 4rem 0;
  flex: 1;
  display: flex;
  flex-direction: column;
  justify-content: center;
  align-items: center;
}

.title {
  line-height: 1.15;
  font-size: 3rem;
  text-align: center;
  margin: 50px;
}

.title a {
  color: #0070f3;
  text-decoration: none;
}

.grid {
  display: flex;
  align-items: center;
  flex-direction: column;
}

.card {
  margin: 0.5rem;
  padding: 0.7rem;
  text-align: center;
  color: #0070f3;
  background-color: #fafafa;
  text-decoration: none;
  border: 1px solid #0070f3;
  border-radius: 10px;
  transition: color 0.15s ease, border-color 0.15s ease;
  width: 100%;
}

.card:hover,
.card:focus,
.card:active {
  cursor: pointer;
  background-color: #f1f1f1;
}

.footer {
  display: flex;
  flex: 1;
  padding: 2rem 0;
  border-top: 1px solid #eaeaea;
  justify-content: center;
  align-items: center;
  margin-top: 10rem;
}

.footer a {
  display: flex;
  justify-content: center;
  align-items: center;
  flex-grow: 1;
}

.logo {
  height: 1.5rem;
  margin-left: 0.5rem;
}

@media (max-width: 1200px) {
  .container {
    width: 100%;
  }
}
Walletを作成
- index.tsxを下記のコードのように修正
※ polygonチェーンを使っております。
      web3auth = new window.Web3auth.Web3Auth({
        clientId,
        chainConfig: {
          chainNamespace: "eip155",
-         chainId: "0x1",
-         rpcTarget: "https://rpc.ankr.com/eth"
+         chainId: "0x13881",
+         rpcTarget: "https://polygon-mumbai.infura.io/v3/81984a3dbd7d4446886a8add0f51aa79"
        },
      });
- テストネットにetherを取得する
polygon Faucetでテストネットにetherを送ることができます。
https://faucet.polygon.technology/
Wallet AddressはGet Accountsのレスポンス結果を記載する。
1~2分後に指定したWalletにetherが付与されています。
続きは別の記事で記載します。
ローカル環境で作成したNFTを自身のwalletにmintするところよりスタートします。
参考
web3auth Documentation
各ネットワークのChainIdやRPCUrlなどの情報まとめ
Discussion