next.js+wijmo+shadcn+firebaseで受注アプリケーションを作成してみる
まずはプロジェクト作成
shadcnでNextアプリを作るコマンドを実行する
$ npx shadcn@latest init
以下のように回答しました。
√ The path C:\Users\81808\dev is does not contain a package.json file. Would you like to start a new Next.js project? ... yes
√ What is your project named? ... wijmo-order-app
√ Creating a new Next.js project.
√ Which style would you like to use? » New York
√ Which color would you like to use as the base color? » Neutral
√ Would you like to use CSS variables for theming? ... no / yes
√ Writing components.json.
√ Checking registry.
√ Updating tailwind.config.ts
√ Updating app\globals.css
√ Installing dependencies.
√ Created 1 file:
  - lib\utils.ts

Success! Project initialization completed.
You may now add components.
ローカルサーバーを立ててみる
$ yarn dev
Nextのwelcomeページが表示されればOK
自分の場合、他プロジェクトでバージョンの低いnodeを使っていたりするため、Dockerに環境を構築することにした
トップディレクトリに.devcontainer/devcontainer.jsonを作成
{
  "name": "Next.js Development",
  "dockerFile": "../Dockerfile",
  "forwardPorts": [3000],
  "postCreateCommand": "npm install",
  "customizations": {
    "vscode": {
      "extensions": ["dbaeumer.vscode-eslint", "esbenp.prettier-vscode"]
    }
  },
  "remoteUser": "node"
}
トップディレクトリにDockerfileを作成
FROM node:18

WORKDIR /app

# ホスト側のpackage.jsonとpackage-lockをコピー
COPY package.json package-lock.json ./

# 依存関係をインストール
RUN yarn install

# ソースコードをコピー
COPY . .

# コンテナ内で作業するユーザーを node に設定
USER node

# 3000番ポートを公開
EXPOSE 3000
vscodeでプロジェクトを開いて、左下の><ボタンからreopen in containerを選択してコンテナを起動
コンテナが起動できるとvscodeのターミナル(bash)はコンテナ内のターミナルになるので、ここでローカルサーバーを起動する
$ yarn dev
Welcomeページが表示されればOK
shadcnが正常に動くかテストする
ボタン生成コマンドの実行
npx shadcn@latest add button
Need to install the following packages:
shadcn@2.0.3
Ok to proceed? (y)
と聞かれるのでyで作成
これでcomponents/ui/にbutton.tsxが作成される。他ライブラリと違ってソースコード自体を生成するのでバンドルサイズ小さい!というかライブラリ自体のサイズは存在しない。神。
生成されたコンポーネントはこんな感じ。tailwindでスタイルを調整された一般的なコンポーネントだが、このソースコードを変更すれば当然ボタンの見た目も変わるため、カスタマイズ性は無限。
import * as React from "react"
import { Slot } from "@radix-ui/react-slot"
import { cva, type VariantProps } from "class-variance-authority"

import { cn } from "@/lib/utils"

const buttonVariants = cva(
  "inline-flex items-center justify-center whitespace-nowrap rounded-md text-sm font-medium transition-colors focus-visible:outline-none focus-visible:ring-1 focus-visible:ring-ring disabled:pointer-events-none disabled:opacity-50",
  {
    variants: {
      variant: {
        default:
          "bg-primary text-primary-foreground shadow hover:bg-primary/90",
        destructive:
          "bg-destructive text-destructive-foreground shadow-sm hover:bg-destructive/90",
        outline:
          "border border-input bg-background shadow-sm hover:bg-accent hover:text-accent-foreground",
        secondary:
          "bg-secondary text-secondary-foreground shadow-sm hover:bg-secondary/80",
        ghost: "hover:bg-accent hover:text-accent-foreground",
        link: "text-primary underline-offset-4 hover:underline",
      },
      size: {
        default: "h-9 px-4 py-2",
        sm: "h-8 rounded-md px-3 text-xs",
        lg: "h-10 rounded-md px-8",
        icon: "h-9 w-9",
      },
    },
    defaultVariants: {
      variant: "default",
      size: "default",
    },
  }
)

export interface ButtonProps
  extends React.ButtonHTMLAttributes<HTMLButtonElement>,
    VariantProps<typeof buttonVariants> {
  asChild?: boolean
}

const Button = React.forwardRef<HTMLButtonElement, ButtonProps>(
  ({ className, variant, size, asChild = false, ...props }, ref) => {
    const Comp = asChild ? Slot : "button"
    return (
      <Comp
        className={cn(buttonVariants({ variant, size, className }))}
        ref={ref}
        {...props}
      />
    )
  }
)
Button.displayName = "Button"

export { Button, buttonVariants }
app/page.tsxを修正してButtonを表示してみる。
import * as React from "react"
import { Slot } from "@radix-ui/react-slot"
import { cva, type VariantProps } from "class-variance-authority"

import { cn } from "@/lib/utils"

const buttonVariants = cva(
  "inline-flex items-center justify-center whitespace-nowrap rounded-md text-sm font-medium transition-colors focus-visible:outline-none focus-visible:ring-1 focus-visible:ring-ring disabled:pointer-events-none disabled:opacity-50",
  {
    variants: {
      variant: {
        default:
          "bg-primary text-primary-foreground shadow hover:bg-primary/90",
        destructive:
          "bg-destructive text-destructive-foreground shadow-sm hover:bg-destructive/90",
        outline:
          "border border-input bg-background shadow-sm hover:bg-accent hover:text-accent-foreground",
        secondary:
          "bg-secondary text-secondary-foreground shadow-sm hover:bg-secondary/80",
        ghost: "hover:bg-accent hover:text-accent-foreground",
        link: "text-primary underline-offset-4 hover:underline",
      },
      size: {
        default: "h-9 px-4 py-2",
        sm: "h-8 rounded-md px-3 text-xs",
        lg: "h-10 rounded-md px-8",
        icon: "h-9 w-9",
      },
    },
    defaultVariants: {
      variant: "default",
      size: "default",
    },
  }
)

export interface ButtonProps
  extends React.ButtonHTMLAttributes<HTMLButtonElement>,
    VariantProps<typeof buttonVariants> {
  asChild?: boolean
}

const Button = React.forwardRef<HTMLButtonElement, ButtonProps>(
  ({ className, variant, size, asChild = false, ...props }, ref) => {
    const Comp = asChild ? Slot : "button"
    return (
      <Comp
        className={cn(buttonVariants({ variant, size, className }))}
        ref={ref}
        {...props}
      />
    )
  }
)
Button.displayName = "Button"

export { Button, buttonVariants }
localhost:3000で確認するとWelcomeページのままである。おそらくホットリロードが動いていない。試しにサーバーを停止して再度yarn devで実行してみる。
ボタンが表示されたのでホットリロードの問題で間違いなさそうです。

ホットリロードは以下の修正で直りましたが、もっといい方法がある気がします。
/** @type {import('next').NextConfig} */
const nextConfig = {
  webpack: (config, { isServer }) => {
    // クライアントのwebpack設定のみを変更
    if (!isServer) {
      config.watchOptions = {
        poll: 1000, // チェック間隔
        aggregateTimeout: 300, // 変更後の遅延
      };
    }
    return config;
  },
};

export default nextConfig;
"scripts": {
    "dev": "WATCHPACK_POLLING=true next dev",
{
  "name": "Next.js Development",
  "dockerFile": "../Dockerfile",
  "forwardPorts": [3000],
  "postCreateCommand": "npm install",
  "customizations": {
    "vscode": {
      "extensions": [
        "dbaeumer.vscode-eslint",
        "esbenp.prettier-vscode",
        "dsznajder.es7-react-js-snippets",
        "bradlc.vscode-tailwindcss"
      ]
    }
  },
  "remoteUser": "node",
  "mounts": [
    "source=${localWorkspaceFolder},target=/app,type=bind,consistency=cached"
  ],
  "workspaceFolder": "/app"
}
firebaseでプロジェクトを作成する
(firebaseアカウントは登録済みの想定)
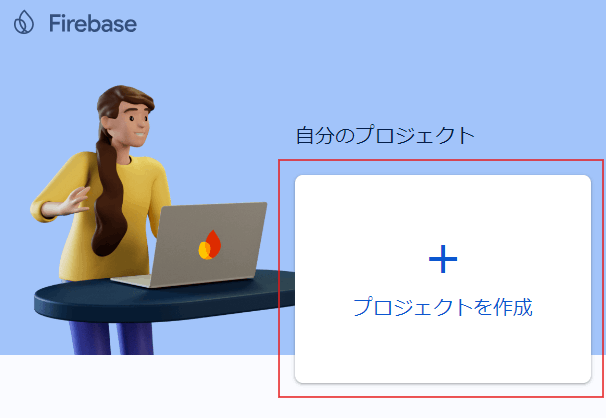
プロジェクトを作成
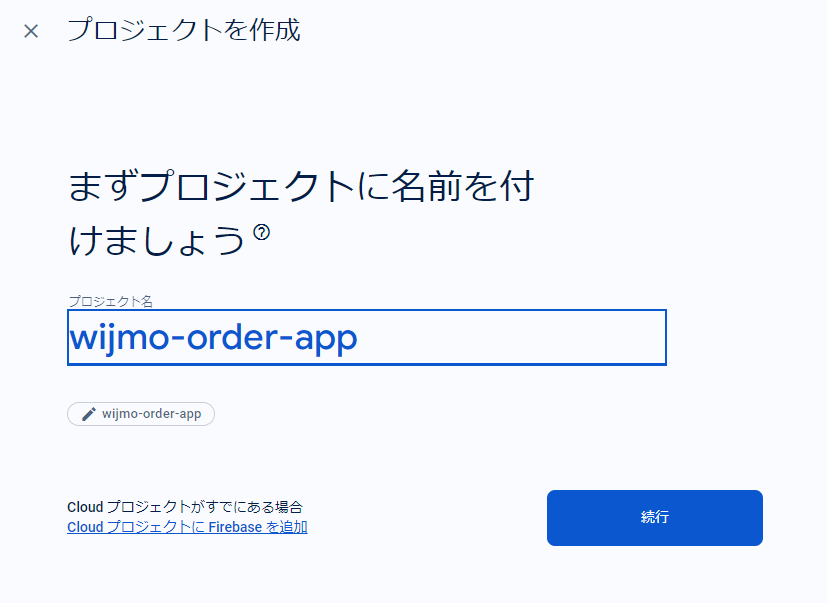
他は特に設定せずに続行で進んでいき、作成する。
作成できたらWEBを選択

firebase hostingも設定する
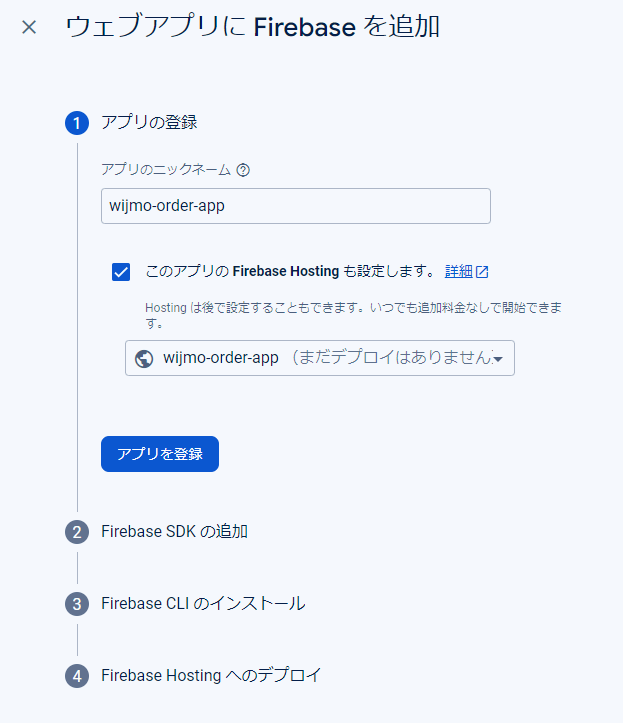
表示されるinstallコマンドを実行しておく
$ npm install firebase
firebaseのconfigコードのようなものが表示されるのでこれをコピーしてconfigを作成する
今回永続層はinfrastructure/firebase/に作ろうと思うので
infrastructure/firebase/client.ts
infrastructure/firebase/config.ts
を作成する。
export const firebaseConfig = {
    apiKey: "コピペしたコード",
    authDomain: "コピペしたコード",
    projectId: "コピペしたコード",
    storageBucket: "コピペしたコード",
    messagingSenderId: "コピペしたコード",
    appId: "コピペしたコード",
    measurementId: "コピペしたコード"
  };
import { initializeApp } from "firebase/app";
import { getAnalytics } from "firebase/analytics";
import { firebaseConfig } from "./config";

// Initialize Firebase
const app = initializeApp(firebaseConfig);
const analytics = getAnalytics(app);

export { app, analytics };
firebase hostingを使用するためのコマンドを実行しておく
$ npm install -g firebase-tools
デプロイしてみる
firebase-toolsはコンテナ内でグローバルにinstallしようとすると権限エラーになるので一旦ローカルインストール。
そうするとfirebaseコマンドも使えないのでnpxコマンドを使う
npm install firebase-tools
loginはブラウザが起動されるのでそっちで認証を行う
npx firebase login
firebase initではとりあえず
Hosting: Configure files for Firebase Hosting and (optionally) set up GitHub Action deploys
のみ選択する
npx firebase init
質問には以下のように回答
? Which Firebase features do you want to set up for this directory? Press Space to select features, then Enter to
confirm your choices. Hosting: Configure files for Firebase Hosting and (optionally) set up GitHub Action deploys

=== Project Setup

First, let's associate this project directory with a Firebase project.
You can create multiple project aliases by running firebase use --add,
but for now we'll just set up a default project.

? Please select an option: Use an existing project
? Select a default Firebase project for this directory: wijmo-order-app (wijmo-order-app)
i  Using project wijmo-order-app (wijmo-order-app)

=== Hosting Setup

Your public directory is the folder (relative to your project directory) that
will contain Hosting assets to be uploaded with firebase deploy. If you
have a build process for your assets, use your build's output directory.

? What do you want to use as your public directory? out
? Configure as a single-page app (rewrite all urls to /index.html)? Yes
? Set up automatic builds and deploys with GitHub? Yes
✔  Wrote out/index.html

i  Detected a .git folder at /app
i  Authorizing with GitHub to upload your service account to a GitHub repository's secrets store.

Visit this URL on this device to log in:
https://github.com/login/oauth/authorize?client_id=89cf50f02ac6aaed3484&state=111522085&redirect_uri=http%3A%2F%2Flocalhost%3A9005&scope=read%3Auser%20repo%20public_repo

Waiting for authentication...

✔  Success! Logged into GitHub as taikidev0922

? For which GitHub repository would you like to set up a GitHub workflow? (format: user/repository)
taikidev0922/wijmo-order-app

✔  Created service account github-action-852080226 with Firebase Hosting admin permissions.
✔  Uploaded service account JSON to GitHub as secret FIREBASE_SERVICE_ACCOUNT_WIJMO_ORDER_APP.
i  You can manage your secrets at https://github.com/taikidev0922/wijmo-order-app/settings/secrets.

? Set up the workflow to run a build script before every deploy? Yes
? What script should be run before every deploy? npm ci && npm run build

✔  Created workflow file /app/.github/workflows/firebase-hosting-pull-request.yml
? Set up automatic deployment to your site's live channel when a PR is merged? Yes
? What is the name of the GitHub branch associated with your site's live channel? main

✔  Created workflow file /app/.github/workflows/firebase-hosting-merge.yml

i  Action required: Visit this URL to revoke authorization for the Firebase CLI GitHub OAuth App:
https://github.com/settings/connections/applications/89cf50f02ac6aaed3484
i  Action required: Push any new workflow file(s) to your repo

i  Writing configuration info to firebase.json...
i  Writing project information to .firebaserc...

✔  Firebase initialization complete!