【2024年版】Riverpod,Flutter Hooksで実装するBottomNavigationBar
はじめに
この記事はRiverpodやFlutter HooksでのBottomNavigationBarを作成する例をそれぞれご紹介します。
BottomNavigationBarはアプリによくある下タブですが、これの実装方法を調べると、StatefulWidgetがまず出てきます。最初はこれでもいいのですが、たいていのアプリではRiverpod、Flutter Hooksを導入しているので、これらの技術を使ってもっと簡単に実装できる方法を紹介してきます。
Riverpodを使って紹介している別記事もあったのですが、StateProviderを使っていたりと情報がちょっと古いのもあり、2024年版ということで今回記事にしました。
Riverpodも先日にver 3.0の情報が発表され、マクロができるようになるなど、進化が目覚ましいですが、今回はRiverpod 2系となります。
バージョン情報
- Flutter 3.19
- Dart 3.2.6
- Riverpod 2.5.1
- Flutter Hooks 0.30.5
本題
それでは、RiverpodとFlutter Hooksでのそれぞれの実装方法について説明していきます。
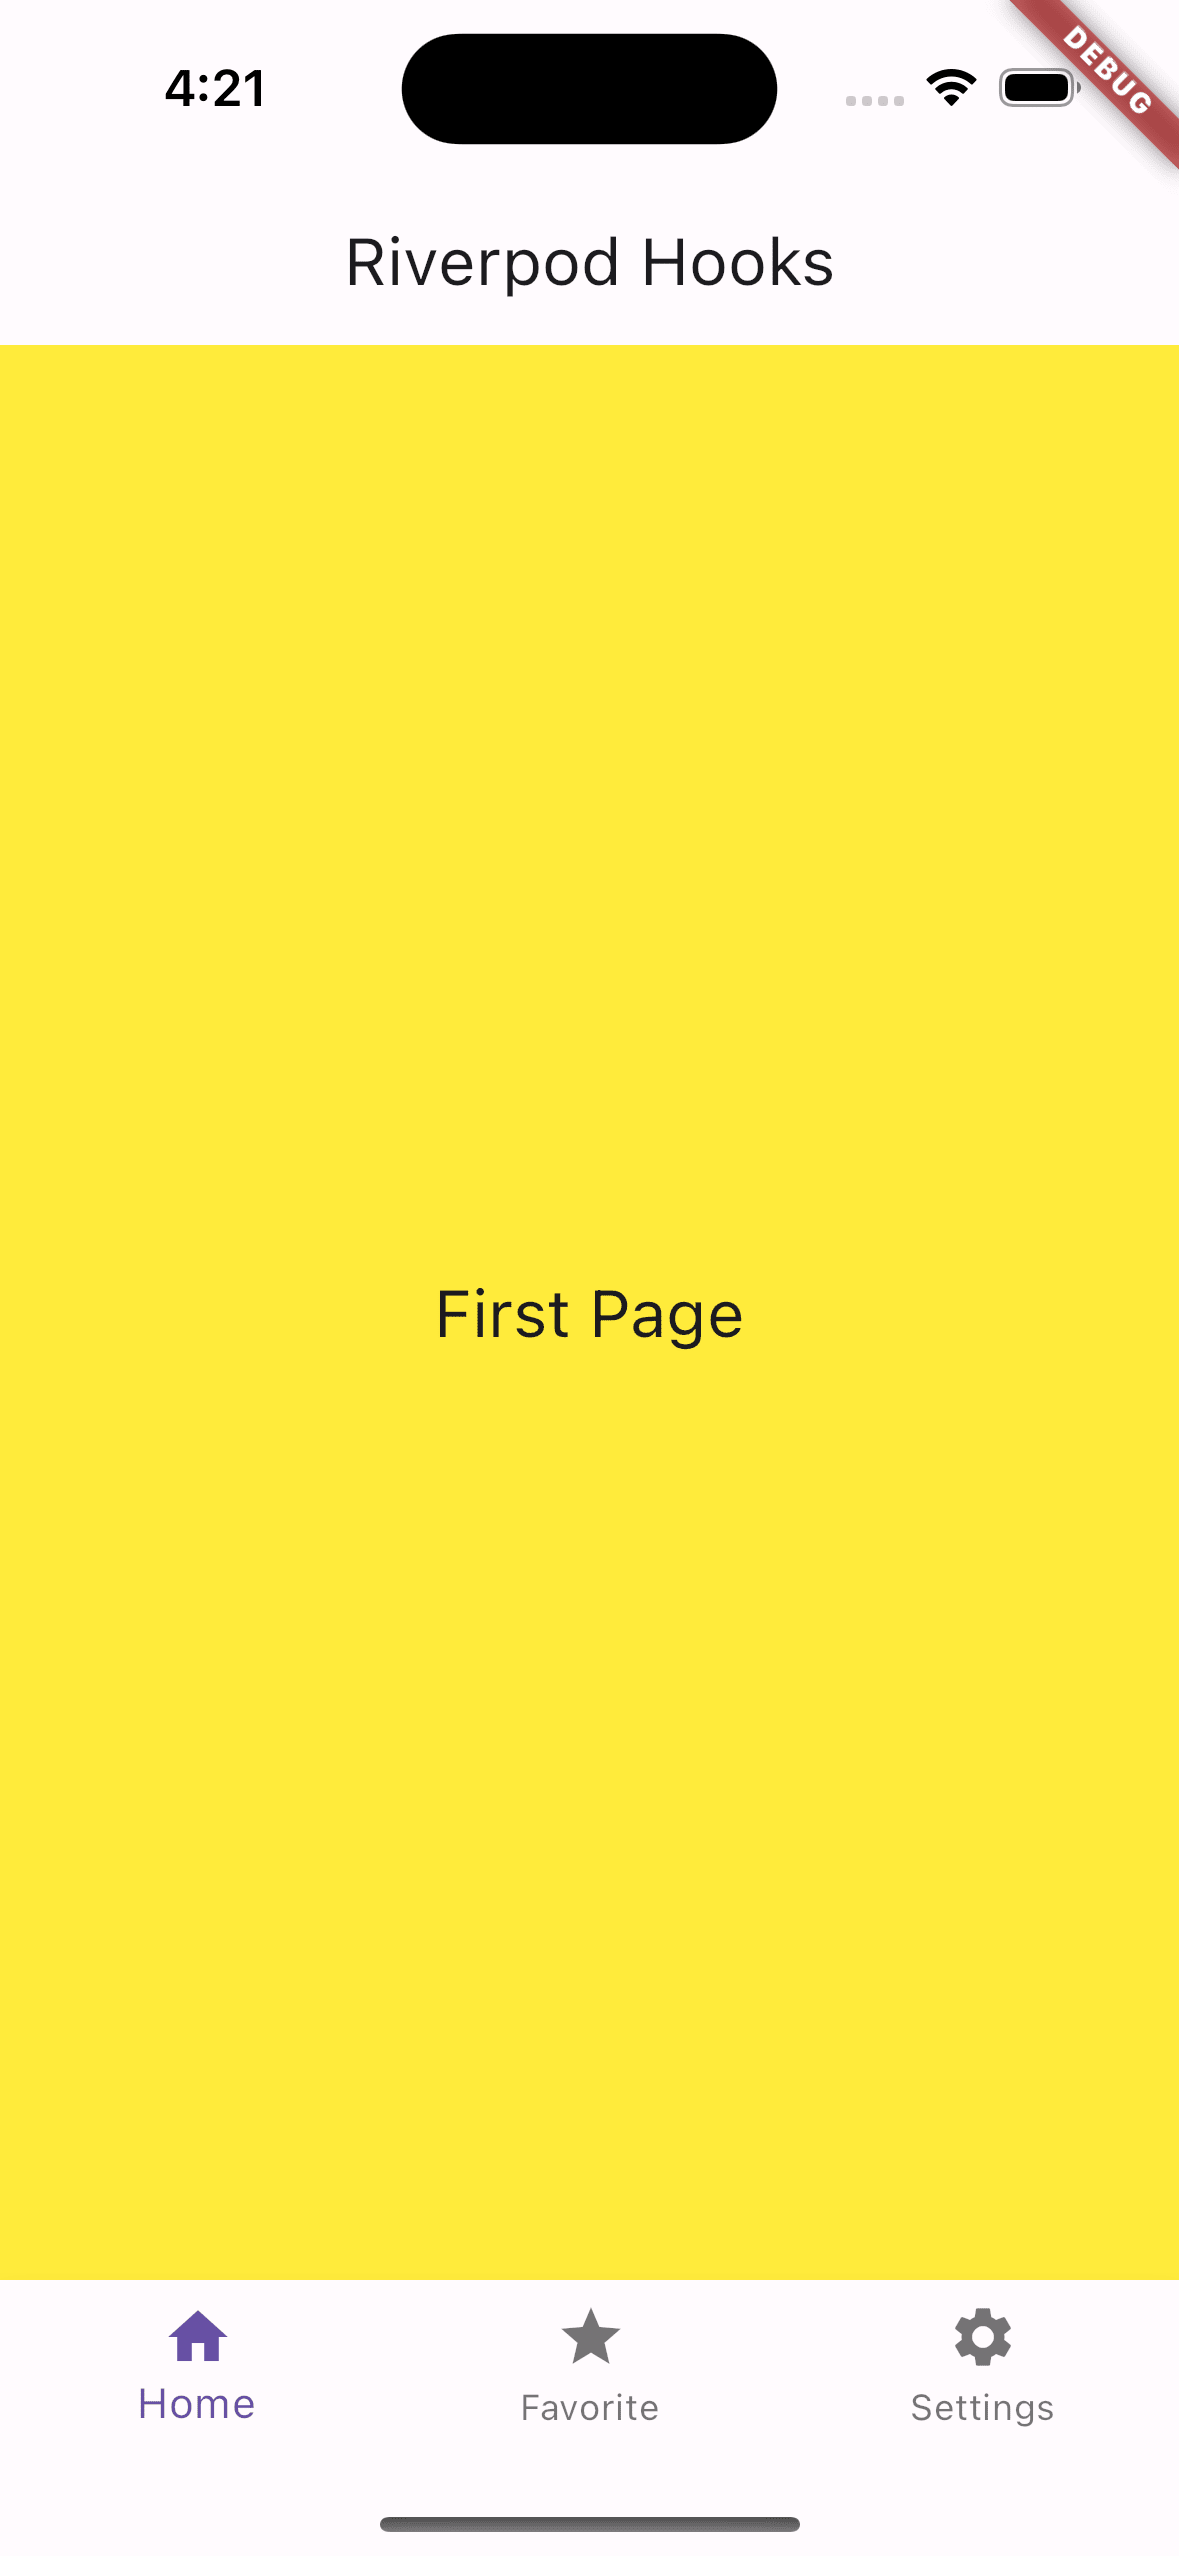
こんな感じの画面になります

Riverpod
現在のページ番号を管理するProviderを作成します。
タブを押されたときにページ番号を更新する必要があるため、クラスで作成します。
part 'page_index_provider.g.dart';
class PageIndex extends _$PageIndex {
int build() {
return 0;
}
void update(int index) {
state = index;
}
}
あとは、アプリの基本画面となるWidgetを作成し、bottomNavigationBarを配置します。
class HomeScreen extends ConsumerWidget {
const HomeScreen({super.key});
Widget build(BuildContext context, WidgetRef ref) {
return Scaffold(
bottomNavigationBar: BottomNavigationBar(
...
そして、indexを管理するindexProvider、各ページに表示するウィジェットをそれぞれ宣言します
Widget build(BuildContext context, WidgetRef ref) {
final indexProvider = ref.watch(pageIndexProvider);
final pages = [const FirstPage(), const SecondPage(), const ThirdPage()];
return Scaffold(
bottomNavigationBar: BottomNavigationBar(
bottomNavigationBarのプロパティであるcurrentIndexにindexProviderを設定し、常に現在のタブインデックスを反映させます。
そして、タブがタップされたときはonTapが呼ばれるので、ここでProviderの更新処理を行います。
Widget build(BuildContext context, WidgetRef ref) {
final indexProvider = ref.watch(pageIndexProvider);
final pages = [const FirstPage(), const SecondPage(), const ThirdPage()];
return Scaffold(
body: pages[indexProvider],
bottomNavigationBar: BottomNavigationBar(
currentIndex: indexProvider,
onTap: (int index) {
ref.read(pageIndexProvider.notifier).update(index);
},
最後にタブバーの中身をitemsで定義します
Widget build(BuildContext context, WidgetRef ref) {
final indexProvider = ref.watch(pageIndexProvider);
final pages = [const FirstPage(), const SecondPage(), const ThirdPage()];
return Scaffold(
body: pages[indexProvider],
bottomNavigationBar: BottomNavigationBar(
currentIndex: indexProvider,
onTap: (int index) {
ref.read(pageIndexProvider.notifier).update(index);
},
items: const [
BottomNavigationBarItem(icon: Icon(Icons.home), label: 'Home'),
BottomNavigationBarItem(icon: Icon(Icons.star), label: 'Favorite'),
BottomNavigationBarItem(
icon: Icon(Icons.settings), label: 'Settings'),
]),
);
}
全体のコードはこちらになります。
pagesとitemsの数が矛盾しているとエラーが起こるので、そこらへんはEnumや別のClassを作って管理してもいいかもしれません。
Flutter Hooks
次にFlutter Hooksですが、Riverpodとあまり変わりません。ただし、新たにクラスを作る必要がなく、コードもすっきりするため、Riverpod Hooksをすでに導入している場合はこちらをおすすめします。ただ、使ってない場合はわざわざわここのためにFlutter Hooksを使うのもどうかと思うので、先程説明したRiverpodでのやり方で十分そうです。
Riverpodのとき違うのはuseStateをつかって、状態管理しているところです
final index = useState(0);
コード抜粋を乗せるのも憚れるので、実際に動かしてみたい人はRiverpodのコードで、indexProviderをuseStateに置き換えてください。
今回紹介したコードはこちらにあります。
マイペースにつぶやいています。
Discussion