☁️
cloudflaredをk8s上に移行させてみる
前提
- cloudflaredがインストールされているPC/VM/etc...が存在する
- 同ネットワーク上にk8sクラスタが存在する
- tunnelのrouteをZero Trustのダッシュボード上で設定している
1. k8s用のトンネルを作る
運用中のcloudflaredがあるマシンに接続し
cloudflared tunnel create <トンネル名>
を実行する
Tunnel credentials written to <認証情報のパス>. cloudflared chose this file based on where your origin certificate was found. Keep this file secret. To revoke these credentials, delete the tunnel.

Created tunnel <トンネル名> with id <トンネルのID>
2. k8sに認証情報をアップロードする
kubectl create secret generic tunnel-credentials \
--from-file=credentials.json=<認証情報のパス>
を実行し、k8s上に認証情報をsecretとして保存する
3. デプロイ用manifestを用意する
公式が提供しているmanifestをダウンロードし、適時編集する
下の方にあるConfigMapのconfig.yaml以下を編集するとcloudflaredに適用される設定をいじれる
この記事のようにrouteをweb上で設定する場合は以下のようにガッツリと行数を減らすことができる
apiVersion: v1
kind: ConfigMap
metadata:
  name: cloudflared
data:
  config.yaml: |
    tunnel: k8s-test
    credentials-file: /etc/cloudflared/creds/credentials.json
    metrics: 0.0.0.0:2000
    no-autoupdate: true
4. k8sにmanifestをデプロイする
kubectlから直接デプロイする場合は
kubectl apply -f <マニフェストファイル名>
argocdなどツールを使う場合は適時githubなどにpushする
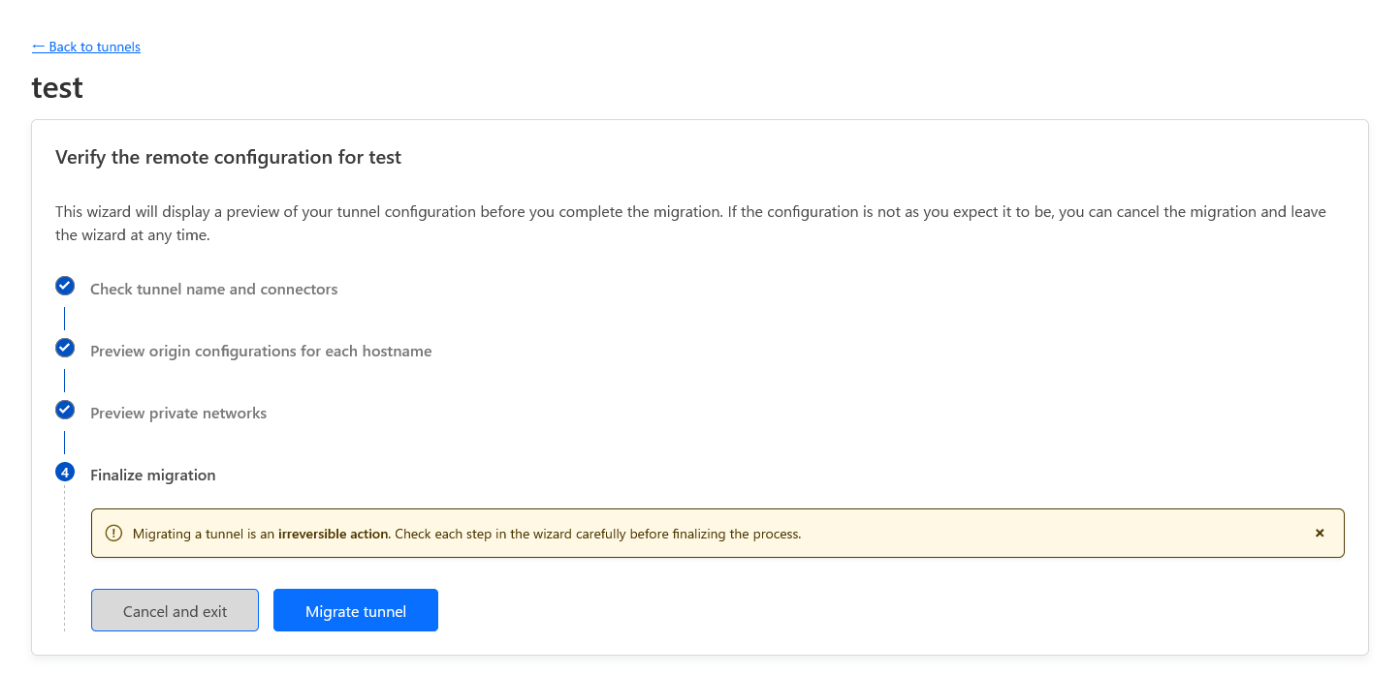
5. tunnelをwebから編集できるように変換する
ZetoTrustのAccessからTunnelsを開くと以下のようにトンネル名の右に情報アイコンが出ているため、configureからstart migrationを押し、

confirmをポチポチと押し続けてmigrate tunnelで変換を完了する
6. routeの設定を旧トンネルから移行する
同じドメインに複数のrouteを設定することはできないため、一つづつ削除→追加の順で張り替えていく
手早くやれば10秒ほどのダウンタイムで済む
感想
cloudflareが公式のdockerイメージとドキュメントを用意していたため案外簡単に移行できた
Discussion