Nuxt3 + Vuetify3 + Volarの開発環境を構築する
Nuxt3もVuetify3もGAではないため不安定ですが環境構築の手順を追従していこうと思います。
※ alpha版だったVuetify3をbeta版にして更新しました。
前提条件
下記環境で構築しています。
なお、私はWSL2 + Docker Desktop + devcontainerで実行しますが、ホスト側で実行される方は適宜読み替えてください。
- Windows 11 Pro 21H2
- Visual Studio Code: 1.67.1
- WSL2
- Docker 20.10.12
- コンテナ環境
- Debian buster (10.10)
- Node.js: v16.13.2
- yarn: 1.22.18
- プロジェクト
- Nuxt.js: 3.0.0-rc3
- vuetify: v3.0.0-beta.2
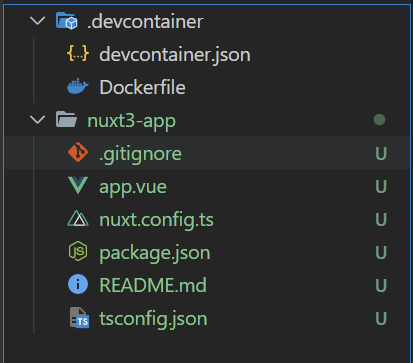
.devcontainerフォルダ
// For format details, see https://aka.ms/devcontainer.json. For config options, see the README at:
// https://github.com/microsoft/vscode-dev-containers/tree/v0.234.0/containers/javascript-node
{
  "name": "Node.js",
  "build": {
    "dockerfile": "Dockerfile",
    // Update 'VARIANT' to pick a Node version: 18, 16, 14.
    // Append -bullseye or -buster to pin to an OS version.
    // Use -bullseye variants on local arm64/Apple Silicon.
    "args": { "VARIANT": "18-bullseye" }
  },

  // Set *default* container specific settings.json values on container create.
  "settings": {
    "editor.defaultFormatter": "esbenp.prettier-vscode",
    "editor.formatOnSave": true,
    "editor.codeActionsOnSave": {
      "source.fixAll": true
    }
  },

  // Add the IDs of extensions you want installed when the container is created.
  "extensions": [
    "dbaeumer.vscode-eslint",
    "esbenp.prettier-vscode",
    "Vue.volar"
  ],

  // Use 'forwardPorts' to make a list of ports inside the container available locally.
  // "forwardPorts": [],

  // Use 'postCreateCommand' to run commands after the container is created.
  // "postCreateCommand": "yarn install",

  // Comment out to connect as root instead. More info: https://aka.ms/vscode-remote/containers/non-root.
  "remoteUser": "node"
}
# See here for image contents: https://github.com/microsoft/vscode-dev-containers/tree/v0.234.0/containers/javascript-node/.devcontainer/base.Dockerfile

# [Choice] Node.js version (use -bullseye variants on local arm64/Apple Silicon): 18, 16, 14, 18-bullseye, 16-bullseye, 14-bullseye, 18-buster, 16-buster, 14-buster
ARG VARIANT="18-bullseye"
FROM mcr.microsoft.com/vscode/devcontainers/javascript-node:0-${VARIANT}

# [Optional] Uncomment this section to install additional OS packages.
# RUN apt-get update && export DEBIAN_FRONTEND=noninteractive \
#     && apt-get -y install --no-install-recommends <your-package-list-here>

# [Optional] Uncomment if you want to install an additional version of node using nvm
# ARG EXTRA_NODE_VERSION=10
# RUN su node -c "source /usr/local/share/nvm/nvm.sh && nvm install ${EXTRA_NODE_VERSION}"

# [Optional] Uncomment if you want to install more global node modules
# RUN su node -c "npm install -g <your-package-list-here>"
Nuxt3プロジェクト作成
まずはNuxt3プロジェクトを作成します。
公式の手順に沿って下記コマンドを実行します。
npx nuxi init nuxt3-app
nuxiがインストールされていない場合はインストールするか聞かれますのでyで進めます。
node ➜ /workspaces/nuxt3-vuetify-for-zenn (master ✗) $ npx nuxi init nuxt3-app
Need to install the following packages:
  nuxi
Ok to proceed? (y) y
下記ログが流れてすぐに完了します。
Nuxt CLI v3.0.0-rc.3                                                                                        02:29:12
ℹ cloned nuxt/starter#v3 to /workspaces/nuxt3-vuetify-for-zenn/nuxt3-app                                    02:29:14
                                                                                                            02:29:14
 ✨ Your dandy Nuxt project is just created! Next steps:

 📁  cd nuxt3-app                                                                                           02:29:14

 💿  Install dependencies with npm install or yarn install or pnpm install --shamefully-hoist               02:29:14

 🚀  Start development server with npm run dev or yarn dev or pnpm run dev
成功するとこのように最低限のファイルが作成されます。
(オプション)
私は.devcontainerのあるフォルダに展開したいためmv -f ./nuxt3-app/* ./とmv -f ./nuxt3-app/.* ./でファイルを同階層に移動させますが、気にされない方はcd nuxt3-appでサブフォルダへ移動してください。
依存関係をダウンロードします。
yarn install
依存関係のダウンロードが完了したら試しに起動してみます。
yarn dev
このようなログが表示されたらブラウザでhttp://localhost:3000/にアクセスします。
Fetch APIが実験的機能である旨の警告がエラーとして出ていますが動作は問題なさそうです。
Nuxt CLI v3.0.0-rc.3                                                                                        02:31:07
                                                                                                            02:31:07
  > Local:    http://localhost:3000/


 ERROR  (node:1234) ExperimentalWarning: The Fetch API is an experimental feature. This feature could change at any time
(Use `node --trace-warnings ...` to show where the warning was created)

ℹ Vite server warmed up in 124ms                                                                            02:31:11
ℹ Vite client warmed up in 694ms                                                                            02:31:11
✔ Vite server built in 454ms                                                                                02:31:11
✔ Nitro built in 305 ms                                                                               nitro 02:31:12
(node:1234) ExperimentalWarning: The Fetch API is an experimental feature. This feature could change at any time
(Use `node --trace-warnings ...` to show where the warning was created)
Nuxt3のインストール及び起動が確認できます。

Vuetify3のインストール
Vuetifyをインストールしていきます。
下記コマンドでvuetifyをインストールします。
yarn add vuetify@next sass
Nuxt.js用のVuetifyモジュールはまだVuetify3に対応していないためプラグインを作成します。
import { createVuetify } from 'vuetify'
import * as components from 'vuetify/components'
import * as directives from 'vuetify/directives'

export default defineNuxtPlugin(nuxtApp => {
  const vuetify = createVuetify({
    components,
    directives,
  })

  nuxtApp.vueApp.use(vuetify)
})
ここでこのコメントを参考にnuxt.config.tsを編集します。
 import { defineNuxtConfig } from "nuxt";

 // https://v3.nuxtjs.org/api/configuration/nuxt.config
 export default defineNuxtConfig({
+  css: ["vuetify/lib/styles/main.sass"],
+  build: {
+    transpile: ["vuetify"],
+  },
+  vite: {
+    define: {
+      "process.env.DEBUG": false,
+    },
+  },
 });
Vuetifyの動作を確認する
Vuetifyの動作を確認するためにapp.vueを変更します。
<template>
  <v-app>
    <v-app-bar app>
      <v-app-bar-title>Nuxt3 & Vuetify3 & Volar project</v-app-bar-title>
    </v-app-bar>
    <v-main>
      <nuxt-page></nuxt-page>
    </v-main>
  </v-app>
</template>
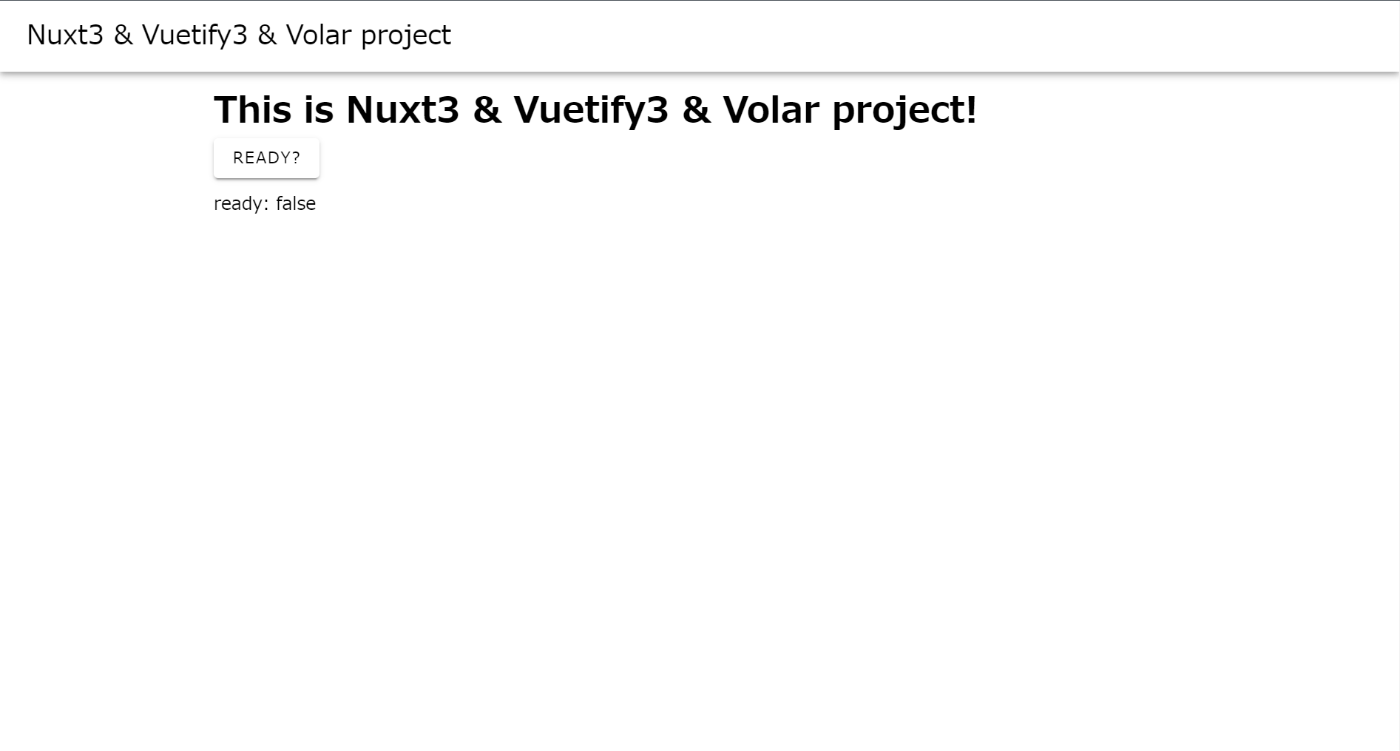
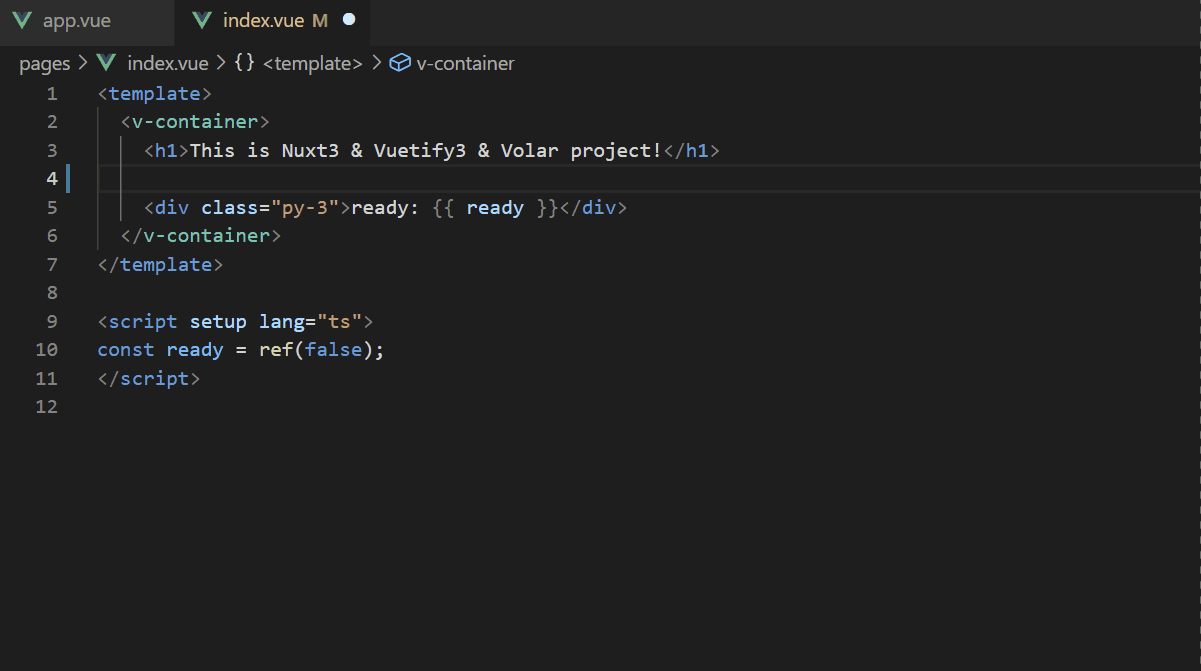
pages/index.vueにトップページ用ファイルを作成します。
<template>
  <v-container>
    <h1>This is Nuxt3 & Vuetify3 & Volar project!</h1>
    <v-btn @click="ready = !ready">ready?</v-btn>
    <div class="py-3">ready: {{ ready }}</div>
  </v-container>
</template>

<script setup lang="ts">
const ready = ref(false);
</script>
http://localhost:3000/にアクセスすると下記結果が得られるはずです。
Volarのインストール
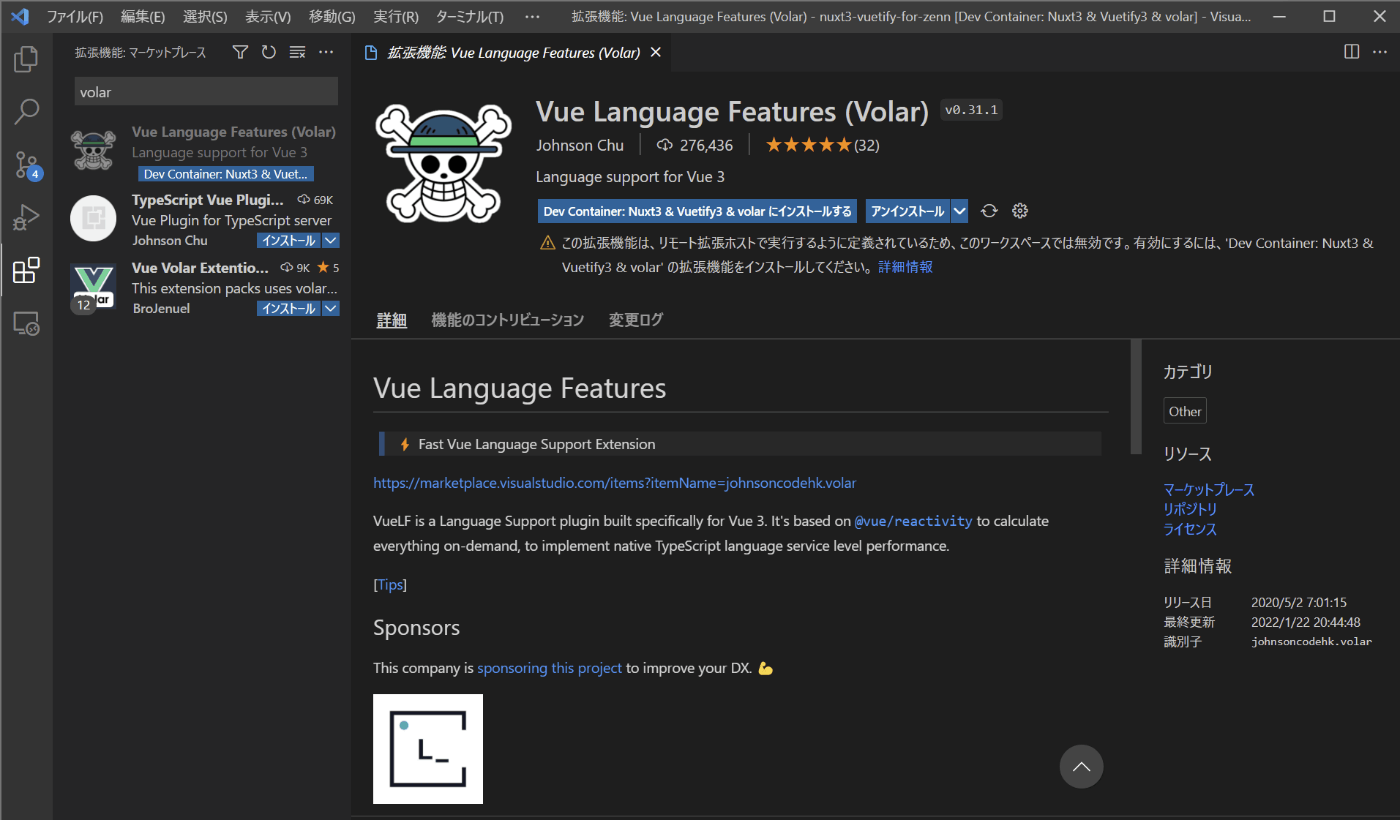
最後にvolarをインストールします。
Visual Studio Codeの拡張機能: マーケットプレースでvolarと検索してvolarをインストールします。
volarがインストールされるとホバーした際にnuxt-pageコンポーネントの型が表示されるようにます。
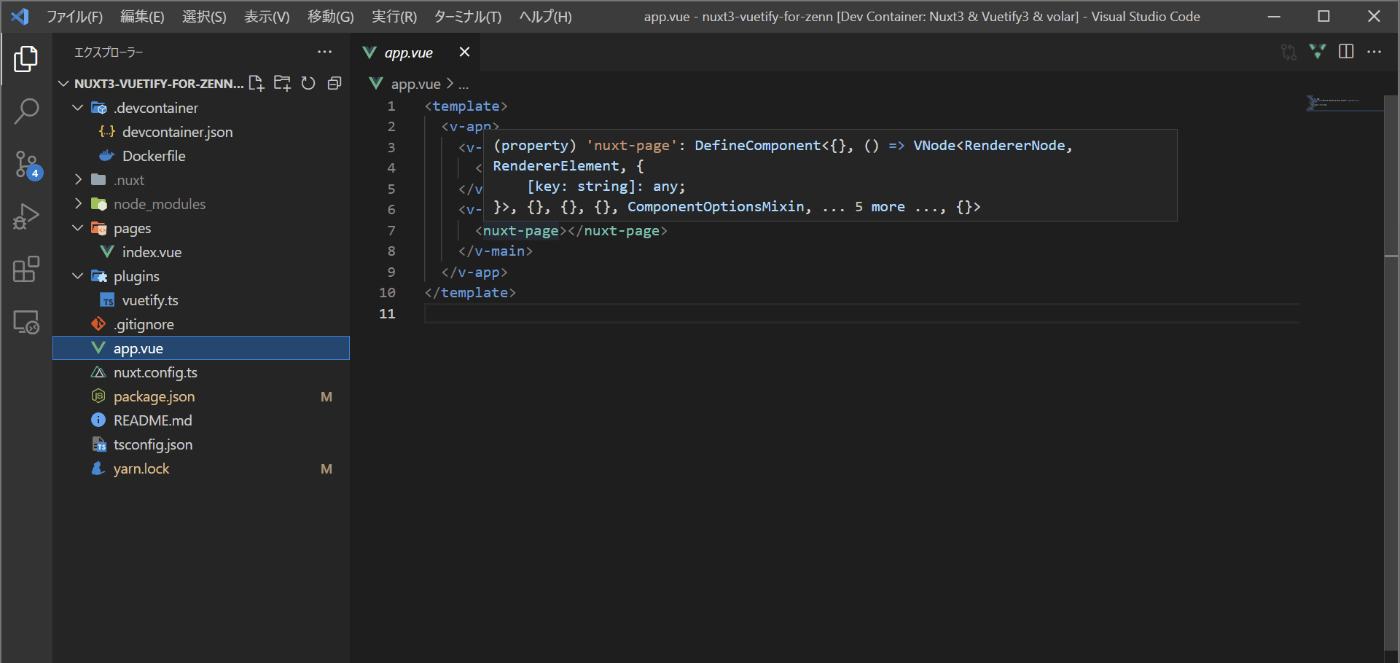
この手順は不要になりました
しかし、v-btn等のVuetifyのコンポーネントはホバーしても表示されません。
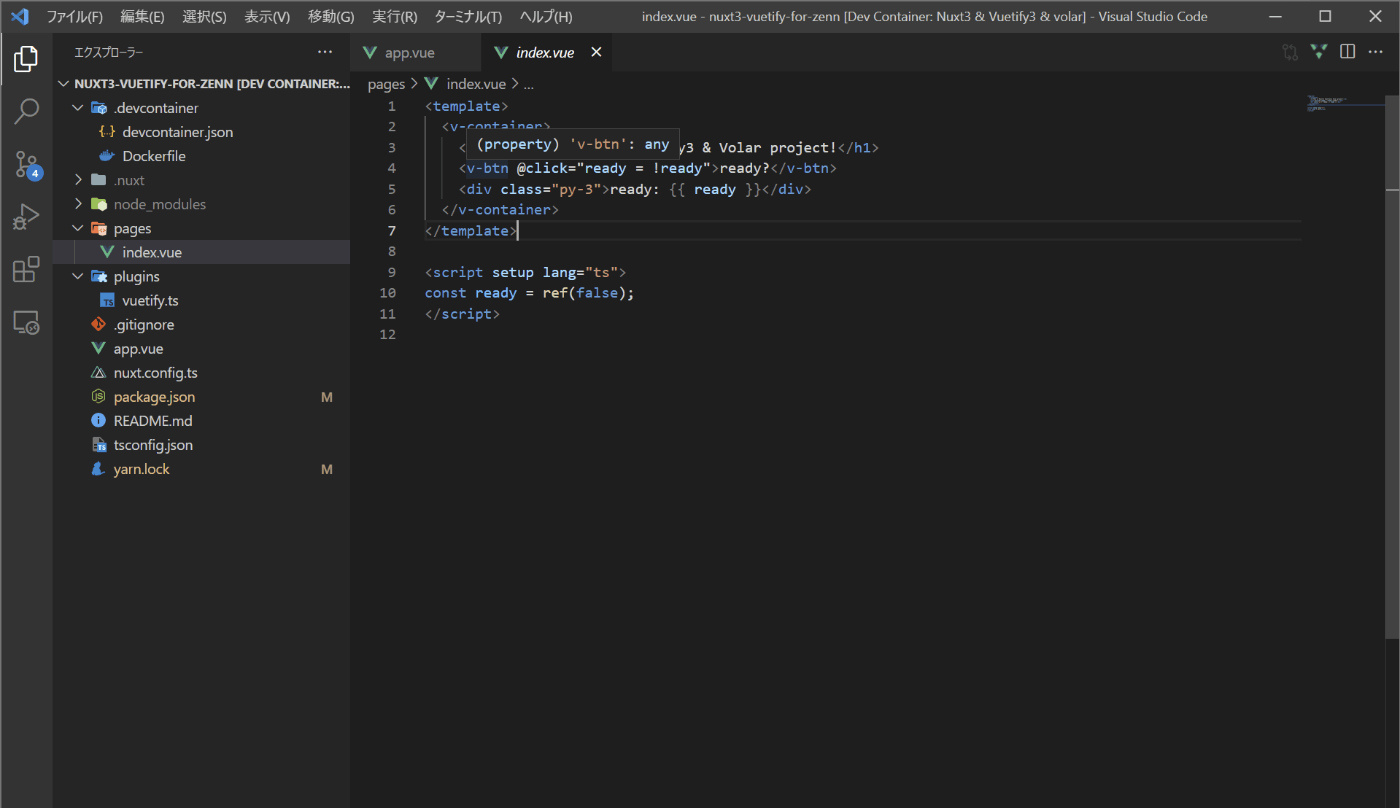
これに対処するためにはGlobalComponentsを宣言する必要があります。volarマーケットプレース参照
components.d.tsファイルを作成して下記内容を保存します。
declare module "@vue/runtime-core" {
  type VuetifyComponents = typeof import("vuetify/components");
  export type GlobalComponents = VuetifyComponents;
}
export {};
コンポーネント名のサジェストやpropsの型チェックが効いています。
ありがたいことにslotもサジェストしてくれます。
おわりに
以上でNuxt3 + Vuetify3 + Volarの開発環境は終わりです。
Nuxt2と比べると型が使いやすくなって大満足です。ただ、まだ正式版ではないためHMRが上手く効かない時あったりします。これは今後の正式版リリースで変わると思いますので随時アップデートしていく予定です。
今回と同様のプロジェクトはGitHubのリポジトリに公開してありますので興味のある方はご確認ください。
Discussion