Nuxt3 に対応した nuxt/content v2 が間もなくリリースされます🎉
はじめに
Nuxt3に対応した@nuxt/content v2のリリースをアナウンスする記事がGitHub上で公開されました。
Announcing Nuxt Content v2
2 years after the release of Content v1, we are proud to announce the second version of Nuxt Content built for Nuxt 3.
[追記]
公式サイトも公開されているようです。
nuxt/content とは
nuxt/contentとはNuxtの公式モジュールの1つで、content/ディレクトリに保存したMarkdown、JSON、YAML、XML、CSVファイルをMongoDBライクなAPIで利用できるGitベースのヘッドレスCMSです。
nuxt/contentは非常に人気なモジュールで私も愛用していましたが、残念ながらv1はNuxt3及びBridge[1]に対応しておらずNuxtをv2からv3へアップグレードする際のストッパーになっていました。
試してみる
まだ正式リリースはされていませんが、@nuxt/content-edgeパッケージを利用することでnuxt/content v2を試すことができます。
次の環境で実施します。
- nodejs@v18.0.0
- Nuxt@v3.0.0-rc.3
devcontainer定義を確認する
// For format details, see https://aka.ms/devcontainer.json. For config options, see the README at:
// https://github.com/microsoft/vscode-dev-containers/tree/v0.234.0/containers/javascript-node
{
  "name": "Node.js",
  "build": {
    "dockerfile": "Dockerfile",
    // Update 'VARIANT' to pick a Node version: 18, 16, 14.
    // Append -bullseye or -buster to pin to an OS version.
    // Use -bullseye variants on local arm64/Apple Silicon.
    "args": { "VARIANT": "18-bullseye" }
  },

  // Set *default* container specific settings.json values on container create.
  "settings": {
    "editor.defaultFormatter": "esbenp.prettier-vscode",
    "editor.formatOnSave": true,
    "editor.codeActionsOnSave": {
      "source.fixAll": true
    }
  },

  // Add the IDs of extensions you want installed when the container is created.
  "extensions": [
    "dbaeumer.vscode-eslint",
    "esbenp.prettier-vscode",
    "Vue.volar"
  ],

  // Use 'forwardPorts' to make a list of ports inside the container available locally.
  // "forwardPorts": [],

  // Use 'postCreateCommand' to run commands after the container is created.
  // "postCreateCommand": "yarn install",

  // Comment out to connect as root instead. More info: https://aka.ms/vscode-remote/containers/non-root.
  "remoteUser": "node"
}
# See here for image contents: https://github.com/microsoft/vscode-dev-containers/tree/v0.234.0/containers/javascript-node/.devcontainer/base.Dockerfile

# [Choice] Node.js version (use -bullseye variants on local arm64/Apple Silicon): 18, 16, 14, 18-bullseye, 16-bullseye, 14-bullseye, 18-buster, 16-buster, 14-buster
ARG VARIANT="18-bullseye"
FROM mcr.microsoft.com/vscode/devcontainers/javascript-node:0-${VARIANT}

# [Optional] Uncomment this section to install additional OS packages.
# RUN apt-get update && export DEBIAN_FRONTEND=noninteractive \
#     && apt-get -y install --no-install-recommends <your-package-list-here>

# [Optional] Uncomment if you want to install an additional version of node using nvm
# ARG EXTRA_NODE_VERSION=10
# RUN su node -c "source /usr/local/share/nvm/nvm.sh && nvm install ${EXTRA_NODE_VERSION}"

# [Optional] Uncomment if you want to install more global node modules
# RUN su node -c "npm install -g <your-package-list-here>"
Nuxt3アプリケーション作成
公式手順を参考に次のコマンドでNuxt3アプリケーションを作成します。
npx nuxi init
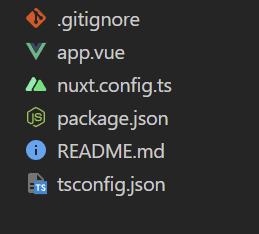
次のようなファイルができあがります。
ローカルの開発モードを実行してみましょう。
yarn install # 初回のみ必要
yarn dev
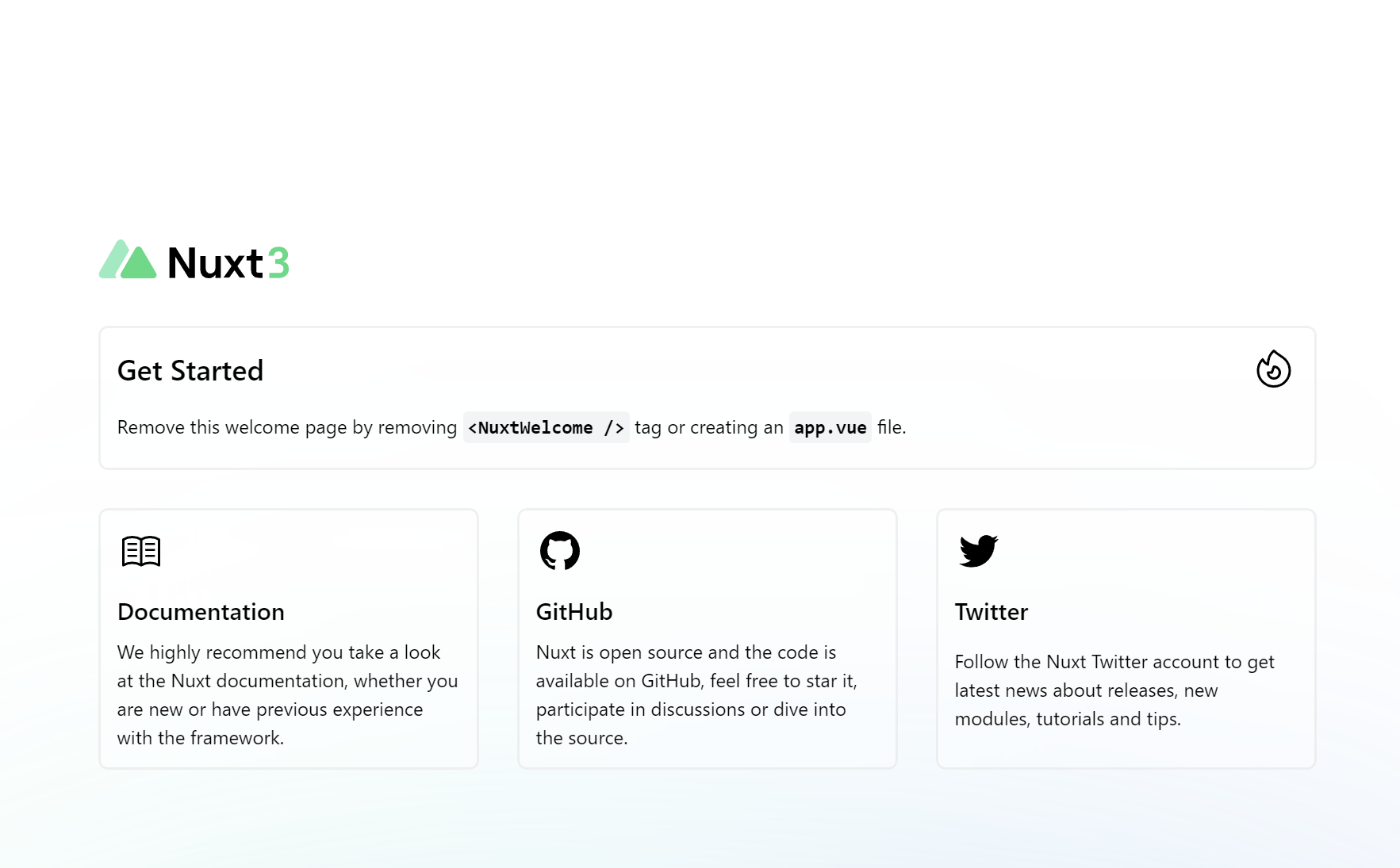
http://localhost:3000/ にアクセスするとNuxt3のウェルカムページが確認できます。
nuxt/content-edgeをインストール
次のコマンドでパッケージを追加します。
yarn add @nuxt/content@npm:@nuxt/content-edge
モジュールをnuxt.config.tsに追加します。
 import { defineNuxtConfig } from "nuxt";

 // https://v3.nuxtjs.org/api/configuration/nuxt.config
 export default defineNuxtConfig({
+  modules: ["@nuxt/content"],
 });
以上でインストールは完了です。
コンテンツを作成
contentディレクトリを作成してその中にコンテンツとなるMarkdownファイルを作成していきます。
---
title: Hello
---

# Hello nuxt/content v2!

This is article of nuxt/content v for zenn.
---
title: World
---

# World of nuxt/content v2!

nuxt/content is powerfull👍👍👍
コンテンツを表示
複数のコンテンツページを作成するためapp.vueを削除してpagesディレクトリを作成します。
rm app.vue
mkdir pages
Nuxt3のネストされた動的ルートを処理するページを作るには[...slug].vueのような形式でpagesディレクトリにファイルを作成します。
nuxt/content v1では次のような記述が必要でした。
<template>
  <article>
    <h1>{{ page.title }}</h1>
    <nuxt-content :document="page" />
  </article>
</template>

<script>
export default {
  async asyncData ({ $content }) {
    const page = await $content('home').fetch()

    return {
      page
    }
  }
}
</script>
nuxt/content v2だとこれだけになります。
<template>
  <content-doc />
</template>
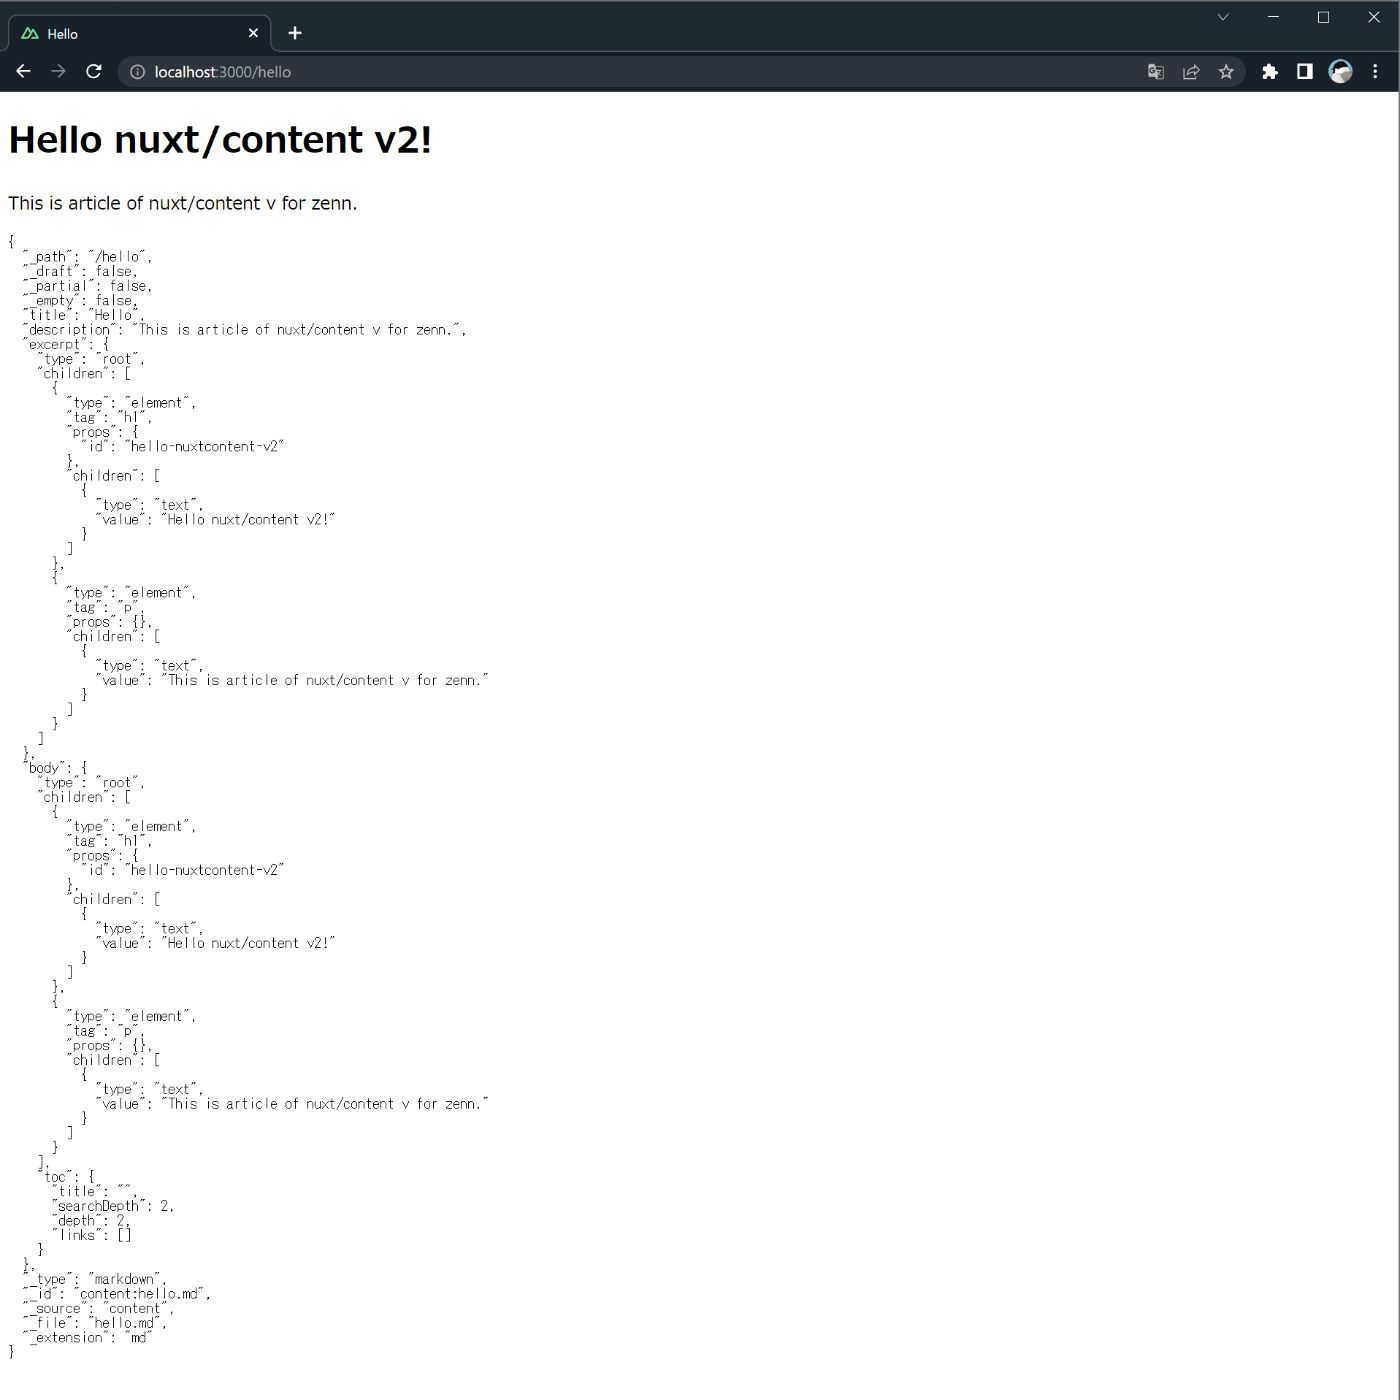
この状態で実行して http://localhost:3000/hello へアクセスしてみます。
yarn dev

hello.mdの内容が表示されています。
小さくて少し見づらいかもしれませんがブラウザのタブを確認してみてください。
hello.mdでtitleに設定したHelloがページのタイトルになっていることが確認できます。
http://localhost:3000/world も同様に期待した結果になっています。

コンテンツを保存した際のHMRも高速でストレスフリーです。

コンテンツの取得
先ほどの<content-doc>コンポーネントを使用すると、コンテンツを取得するスクリプトを記述することなく表示ができました。ですが、表示する以外の用途でコンテンツの情報が必要な場合があるかもしれません。その場合は次のようにqueryContentを使用することで取得できます。
<template>
  <content-doc />
  <pre>{{ article }}</pre>
</template>

<script setup lang="ts">
const { data: article } = useAsyncData("article", () =>
  queryContent(useRoute().path).findOne()
);
</script>
http://localhost:3000/hello へアクセスすると次のような表示になり、コンテンツが取得できていることが分かります。なお、refやuseRouteと同様でqueryContentは明示的なインポートは必要ありません。
最後に
nuxt/content v1とSSGを利用したサイト運用はとても管理が楽で、nuxt/contentは私がNuxtを使い始めるきっかけになったモジュールです。v2は便利さと強力さが以前より増して期待度大です👍
様々なところでNuxt3はワクワクさせてくれますね。
なお、今回検証しているタイミングでは動作しなかったため紹介しませんでしたが、マークダウン内でVueコンポーネントが利用できるMDCという機能もあるようなので動作が確認でき次第追記します。
-
Nuxt2からNuxt3へ移行するための中間バージョン ↩︎
Discussion