【備忘録】Elastic BeanstalkとCodeシリーズを利用する
経緯
これまでAWSを利用した開発ではAWS CDKを利用したサーバーレスアプリ開発が多く、ソース管理にはGitHub or GitLabを利用することがほとんどでした。そのため、AWS認定試験に出てくるElastic BeanstalkとCodeシリーズについてドキュメントに載っている知識しか持っていませんでした。これを脱するべく実際に組み合わせて利用したので記録します。
Code Commit
まずはソースがないと始まりません。ソース管理をするためにCode Commitのリポジトリを作成します。
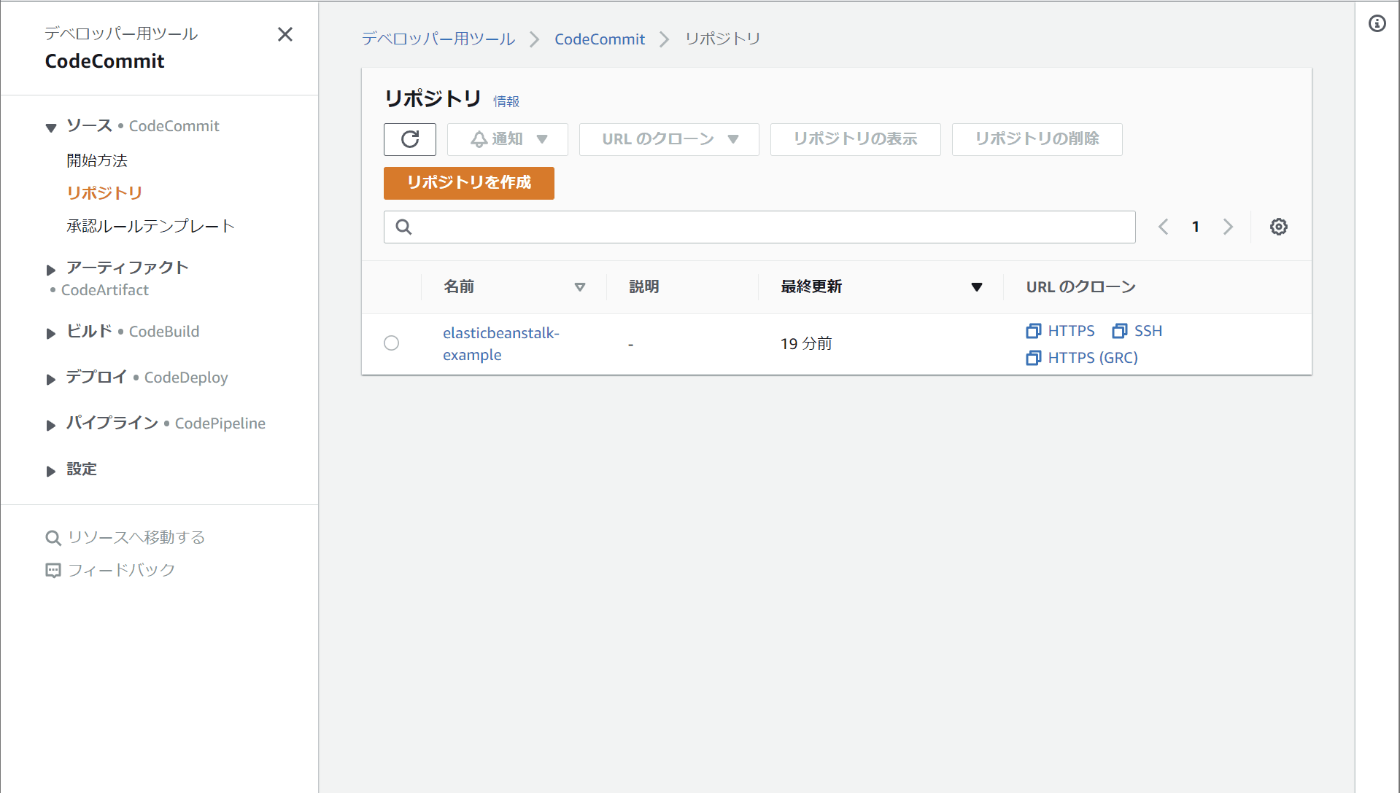
リポジトリの作成
CodeCommitのコンソール画面にアクセスし、リポジトリを作成を押します。
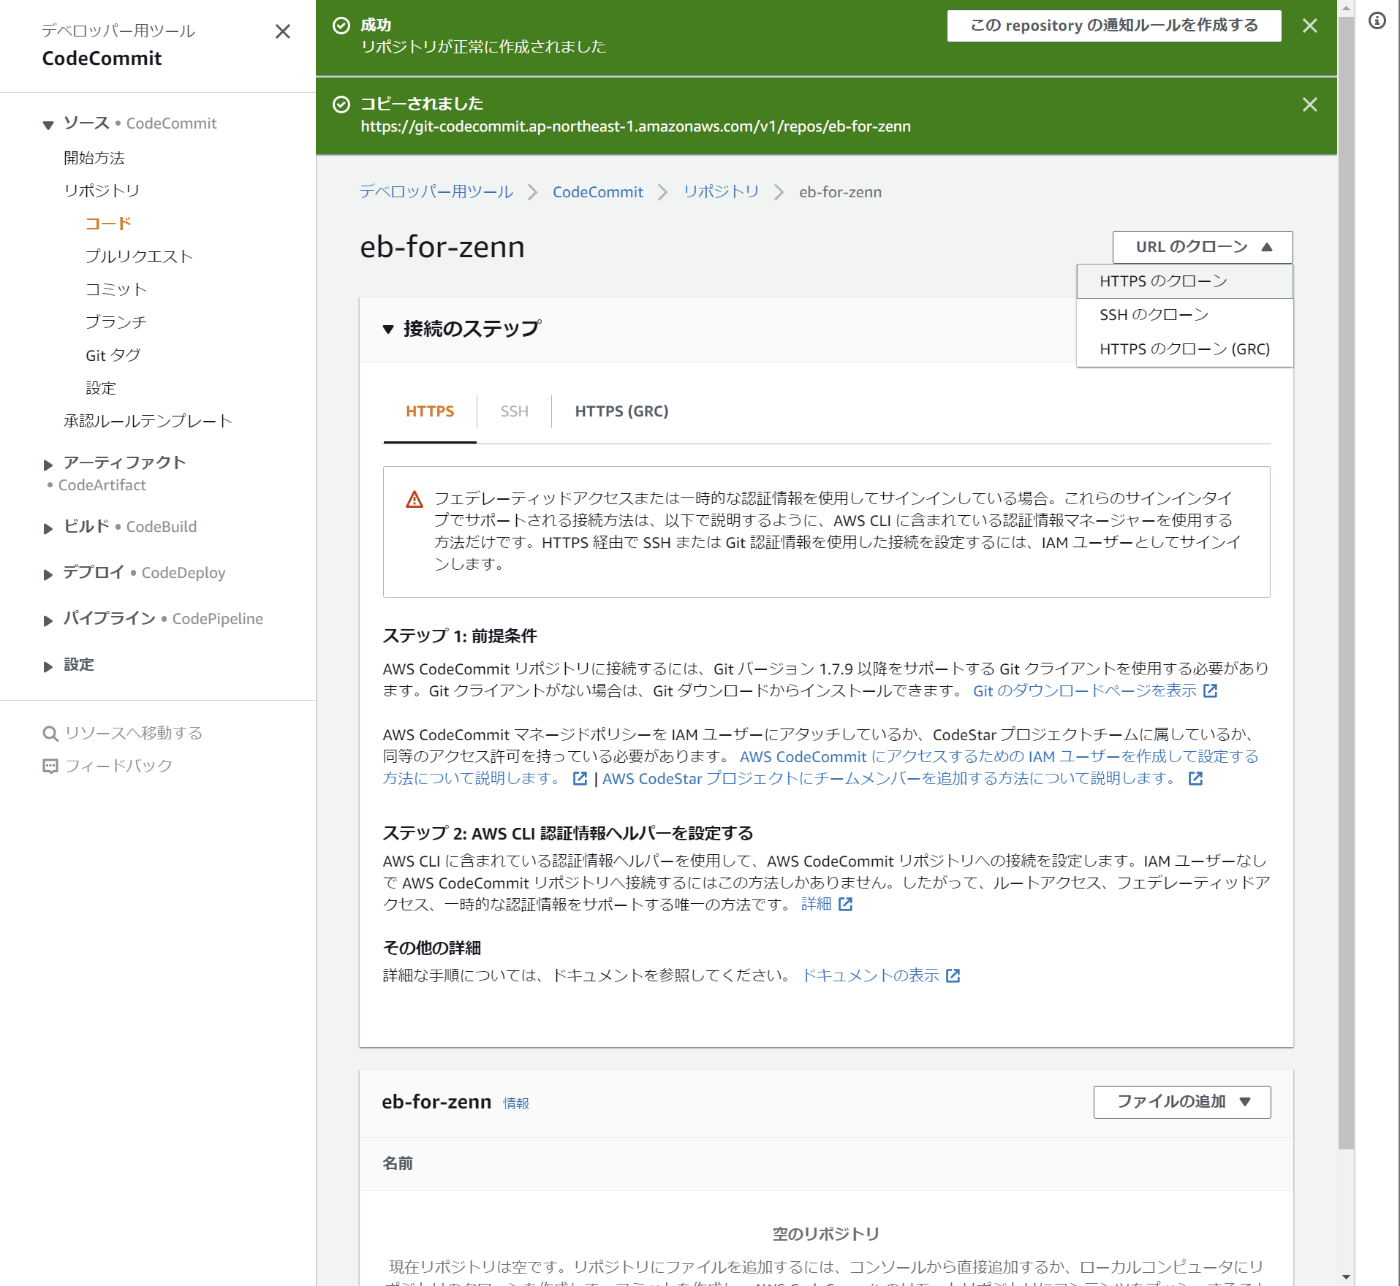
リポジトリ名と説明を入力して作成を押します。

URLのクローンを押し、HTTPSのクローンを選択します。これでクリップボードにリポジトリのURLがコピーされます。
リポジトリのクローン
gitリポジトリをクローンします。
$ git clone https://git-codecommit.ap-northeast-1.amazonaws.com/v1/repos/eb-for-zenn
Cloning into 'eb-for-zenn'...
warning: You appear to have cloned an empty repository.
コミット
クローンできたら以下のdevcontainer設定で環境を開きます。
devcontainer設定を開く
// For format details, see https://aka.ms/devcontainer.json. For config options, see the README at:
// https://github.com/microsoft/vscode-dev-containers/tree/v0.217.4/containers/go
{
	"name": "Go",
	"build": {
		"dockerfile": "Dockerfile",
		"args": {
			// Update the VARIANT arg to pick a version of Go: 1, 1.16, 1.17
			// Append -bullseye or -buster to pin to an OS version.
			// Use -bullseye variants on local arm64/Apple Silicon.
			"VARIANT": "1-bullseye",
			// Options
			"NODE_VERSION": "lts/*"
		}
	},
	"runArgs": [ "--cap-add=SYS_PTRACE", "--security-opt", "seccomp=unconfined" ],

	// Set *default* container specific settings.json values on container create.
	"settings": {
		"go.toolsManagement.checkForUpdates": "local",
		"go.useLanguageServer": true,
		"go.gopath": "/go",
		"go.goroot": "/usr/local/go"
	},

	// Add the IDs of extensions you want installed when the container is created.
	"extensions": [
		"golang.Go"
	],

	// Use 'forwardPorts' to make a list of ports inside the container available locally.
	// "forwardPorts": [],

	// Use 'postCreateCommand' to run commands after the container is created.
	// "postCreateCommand": "go version",

	// Comment out to connect as root instead. More info: https://aka.ms/vscode-remote/containers/non-root.
	"remoteUser": "vscode"
}
# See here for image contents: https://github.com/microsoft/vscode-dev-containers/tree/v0.217.4/containers/go/.devcontainer/base.Dockerfile

# [Choice] Go version (use -bullseye variants on local arm64/Apple Silicon): 1, 1.16, 1.17, 1-bullseye, 1.16-bullseye, 1.17-bullseye, 1-buster, 1.16-buster, 1.17-buster
ARG VARIANT="1.17-bullseye"
FROM mcr.microsoft.com/vscode/devcontainers/go:0-${VARIANT}

# [Choice] Node.js version: none, lts/*, 16, 14, 12, 10
ARG NODE_VERSION="none"
RUN if [ "${NODE_VERSION}" != "none" ]; then su vscode -c "umask 0002 && . /usr/local/share/nvm/nvm.sh && nvm install ${NODE_VERSION} 2>&1"; fi

# [Optional] Uncomment this section to install additional OS packages.
# RUN apt-get update && export DEBIAN_FRONTEND=noninteractive \
#     && apt-get -y install --no-install-recommends <your-package-list-here>

# [Optional] Uncomment the next lines to use go get to install anything else you need
# USER vscode
# RUN go get -x <your-dependency-or-tool>

# [Optional] Uncomment this line to install global node packages.
# RUN su vscode -c "source /usr/local/share/nvm/nvm.sh && npm install -g <your-package-here>" 2>&1

RUN curl "https://awscli.amazonaws.com/awscli-exe-linux-x86_64.zip" -o "awscliv2.zip" && unzip awscliv2.zip && ./aws/install
環境が開けたらElasticBeanstalkのサンプルアプリケーションをAWSの公式ドキュメントからダウンロードしてきます。今回はGoを選択しました。

ダウンロードしてきたファイルを環境内にコピーし、解凍します。
$ unzip go.zip
Archive:  go.zip
  inflating: cron.yaml
   creating: public/
  inflating: public/index.html
  inflating: application.go
環境内にzipファイルは不要なので削除します。
$ rm go.zip
初期状態のままコミットします。
$ git stage ./* ./.devcontainer/*
$ git commit -m "Initial commit"
[main (root-commit) 5865dba] Initial commit
 5 files changed, 213 insertions(+)
 create mode 100644 .devcontainer/Dockerfile
 create mode 100644 .devcontainer/devcontainer.json
 create mode 100644 application.go
 create mode 100644 cron.yaml
 create mode 100644 public/index.html
$ git push
Enumerating objects: 9, done.
Counting objects: 100% (9/9), done.
Delta compression using up to 24 threads
Compressing objects: 100% (8/8), done.
Writing objects: 100% (9/9), 3.58 KiB | 3.58 MiB/s, done.
Total 9 (delta 0), reused 0 (delta 0), pack-reused 0
To https://git-codecommit.ap-northeast-1.amazonaws.com/v1/repos/eb-for-zenn
 * [new branch]      main -> main
コンソール画面にてコミットされていることが分かります。

Elastic Beanstalk
アプリケーションの作成
Elastic Beanstalkのコンソール画面へアクセスし、Create Applicationを押します。

アプリケーション名を入力し、プラットフォームを選択します。

アプリケーションには先ほどダウンロードしてきたgo.zipをアップロードし、アプリケーションの作成を押します。

作成中のログ画面になるのでここで数分待ちます。

数分待機すると自動的に画面が更新され、環境のページに切り替わります。

上部にアプリケーションのURLが表記されているので試しにアプリケーションの表示を確認してみるとシンプルなページが表示されてデプロイに成功していることが確認できます。

CodePipeline
CI/CDのパイプラインを構築するにはCodePipelineを利用します。
CodePipelineのコンソール画面へアクセスし、パイプラインを作成するを押します。

パイプライン名を入力して次にを押します。

ソースプロバイダーやリポジトリ名等を選択して次にを押します。

ビルドステージではAWS CodeBuildをプロバイダーに選択します。今回はまだ作成していないためプロジェクトを作成するを押します。

プロジェクト名を入力し、環境を選択します。

その他の設定は今回デフォルトでCodePipelineに進むを押します。

ビルドステージを追加する画面に戻ってくると先ほど作成したCodeBuildのプロジェクトが設定されているため次にを押します。

デプロイステージでは前項で作成したElastic Beanstalkを設定し次にを押します。
今回試す前はこのデプロイ周りは自分で構築する必要があると思っていたのでとても簡単で驚きでした。

設定内容の確認が出てくるので問題なければパイプラインを作成するを押します。

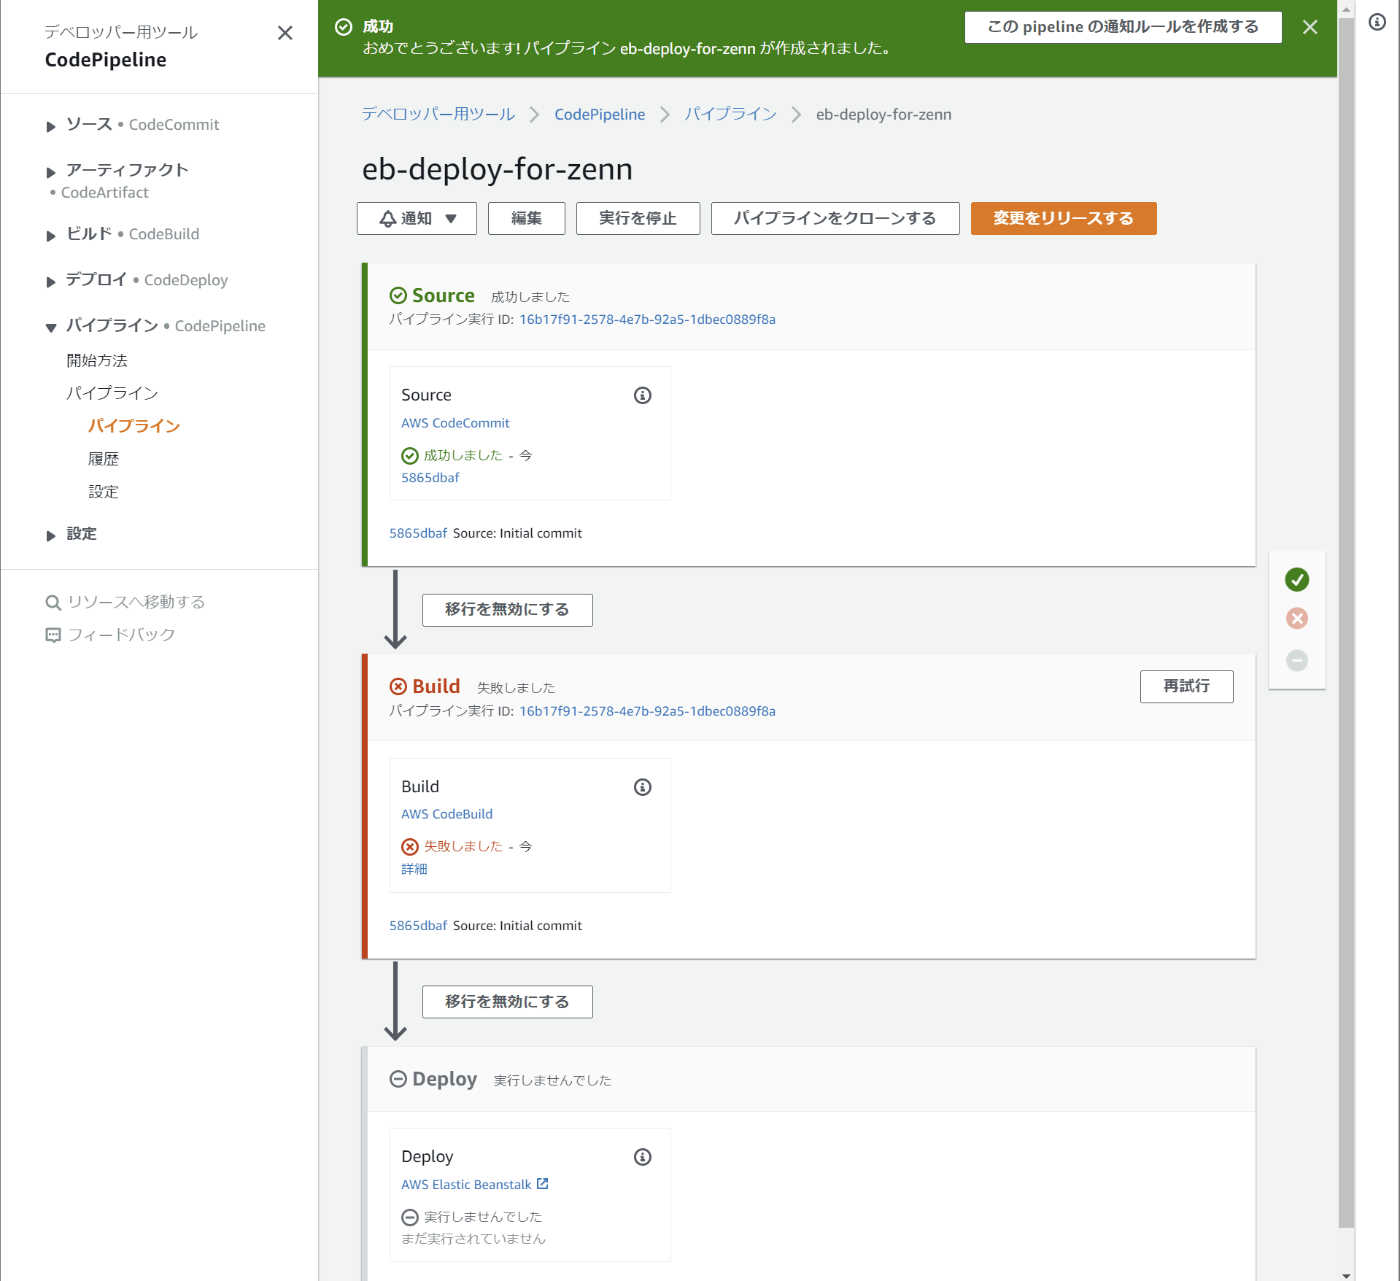
しばらくすると初回のパイプラインが実行されますが、CodeBuild用のファイルを用意していないため失敗します。
CodeBuild
前項のパイプラインではbuildspec.ymlがなかったためビルドステップで失敗してしまいました。
buildspec.ymlはCodeBuildがデフォルトで探す設定ファイル名です。リファレンスはこちらから確認できます。
今回はこんな最低限の設定にしました。お試しなので何でもいいですが、少しリアリティを持たせるために単体テストを実行させてみます。
version: 0.2

phases:
  build:
    commands:
      - go test ./...
artifacts:
  files:
    - ./**/*
ちなみにElastic Beanstalkではartifacts用に事前にgoファイルをビルドしたりzip化する必要はありません。また、glob形式で再帰的なパスを指定する必要があります。
ちなみに単体テストの内容はこちら。ついさっきリアリティを持たせると説明したばかりですが全然リアリティのないテスト内容になっていますね。
package main_test

import "testing"

func TestExample(t *testing.T) {
	t.Log("OK!")
}
コミットしてみます。
$ git stage ./*
$ git commit -m "build: add buildspec"
[main 897f178] build: add buildspec
 2 files changed, 16 insertions(+)
 create mode 100644 buildspec.yml
 create mode 100644 example_test.go
$ git push
fatal: User cancelled the authentication prompt.
fatal: could not read Username for 'https://git-codecommit.ap-northeast-1.amazonaws.com': terminal prompts disabled
Enumerating objects: 5, done.
Counting objects: 100% (5/5), done.
Delta compression using up to 24 threads
Compressing objects: 100% (4/4), done.
Writing objects: 100% (4/4), 595 bytes | 595.00 KiB/s, done.
Total 4 (delta 0), reused 0 (delta 0), pack-reused 0
To https://git-codecommit.ap-northeast-1.amazonaws.com/v1/repos/eb-for-zenn
   5865dba..897f178  main -> main
パイプラインが成功しました。

Elastic Beanstalkのコンソール画面も最新の時間になっています。

ページにアクセスしてみます。内容は変更していないので変わっていませんね。

少しHTMLを編集してリリースしてみました。無事アップデートされていますね。

次は単体テストが失敗するように変更してみました。
package main_test

import "testing"

func TestExample(t *testing.T) {
-	t.Log("OK!")
+	t.Fail()
}
予想通りパイプラインが失敗しています。

所感
今回Elastic BeanstalkとCodeシリーズを初めて利用してみましたが想像していた内容よりお手軽でした。私はAWS CDKがある現状でElastic Beanstalkを優先的に選ぶことはなさそうですが、AWSを始めたての方にはとても簡単で良いと思いました。
Codeシリーズもお手軽でとても良かったです。ただ、CodeCommitだけは私が利用しているdevcontainer環境とあまり相性が良くなくフラストレーションが溜まる場面が多かったです・・・。devcontainerはWindowsのクレデンシャルマネージャーを利用しているためAWS CLIのクレデンシャルマネージャーと競合してしまい、定期的にWindowsの資格情報マネージャーから資格情報を削除する手順が必要でした。ここはもう少し調査が必要そうです。
Discussion