👏
【GitHub】アクセストークンを使用してリモートリポジトリを爆速で作成する
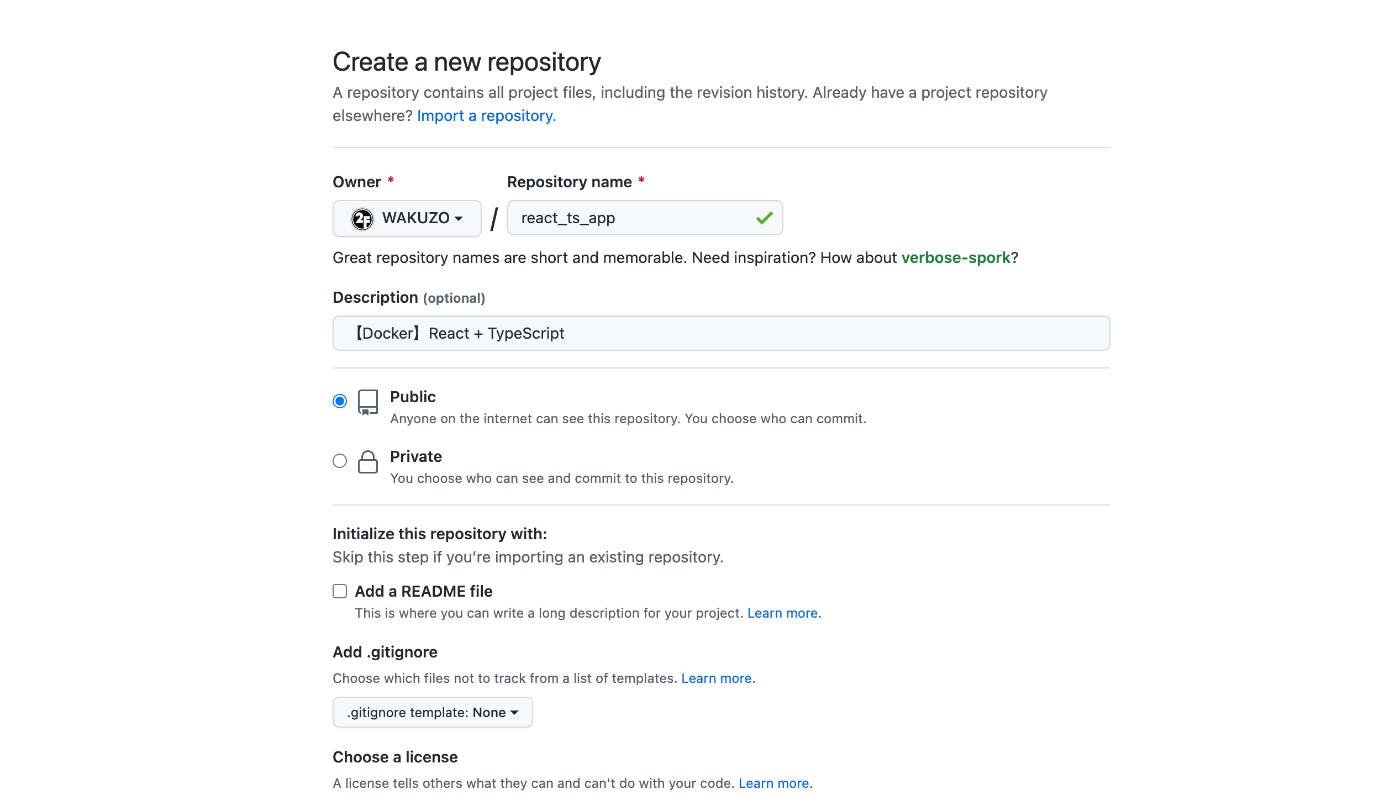
GitHubからリモートリポジトリを作成する
https://github.com/new から「Create Repository」をする
1.Repositorynameを入力
2.Descriptionは任意
3.Public、Privateは各々選択する
アクセストークンを作成する
※2021/8/13以降はパスワード認証が使えなくなったのでアクセストークンの認証で行います
トークン作成方法
1.GitHubメイン画面の右上のプロフィールアイコンからSettingsをクリック
2.左下のDeveloper settingsをクリック
3.左のPersonal access tokensをクリック
4.認証画面が表示するのでパスワードを入力
↓
続きはこちらの記事が参考になりました
以下コマンドを順番に入力
※ローカルリポジトリはすでにある前提です
// cdコマンドを使って、対象のディレクトリまで移動
% cd react_ts_app

// gitを初期化
% git init

// ステージングにあげる
% git add .

// 最初のコミットメッセージを書く
% git commit -m "first commit"

// mainブランチを作成
% git branch -M main

// リモートリポジトリに追加
% git remote add origin https://アクセストークン@github.com/ユーザー名/リモートリポジトリ名.git

//mainブランチへpush
% git push -u origin main
DONE!!!!!!
Discussion