
この記事は?
実際のプロダクトで導入中の経験をもとにTextFieldの活用方法を紹介しています。自動修正の無効化や入力フォーマットの制限、リアルタイムな変更監視、キーボードの制御など、実用的なテクニックを解説しています。
前提条件
Xcode: 14.4
minimum iOS: 16.0
guard let iOSVersion = UIDevice.current.systemVersion.split(separator: ".").first,
      let majorVersion = Int(iOSVersion),
      majorVersion >= 15 else {
    return
}
TextFieldはAPIがiOS15以上で利用可能なものが多く、iOS14以下では多くの恩恵を受けられません。
iOS14以下の場合に機能を使うことは条件が複雑になってしまい結果としてユーザーの体験を損ねることもありますので、iOS15以上にminimum iOS versionを上げてから導入することをお勧めします!
さまざまなTextFeild
まずは最も単純なTextFieldです。
    TextField("test", text: $text1)
	.textFieldStyle(.roundedBorder)
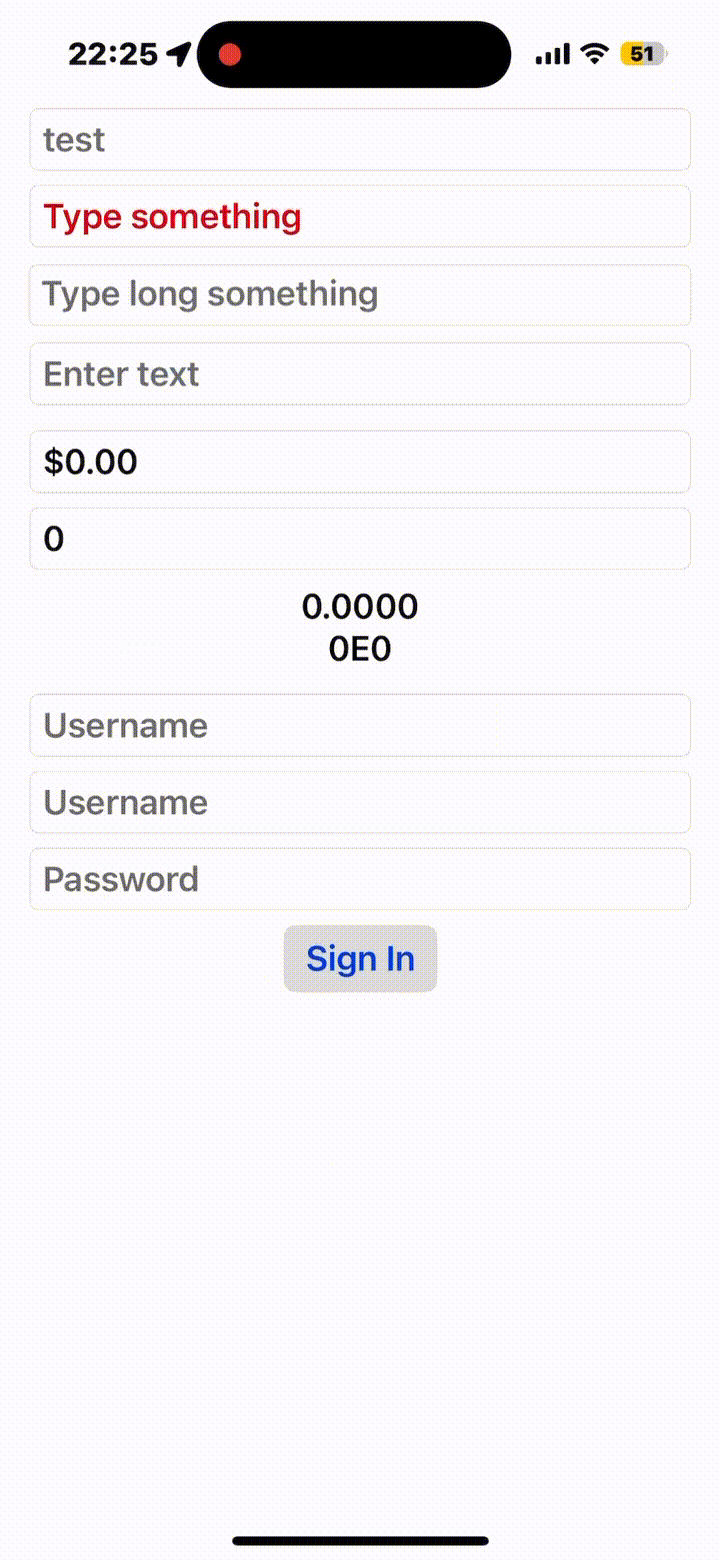
続いてpromptを設定するパターンです文字の修飾ができます
    TextField("test", text: $text2,
	    prompt:Text("Typesomething").foregroundColor(.red))
	.textFieldStyle(.roundedBorder)
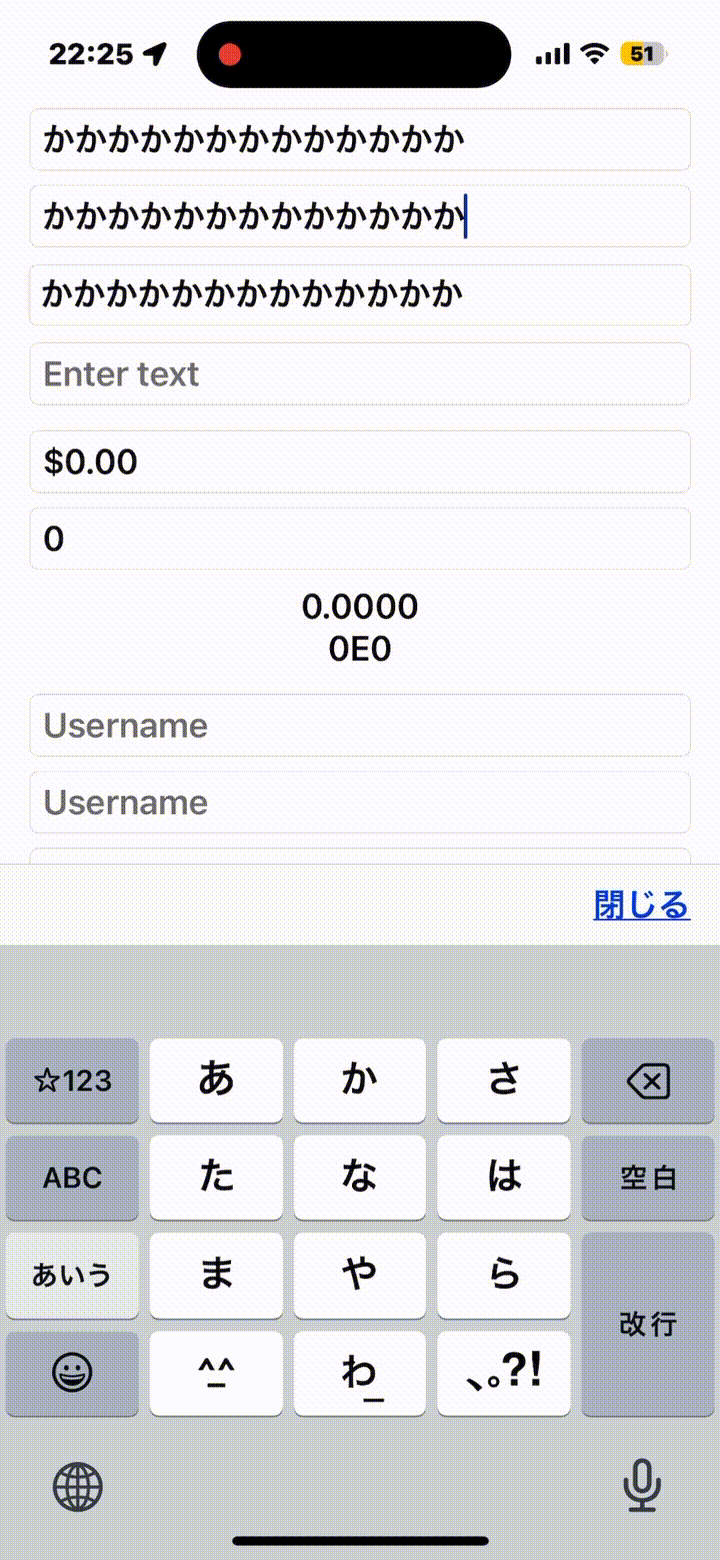
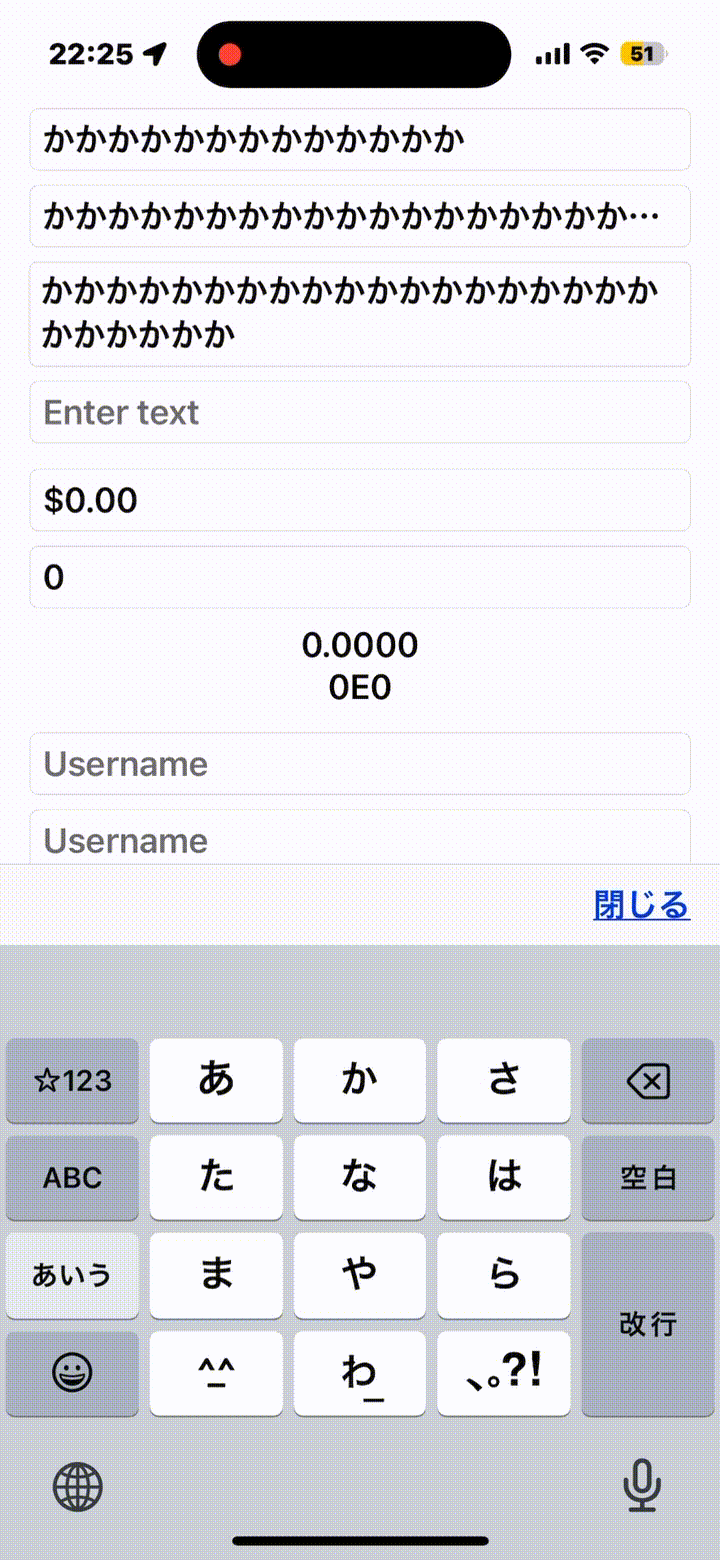
続いてTextFieldのサイズを拡張するパターンです。iOS16から利用可能です。
これによって従来ではTextViewでしかできなかった文字数に合わせてサイズを広げることが可能です。
    TextField("Enter text", text: $text2,
	    prompt: Text("Type long something"), axis: .vertical)
	.textFieldStyle(.roundedBorder)
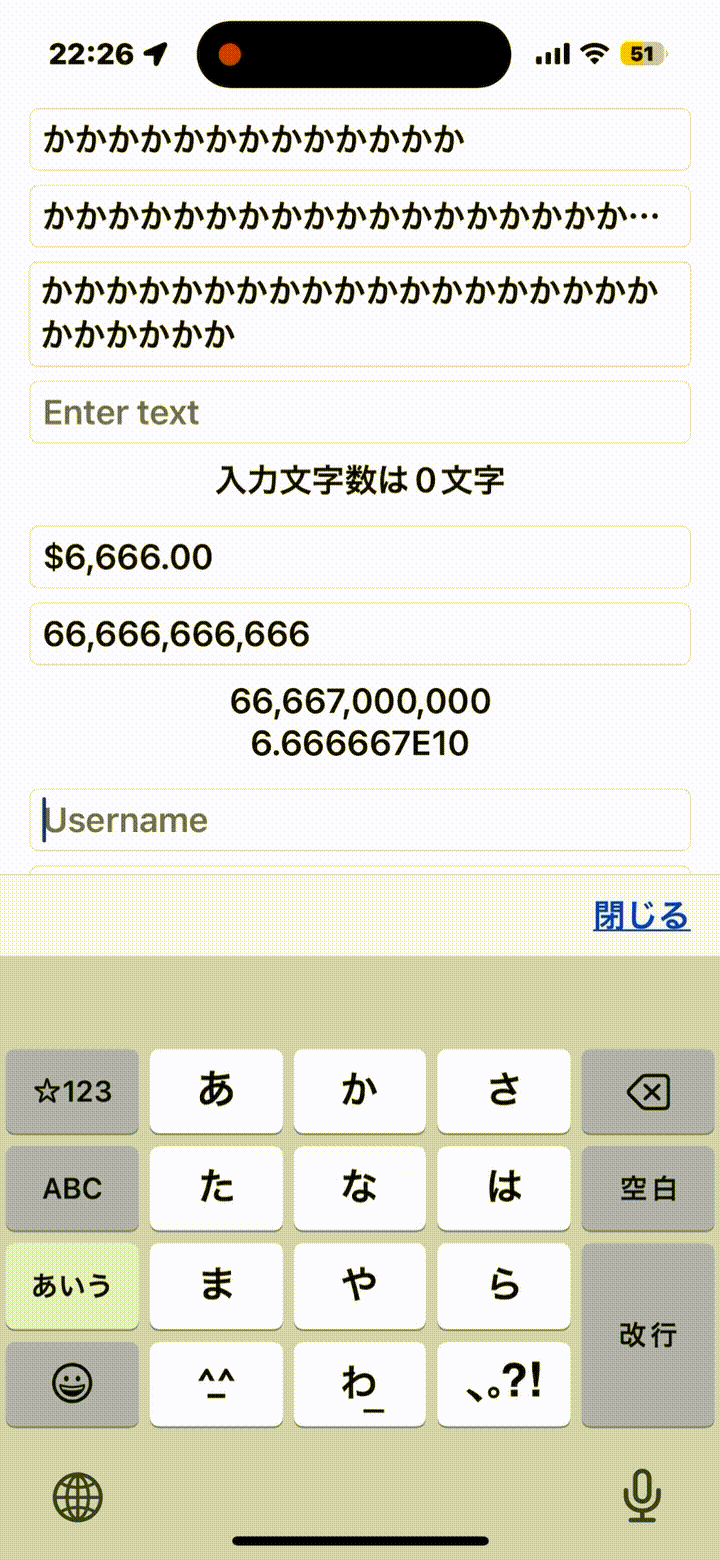
onChangeを利用した文字数のカウントです。
onChangeを利用することでカウントやバリデーション機能などをリアルタイムで実現できます。
	TextField("Enter text", text: $text3)
	    .textFieldStyle(.roundedBorder)
	    .onChange(of: text3) { newValue in
		text3Message = "入力文字数は\(text3.count)文字"
	    }
	Text(text3Message)
入力フォーマットを制限します。例ではドルの入力に合わせてフォーマットしています。指定フォーマット以外の入力は弾かれます。
	TextField(
	    "Currency (USD)",
	    value: $myMoney,
	    format: .currency(code: "USD")
	).textFieldStyle(.roundedBorder)
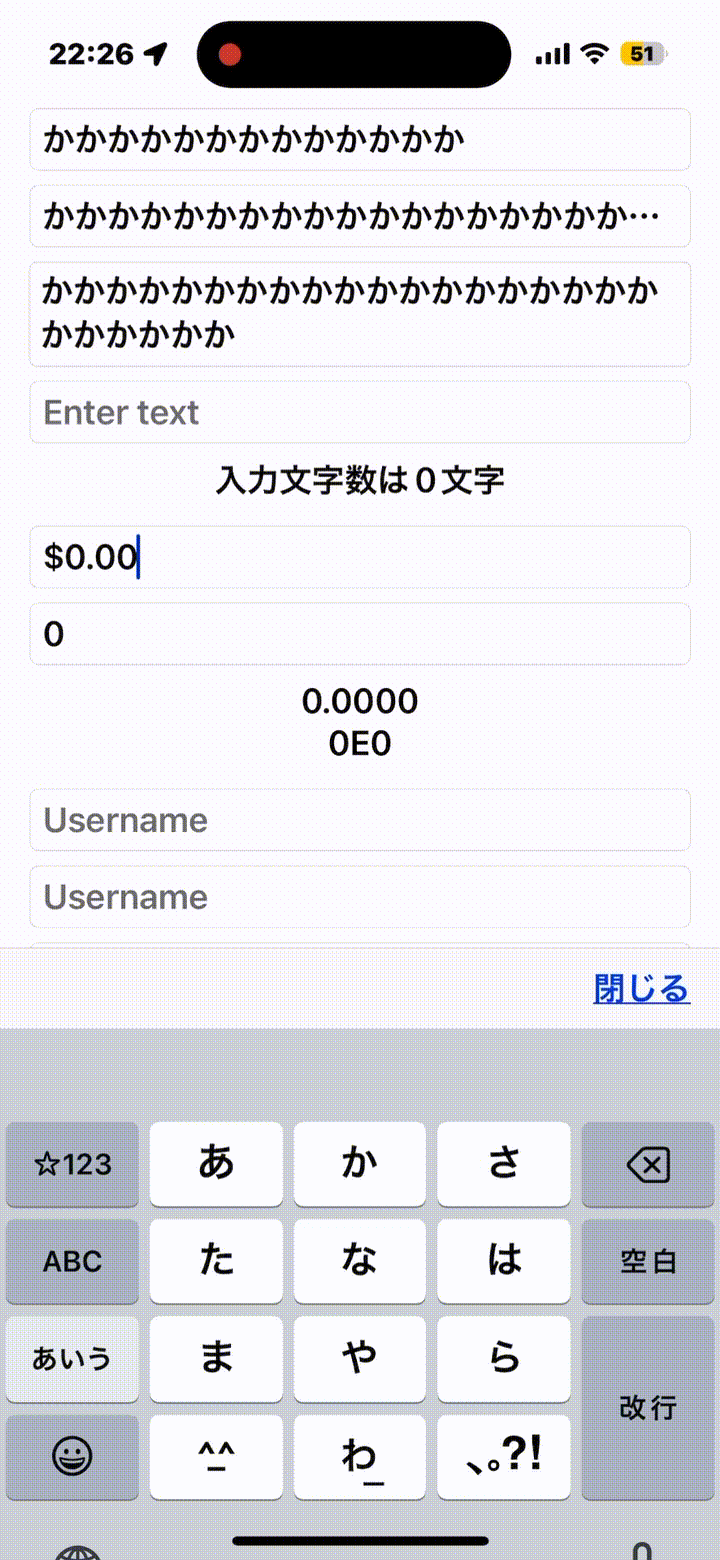
入力フォーマットを制限します。この例では数に入力に制限しています。
数値が入力されている前提でTextの表示が可能です。
   TextField(
	value: $myDouble,
	formatter: numberFormatter
    ) {
	Text("Double")
    }.textFieldStyle(.roundedBorder)
    Text(myDouble, format: .number.precision(.significantDigits(5)))
    Text(myDouble, format: .number.notation(.scientific))

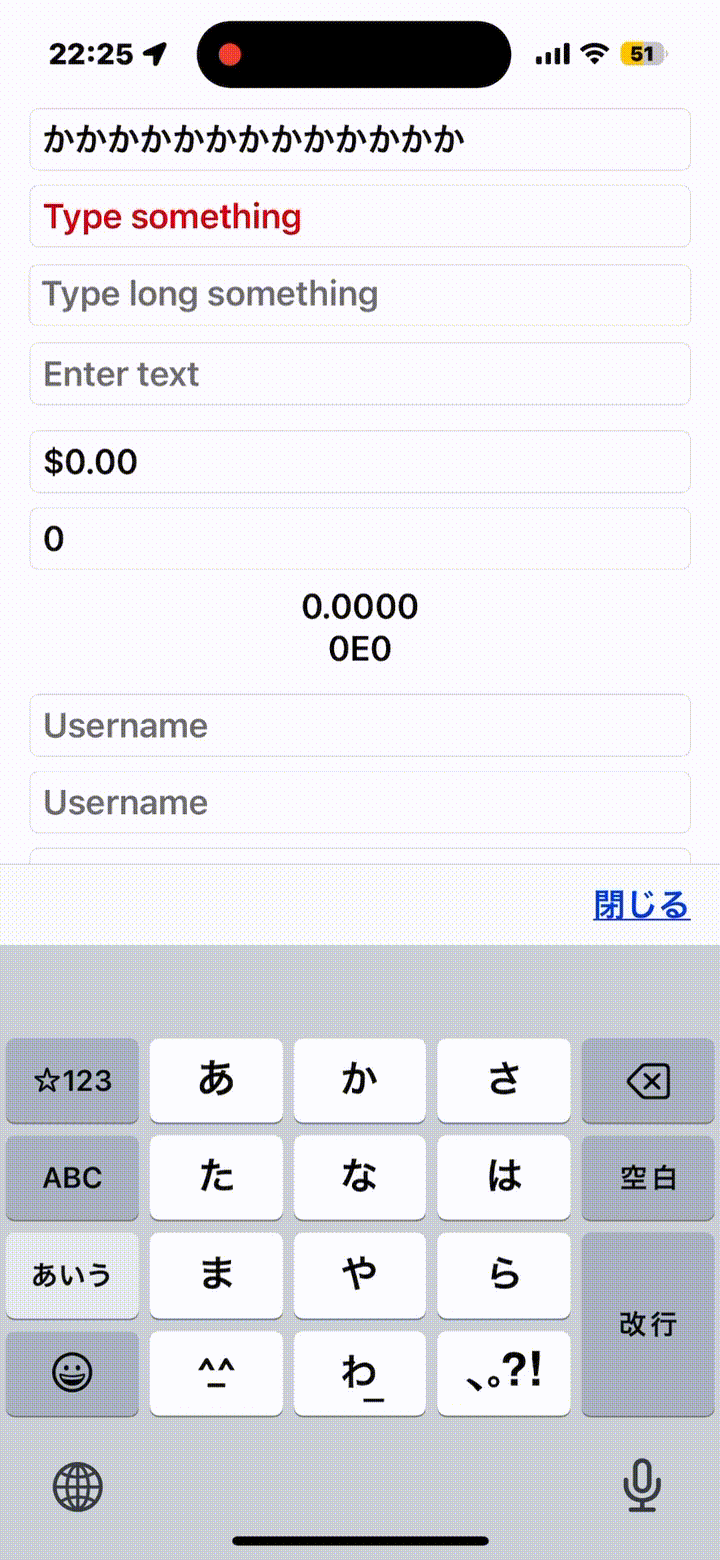
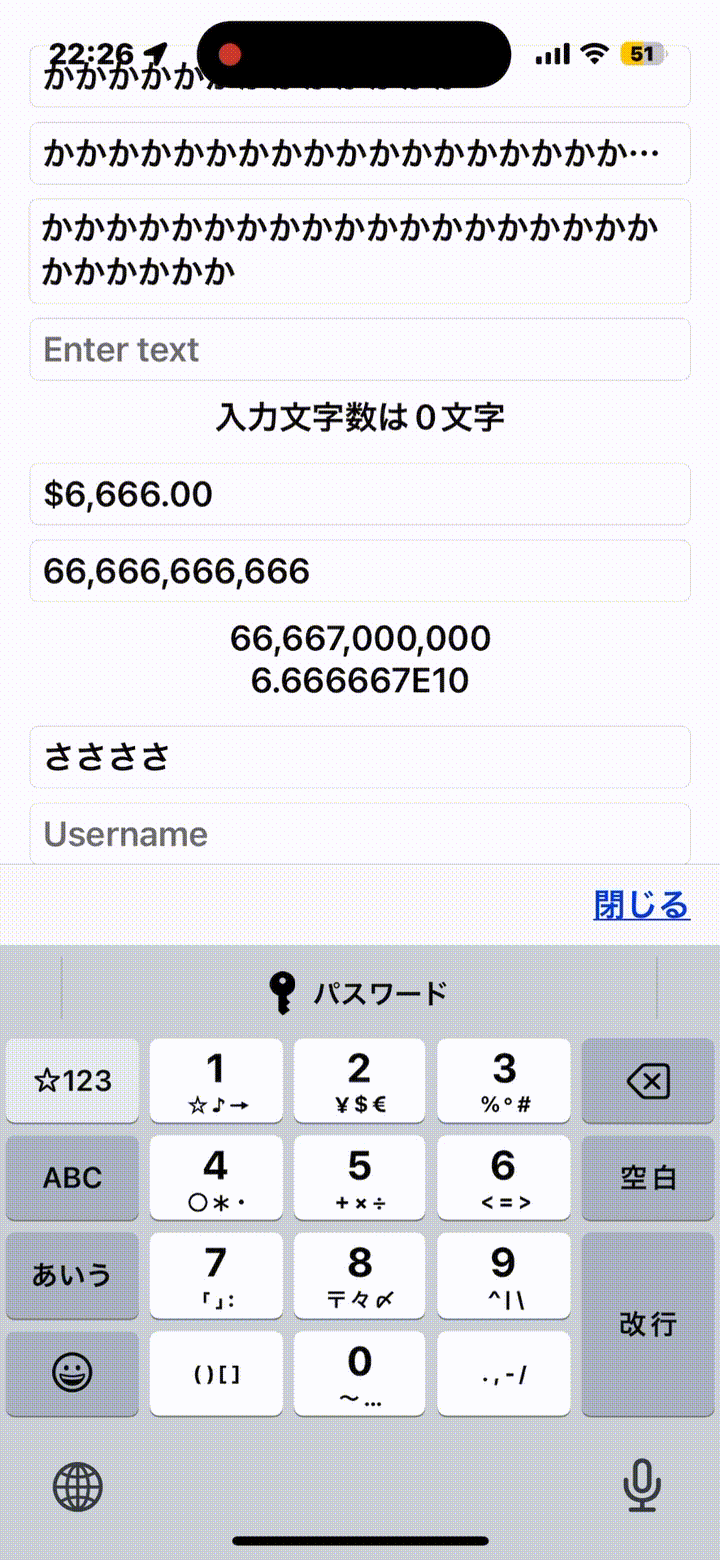
FocusStateを利用したキーボードを閉じるパターンを入れています。
今回このTextFieldにしか適用していませんが、画面内の全てのフィールドにToolbarItemGroupが適用されてしまうようでやむなく UIApplication.shared.endEditing() でどこでButtonが押されてもキーボードを閉じるようにしています
TextField("Username", text: $familyName)
	.textFieldStyle(.roundedBorder)
	.focused($familyNameFocused)
	.toolbar{
	    ToolbarItemGroup(placement: .keyboard) {
		Spacer()
		Button("閉じる") {
		    familyNameFocused = false
		    UIApplication.shared.endEditing()
		}
	    }
	}
FocusStateを利用したキーボードし自動で指定のフィールドを入力させるようにさせています。
簡単な例ですがここではusername / passwordの優先順で遷移させるようにしています。
     @State private var username = ""
     @State private var password = ""
     @FocusState private var focusedField: Field?

	VStack {
	    TextField("Username", text: $username)
		.focused($focusedField, equals: .username)
		.textFieldStyle(.roundedBorder)


	    SecureField("Password", text: $password)
		.textFieldStyle(.roundedBorder)
		.focused($focusedField, equals: .password)

	    Button("Sign In") {
		if username.isEmpty {
		    focusedField = .username
		} else if password.isEmpty {
		    focusedField = .password
		}
	    }
	}
まとめ
ここまで、TextFieldのコードと動きを見ていきました。
全て基本的な動作にはなりますが、このあたりの挙動が把握できていないと実際のプロダクトで導入する際に非常に苦しくなってしまうと言うポイントを中心にまとめてみました!
いいねコメント感想などお待ちしています!
今回記事の中で書いたサンプルコードはこちらにもありますので合わせてみてください!

Discussion