💥
MAXになったClaude CodeでVibe Codingするぜ!!!
先日Claude codeがClaude MAX($100)で使い放題(使い放題とはいっていない)になりましたね、いいですね、最高です!
「とはいえ使い放題つっても、Claude codeは人間がyesをおさないといけないので、PCの前にはりつかないといけないのでは…?」 とおもっているかもしれません。
実はそうでもないです。
DISCLAIMER
- これは危険が危ないです。なぜ?と思うひとはやらないほうがよいです
指示書を書く
適当なDirectoryをつくり、以下のファイルをspec.mdとかでつくります。
Twitter CloneをPythonでかいてください。
ID/PASSのサインアップ機能(ただし、メアド認証などは不要)、ツイート投稿機能が必要です。
DBはSqliteをつかってください。
READMEには起動方法などを記述してください。
スタイリングにはTailWindCSSをつかってください、CDN経由でよみこんでOKです。
準備完了!
暴走機関車を実行する
$ cat spec.md | claude --dangerously-skip-permissions
dangerously-skip-permissions オプションが重要ですね。
詳しくはこちら。
ただし、これをいれても確認がでるときはあるみたいです
結果
後述しますが、 -p オプション付けるとよりバイブスがありますが、一旦はそうしていません
$ cat spec.md | claude --dangerously-skip-permissions
╭───────────────────────────────────────────────────╮
│ ✻ Welcome to Claude Code research preview!        │
│                                                   │
│   /help for help, /status for your current setup  │
│                                                   │
│   cwd: /Users/uzullaa/dev/twitter_clone           │
╰───────────────────────────────────────────────────╯

 Tips for getting started:

 1. Run /init to create a CLAUDE.md file with instructions for Claude
 2. Use Claude to help with file analysis, editing, bash commands and git
 3. Be as specific as you would with another engineer for the best results
 4. ✔ Run /terminal-setup to set up terminal integration

> Twitter CloneをPythonでかいてください。
  ID/PASSのサインアップ機能(ただし、メアド認証などは不要)、ツイート投稿機能が必要です。
  DBはSqliteをつかってください。
  READMEには起動方法などを記述してください。
  スタイリングにはTailWindCSSをつかってください、CDN経由でよみこんでOKです。

⏺ I'll create a Twitter clone in Python with signup, login, and tweet posting functionality. Let me set up the project structure and implement the required features
  using SQLite as the database and TailwindCSS for styling.

⏺ Update Todos
  ⎿  ☐ Create project structure and setup
     ☐ Create database models
     ☐ Implement user authentication (signup/login)
     ☐ Implement tweet functionality
     ☐ Create frontend templates with TailwindCSS
     ☐ Write README with setup instructions

⏺ Update Todos
  ⎿  ☐ Create project structure and setup
     ☐ Create database models
     ☐ Implement user authentication (signup/login)
     ☐ Implement tweet functionality
     ☐ Create frontend templates with TailwindCSS
     ☐ Write README with setup instructions

⏺ I'll start by creating the project structure for our Twitter clone. Let's set up a Flask application with the necessary files and directories.

⏺ Write(file_path: app.py)…
  ⎿ Wrote 143 lines to app.py
     from flask import Flask, render_template, redirect, url_for, request, flash, session
     from werkzeug.security import generate_password_hash, check_password_hash
     import sqlite3
     import os
     from datetime import datetime
     app = Flask(__name__)
     app.config['SECRET_KEY'] = os.urandom(24)
     app.config['DATABASE'] = 'twitter_clone.db'
     … +133 lines (ctrl+r to expand)

⏺ Write(file_path: schema.sql)…
  ⎿ Wrote 16 lines to schema.sql
     DROP TABLE IF EXISTS users;
     DROP TABLE IF EXISTS tweets;
     CREATE TABLE users (
       id INTEGER PRIMARY KEY AUTOINCREMENT,
       username TEXT UNIQUE NOT NULL,
       password TEXT NOT NULL
     );
     CREATE TABLE tweets (
     … +6 lines (ctrl+r to expand)

⏺ List(.)…
  ⎿  Listed 5 paths (ctrl+r to expand)

⏺ Write(file_path: templates/base.html)…
  ⎿ Wrote 48 lines to templates/base.html
     <!DOCTYPE html>
     <html lang="en">
     <head>
         <meta charset="UTF-8">
         <meta name="viewport" content="width=device-width, initial-scale=1.0">
         <title>{% block title %}Twitter Clone{% endblock %}</title>
         <!-- TailwindCSS via CDN -->
         <script src="https://cdn.tailwindcss.com"></script>
     </head>
     <body class="bg-gray-100 min-h-screen">
     … +38 lines (ctrl+r to expand)

⏺ Write(file_path: templates/index.html)…
  ⎿ Wrote 53 lines to templates/index.html
     {% extends 'base.html' %}
     {% block title %}Home | Twitter Clone{% endblock %}
     {% block content %}
     <div class="max-w-2xl mx-auto">
         <div class="bg-white p-4 rounded shadow mb-6">
             <form action="{{ url_for('tweet') }}" method="post">
                 <div class="mb-4">
                     <textarea
     … +43 lines (ctrl+r to expand)

⏺ Write(file_path: templates/login.html)…
  ⎿ Wrote 45 lines to templates/login.html
     {% extends 'base.html' %}
     {% block title %}Login | Twitter Clone{% endblock %}
     {% block content %}
     <div class="max-w-md mx-auto bg-white p-6 rounded shadow">
         <h2 class="text-2xl font-bold mb-6 text-center">Login to Twitter Clone</h2>
         <form method="post">
             <div class="mb-4">
     … +35 lines (ctrl+r to expand)

⏺ Write(file_path: templates/signup.html)…
  ⎿ Wrote 45 lines to templates/signup.html
     {% extends 'base.html' %}
     {% block title %}Sign Up | Twitter Clone{% endblock %}
     {% block content %}
     <div class="max-w-md mx-auto bg-white p-6 rounded shadow">
         <h2 class="text-2xl font-bold mb-6 text-center">Create an Account</h2>
         <form method="post">
             <div class="mb-4">
     … +35 lines (ctrl+r to expand)

⏺ Write(file_path: templates/profile.html)…
  ⎿ Wrote 43 lines to templates/profile.html
     {% extends 'base.html' %}
     {% block title %}{{ user.username }} | Twitter Clone{% endblock %}
     {% block content %}
     <div class="max-w-2xl mx-auto">
         <div class="bg-white p-6 rounded shadow mb-6">
             <div class="flex items-center">
                 <div class="w-16 h-16 bg-gray-300 rounded-full mr-4 flex items-center justify-center text-gray-600">
                     <span class="text-2xl font-bold">{{ user.username[0] | upper }}</span>
     … +33 lines (ctrl+r to expand)

⏺ Write(file_path: requirements.txt)…
  ⎿ Wrote 2 lines to requirements.txt
     flask==2.0.1
     werkzeug==2.0.1

⏺ Write(file_path: README.md)…
  ⎿ Wrote 84 lines to README.md
     # Twitter Clone
     A simple Twitter clone built with Python Flask, SQLite, and TailwindCSS.
     ## Features
     - User authentication (signup/login)
     - Tweet posting
     - User profiles
     - Timeline of tweets
     … +74 lines (ctrl+r to expand)

⏺ List(.)…
  ⎿  Listed 13 paths (ctrl+r to expand)

⏺ Update Todos
  ⎿  ☒ Create project structure and setup
     ☒ Create database models
     ☒ Implement user authentication (signup/login)
     ☒ Implement tweet functionality
     ☒ Create frontend templates with TailwindCSS
     ☒ Write README with setup instructions

⏺ I've completed the Twitter clone implementation. Here's what I've created:

  1. A Flask application (app.py) with routes for login, signup, tweeting, and profile viewing
  2. SQLite database schema (schema.sql) with tables for users and tweets
  3. Frontend templates with TailwindCSS styling:
    - Home page with tweet form and timeline
    - Login and signup pages
    - User profile page
    - Responsive navigation

  To get started:

  1. Create a virtual environment: python -m venv venv
  2. Activate it: source venv/bin/activate (macOS/Linux) or venv\Scripts\activate (Windows)
  3. Install dependencies: pip install -r requirements.txt
  4. Initialize the database: flask initdb
  5. Run the app: flask run

  The app will be available at http://localhost:5000

╭─────────────────────────────────────────────────────────────────────────────────────────────────────────────────────────────────────────────────────────────────────────╮
│ > Try "refactor <filepath>"                                                                                                                                             │
╰─────────────────────────────────────────────────────────────────────────────────────────────────────────────────────────────────────────────────────────────────────────╯
  Press Ctrl-C again to exit                                                                                                                        Bypassing Permissions
最後のところまで、一切確認のダイアログはありませんでした。
(流石に終了はCtrl-cで終了しました)
テスト
最後にインストラクションがかいてあったので、実際にためしてみましょう
$ python3 -m venv venv
$ source venv/bin/activate
(venv) $ pip install -r requirements.txt
Collecting flask==2.0.1 (from -r requirements.txt (line 1))
(省略
Successfully installed Jinja2-3.1.6 MarkupSafe-3.0.2 click-8.1.8 flask-2.0.1 itsdangerous-2.2.0 werkzeug-2.0.1

(venv) $ flask initdb
Initialized the database.
(venv) $ flask run
 * Environment: production
   WARNING: This is a development server. Do not use it in a production deployment.
   Use a production WSGI server instead.
 * Debug mode: off
 * Running on http://127.0.0.1:5000/ (Press CTRL+C to quit)
ということで、ブラウザで http://127.0.0.1:5000/ をひらいてみます
Tadaaaa!
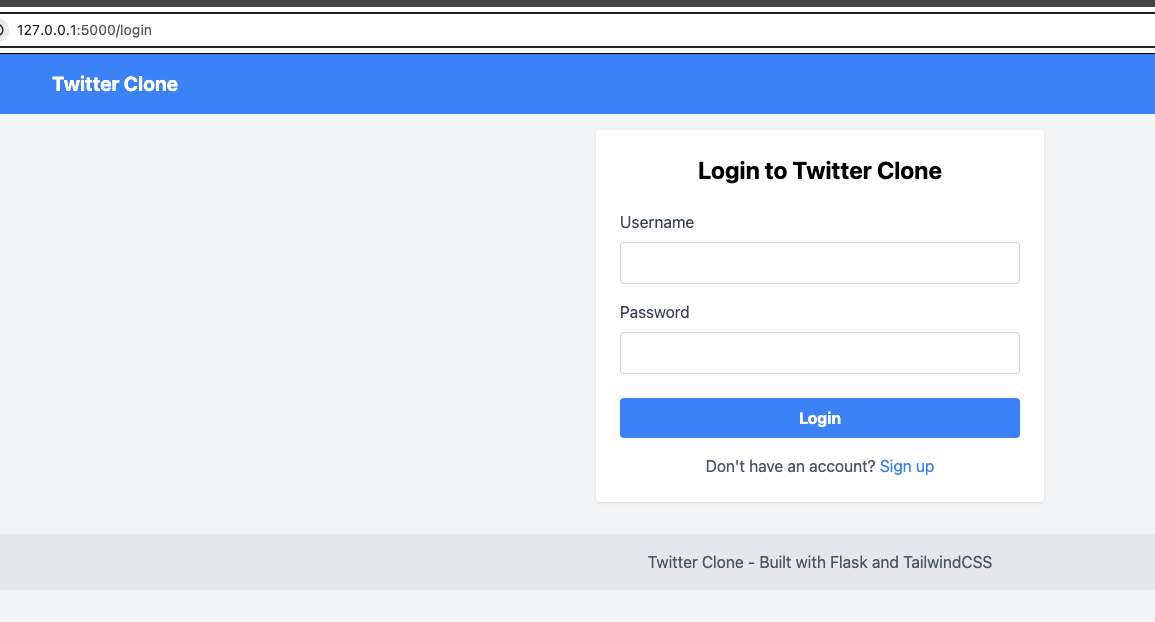

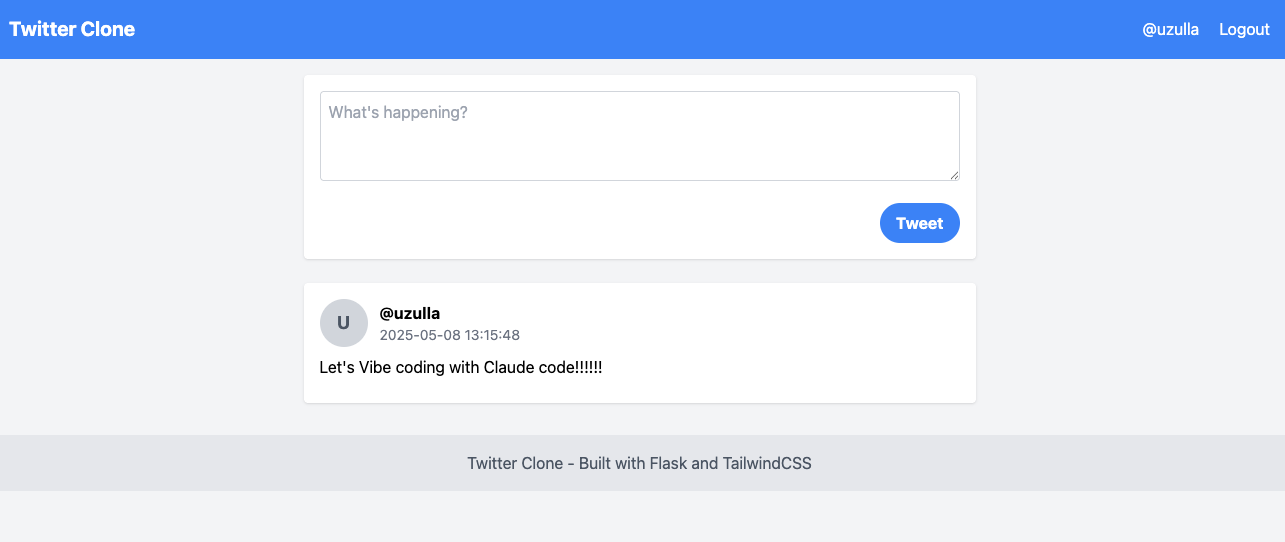
うごきました!!!!バイブスを感じます!!!!
ほかのテク
-p オプションとつなげるとよりバイブスみを感じることができます
$ claude -p gitのAuthorを全部書き換える方法をおしえてください
コマンド例:
```
# インストール
pip install git-filter-repo

# 全てのAuthorを書き換える
git filter-repo --name-callback 'return b"新しい名前"' --email-callback 'return b"新しいメール@example.com"'
```

注意: git filter-repoはリポジトリの履歴を書き換えるため、必ずバックアップを取ってから実行してください。共有リポジトリでは他の開発者に影響するので注意が必要です。
$
まとめ
ghコマンドとくみあわせれば、ISSUEをよみこませて処理する、とかも多分できるとおもいます。
ということでclaude codeでもこういうことはできます。標準入力からよみこませたりするのがミソってかんじですね。
現場からは以上です。
備考
- まあ、DevinとかOpenHandsとかの方が便利です!!
- これ、どれくらいparallelでうごかしたらAbuse扱いでBanされるんですかね(僕は実験台になるつもりはありませんw😂)
- 公式もかいていますが 「VMなど隔離された環境でのみやってください」 。なんでもできてしまうので、危険が危ないです。
- 参照: https://docs.anthropic.com/en/docs/claude-code/security#development-container-reference-implementation
あらあらしい現場からは以上です。
Discussion