🤖
FastAPI でとても簡単なToDoアプリを作る!!
目標
フロントエンド(HTML)とバックエンド(Python/FastAPI)を自分で繋いで動かす。
最小構成で、初心者が「Webアプリの仕組み」を理解できる。
フォルダ構成
todo-app/
├── main.py              ← FastAPIのメインサーバー
├── templates/
│   └── index.html       ← フロントエンド(HTML)
└── static/
    └── style.css        ← CSS(お好みで)
ステップ①:FastAPIを立ち上げよう!
1. 仮想環境を作成して起動
python3 -m venv venv
source venv/bin/activate
2. ライブラリのインストール
pip install fastapi uvicorn jinja2 python-multipart
3. main.py を作成して以下を記述;
main.py
from fastapi import FastAPI, Request, Form
from fastapi.responses import HTMLResponse, RedirectResponse
from fastapi.staticfiles import StaticFiles
from fastapi.templating import Jinja2Templates

app = FastAPI()
app.mount("/static", StaticFiles(directory="static"), name="static")
templates = Jinja2Templates(directory="templates")

# メモリ上にデータを保存(再起動で消える)
todo_list = []

@app.get("/", response_class=HTMLResponse)
async def read_root(request: Request):
    return templates.TemplateResponse("index.html", {"request": request, "todos": todo_list})

@app.post("/add")
async def add_todo(task: str = Form(...)):
    todo_list.append(task)
    return RedirectResponse(url="/", status_code=303)
4. 起動:
uvicorn main:app --reload

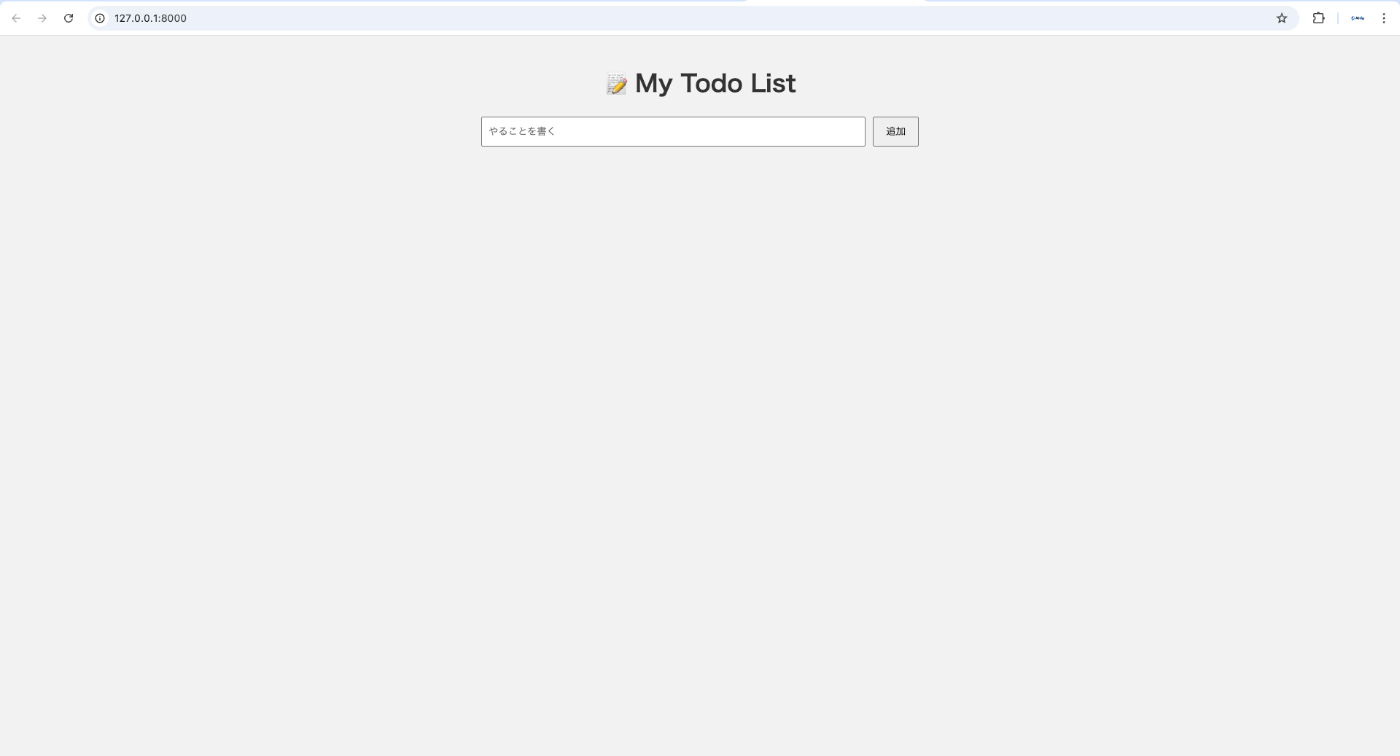
画像のようになれば成功です!
cmd + クリックでlocalhostにアクセスしましょう。
ステップ② HTMLテンプレートを作成しよう!
1. templates/index.html を作成:
index.html
<!-- templates/index.html -->
<!DOCTYPE html>
<html lang="ja">
<head>
  <meta charset="UTF-8">
  <title>Todo App</title>
  <link rel="stylesheet" href="/static/style.css">
</head>
<body>
  <h1>📝 My Todo List</h1>

  <form action="/add" method="post">
    <input type="text" name="task" placeholder="やることを書く" required>
    <button type="submit">追加</button>
  </form>

  <ul>
    {% for todo in todos %}
      <li>{{ todo }}</li>
    {% endfor %}
  </ul>
</body>
</html>
ステップ③:CSSでちょっと装飾しよう!
1. static/style.css を作成:
style.css
body {
  font-family: sans-serif;
  background-color: #f2f2f2;
  max-width: 600px;
  margin: auto;
  padding: 20px;
}

h1 {
  text-align: center;
  color: #333;
}

form {
  display: flex;
  justify-content: space-between;
  margin-bottom: 20px;
}

input {
  flex: 1;
  padding: 8px;
}

button {
  padding: 8px 16px;
  margin-left: 10px;
}

ul {
  list-style: none;
  padding-left: 0;
}

li {
  background: #fff;
  padding: 10px;
  margin-bottom: 5px;
  border-radius: 4px;
}
ステップ④:動作確認!
さっきのlocalhostにアクセスして以下のようになればOK!
実際に追加してみると...

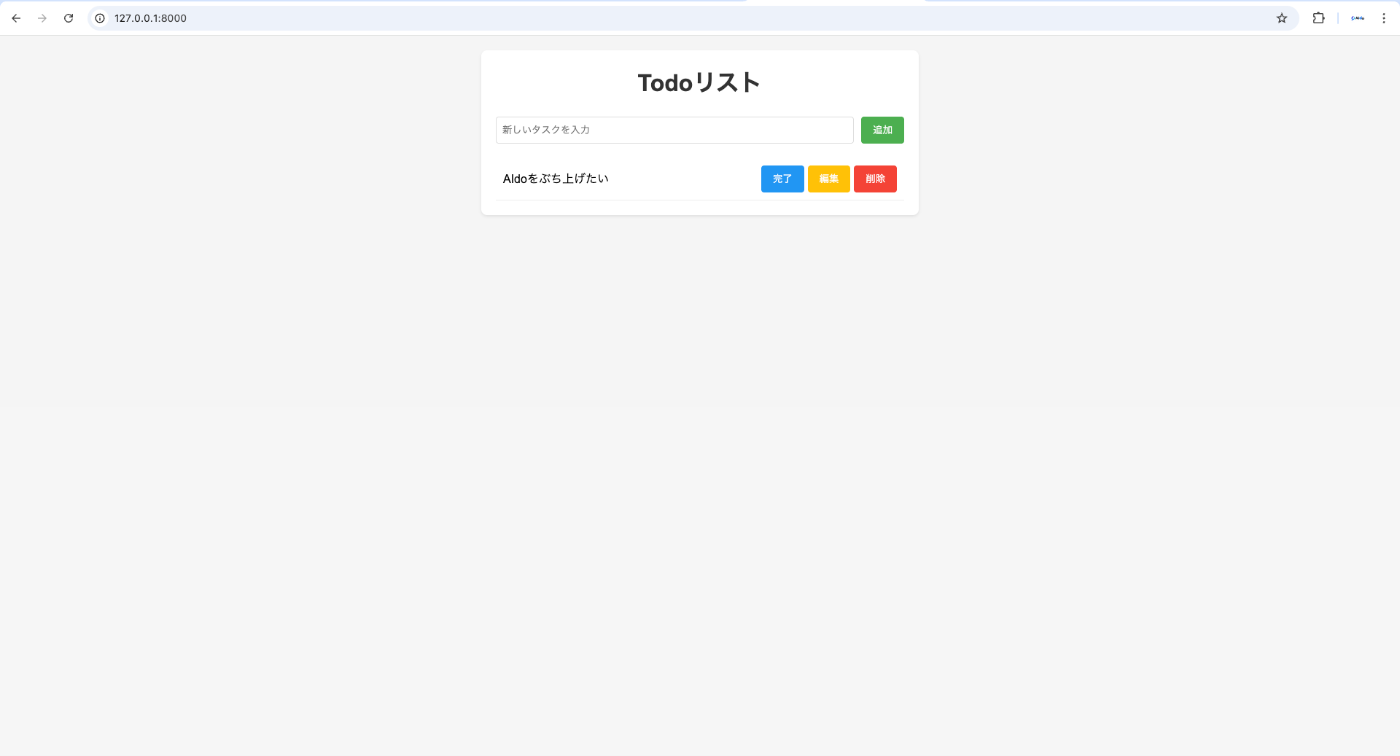
課題
実際のCRUD操作(「Create(作成)」「Read(読み取り)」「Update(更新)」「Delete(削除)」)を追加した以下のようなTodoアプリを作る

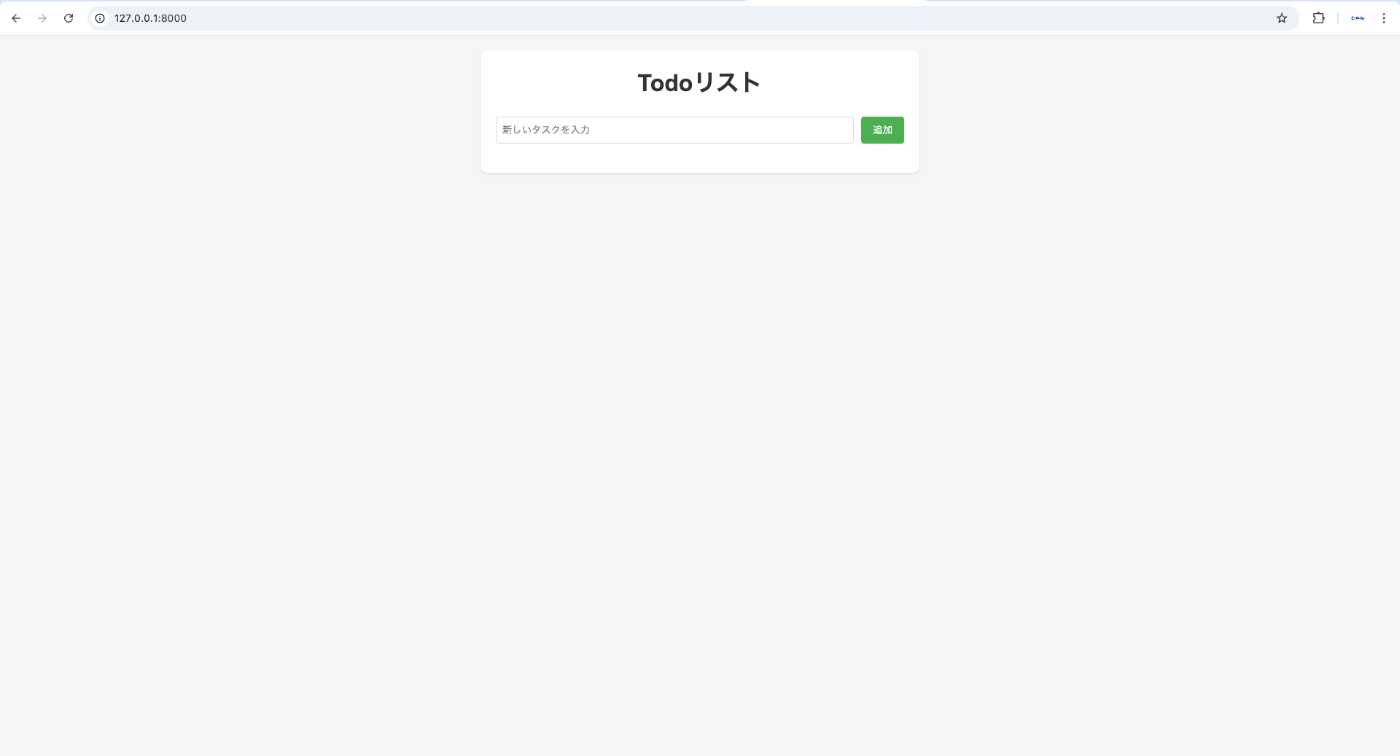
編集すると
消去すると
Discussion