今立ってるGoogle Virtual MachineのインスタンスをSlackに通知するアプリを作る
こんにちは。
突然ですがGoogleのVirtual Machineインスタンスを起動しっぱなしにしてお金を無駄にしたことはありませんか?私はあります。
ということで今立ってるVirtual Machineインスタンスを1時間おきにSlackに通知するアプリを作ります。
概要
Cloud FunctionでCompute Engineの状態をとってきてSlackにメッセージを送る関数をデプロイします。デプロイした関数をCloud Schedulerで1時間おきに実行します。
完成するとSlackにこんな感じでメッセージが送られてきます。

Cloud Functionの定期実行に関しては以下のGoogle公式のチュートリアルに従います。
SlackのWebhook URLを取得する
まずはメッセージをSlackに送るためのwebhook urlを取得します。
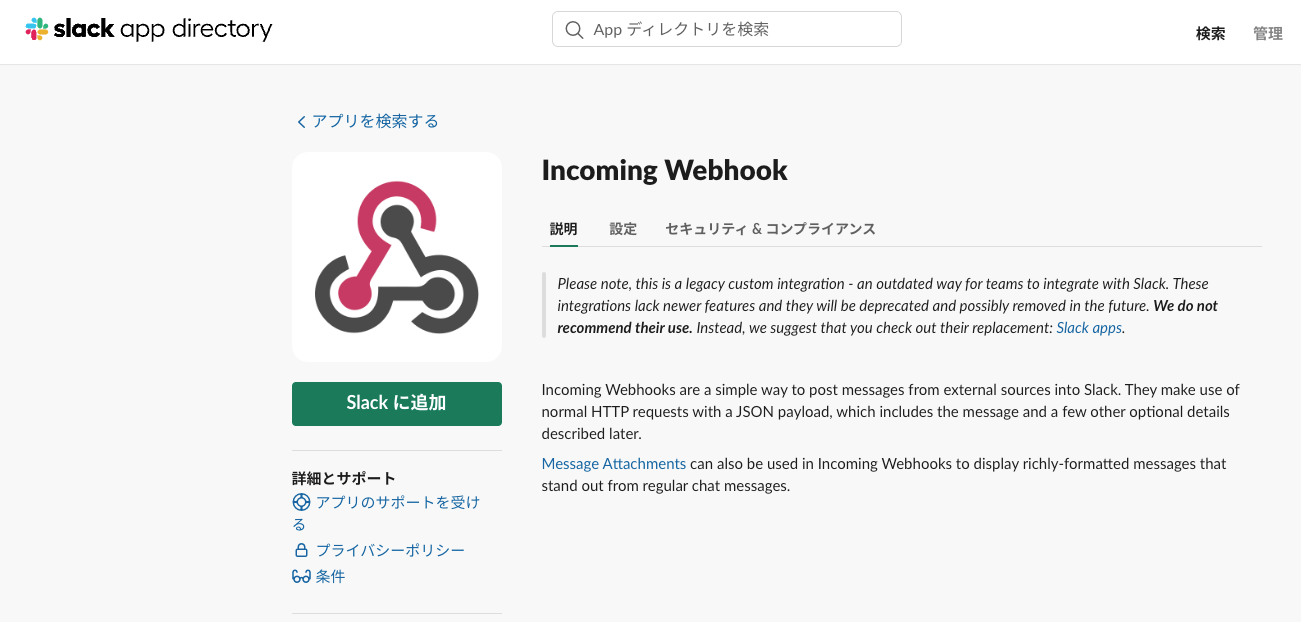
Incoming WebhookをSlackに追加します。

「Slackに追加」から手順通りに進めば、以下のような形のwebhookのurlが取得できます。
https://hooks.slack.com/services/xxxxxxxx
Slackにメッセージを送るのはとても簡単で、webhook urlにリクエストを投げるだけです。
# webhookのurlの使い方例
url = "https://hooks.slack.com/services/xxxxxxxx"
data = {
    "channel": SLACK_CHANNEL,
    "username": "通知bot(test)",
    "text": "しばらくうるさいかも",
    "icon_emoji": ":顔つき満月:"
}
response = requests.post(url, json=data)

Slackに送るメッセージを作る関数を作る
次にSlackに送るメッセージを構築する関数をpythonで書きます。
-
create_running_instance_list()はcompute_v1.InstancesClient()を叩いて全インスタンスの状態を持ってきて、statusがRUNNINGのものをlistで返します -
create_message()でメッセージを作ります -
send_slack_message()でメッセージを送信します
from __future__ import annotations

import functions_framework
from google.cloud import compute_v1
from collections import defaultdict
import requests
import json

WEB_HOOK_URL = "https://hooks.slack.com/services/xxxx"
PROJECT_ID = "xxxx"
MAX_RESULTS = 50
SLACK_CHANNEL = "xxxx"
SLACK_USERNAME = "通知bot"
SLACK_ICON_EMOJI = ":xxxx:"

@functions_framework.cloud_event
def main(request):
    running_instance_list = create_running_instance_list()

    if running_instance_list:
        message = create_message(running_instance_list)
        send_slack_message(message)

    return 'OK'

def create_running_instance_list():
    """Creates a list of running instances."""
    instance_client = compute_v1.InstancesClient()
    agg_list_request = compute_v1.AggregatedListInstancesRequest(project=PROJECT_ID, max_results=MAX_RESULTS)
    agg_list = instance_client.aggregated_list(request=agg_list_request)

    all_instances = defaultdict(list)
    for zone, response in agg_list:
        if response.instances:
            all_instances[zone].extend(response.instances)
    return [
        instance.name
        for instances_per_zone in all_instances.values()
        for instance in instances_per_zone
        if instance.status == "RUNNING"
    ]

def create_message(running_instance_list):
    """Creates a formatted message with the list of running instances."""
    message_lines = ["以下のインスタンスが立ち上がってます。"] + [f"- {name}" for name in running_instance_list]
    return "\n".join(message_lines)

def send_slack_message(message):
    """Sends a message to a Slack channel."""
    data = {
        "channel": SLACK_CHANNEL,
        "username": SLACK_USERNAME,
        "text": message,
        "icon_emoji": SLACK_ICON_EMOJI
    }
    response = requests.post(WEB_HOOK_URL, json=data)
    response.raise_for_status()
安いVMを何か一個立てる
動いてるかどうかテストするためにはVMインスタンスが一個立ってないとダメですからね。
Cloud Functionにデプロイをする
Cloud Functionを作ってデプロイします。
この時トリガーを Cloud Pub/Subにして、新しいトピックを作成してください。

コードでは、main.pyに先ほどのpythonの関数をコピーしてください。
requirements.txtにはすでに入っているfunctions-frameworkに加えてgoogle-cloud-computeも加えてください。
functions-framework==3.*
google-cloud-compute==1.18.0
ここで関数をテストしてこの段階でslackに正しくメッセージが送れるか確認するといいでしょう。
正しく動作するのが確認できたらデプロイをします。
Cloud Scheduler ジョブを作成する
最後にCloud Schedulerのジョブを作成します。
1時間おきに実行したいので「頻度」には0 * * * *と入力します。これで毎時0分にCloud Schedulerが動作します。

ターゲットタイプをPub/SubにしてCloud Functionの画面で新しく作ったトピックを選択します。この画面に現れなかったら、手動で入力することも可能です。

送信するデータは本当は空でいいのですが、{}を入力するとエラーを吐くので、何か入れておきましょう。
{a:a}
最後にテストのために作ったジョブを選択し、「強制実行」をします。

うまくいけばこのようにメッセージが送られてくるはずです。

お疲れ様でした。
Discussion