🙌
[SwiftUI]Routerを実装
SwiftUIで遷移先をまとめるクラスRouterという考え方で実装方法をまとめます。
2種類の遷移方法
画面遷移方法としては主に以下の2つになります。
-
sheetを使ってモーダルで表示 -
NavigationViewとNavigationLinkを使ってプッシュ表示
動的にモーダル表示
sheetを使う場合、基本的には1つのViewのみ表示することが多いですが、複数表示したい場合があります。
動的にモーダル表示する際は、以下を使用します。
public func sheet<Item, Content>(item: Binding<Item?>, onDismiss: (() -> Void)? = nil, @ViewBuilder content: @escaping (Item) -> Content) -> some View where Item : Identifiable, Content : View
ちなみに、iOS14以下では.sheetは1つのView要素に1つしか追加できません。
Routerの実装
extension Identifiable where Self: Hashable {
    typealias ID = Self
    var id: Self { self }
}

enum ContentRouter: View, Hashable, Identifiable {

    case first
    case second(text: String)

    var body: some View {
        switch self {
        case .first: return AnyView(FirstView())
        case .second(let text): return AnyView(SecondView(text: text))
        }
    }

}
ContentRouterはView、Hashable、Identifiableを継承しています。そうすることにより上記のsheetが使えます。
また、enumとすることにより、1つのRouterで複数の画面遷移先を定義することができます。SecondViewについては、値の受け渡しもできるようにしました。
ContentViewの実装
struct ContentView: View {

    @State var router: ContentRouter?

    var body: some View {

        NavigationView {
            VStack(spacing: 16) {
                Button.init("First") {
                    self.router = .first
                }
                Button.init("Second") {
                    self.router = .second(text: "Second")
                }

            }
        }.sheet(item: self.$router) { $0 }

    }
}
router: ContentRouter?に値を入れることで、.sheetが呼ばれます。さらに、ContentRouterはViewを継承しているので、そのまま$0として返却します。
結果

NavigationLinkを使って表示
動的に遷移先を変えることはできそうですが、実装が複雑になってしまうのでNavigationLinkを複数用意することが簡単です。
NavigationLinkを使って動的に表示したい場合。
動的に変更する場合の参考はこちらになります。
NavigationLinkとRouterを使って実装
上記のContentRouterはそのまま使います。
struct ContentView: View {

    @State var router: ContentRouter?

    var body: some View {

        NavigationView {
            VStack(spacing: 16) {
                Button.init("First") {
                    self.router = .first
                }
                Button.init("Second") {
                    self.router = .second(text: "Second")
                }

                NavigationLink("First Navigation", destination: ContentRouter.first)
                NavigationLink(
                    destination: ContentRouter.second(text: "Second from Navi"),
                    label: {
                        Label.init("Second Navigation", systemImage: "moon")
                    })

            }
        }.sheet(item: self.$router) { $0 }

    }
}
NavigationLinkのdestinationとして、ContentRouter.firstなどとしました。ContentRouterとして遷移先を定義しているので、実装がスッキリしています。
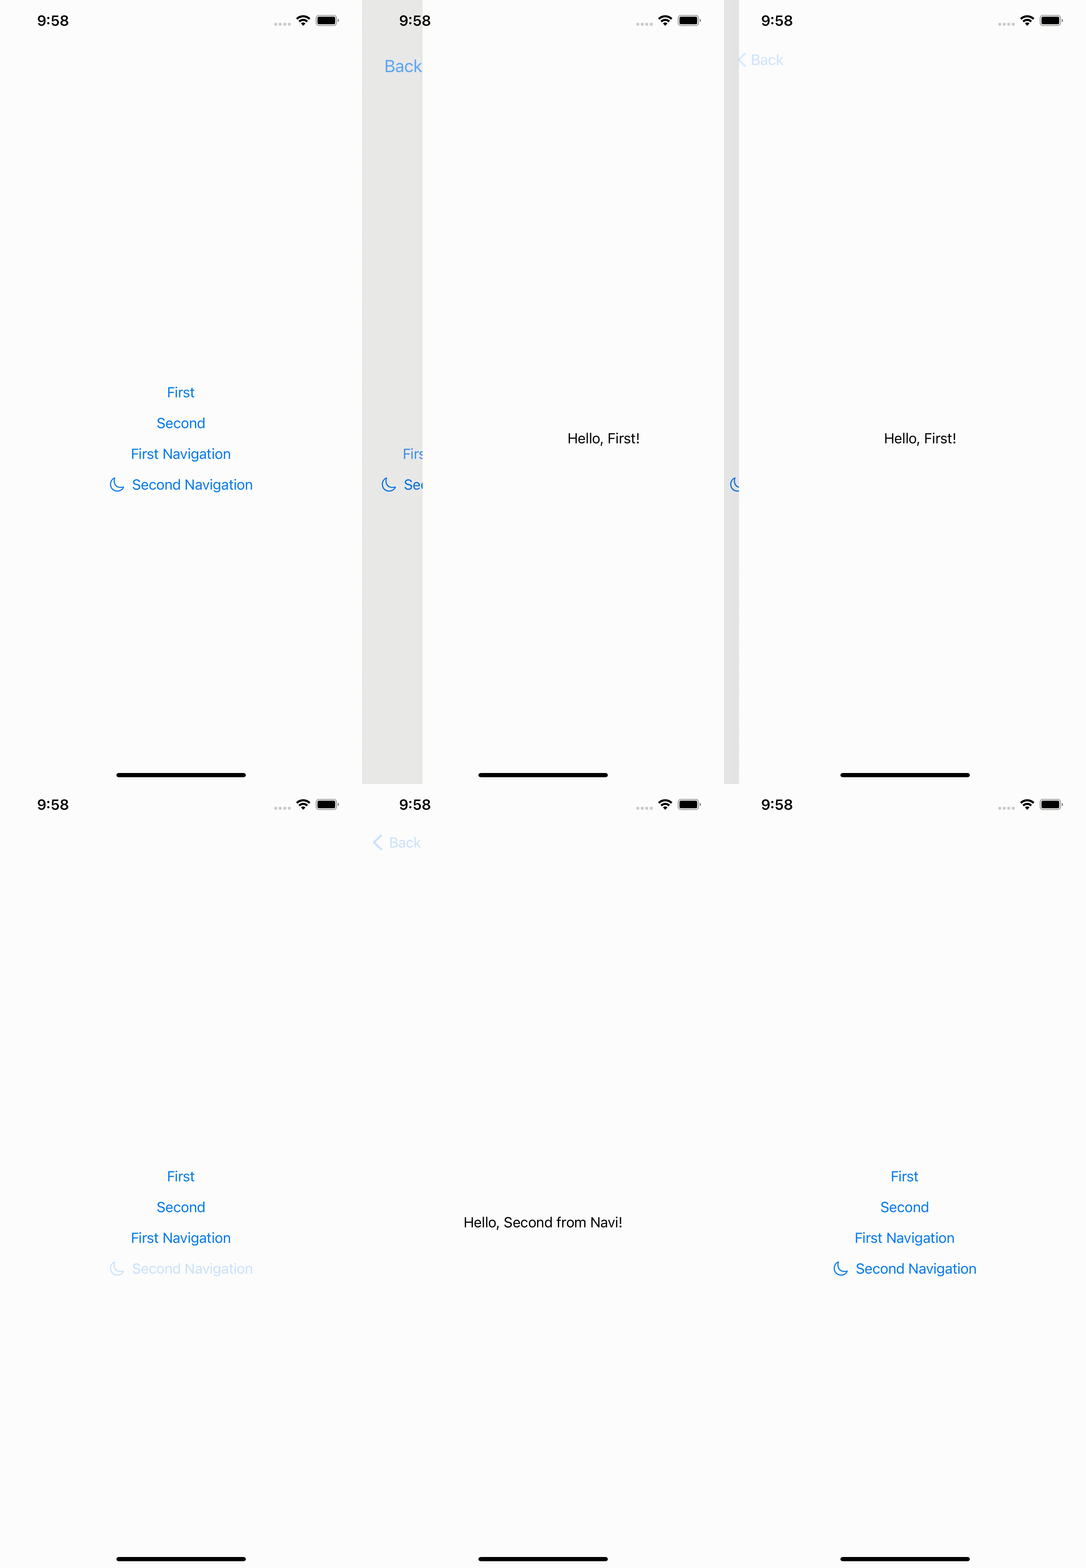
結果

サンプル
今回作ったサンプルはこちらです。
参考


Discussion