HUGO使ってみた
こんにちは、ぴよ太です🐤
はじめて技術ブログを書きます!
自分のやっていることを文書として記録することで、学習した内容の定着、
備忘録(後で見直して「そうだった!そうだった!」)などなど、そうなればよいなぁと思って始めてみました。
最終的にどこかで困っている人の役に立てたらいいなぁと思ってます😄
何を書こうか迷ったのですが、直近でやっていることについて書くことにしました。
やっていること
ドキュメント作成にHUGOを使い始めました。
HUGOでをサイトを作成して、s3などで公開(社内限定)を目標にしてます!
なぜやっているのか
WordやPowerpointとフォーマットがバラバラでなので、
1つに統一したいと思ったことがきっかけです。
あとは、Webサイトとして公開すればブラウザで確認できるし、
ファイルを探す手間も省けるかも!と思ったからです。
HUGOインストール
前提条件
- Windows
- powershellでコマンドを実行
公式サイトのQuick Install - Binary (Cross-platform)に従ってインストールしていきます。
-
Hugo Releasesからインストーラをダウンロードします。
hugo_0.96.0_Windows-64bit.zip
-
C:/Hugoに展開します。> tree c:/Hugo /f Folder PATH listing for volume Local Disk Volume serial number is xxxx-xxxx C:\HUGO hugo.exe LICENSE README.md No subfolders exist -
環境変数のPATHに
C:/Hugoを追加します。 -
インストールされたか確認します。
> hugo version
hugo v0.96.0-2fd4a7d3d6845e75f8b8ae3a2a7bd91438967bbb+extended windows/amd64 BuildDate=2022-03-26T09:15:58Z VendorInfo=gohugoio
サイトの作成
- 以下のコマンドでHugoのサイトを作成します。
> hugo new site quickstart Congratulations! Your new Hugo site is created in C:\xxx\quickstart. Just a few more steps and you're ready to go: 1. Download a theme into the same-named folder. Choose a theme from https://themes.gohugo.io/ or create your own with the "hugo new theme <THEMENAME>" command. 2. Perhaps you want to add some content. You can add single files with "hugo new <SECTIONNAME>\<FILENAME>.<FORMAT>". 3. Start the built-in live server via "hugo server". Visit https://gohugo.io/ for quickstart guide and full documentation. - フォルダ構成は以下の通りです。
> tree /f Folder PATH listing for volume Local Disk Volume serial number is FC68-4EFF C:\xxx\ └───quickstart │ config.toml │ ├───archetypes │ default.md │ ├───content ├───data ├───layouts ├───static └───themes - Hugo標準の簡易サーバを起動してみます。
> cd C:\xxx\quickstart > hugo serve -D Start building sites … hugo v0.96.0-2fd4a7d3d6845e75f8b8ae3a2a7bd91438967bbb+extended windows/amd64 BuildDate=yyyy-mm-ddThh:mm:ssZ VendorInfo=gohugoio WARN yyyy/mm/dd hh:mm:dd found no layout file for "HTML" for kind "home": You should create a template file which matches Hugo Layouts Lookup Rules for this combination. WARN yyyy/mm/dd hh:mm:dd found no layout file for "HTML" for kind "taxonomy": You should create a template file which matches Hugo Layouts Lookup Rules for this combination. WARN yyyy/mm/dd hh:mm:dd found no layout file for "HTML" for kind "taxonomy": You should create a template file which matches Hugo Layouts Lookup Rules for this combination. | EN -------------------+----- Pages | 3 Paginator pages | 0 Non-page files | 0 Static files | 0 Processed images | 0 Aliases | 0 Sitemaps | 1 Cleaned | 0 Built in 108 ms Watching for changes in C:\xxx\quickstart\{archetypes,content,data,layouts,static} Watching for config changes in C:\xxx\quickstart\config.toml Environment: "development" Serving pages from memory Running in Fast Render Mode. For full rebuilds on change: hugo server --disableFastRender Web Server is available at http://localhost:1313/ (bind address 127.0.0.1) Press Ctrl+C to stop - ブラウザでhttp://localhost:1313にアクセスします。
※特にテーマを設定していないので、真っ白な画面が表示されるかと思います。
テーマ設定
-
themes.gohugo.ioから好きなテーマを選択します。
- 今回は、Learnを選択します。
-
Learnを設定する。
> cd themes/ > git clone https://github.com/matcornic/hugo-theme-learn.git Cloning into 'hugo-theme-learn'... remote: Enumerating objects: 2651, done. remote: Counting objects: 100% (2651/2651), done. remote: Compressing objects: 100% (1085/1085), done. Receiving objects: 100% (2651/2651), 14.08 MiB | 7.64 MiB/s, done. Resolving deltas: 100% (1547/1547), done. -
quickstart/config.tomlを編集します。baseURL = 'http://example.org/' languageCode = 'en-us' title = 'My New Hugo Site' # Change the default theme to be use when building the site with Hugo theme = "hugo-theme-learn" # For search functionality [outputs] home = [ "HTML", "RSS", "JSON"]※HUGO LEARN THEMEのBasicsに記載があります。
-
Hugo標準の簡易サーバを起動して確認してみます。
> cd C:\xxx\quickstart > hugo serve -D -
ブラウザでhttp://localhost:1313にアクセスします。

ロゴの設定
learn | change the logoを参考に、ロゴをデフォルトから変更してみます。
-
quickstart/static/imagesフォルダを作成して、任意の画像を格納します。> C:\xxx\ > tree .\quickstart\static\ /f C:\xxx\QUICKSTART\STATIC └───images chick_logo.svg -
quickstart/layouts/partials/logo.htmlを作成します。> tree .\quickstart\layouts\ /f Folder PATH listing for volume Local Disk Volume serial number is xxx-xxx C:\xxx\QUICKSTART\LAYOUTS └───partials logo.html -
logo.htmlを編集します。
※quickstart/staticからのパスをsrcに設定します。<img src="/images/chick_logo.svg" alt="" width="300" height="200"> -
Hugo標準の簡易サーバを起動して確認してみます。
> hugo serve -D -
ブラウザでhttp://localhost:1313にアクセスします。
※左上のロゴ部分が変更されています。
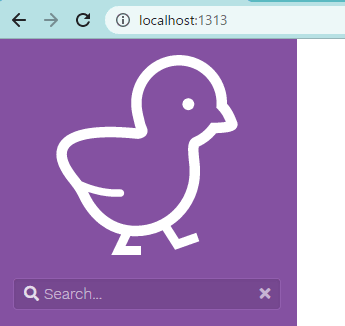
favicon設定
learn | change the faviconを参考に、faviconも変更してみます。
-
quickstart/static/imagesフォルダに、任意の*.icoファイルを格納します。> tree .\quickstart\static\images\ /f Folder PATH listing for volume Local Disk Volume serial number is xxx-xxx C:\xxx\QUICKSTART\STATIC\IMAGES chick.ico chick_logo.svg No subfolders exist -
quickstart/layouts/partials/favicon.htmlを作成します。> tree .\quickstart\layouts\partials /f Folder PATH listing for volume Local Disk Volume serial number is xxx-xxx C:\xxx\QUICKSTART\LAYOUTS\PARTIALS favicon.html logo.html No subfolders exist -
favicon.htmlを編集します。<link rel="shortcut icon" href="/images/chick.ico" type="image/x-icon" /> -
Hugo標準の簡易サーバを起動して確認してみます。
> hugo serve -D -
ブラウザでhttp://localhost:1313にアクセスします。

※ブラウザのタブのfavicon部分が変更されています。
ドキュメントを追加
-
Markdownファイルを作成します。
> hugo new posts/sample.md Content "C:\\xxx\\Hugo\\quickstart\\content\\posts\\sample.md" created -
quickstart/content/posts/sample.mdを編集する。--- title: "Sample" date: yyyy-mm-ddThh:mm:ss+09:00 draft: true --- サンプルです。 {{% notice tip %}} [shortcut code](https://learn.netlify.app/en/shortcodes/notice/)を使うと様々なことができます。 {{% /notice %}} -
- Hugo標準の簡易サーバを起動して確認してみます。
> hugo serve -D -
ブラウザでhttp://localhost:1313にアクセスします。
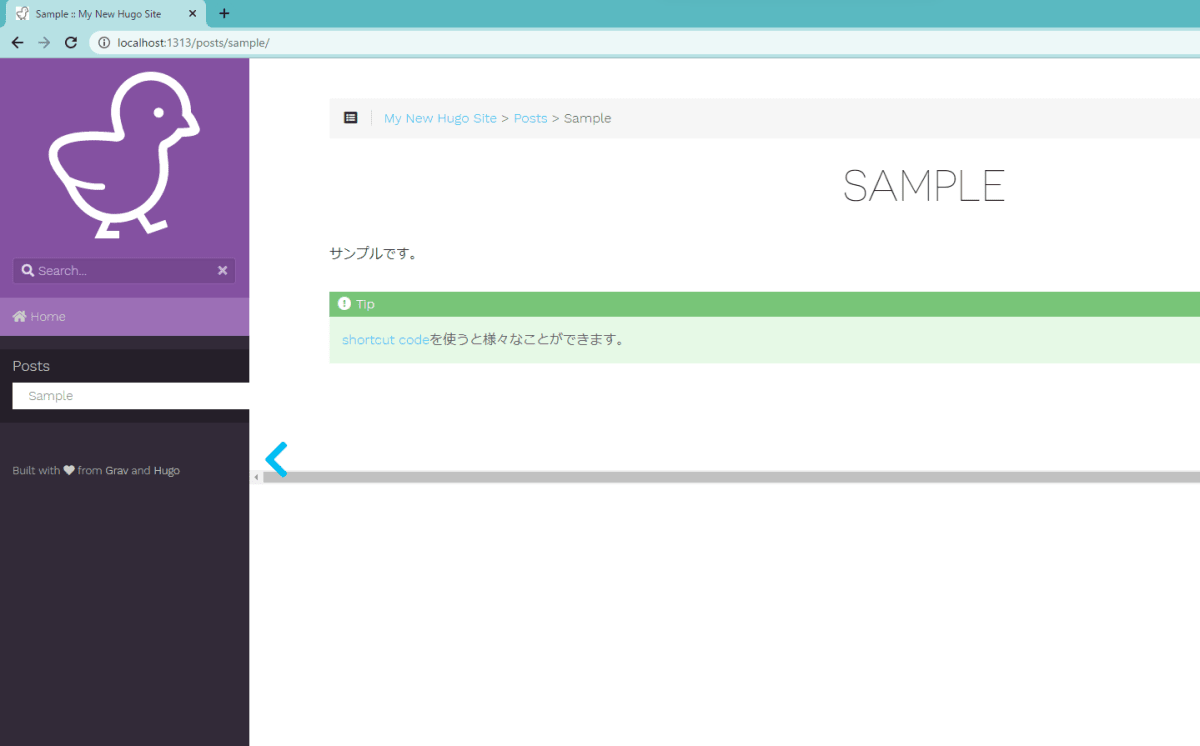
※左のHOMEの下にsampleが追加されています。
終わりに
- Hugoのインストール
- 簡単な設定
- ドキュメントの追加
について書いてみました!
その他色々できるのですが、きりがないのですみませんが省略します😢😢
Hugoの利用だけでなく、今後はGit・S3・CodeBuild等を使用して
ドキュメント管理・共有の仕組みを構築していく予定です。
(その辺りも書いていけれたらいいなと思ってます~)
Discussion