3️⃣
動画・画像に残す
テスト実行結果
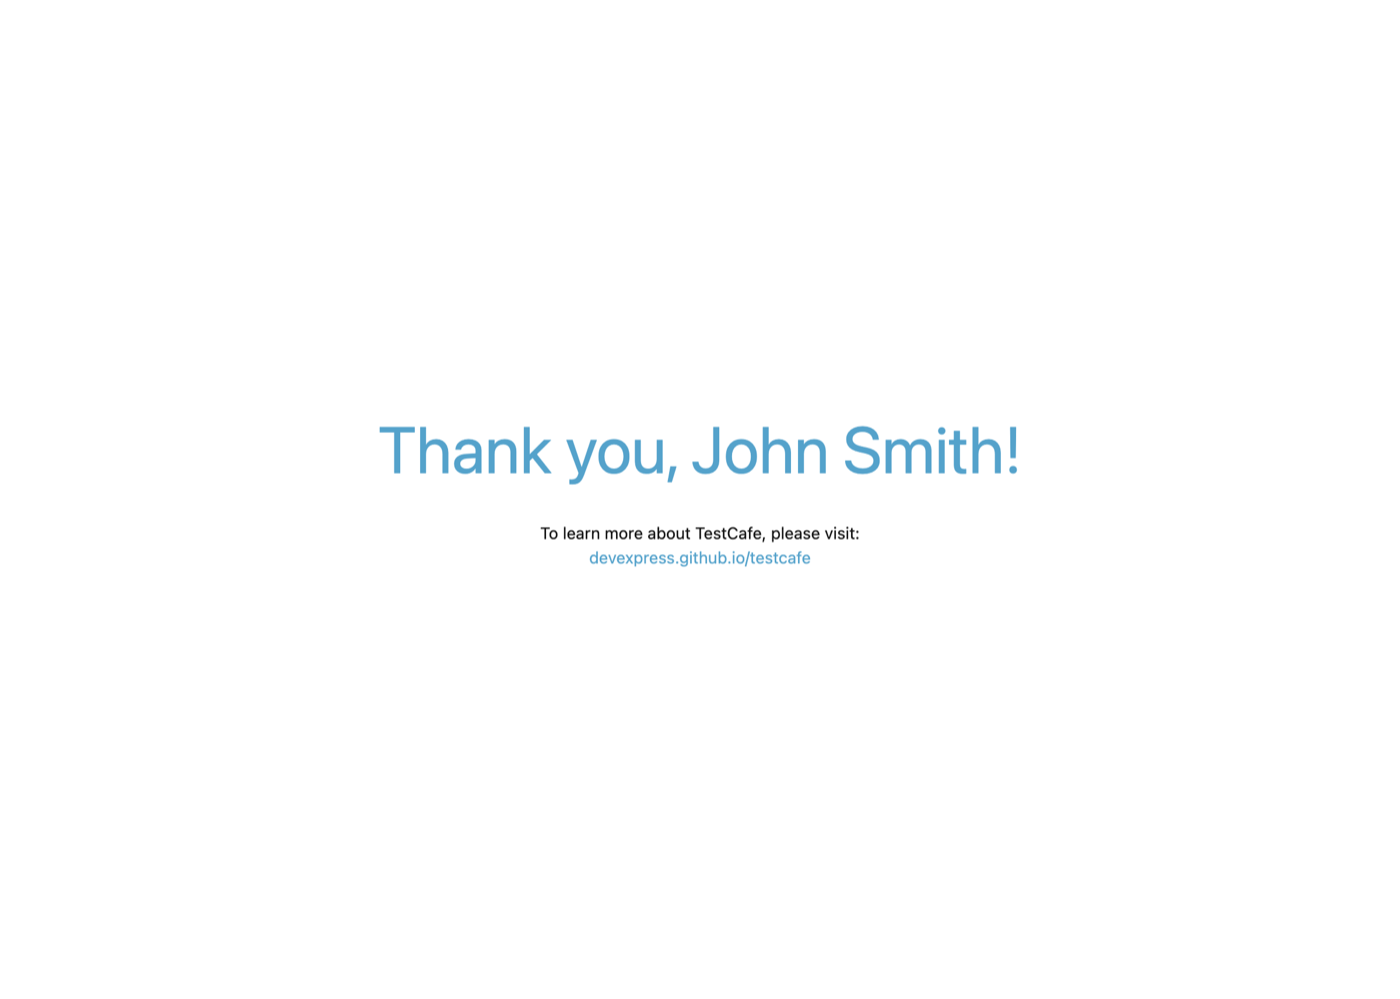
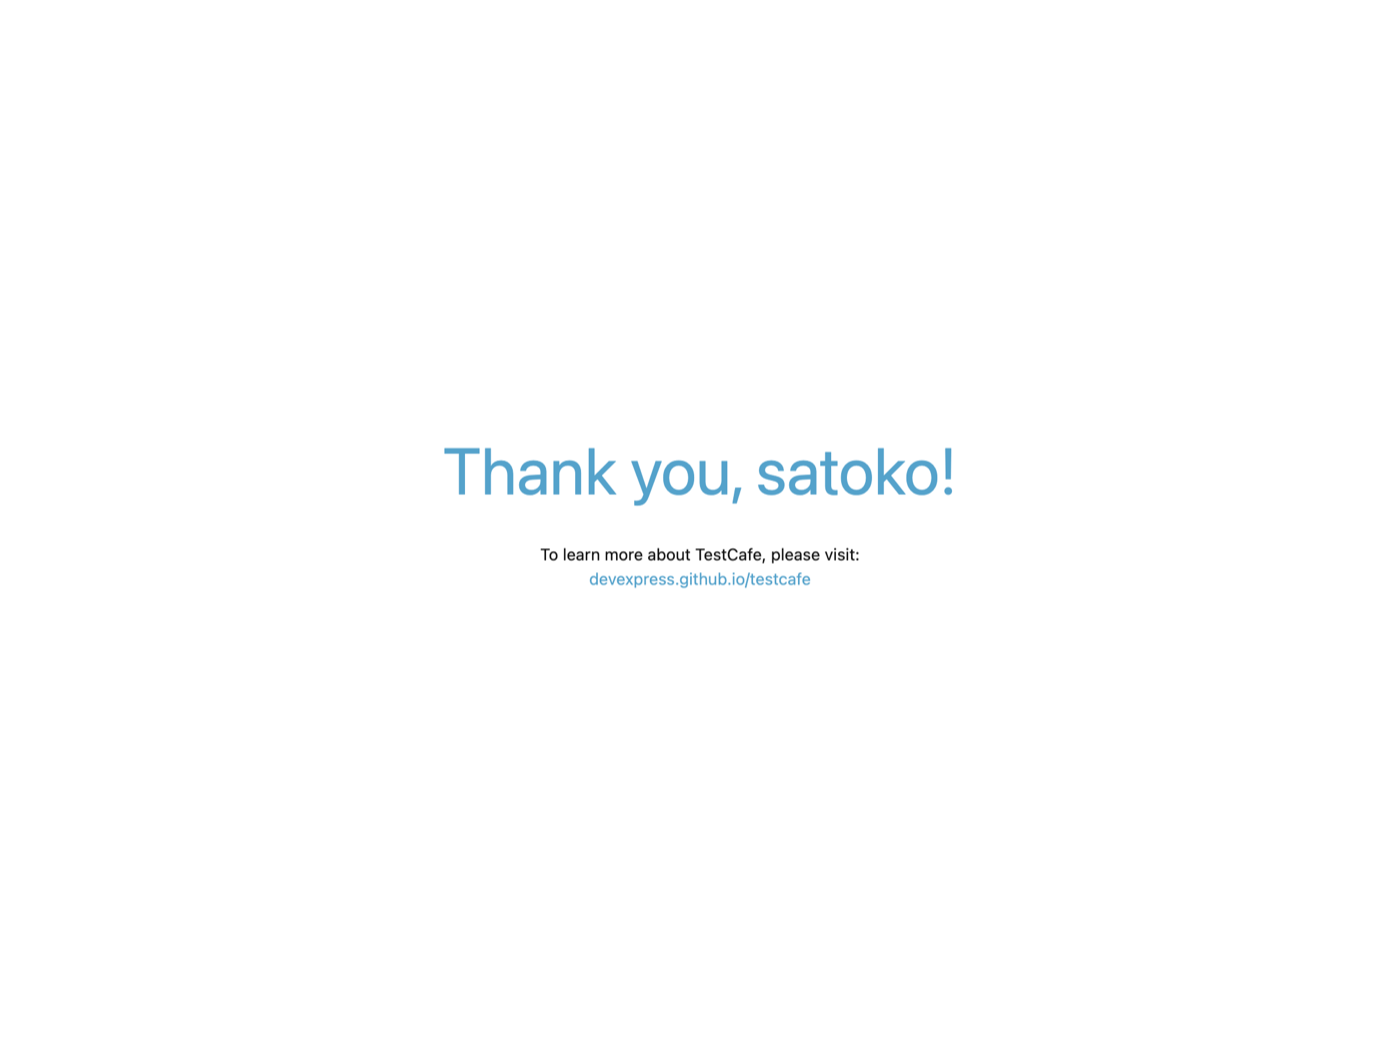
shellでの実行結果と実際に撮られたスクリーンショットを添付。スクリーンショットを撮っておくことで、正常にテストが実施できたかどうか、失敗した場合にはどのような画面が表示されたかなどを後から知ることができます。
(スクリーンショットの保存先も自動的に出力される。階層がめちゃ深くなるのが玉にキズ 🤔 )
test_roles.js テスト実行結果
% testcafe chrome test_roles.js
 Running tests in:
 - Chrome 100.0.4896.60 / macOS 10.15.7

 fixture: login test

Thank you, John Smith!
 ✓ Login test: adminRole (screenshots:
 /Users/xxxxx/testcafe/screenshots/2022-04-03_13-15-39/test-1/Chrome_100.0.4896.60_macOS_10.15.7/1.png)

Thank you, satoko!
 ✓ Login test: userRole (screenshots:
 /Users/xxxxx/testcafe/screenshots/2022-04-03_13-15-39/test-2/Chrome_100.0.4896.60_macOS_10.15.7/1.png)

 2 passed (7s)
adminRoleのテスト実行結果画像

userRoleのテスト実行結果画像

(t.takeScreenshot()を入れるだけ!簡単 🤗 🤗 🤗 )
test_roles.js
import { adminRole, userRole } from './roles.js'
import { Selector } from 'testcafe';

fixture `fixture: login test`

const articleHeader = Selector('#article-header')

test('Login test: adminRole', async t => {
        await t
                .useRole(adminRole)
                .expect(articleHeader.innerText).contains('Thank you')
                .takeScreenshot(); // <-- ココ

        console.log('\n');
        console.log(await articleHeader.innerText);
});

test('Login test: userRole', async t => {
        await t
                .useRole(userRole)
                .expect(articleHeader.innerText).contains('Thank you')
                .takeScreenshot(); // <-- ココ

        console.log('\n');
        console.log(await articleHeader.innerText);
});
.takeScreenshot()コマンドでは、スクリーンショットだけでなくthumbnailも撮ってくれる
(階層が深い。この辺はconfigurationファイルで調整できるといいなと想像 🤔)
ファイル構造
% tree
.
├── roles.js
├── screenshots
│   └── 2022-04-03_13-15-39
│       ├── test-1
│       │   └── Chrome_100.0.4896.60_macOS_10.15.7
│       │       ├── 1.png
│       │       └── thumbnails
│       │           └── 1.png
│       └── test-2
│           └── Chrome_100.0.4896.60_macOS_10.15.7
│               ├── 1.png
│               └── thumbnails
│                   └── 1.png
├── test.js
└── test_roles.js


Discussion