Quivrを試す
Quivrとは
Quivr, your second brain, utilizes the power of GenerativeAI to store and retrieve unstructured information. Think of it as Obsidian, but turbocharged with AI capabilities.
Quivrとは、生成AIを活用し、非構造化情報を検索可能にできます。
Obsidianというメモツールがありますが、これをAI機能で強化したものとのことです。
Quivrを試す(quivr.app)
試すだけなら、quivr.app上で試すのが早いです。
Get startedからSign Upをします。
Brainを作る
右上のメニューの🧠のアイコンから、Add New Brainを押下し、新しいBrainを作ります。
知識のアップロード
今回は、LangChainのIntroductionのページをknowledgeとしてアップロードしてみました。
(ページの内容をplain textで取得し、ファイルとして保存し、アップロード)
Chat
質問
Please tell me about langchain
回答
LangChain is a framework for developing applications powered by language models.
It provides a set of tools and abstractions that enable data-aware and agentic applications.
LangChain allows you to connect a language model to other sources of data and enables the language model to interact with its environment.

...
それ以外の質問については、あまり良い回答は得られませんでした。
これ以降は、ローカルで環境構築した事例です。
インストール
公式のインストールステップに沿って実施します。
また、以下の動画が参考になりました。
リポジトリのclone、各種パッケージインストール
リポジトリのcloneおよびディレクトリを移動します。
git clone git@github.com:StanGirard/Quivr.git && cd Quivr
brew経由でgumを入れます。
brew install gum
install_helper.shを使います。
途中で聞かれるものは全てエンターキーを押下しました。
chmod +x install_helper.sh
./install_helper.sh
.envファイルをコピーしてきます。
cp .backend_env.example backend/.env
cp .frontend_env.example frontend/.env
supabaseとは
続いて、supabaseの情報を入力していきます。
supabaseは、Firebaseに変わるOSSとして注目を集めているBaas(Backend As a Service)です。
Supabase is an open source Firebase alternative.
Start your project with a Postgres database, Authentication, instant APIs, Edge Functions, Realtime subscriptions, Storage, and Vector embeddings.
プロジェクトの作成
supabaseでプロジェクトを作成します。
GitHub連携が可能なので、ここではGitHub連携をします。

All projects > New Project から新しいプロジェクトを作成します。
NameとDatabase Password、Regionを入力します。
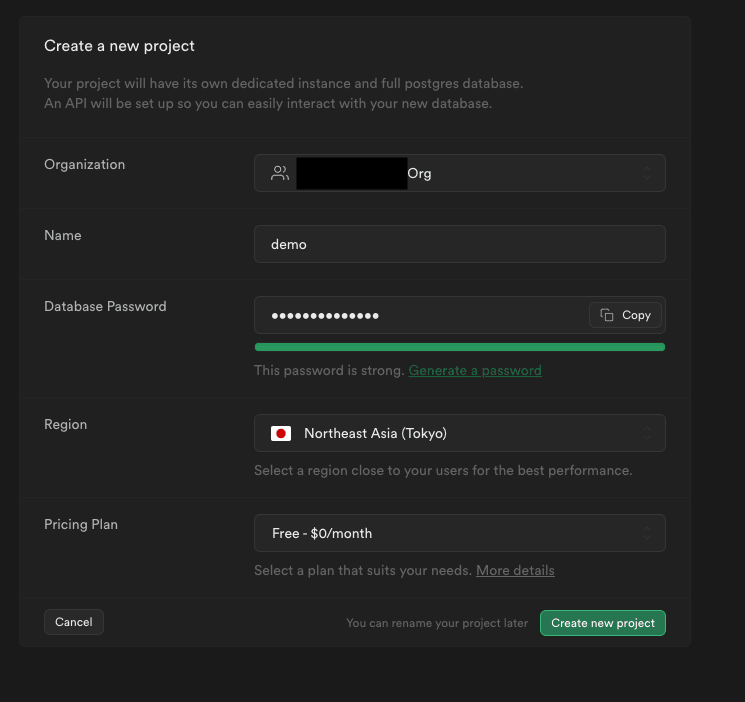
supabase側でプロジェクトの作成まで少し時間がかかります。
backend/.envの編集
backend/.envで<change-me>となっている項目を埋めていきます。
具体的には、以下を変更します。
SUPABASE_URL=<change-me>
SUPABASE_SERVICE_KEY=<change-me>
OPENAI_API_KEY=<change-me>
JWT_SECRET_KEY=<change-me>
それぞれsupabaseプロジェクトのホーム画面やProject Settingsの項目にあります。
- SUPABASE_URL: ホーム画面のProject URL
- SUPABASE_SERVICE_KEY: ホーム画面のAPI Key
- JWT_SECRET_KEY: Project Settings > API > JWT Settings
frontend/.envの編集
続いて、frontend/.envで<change-me>となっている項目を埋めていきます。
具体的には、以下を変更します。
NEXT_PUBLIC_SUPABASE_URL=<change-me>
NEXT_PUBLIC_SUPABASE_ANON_KEY=<change-me>
- NEXT_PUBLIC_SUPABASE_URL: ホーム画面のProject URL
- NEXT_PUBLIC_SUPABASE_ANON_KEY: Project Settings > API > Project API keys[anon public]
migration.shの実行
chmod +x migration.sh
./migration.sh
appの起動
起動します。
docker compose -f docker-compose.yml up --build
ログイン画面
うまくいくと以下のようなログイン画面がでます。
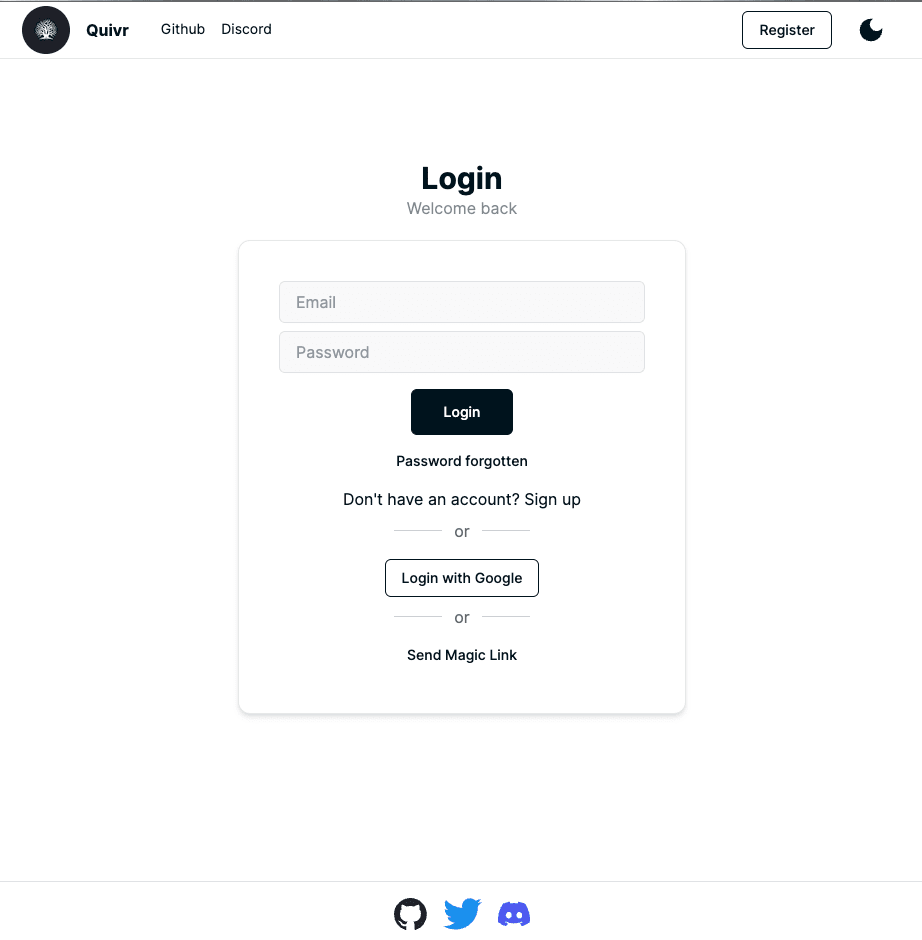
RegisterでEmailとPasswordを入力し、Sign Upします。
登録したメールアドレスにメールが届くので、確認します。
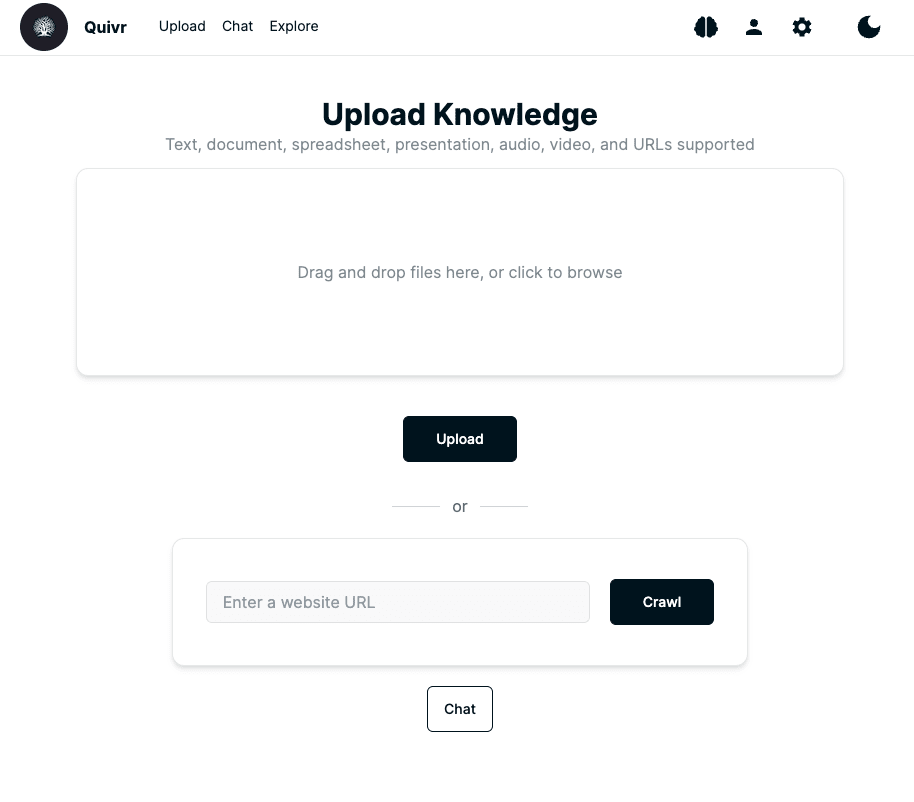
すると、以下のような画面となりました。
Quivrをローカルで試す
Brainを作る
右上のメニューの🧠のアイコンから、Add New Brainを押下し、新しいBrainを作ります。
知識のアップロード
今回は、LangChainのIntroductionのページをknowledgeとしてアップロードしてみました。
(ページの内容をplain textで取得し、ファイルとして保存し、アップロード)
Brainを作る時点でエラー ERROR: Exception in ASGI applicationが発生したので、ローカルではこれ以降は試せませんでした。
おわりに
本記事では、Quivrを試しました。
app上では、一つのファイルを与えて回答を得るところまでを確認しました。
ローカルでの環境構築はうまくいきませんでしたが、途中までの実施状況は参考になればと思います。
Discussion