timeline拡張入門したメモ【メモリリーク解消・プリセット作成】
■概要
この記事では、Unityのtimeline拡張の入門・自作のプロセスをメモしたものです。具体的には、カスタムトラックエディタの作成、色や回転の制御、プリセットの作成などを実装してみました。最後のほうにUnityのtimelineで灯体の動きや色のブレンドを制御し、マテリアルコピーによるメモリリークを防ぐコード例を掲載しています。
背景・目的
- バーチャルライブにおいて、timeline拡張の利用は頻出します。
- カメラや照明のアセットを1つのタイムラインにまとめて統合するなどの役割があります。
- そこで、まずはtimeline拡張に入門し、どのような機能があるのかをチェックしようと思いました。
範囲・制約・前提
- 下記記事やリポジトリを参考にしたときの、躓いたポイントや整理できるポイントのメモです。
- 詳細なUnityの解説は割愛します
- Unity歴半年以上ある方の想定です
■成果
まずは簡単に触ってみた
下記記事を参考にします。
メモ
- namespaceを使えば階層を作れるようです。
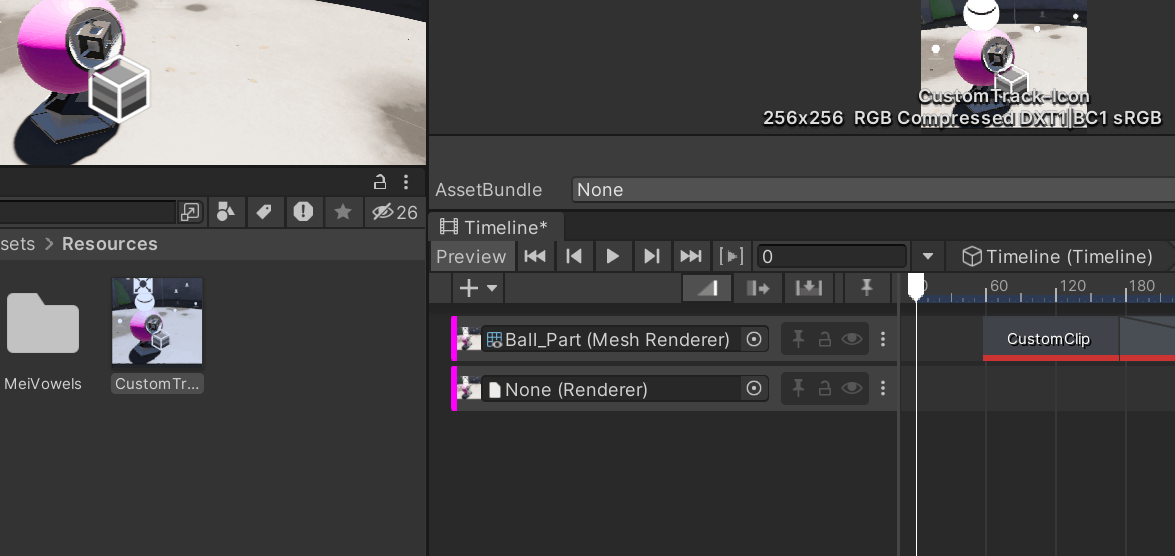
- 記事中に出てくる下記のCustomTrackEditorは、Resources内にCustomTrack-Iconという名前の画像を配置することで適用できます

using UnityEngine;
using UnityEngine.Timeline;
using UnityEditor.Timeline;

[CustomTimelineEditor(typeof(CustomTrack))]
public class CustomTrackEditor : TrackEditor
{
    Texture2D _iconTexture;

    public override TrackDrawOptions GetTrackOptions(TrackAsset track, Object binding)
    {
        track.name = "CustomTrack";

        if (!_iconTexture)
        {
            _iconTexture = Resources.Load<Texture2D>("CustomTrack-Icon");
        }

        var options = base.GetTrackOptions(track, binding);
        options.trackColor = Color.magenta;
        options.icon = _iconTexture;
        return options;
    }
}
おおよそできることがわかったので、timeline拡張を自作してみる
一通り触って、おおよそできることがわかったので、再度リポジトリを見てみます。照明の制御には、transform.rotationとマテリアルのパラメータ(色など)を変えられるスクリプトが作れたら良いと思うので、おおよそ下記を目指して作ってみます。
- 色の推移を簡単に指定できる
- 灯体の動きを簡単に制御できる
- プリセットを作ることができる
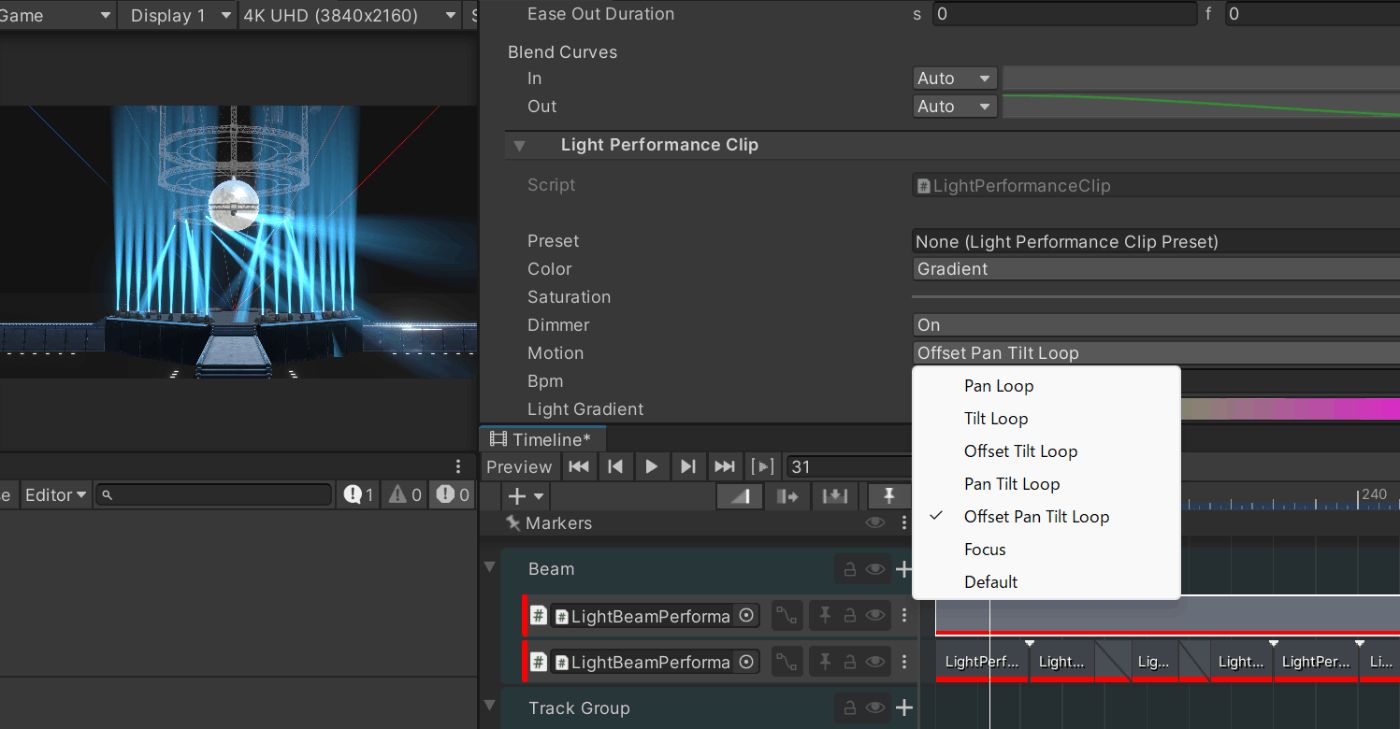
実際、参考にさせていただくリポジトリを見ると動きのプリセットがあるのが特徴的です。

他の記事も参考にしてみます。色のブレンドはたくさん扱われていますが、transformの扱いがあまり触れられていません。
どうも回転はQuaternionで処理するのが推奨のようですが、自分の場合エラーがうまく解消できなかったので、いったんvector3で書いてみました。
完成したもの
動作
プリセットを作成してtimelineにドラッグアンドドロップしたり、クリップ間をブレンドできるようになっています。メモリリークも起きていません。
コード
using System;
using UnityEngine;
using UnityEngine.Playables;

[Serializable]
public class GameObjectBehaviour : PlayableBehaviour
{
    public GameObjectClipPreset preset;
    public Vector3 rotation;
    public Color color;
}
using System;
using UnityEngine;
using UnityEngine.Playables;

[Serializable]
public class GameObjectClip : PlayableAsset
{
    public GameObjectBehaviour template = new GameObjectBehaviour();

    public override Playable CreatePlayable(PlayableGraph graph, GameObject owner)
    {
        var playable = ScriptPlayable<GameObjectBehaviour>.Create(graph, template);
        playable.GetBehaviour().preset = template.preset;
        playable.GetBehaviour().rotation = template.rotation;
        playable.GetBehaviour().color = template.color;
        return playable;
    }
}
using UnityEngine;

[CreateAssetMenu(fileName = "GameObjectClipPreset", menuName = "GameObjectClip/CreateGameObjectClipPreset")]
public class GameObjectClipPreset : ScriptableObject
{
    public Vector3 rotation;
    public Color color;
}
using UnityEngine;
using UnityEngine.Playables;

public class GameObjectMixerBehaviour : PlayableBehaviour
{
    public override void ProcessFrame(Playable playable, FrameData info, object playerData)
    {
        GameObject go = playerData as GameObject;
        Transform trackBinding = go?.transform;
        if (trackBinding == null) return;

        Vector3 blendedRotation = Vector3.zero;
        Color blendedColor = Color.clear;
        float totalWeight = 0f;

        for (int i = 0; i < playable.GetInputCount(); i++)
        {
            float inputWeight = playable.GetInputWeight(i);
            if (inputWeight <= 0) continue;

            ScriptPlayable<GameObjectBehaviour> inputPlayable = (ScriptPlayable<GameObjectBehaviour>)playable.GetInput(i);
            GameObjectBehaviour input = inputPlayable.GetBehaviour();
            Vector3 rotation;
            Color color;
            if (input.preset == null)
            {
                rotation = input.rotation;
                color = input.color;
            }
            else
            {
                rotation = input.preset.rotation;
                color = input.preset.color;
            }

            blendedRotation += rotation * inputWeight;
            blendedColor += color * inputWeight;
            totalWeight += inputWeight;
        }

        if (totalWeight > 0.5f)
        {
            blendedRotation /= totalWeight;
            trackBinding.rotation = Quaternion.Euler(blendedRotation);
            blendedColor /= totalWeight;
            Renderer renderer = trackBinding.GetComponent<Renderer>();
            if (renderer != null)
            {
                renderer.sharedMaterial.color = blendedColor;
            }
        }
    }
}
using UnityEngine;
using UnityEngine.Timeline;
using UnityEngine.Playables;

[TrackColor(0, 1, 0)]
[TrackClipType(typeof(GameObjectClip))]
[TrackBindingType(typeof(GameObject))]
public class GameObjectTrack : TrackAsset
{
    public override Playable CreateTrackMixer(PlayableGraph graph, GameObject go, int inputCount)
    {
        return ScriptPlayable<GameObjectMixerBehaviour>.Create(graph, inputCount);
    }

    [ContextMenu("Apply Preset")]
    public void ApplyPreset(GameObjectClipPreset preset)
    {
        var rotationClip = CreateInstance<GameObjectClip>();
        rotationClip.template.rotation = preset.rotation;

        var clip = CreateClip<GameObjectClip>();
        clip.asset = rotationClip;
    }
}
■追補
マテリアルコピーによるメモリリーク
マテリアルをいじる際は、直接 renderer.material をいじると代入のたびに Material のコピーが生じてしまい、更にエディタモードではメモリリークを産むことからエラーが出力されてしまうので、専用のマテリアルを作ってそれを使う形にしておきます。また、OnBehaviourPause() というタイムラインの再生が終わった際に呼び出されるコールバックのタイミングで破棄
https://tips.hecomi.com/entry/2022/03/28/235336
cinemachineのtimelineでの扱い
カメラワークなどはデフォルトでcinemachine用のtimelineアセットがあるようです
renderer.materialをtimelineで扱うとメモリリークが起きることへの対処
コード内でUnityのエディターモードで renderer.material を使用すると、マテリアルがシーンにリークする問題が発生します。そのため、エラーメッセージが表示されています。
Instantiating material due to calling renderer.material during edit mode. This will leak materials into the scene. You most likely want to use renderer.sharedMaterial instead.
UnityEngine.Renderer:get_material ()
RotationMixerBehaviour:ProcessFrame (UnityEngine.Playables.Playable,UnityEngine.Playables.FrameData,object) (at Assets/RotationTimeline/RotationMixerBehaviour.cs:50)
UnityEngine.GUIUtility:ProcessEvent (int,intptr,bool&)
この問題を解決するために、以下のように renderer.sharedMaterial を使用するようコードを変更することをお勧めします。
if (renderer != null)
{
    renderer.sharedMaterial.color = blendedColor; // 色を適用
}
この変更により、エディターモードでのリークが解消され、ランタイムの挙動にも影響を与えません。
照明をtimelineで制御するときのスムージング
照明のpanとtiltをtimelineで制御したとき、パッと変わると不自然なので、適切なスムージングを挟んで切り替えたいというモチベーションがあります。
そもそもDMXの信号自体はパッと切り替わるもので、それに対応ラグが灯体のハード側で起こるという現象です。であれば、コーディングするうえでも灯体側にスムージングが入れば保守性も上がるのではないでしょうか。
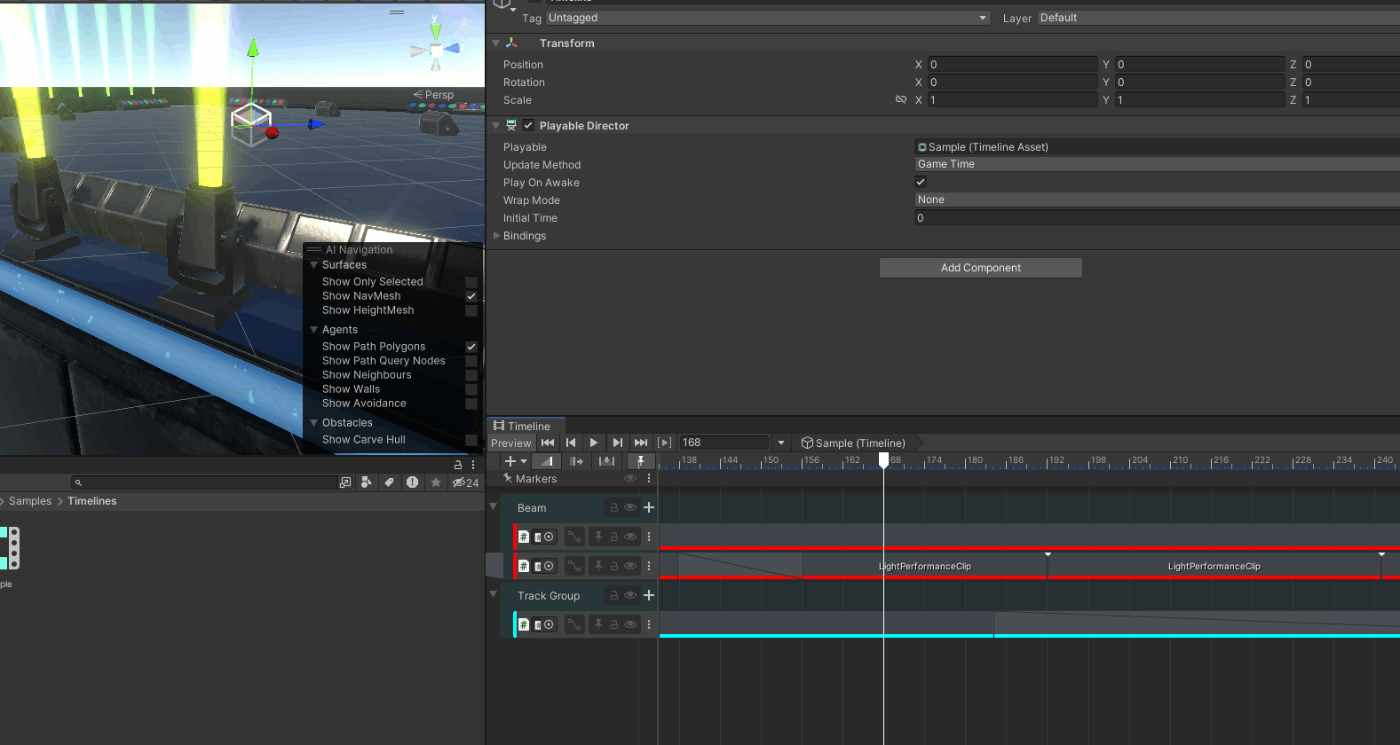
実際、LightBeamPerformanceのアセットも、timeline自体に常にブレンドが入ってるわけではありませんでした。

照明に物理的に生じる追従ラグは、照明側のスクリプトに記述するとよさそうです。
Discussion