WSL2のターミナルをoh-my-poshでいい感じにする
WSL2のUbuntuのターミナル、味気ないですよね。
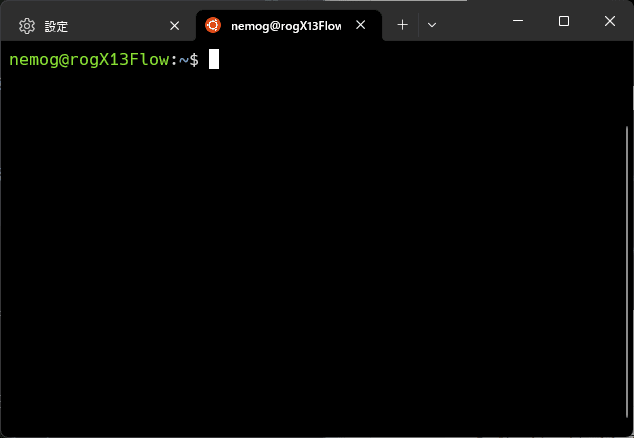
oh-my-poshを導入していい感じにしましたので紹介します。
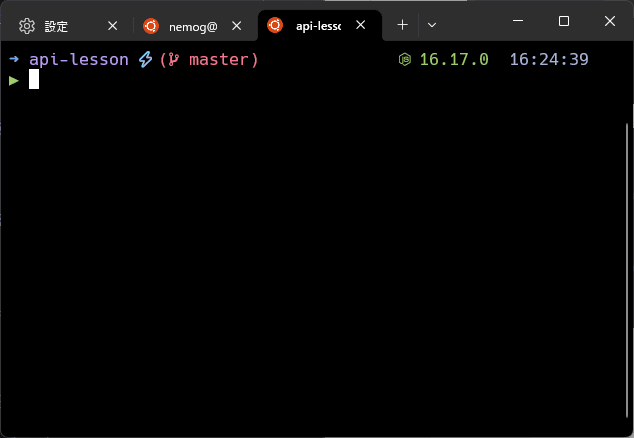
ゴール
手順
- Nerd Fontをインストールする
- oh-my-poshをインストールするためにHomebrewをインストールする
- Homebrewでoh-my-poshをインストールする
- テーマを選んで
$HOMEにコピーする -
.profileに設定を追加する - VSCodeのターミナルでも適用されるように設定する
1. Nerd Fontをインストールする
まず、oh-my-poshで使うNerd Fontをインストールします。
Nerd Fontはブランチのアイコンなどを表示するために利用します。
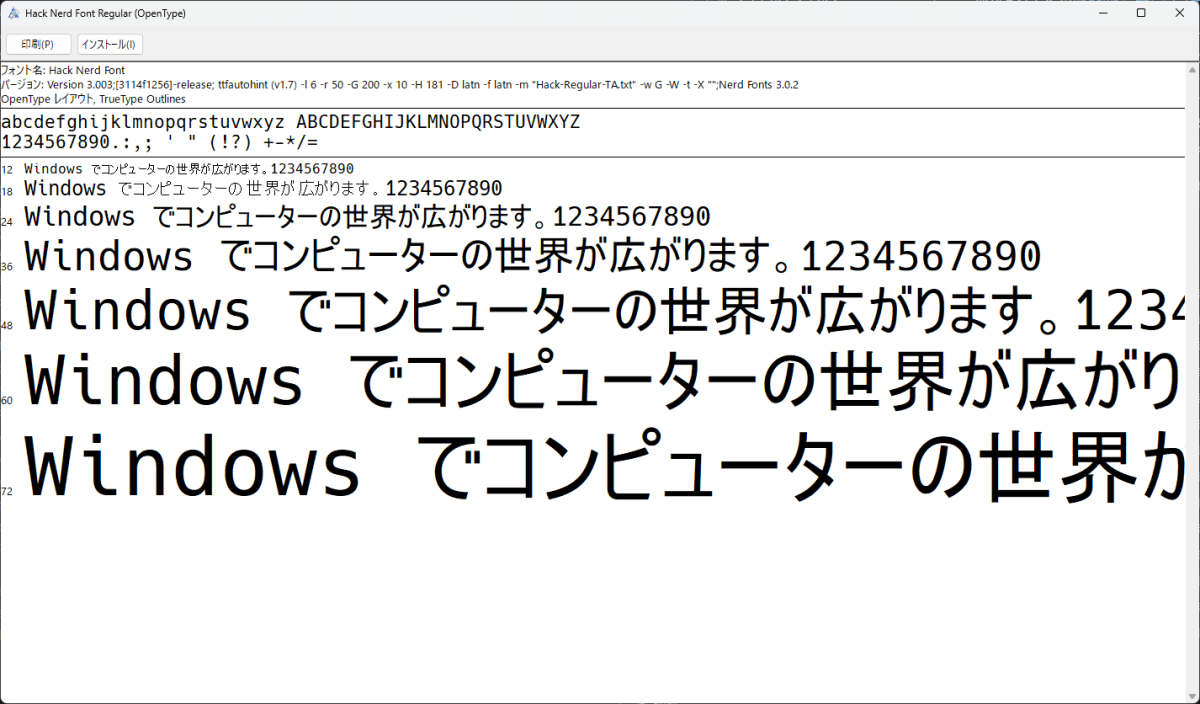
今回はHackというフォントにNerd Fontを追加したものをダウンロードします。

この画面からフォントのプレビューが見れますが、これはNerd FontじゃなくてHackのプレビューになるので注意。
このページのWebsiteというところを押してフォントを入れても、Nerd Fontは入ってません。(一敗)
ダウンロードしたものを解凍し、フォントをインストールします。
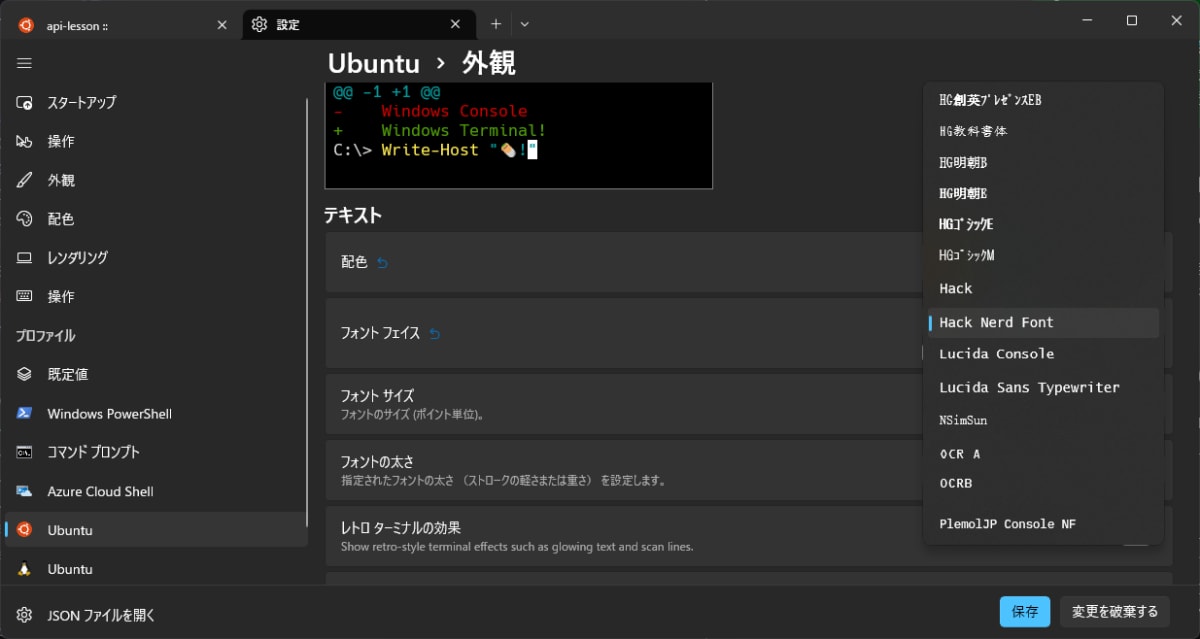
ターミナルを開き、設定からHack Nerd Fontを選択します。
2. Homebrewをインストールする
以下の通りHomebrewをインストールします
/bin/bash -c "$(curl -fsSL https://raw.githubusercontent.com/Homebrew/install/HEAD/install.sh)"
以下のドキュメントを参考にパスを通します。
test -d ~/.linuxbrew && eval "$(~/.linuxbrew/bin/brew shellenv)"
test -d /home/linuxbrew/.linuxbrew && eval "$(/home/linuxbrew/.linuxbrew/bin/brew shellenv)"
test -r ~/.bash_profile && echo "eval \"\$($(brew --prefix)/bin/brew shellenv)\"" >> ~/.bash_profile
echo "eval \"\$($(brew --prefix)/bin/brew shellenv)\"" >> ~/.profile
3. oh-my-poshをインストールする
以下のドキュメントを参考に、インストールを行います。
brew install jandedobbeleer/oh-my-posh/oh-my-posh
自分の環境の場合、ここでエラーが発生しました。
Error: The following formula cannot be installed from bottle and must be built from source.
  oh-my-posh
Install Clang or run `brew install gcc`
ということでgccをインストールします。
brew install gcc
しかし、インストールが完了したのに同じエラーのままでした。
調べてみるとbuild-essentialというものが必要だったみたいです。
以下のコマンドでインストールします。
sudo apt install build-essential
このコマンドの後、再度oh-my-poshをインストールします。
brew install jandedobbeleer/oh-my-posh/oh-my-posh
これでoh-my-poshのインストールは完了です。
4. テーマを選ぶ
以下のページから好みのテーマを選び、ファイルを$HOMEにコピーします。
コピーしなくてもパスを持っておくだけでもいいかもしれません。
今回はtokyonight_stormというものを利用します。
cd $(brew --prefix oh-my-posh)
cp themes/tokyonight_storm.omp.json ~/tokyonight_storm.omp.json
5. .profileに設定追加
次に~/.profileファイルにbash起動時にoh-my-poshを実行する設定を追加します。
eval "$(oh-my-posh init bash --config ~/tokyonight_storm.omp.json)"
これでターミナルアプリの設定は完了です。新しくターミナルを開いて反映されていればOKです。
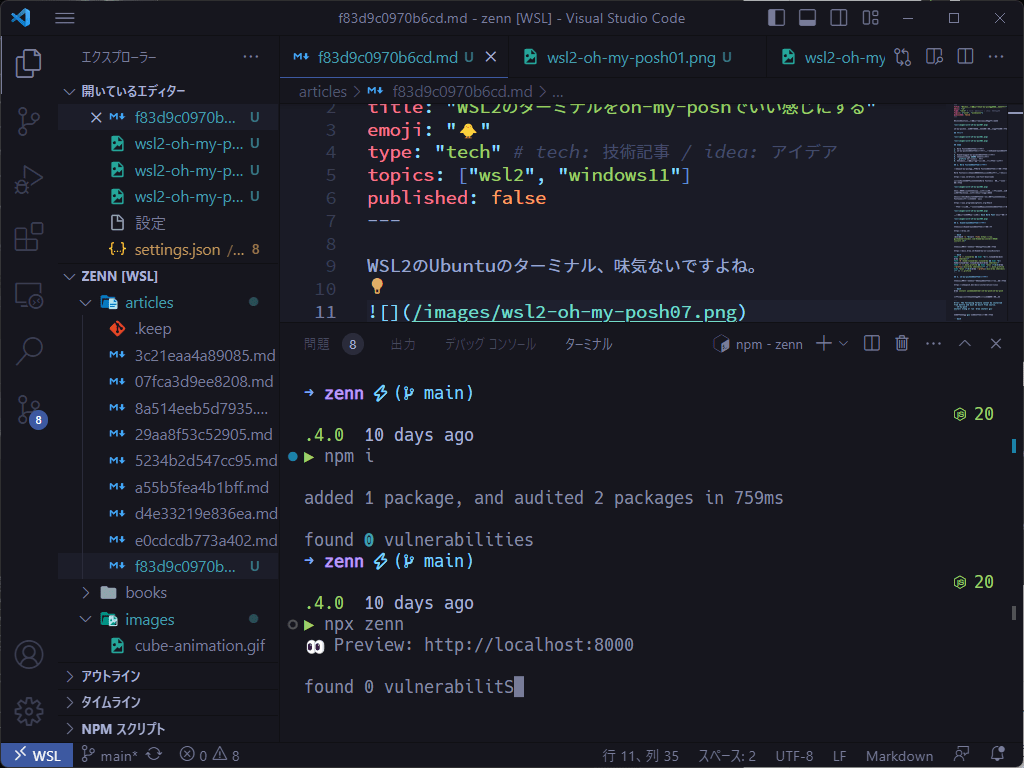
6. VSCodeのターミナルにも適用する
今のままだとVSCodeで開くターミナルはそのままになっています。
まずは設定からターミナルのフォントをHack Nerd Fontに変更します。
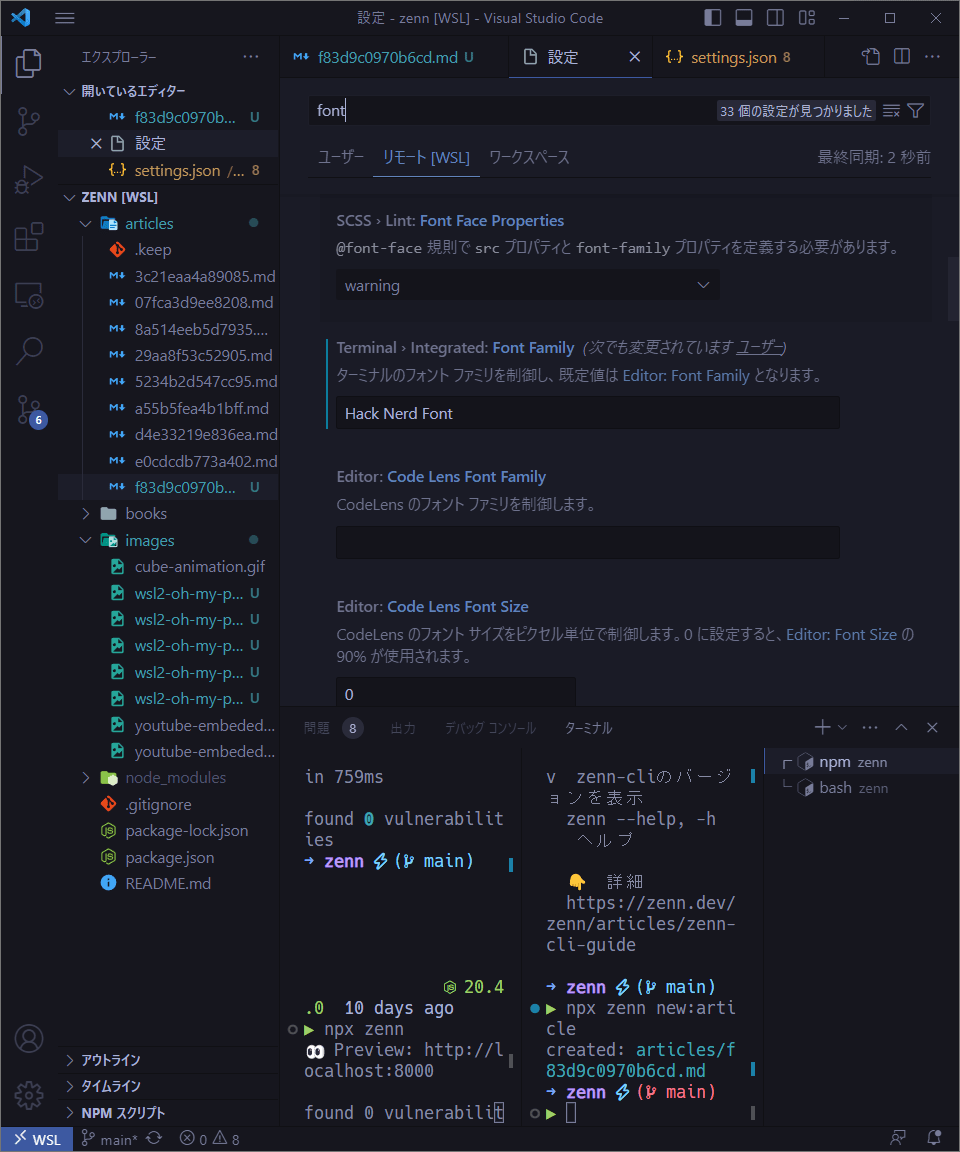
次に、コマンドパレットを使ってsettings.jsonを開き、以下の設定を追加します。
  "terminal.integrated.profiles.linux": {
    "bash": {
      "path": "bash",
      "icon": "terminal-bash",
      "args": ["-l"],
    },
    "zsh": {
      "path": "zsh"
    },
    "fish": {
      "path": "fish"
    },
    "tmux": {
      "path": "tmux",
      "icon": "terminal-tmux"
    },
    "pwsh": {
      "path": "pwsh",
      "icon": "terminal-powershell"
    }
  },
  "terminal.integrated.defaultProfile.linux": "bash"
VSCodeのターミナルを新しく開いて、反映されていれば完了です!
お疲れさまでした!
参考にさせていただいたサイト
Discussion