Closed5
ADKをざっくり触ってみる
ADKを理解するために、チュートリアルをやってみる。
環境構築
poetryを使用したいので、poetryで環境を作成する。
poetryはinstallされている前提で行う。
poetry init
poetry add google-adk
poetry install --no-root
これでadkを使用する環境は作成完了。
エージェント作成
チュートリアルの天気について教えてくれるエージェントを作成する。 下記のディレクトリ構造になるようにファイルを作成していく。
parent_folder/
    multi_tool_agent/
        __init__.py
        agent.py
        .env
コマンドは以下の通り。
# multi_tool_agent作成
mkdir multi_tool_agent/

# __init__.py作成
echo "from . import agent" > multi_tool_agent/__init__.py

# agents.py作成
touch multi_tool_agent/agent.py

# .envファイル作成
touch multi_tool_agent/.env
agents.pyに以下のコードを貼り付ける。
import datetime
from zoneinfo import ZoneInfo
from google.adk.agents import Agent

def get_weather(city: str) -> dict:
    """Retrieves the current weather report for a specified city.

    Args:
        city (str): The name of the city for which to retrieve the weather report.

    Returns:
        dict: status and result or error msg.
    """
    if city.lower() == "new york":
        return {
            "status": "success",
            "report": (
                "The weather in New York is sunny with a temperature of 25 degrees"
                " Celsius (77 degrees Fahrenheit)."
            ),
        }
    else:
        return {
            "status": "error",
            "error_message": f"Weather information for '{city}' is not available.",
        }


def get_current_time(city: str) -> dict:
    """Returns the current time in a specified city.

    Args:
        city (str): The name of the city for which to retrieve the current time.

    Returns:
        dict: status and result or error msg.
    """

    if city.lower() == "new york":
        tz_identifier = "America/New_York"
    else:
        return {
            "status": "error",
            "error_message": (
                f"Sorry, I don't have timezone information for {city}."
            ),
        }

    tz = ZoneInfo(tz_identifier)
    now = datetime.datetime.now(tz)
    report = (
        f'The current time in {city} is {now.strftime("%Y-%m-%d %H:%M:%S %Z%z")}'
    )
    return {"status": "success", "report": report}


root_agent = Agent(
    name="weather_time_agent",
    model="gemini-2.0-flash",
    description=(
        "Agent to answer questions about the time and weather in a city."
    ),
    instruction=(
        "You are a helpful agent who can answer user questions about the time and weather in a city."
    ),
    tools=[get_weather, get_current_time],
)
envファイルに以下のコードを貼り付ける。
GOOGLE_API_KEYに関しては、 Google AI StudioからAPIキーを作成する。
GOOGLE_GENAI_USE_VERTEXAI=FALSE
GOOGLE_API_KEY=PASTE_YOUR_ACTUAL_API_KEY_HERE
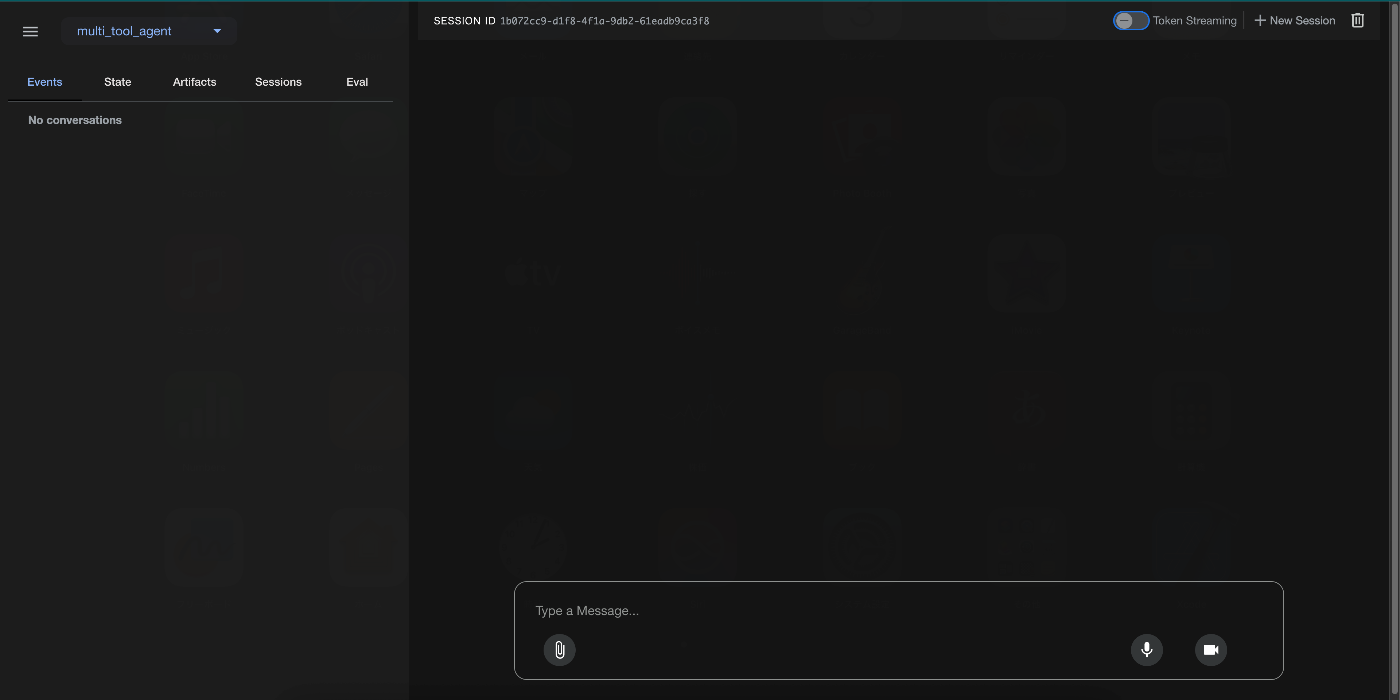
Dev UIでAgentを使ってみる
準備が整ったら、Dev UIを起動していく。
poetry run adk web
起動したらhttp://localhost:8000にアクセスする。
アクセスが完了すると、以下の画面が表示される。
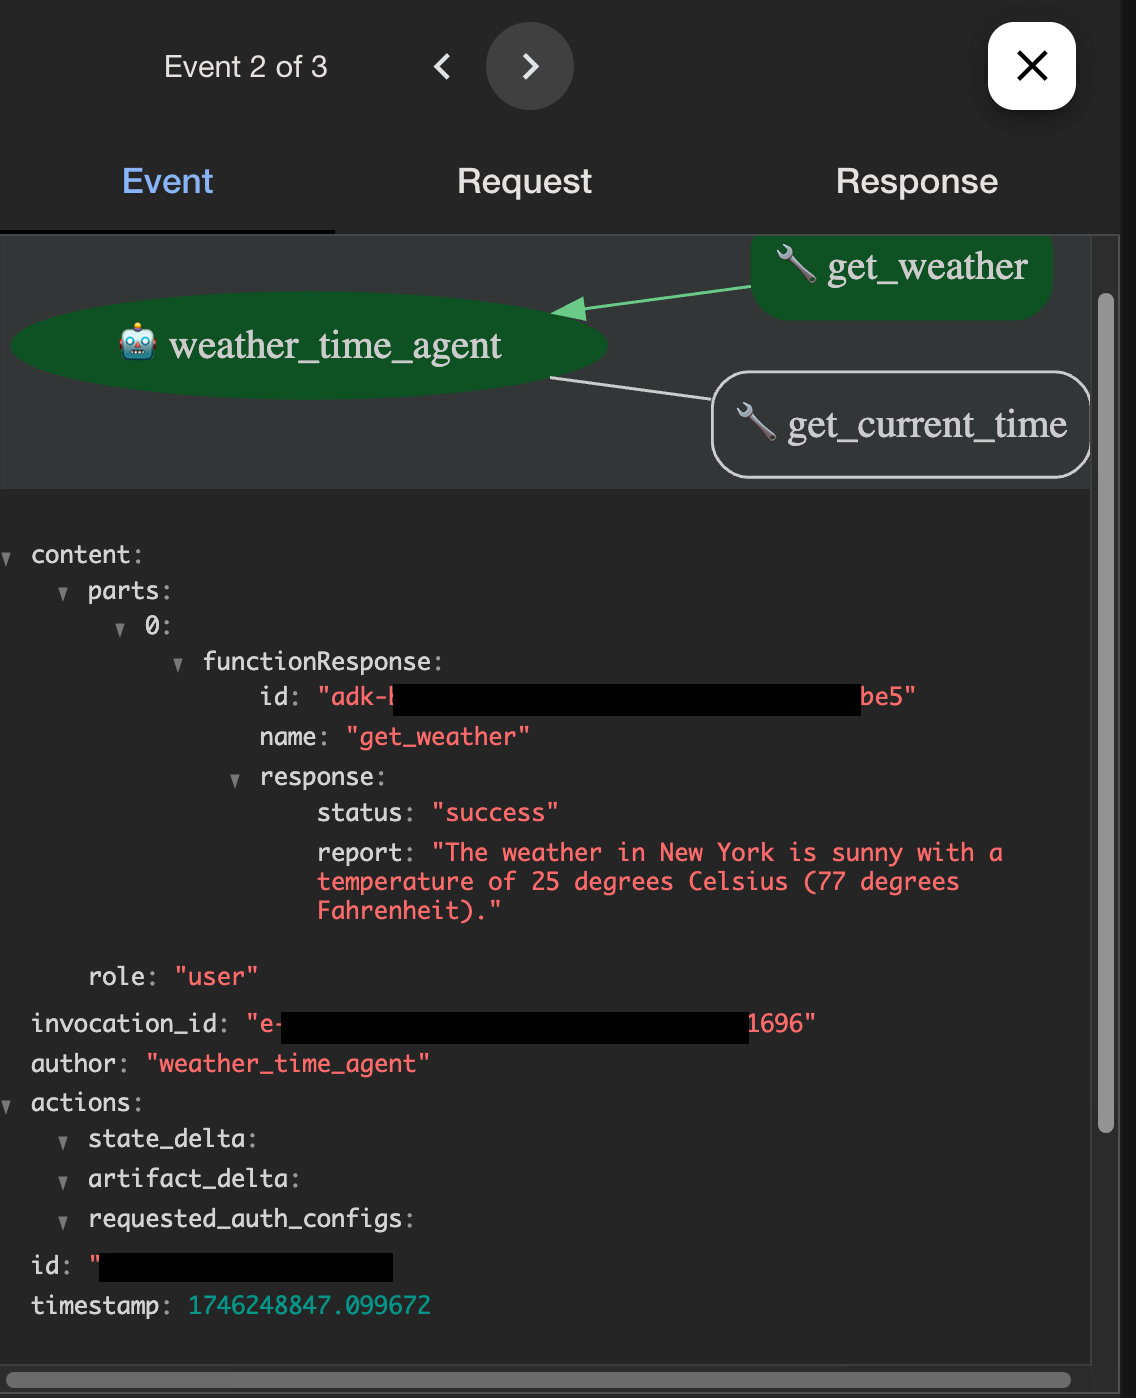
チュートリアル通りに、agentに質問してみる。
質問:What is the weather in New York?

呼び出されたツールが記載されており、きちんと回答もできている。
また、エージェントがどのtoolを呼び出したかの詳細も記載されているので、開発はとてもしやすいと思った。
まとめ
ADKで簡単にAgentが作成できることがわかった。また、作成したエージェントを検証するためのwebアプリも完備されているので、開発効率も上がると思う。
次はADKでできることを調査する。
このスクラップは4ヶ月前にクローズされました