🐈
IoTHubを経由してBlob Storageにファイルをアップロードするメモ for Python3
はじめに
を参考に手順をメモします。
コードはこちらにアップしています。
IoT Hubを作成する
下記手順の通り。
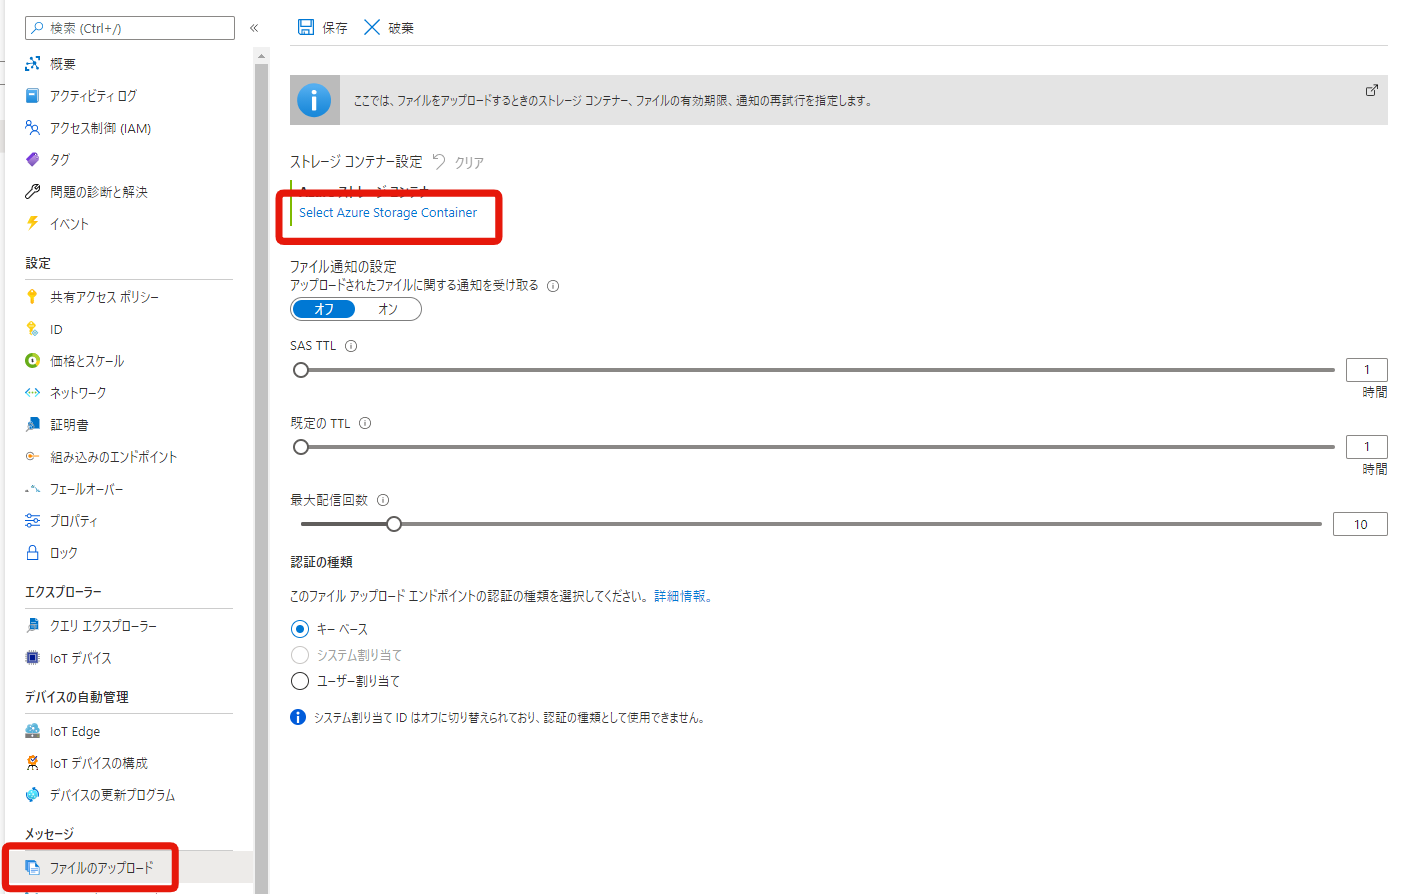
Azure StorageアカウントをIoT Hubに紐付ける
Storageアカウントを作成する
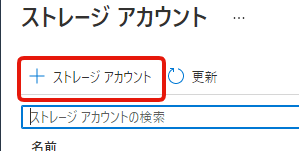
項目を入力する。
- 名前
- 半角英数字小文字のみ。他の誰とも被っていない必要がある。
- アカウントの種類
- そのまま
- パフォーマンス
- そのまま
- レプリケーション
- そのまま
- 場所
- 一番近い場所を選びましょう。今回は東日本を選択。
- TLS の最小バージョン
- そのまま
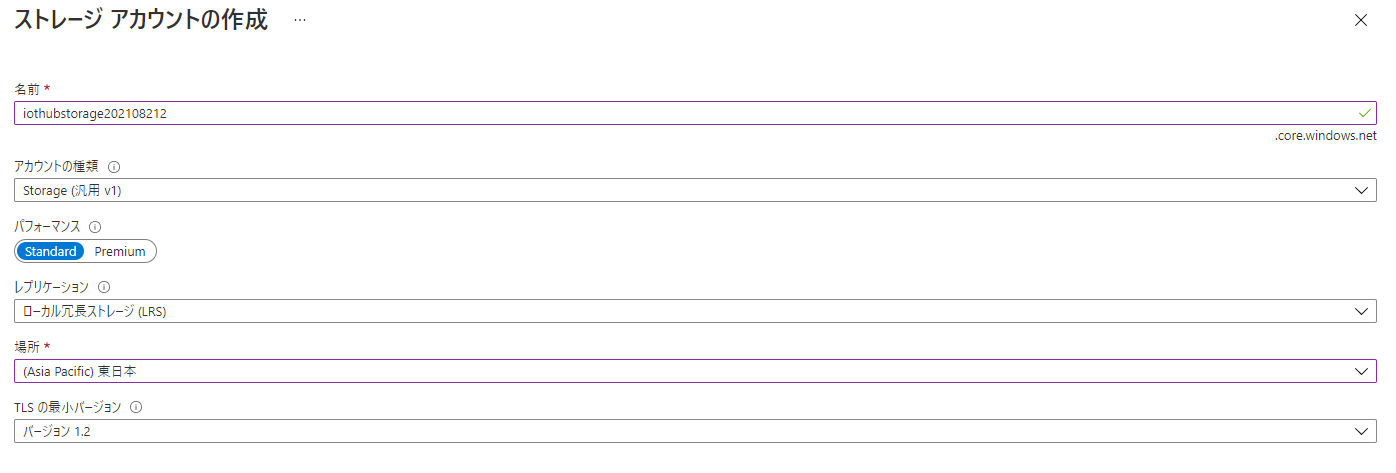
入力できたら、左下の OK ボタンをクリック。
続いてコンテナの作成。
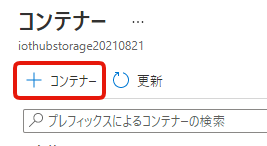
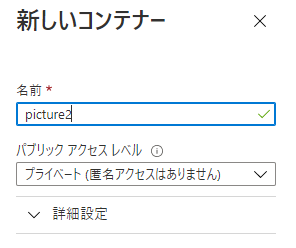

できました。
IoT HubにStorageアカウントを紐付ける
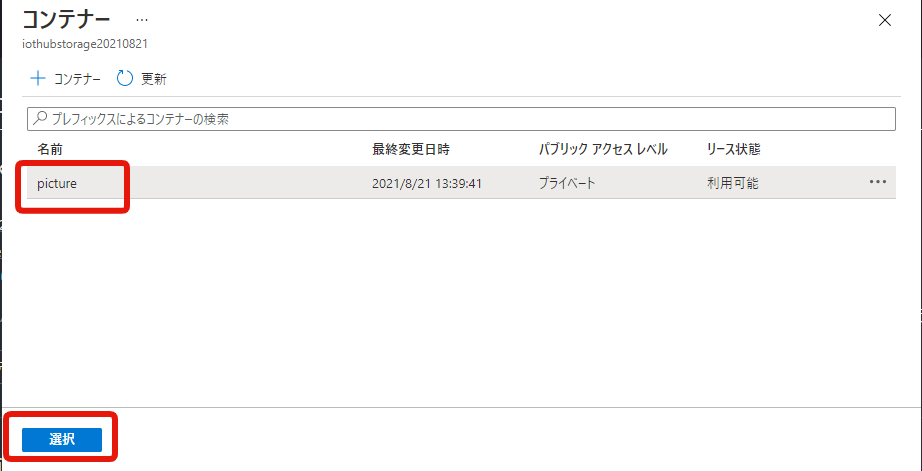
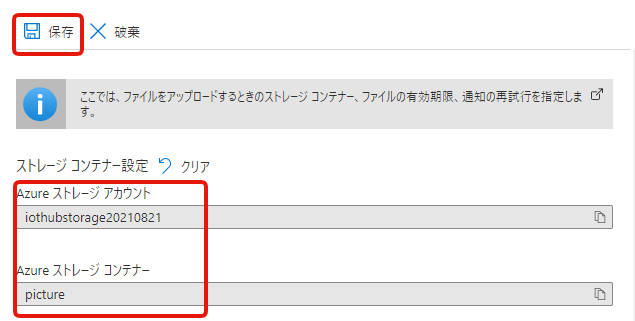
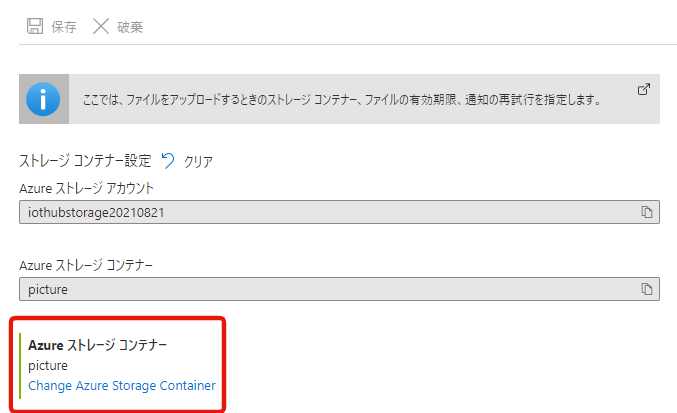
できました。
Azure IoT Python SDKのインストール
pip を使ってインストールします。
pip install azure-iot-device
pip install azure.storage.blob
コード
公式ドキュメントのコードをそのままコピー&ペーストしました。
全量はこちら。
import os
import asyncio
from azure.iot.device.aio import IoTHubDeviceClient
from azure.core.exceptions import AzureError
from azure.storage.blob import BlobClient

CONNECTION_STRING = "[Device Connection String]"
PATH_TO_FILE = r"[Full path to local file]"

async def store_blob(blob_info, file_name):
    try:
        sas_url = "https://{}/{}/{}{}".format(
            blob_info["hostName"],
            blob_info["containerName"],
            blob_info["blobName"],
            blob_info["sasToken"]
        )

        print("\nUploading file: {} to Azure Storage as blob: {} in container {}\n".format(file_name, blob_info["blobName"], blob_info["containerName"]))

        # Upload the specified file
        with BlobClient.from_blob_url(sas_url) as blob_client:
            with open(file_name, "rb") as f:
                result = blob_client.upload_blob(f, overwrite=True)
                return (True, result)

    except FileNotFoundError as ex:
        # catch file not found and add an HTTP status code to return in notification to IoT Hub
        ex.status_code = 404
        return (False, ex)

    except AzureError as ex:
        # catch Azure errors that might result from the upload operation
        return (False, ex)

async def main():
    try:
        print ( "IoT Hub file upload sample, press Ctrl-C to exit" )

        conn_str = CONNECTION_STRING
        file_name = PATH_TO_FILE
        blob_name = os.path.basename(file_name)

        device_client = IoTHubDeviceClient.create_from_connection_string(conn_str)

        # Connect the client
        await device_client.connect()

        # Get the storage info for the blob
        storage_info = await device_client.get_storage_info_for_blob(blob_name)

        # Upload to blob
        success, result = await store_blob(storage_info, file_name)

        if success == True:
            print("Upload succeeded. Result is: \n")
            print(result)
            print()

            await device_client.notify_blob_upload_status(
                storage_info["correlationId"], True, 200, "OK: {}".format(file_name)
            )

        else :
            # If the upload was not successful, the result is the exception object
            print("Upload failed. Exception is: \n")
            print(result)
            print()

            await device_client.notify_blob_upload_status(
                storage_info["correlationId"], False, result.status_code, str(result)
            )

    except Exception as ex:
        print("\nException:")
        print(ex)

    except KeyboardInterrupt:
        print ( "\nIoTHubDeviceClient sample stopped" )

    finally:
        # Finally, disconnect the client
        await device_client.disconnect()


if __name__ == "__main__":
    asyncio.run(main())
    #loop = asyncio.get_event_loop()
    #loop.run_until_complete(main())
    #loop.close()
-
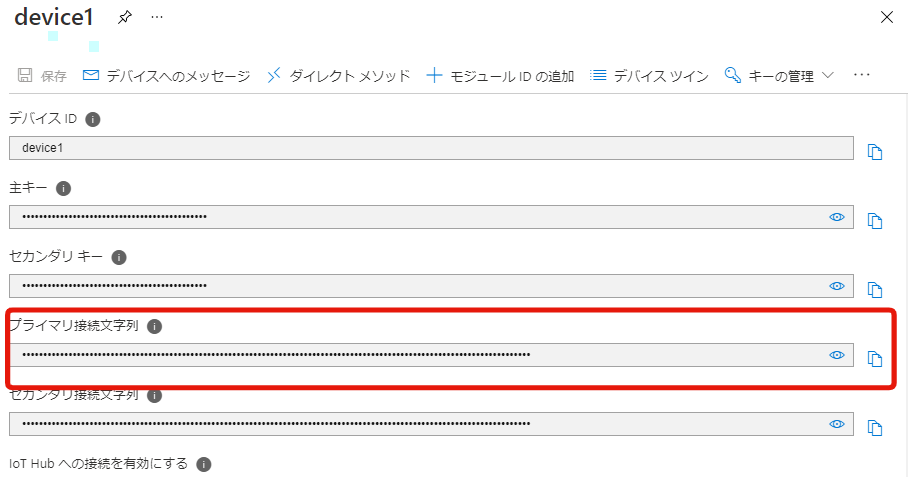
[Device Connection String]を IoT Hub デバイスの接続文字列に置き換える -
[Full path to local file]を画像ファイルのフルパスに置き換える
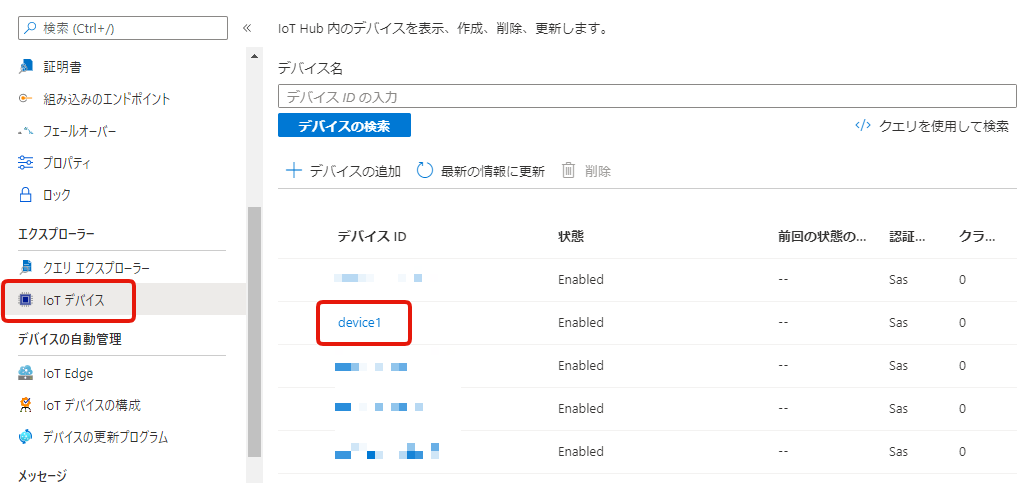
IoT Hubデバイスの接続文字列の取得方法
実行
Python3 系で実行してください。
python3 FileUpload.py
IoT Hub file upload sample, press Ctrl-C to exit

Uploading file: /home/*****/iothub-file-upload-sample-python/pic.jpg to Azure Storage as blob: device1/pic.jpg in container picture

Upload succeeded. Result is:

{'etag': '"0x8D9646276A0A4BE"', 'last_modified': datetime.datetime(2021, 8, 21, 5, 13, 50, tzinfo=datetime.timezone.utc), 'content_md5': bytearray(b'lD\xab"\x8b\xb6\x00\xd5T\xacwA\xc4}\xe2-'), 'client_request_id': '92ea97f8-023e-11ec-801c-5c879ce74d15', 'request_id': '47fdbaa2-001e-003a-474b-969563000000', 'version': '2020-06-12', 'version_id': None, 'date': datetime.datetime(2021, 8, 21, 5, 13, 50, tzinfo=datetime.timezone.utc), 'request_server_encrypted': True, 'encryption_key_sha256': None, 'encryption_scope': None}
成功したようです。
アップロードされてるかコンテナを確認します。
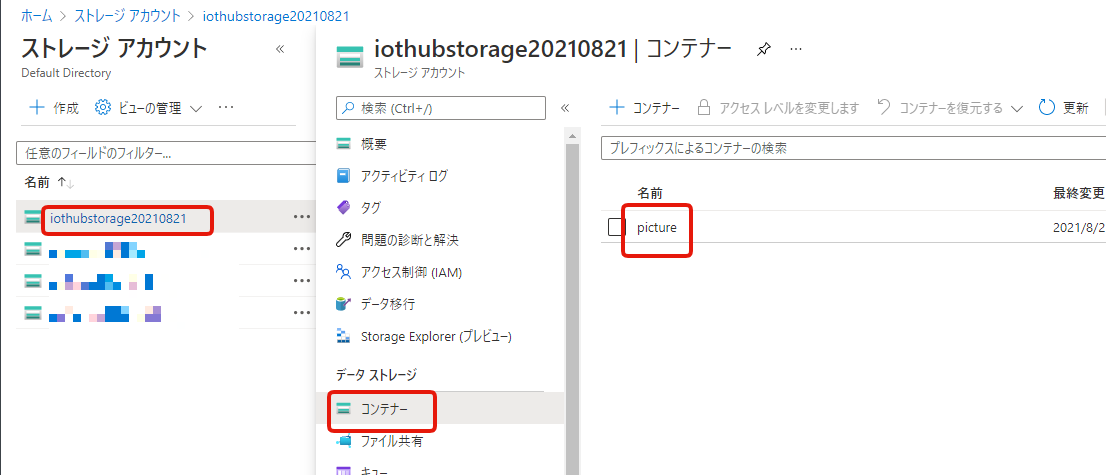
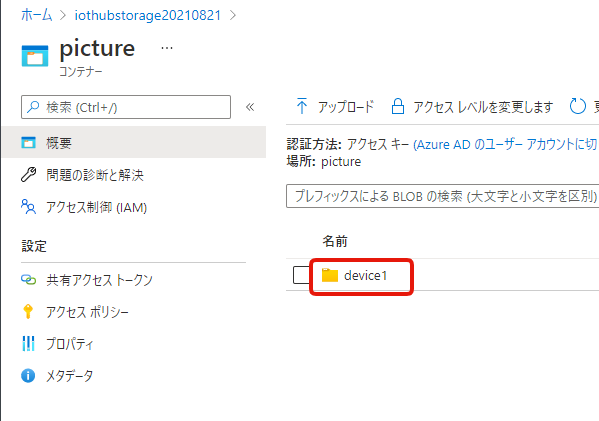
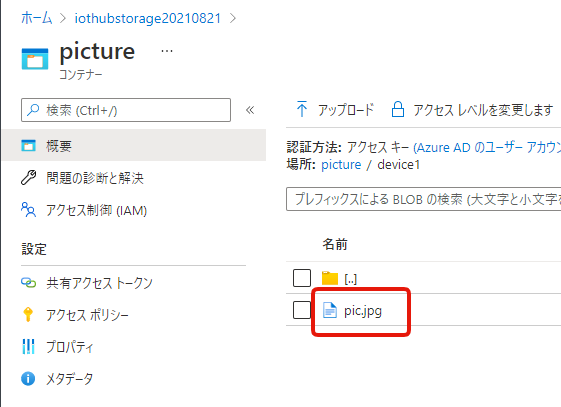
ありました!
おわりに
Blob Storage にファイルをアップロードする際、IoT Hub を経由してアップロードできました。
公式のサンプルをそのまま動かすことができたので、特につまづくことなく最後まで進めることができました。
Discussion