Godot 小技集
GodotでコードをDRYにする3つの方法。継承、ヘルパー、Mixin
- 継承(is-a)
- TemplateMethodなど。差分プログラミング
- ヘルパー
- 処理の外出し。static関数にする。Utilsでもある。
- Mixin(has-a)
- Nodeにスクリプトを書いたシーンを使う側でアタッチする。〇〇ableみたいな名前になる
Mixinの例
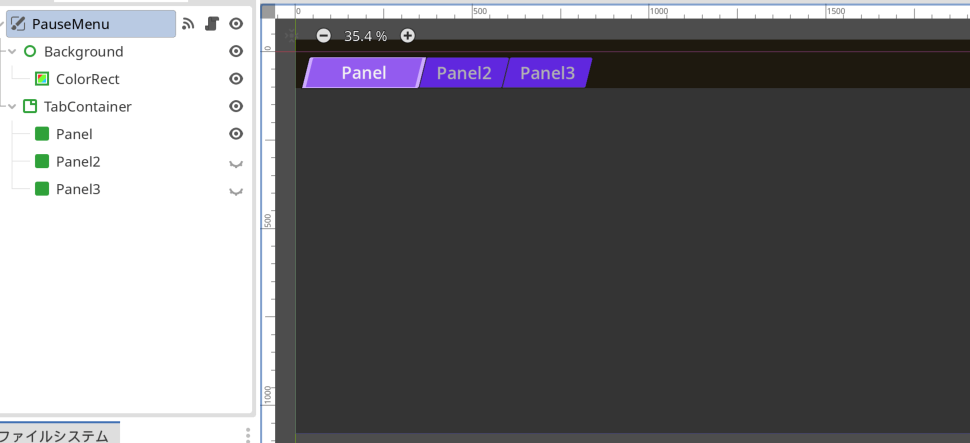
メニューなど、カメラが動いても画面に固定表示したい Conrol 要素は、CanvasLayer 配下に作成すると解決した。
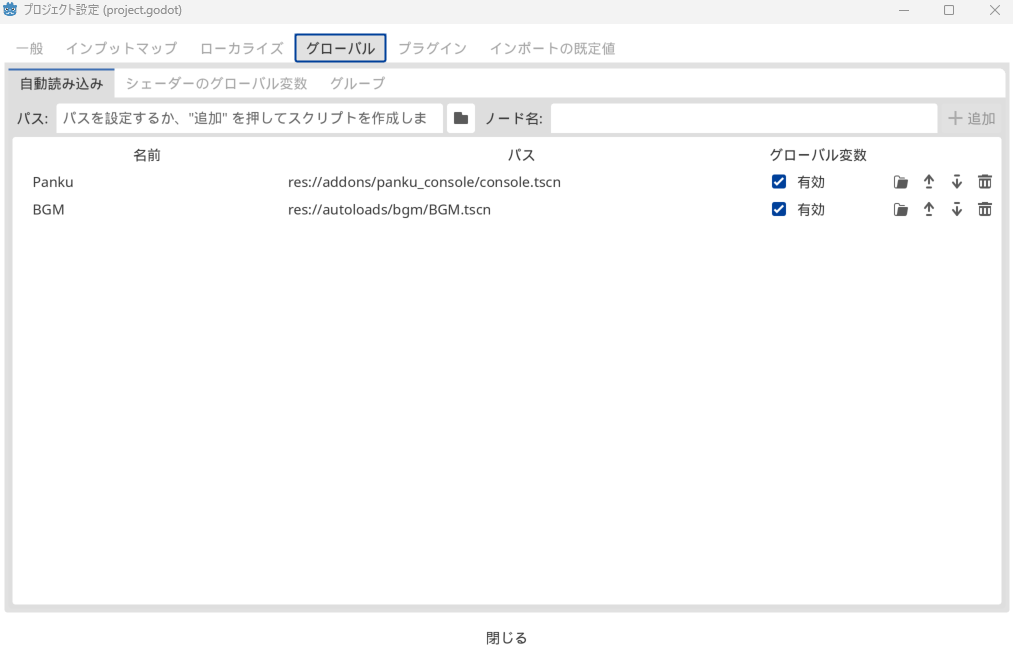
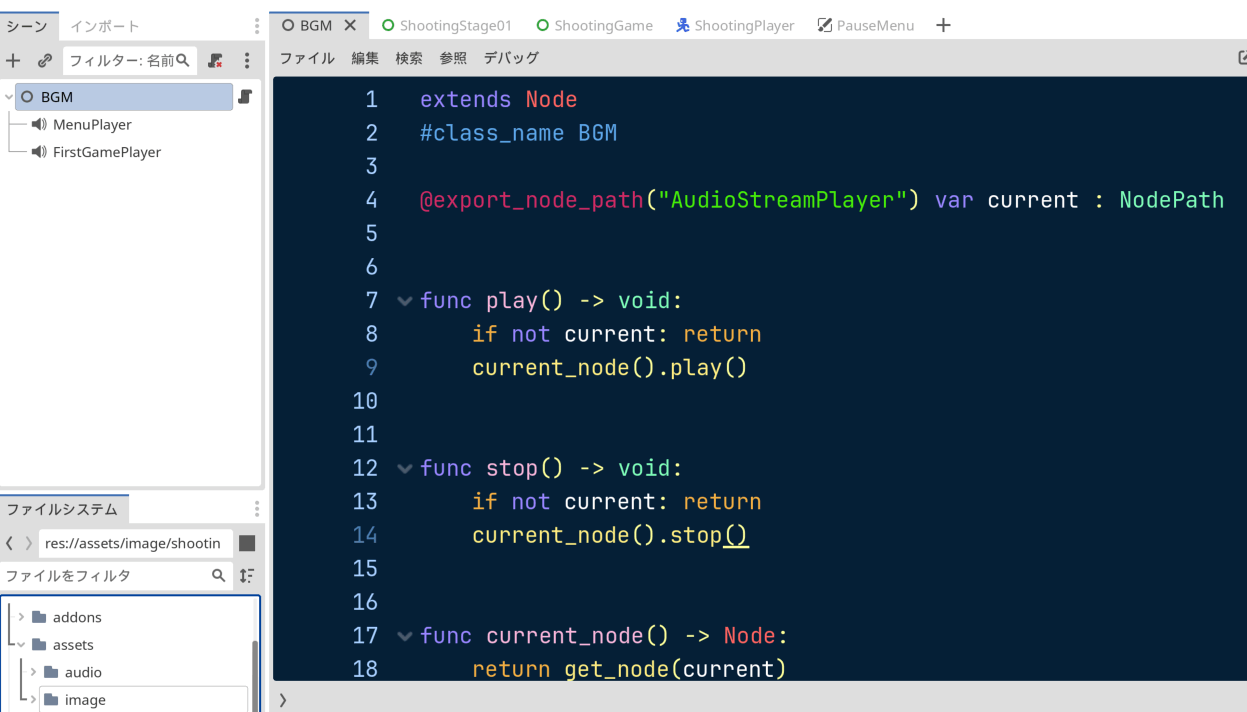
BGM など、get_tree().change_scene_to_packed() でシーンを切り替えても継続的に動作してほしいものは、autoloads に設定する。
カメラをシェイクする方法。

extends Camera2D

const SHAKING_TIME = 2.0
var shaking_time := 0.0


func _process(delta: float) -> void:
    if shaking_time:
        shaking_time = maxf(0.0, shaking_time - delta)
        shaking()


func shake() -> void:
    shaking_time = SHAKING_TIME


func shaking() -> void:
    offset.x = 32 * randf_range(-1, 1) * shaking_time
    offset.y = 18 * randf_range(-1, 1) * shaking_time
SubViewport の「Transparent」をオンにすると、3Dで作ったパーティクルなど、背景に被さる形で表示できる。

等速円運動させる方法
下記のようにノードを作成。
Root
└ Path3D
| └ PathFollow3D
|   └ <動かしたいなにか>
└ AnimationPlayer

Path3D の points を以下のように打つ。
起点(この場合[0, 0, 2])を、終点にも打つ必要あり。
In, Out のコントロールポイントもしっかり入れないと角度が歪んでスムーズにならないので注意。
- [0, 0, 2]
* Out: [-1, 0, 0]- [-2, 0, 0]
* In: [0, 0, 1]
* Out: [0, 0, -1]- [0, 0, -2]
* In: [-1, 0, 0]
* Out: [1, 0, 0]- [2, 0, 0]
* In: [0, 0, -1]
* Out: [0, 0, 1]- [0, 0, 2]
* In: [1, 0, 0]
あとは、PathFollow3D の progress_ratio (0~1の値)を変化させれば、パス上に<動かしたいなにか>が動く。
AnimationPlayer で progress_ratio にキーフレームを打って、ループさせれば等速円運動になる。
シングルトンのクラスでシグナルを発行する。
参考: https://stackoverflow.com/questions/77026156/how-to-write-a-static-event-emitter-in-gdscript
extends Node
class_name FooBar

static var foo_signal: Signal = (func():
    (FooBar as Object).add_user_signal("foo_signal")
    return Signal(FooBar, "foo_signal")).call()

static func do_something():
    foo_signal.emit()
フォーカスされるボタンの前後を指定する。
Control クラスには focus_neighbor_left, focus_neighbor_right などのプロパティがあるので、そこに前後のノードをする。
focus_neighbor_left, focus_neighbor_right だけ設定して、focus_neighbor_top, focus_neighbor_bottom を未指定だとそれらを入力した際にフォーカスが明後日の方向に飛ぶので、入力されたら無視するよう自身を設定する。
コードで自動的に指定する際は以下のようにする。
extends Node
class_name FocusHelper

enum Direction { HORIZONTAL, VERTICAL }

static func set_neighbors(nodes: Array[Node], direction: Direction) -> void:
    for i in nodes.size():
        if i == 0:
            _set_neighbor_between(nodes[i],   nodes[i], nodes[i+1], direction)
        elif i+1 < nodes.size():
            _set_neighbor_between(nodes[i-1], nodes[i], nodes[i+1], direction)
        else:
            _set_neighbor_between(nodes[i-1], nodes[i], nodes[i],   direction)

static func _set_neighbor_between(
    prev: Node, current: Node, next: Node, direction: Direction
) -> void:
    var dir = ['left', 'right'] if direction == Direction.HORIZONTAL \
            else ['top', 'bottom']
    var opp = ['left', 'right'] if direction != Direction.HORIZONTAL \
            else ['top', 'bottom']
    current.set('focus_neighbor_%s'%dir[0], prev.get_path())
    current.set('focus_neighbor_%s'%dir[1], next.get_path())
    current.set('focus_neighbor_next',      prev.get_path())
    current.set('focus_neighbor_previous',  next.get_path())
    current.set('focus_neighbor_%s'%opp[0], current.get_path())
    current.set('focus_neighbor_%s'%opp[1], current.get_path())

static func set_neighbors_h(nodes: Array[Node]) -> void:
    set_neighbors(nodes, Direction.HORIZONTAL)

static func set_neighbors_v(nodes: Array[Node]) -> void:
    set_neighbors(nodes, Direction.VERTICAL)
func _ready() -> void:
    FocusHelper.set_neighbors_h(%FooContainer.get_children()) # 横方向
    FocusHelper.set_neighbors_v(%BarContainer.get_children()) # 縦方向

ボタンがフォーカスされた際にテキストの色をビカビカ光らせる
add_theme_color_override で font_focus_color の色を変えた。
extends Button
@export_color_no_alpha var focus_color_1 : Color
@export_color_no_alpha var focus_color_2 : Color
const BLINK_INTERVAL := 0.2
var blink_time = 0

func _process(delta: float) -> void:
	blink_time += delta
	add_theme_color_override("font_focus_color", get_focus_color())
	if blink_time > BLINK_INTERVAL: blink_time = 0

func get_focus_color() -> Color:
	if blink_time > BLINK_INTERVAL / 2:
		return focus_color_1
	else:
		return focus_color_2
最初は、gdshader で対応しようとしたがインスタンスごとに選択状態を分けて管理できない、hover 状態じゃないと theme で設定した色が優先されたので断念。
AnimationPlayer で設定しようとしても、theme で設定した色が優先されたので断念。
ColorRect などで色を被せてフォントの白のところだけ乗算で変えれるかと思ったができず。
最終的に上記のように _process 関数内で実行することで落ち着いた。
マウスカーソルを非表示にする
マウス・キーボードの入力があればマウスカーソル表示、
ゲームパッドからの入力があればマウスカーソル非表示にする。
func _input(event):
	handle_mouse_visiblity(event)

func handle_mouse_visiblity(event) -> void:
	if event is InputEventMouse or event is InputEventKey:
		change_mouse_visible(true)
	elif event is InputEventJoypadMotion or event is InputEventJoypadButton:
		change_mouse_visible(false)

func change_mouse_visible(val: bool) -> void:
	if val:
		Input.set_mouse_mode(Input.MOUSE_MODE_VISIBLE)
	else:
		Input.set_mouse_mode(Input.MOUSE_MODE_HIDDEN)
Control 関連のノードで _on_fucus_entered が発火しないときの対応
focus_mode を "All" もしくは "Click" にする。デフォルトが "None" になっていたりする。

経過時間を記録する
extends Resource
class_name XxxResource
@export var total_play_msec : int = 0

func total_play_time_dict() -> Dictionary:
    return {
        'hour':   (total_play_msec / 1000 / 60 / 60),
        'minute': (total_play_msec / 1000 / 60) % 60,
        'second': (total_play_msec / 1000) % 60,
        'msec':   total_play_msec % 1000,
    }
以下のように呼び出して使う。
@onready var resource : XxxResource

func _process(delta: float) -> void:
    resource.total_play_msec += floor(delta * 1000)
テストコード
extends GutTest

var resource = null

func before_each():
	resource = XxxResource.new()

func test_total_play_time_dict_if_zero():
	resource.total_play_msec = 0
	var dict = resource.total_play_time_dict()
	assert_eq(dict['hour'],   0)
	assert_eq(dict['minute'], 0)
	assert_eq(dict['second'], 0)
	assert_eq(dict['msec'],   0)

func test_total_play_time_dict_if_1sec():
	resource.total_play_msec = 1234
	var dict = resource.total_play_time_dict()
	assert_eq(dict['hour'],   0)
	assert_eq(dict['minute'], 0)
	assert_eq(dict['second'], 1)
	assert_eq(dict['msec'],   234)

func test_total_play_time_dict_if_1min():
	resource.total_play_msec = 60_123
	var dict = resource.total_play_time_dict()
	assert_eq(dict['hour'],   0)
	assert_eq(dict['minute'], 1)
	assert_eq(dict['second'], 0)
	assert_eq(dict['msec'],   123)

func test_total_play_time_dict_if_1hour():
	resource.total_play_msec = 3600_123
	var dict = resource.total_play_time_dict()
	assert_eq(dict['hour'],   1)
	assert_eq(dict['minute'], 0)
	assert_eq(dict['second'], 0)
	assert_eq(dict['msec'],   123)

func test_total_play_time_dict_if_max():
	resource.total_play_msec = 9_223_372_036_854_775_807
	var dict = resource.total_play_time_dict()
	assert_eq(dict['hour'],   2_562_047_788_015)
	assert_eq(dict['minute'], 12)
	assert_eq(dict['second'], 55)
	assert_eq(dict['msec'],   807)
int 型(64-bit)のマックスは 9223372036854775807 らしい。2,562,047,788,015 時間までの経過時間は msec 単位で int 型で管理可能。
整数の除算で「Integer division, decimal part will be discarded」という警告が出たが、以下URLを参考に警告が出ないようにした。
setter で子ノードに対する操作をしたい場合
参考: https://github.com/godotengine/godot-proposals/issues/325#issuecomment-1643230075
以下のように set = some_function で定義した関数内で子ノードに対する操作をしようとしても子ノードが生成されていないためエラーが出る。
Invalid assignment of property or key 'text' with value of type 'String' on a base object of type 'null instance'.
@export var chapter_resource : ChapterResource : set = load_chapter

func load_chapter(resource: ChapterResource) -> void:
	chapter_number      = resource.number
	%ChapterNumber.text = 'Chapter %s' % resource.number
子ノードの生成を待つために、if not is_node_ready(): await ready をガード節として挟むと解消する。
@export var chapter_resource : ChapterResource : set = load_chapter

func load_chapter(resource: ChapterResource) -> void:
	if not is_node_ready(): await ready
	chapter_number      = resource.number
	%ChapterNumber.text = 'Chapter %s' % resource.number
XxxContainer の全体をクリックで反応させる
HTML でいう <a> タグで全体をくくるようなことをしたいとき、
以下の例のように、直下に Button ノードを置くだけでよい。
PanelContainer
├ HBoxContainer
└ Button
表示/非表示にしたノードの分だけ、Window 幅を変える
extends Node
class_name WindowHelper

static func resize_with(node: Node, x: bool = true, y: bool = false) -> void:
	var window = node.get_window()
	var node_size = node.size * window.content_scale_factor
	if node.visible:
		if x: window.size.x += node_size.x
		if y: window.size.y += node_size.y
	else:
		if x: window.size.x -= node_size.x
		if y: window.size.y -= node_size.y


static func resize_x_with(node: Node) -> void:
	resize_with(node, true, false)


static func resize_y_with(node: Node) -> void:
	resize_with(node, false, true)
上記のような関数を用意。
以下のようにして呼び出す。
func _on_collapse_button_pressed() -> void:
	%Container.visible = !%Container.visible
	WindowHelper.resize_y_with(%Container)
メニューバーにプロジェクト設定のショートカットを追加する。
例えば、以下のように InputMap を定義していた場合、

ProjectSettings.get_setting('input/file_new')['events'] で Command/Ctrl+N の InputEventKey の配列が取得できるので、スクリプトで以下のようにする。
enum FileMenu { NEW, OPEN, SAVE, SAVE_AS, QUIT }

func _ready() -> void:
	bind_file_menu_shortcuts()


func bind_file_menu_shortcuts() -> void:
	var popup = %FileMenuButton.get_popup()
	for pair in [
		['file_new',     FileMenu.NEW],
		['file_open',    FileMenu.OPEN],
		['file_save',    FileMenu.SAVE],
		['file_save_as', FileMenu.SAVE_AS],
	]:
		var shortcut = Shortcut.new()
		shortcut.events = ProjectSettings.get_setting('input/' + pair[0])['events']
		popup.set_item_shortcut(pair[1], shortcut)
設定すると、ラベルの横にショートカットが見えるようになる。
