[Godot] gdext-nim を使って、Nim で GDExtension を作成する。
Nim について
Nim とは、Python 風の見た目で、Lisp の影響を受けたマクロがある、システムプログラミング言語です。
また、以下の特徴があります。
- 引数もしくはレシーバのある関数呼び出し時は括弧が省略可能
- 戻り値の式を省略可能にする result 変数
- 関数の第一引数をレシーバにして呼び出せる (Uniform Function Call Syntax)
import times, macros, unicode

type
  User = ref object
    name: string
    birthday: DateTime

proc age(user: User): int =
  let n = now()
  let b = user.birthday
  result = n.year - b.year - 1
  if b.month < n.month:
    result += 1
  elif (b.month == n.month and b.monthday <= n.monthday):
    result += 1

let user = User(name: "Alice", birthday: "2000/12/24".parse("yyyy/MM/dd"))
echo user.name # => "Alice"
echo age(user) # => 24
echo user.age  # => 24


proc daysAgo(x: int): DateTime =
  now() - initDuration(days = x)

echo now()     # => 2025-11-01T04:29:03+09:00
echo 2.daysAgo # => 2025-10-30T04:29:03+09:00


macro define(x: untyped) =
  let name    = x.strVal.ident
  let content = x.strVal.capitalize.newLit
  quote do:
    proc `name`() =
      echo `content`

define hello
hello() # => "Hello"
スクリプト言語のような見た目でネイティブバイナリが出力できるので、Rust に惹かれなかった自分でも好きになれそうかもと最近気になっています。
REPL がある のもうれしい。
gdext-nim について
Nim で GDExtension を作成できる gdext-nim というのがあります。今回はこれを使ってみました。
Nim の導入(Windows の場合)
macOS の場合は躓かなかったので割愛します。
1. ZIP ファイルのダウンロード
Windows の場合は、まず以下から ZIP ファイルをダウンロードします。
で、ダウンロードした ZIP を展開して、どこか適当なところに配置します。
(私は、D:\Apps\nim-2.2.4 に置きました。)
2. 環境変数の設定
その後、環境変数に以下を追加します。
私は、以下のように設定しました。
- NIMBLE_DIR
D:\.nimble
- PATH
-
D:\Apps\nim-2.2.4\bin(※上記 ZIP ファイルを展開した先の bin) -
D:\.nimble\bin(※上記 NIMBLE_DIR の bin)
-
3. finish.exe の実行
PowerShell を起動して、finish.exe を実行します。
> cd D:\Apps\nim-2.2.4
> finish.exe
以上で、Nim のインストールは完了です。
> nim --version
Nim Compiler Version 2.2.4 [Windows: amd64]
Compiled at 2025-04-22
Copyright (c) 2006-2025 by Andreas Rumpf

active boot switches: -d:release
gdext-nim のインストール
$ nimble install gdext
GDExtension の雛形作成
コマンド
$ mkdir testproject
$ cd testproject
$ touch project.godot
$ gdextwiz new-extension MyExtension
$ gdextwiz build
作成されたもの
ここまでで以下が作成されます。
.
├── nim
│   └── MyExtension
│       ├── MyExtension.gdextension
│       ├── bootstrap.nim
│       ├── config.nims
│       ├── lib
│       │   └── MyExtension.windows.debug.x86_64.dll
│       └── src
│           └── classes
│               └── gdmyclass.nim
└── project.godot

6 directories, 6 files
# Buildconf, default settings (includes a few required settings) is in.
# Every settings you want can overwrite in a general way.
# All functions defined here are simply wrappers for the switch function,
# so raw switch can be used instead
import gdext/buildconf
import std/strutils

--path: src

let setting = BuildSettings(
  name: capitalizeAscii "MyExtension"
)

configure(setting)
import gdext
import classes/gdMyClass


GDExtensionEntryPoint
import gdext
import gdext/classes/gdNode

import std/strutils

type MyClass* {.gdsync.} = ptr object of Node
  # {.gdexport.} to publish the property to editor. Do not forget to export it with `*`.
  message* {.gdexport.}: string = "This is MyClass."
  address: uint64

# {.name.} enables to override the function name visible from the editor.
proc address_readable(self: MyClass): string {.gdsync, name: "get_address_readable".} =
  self.address.toHex.insertSep(' ', 4)

# If you need to customize the getter/setter of property, same-name macros of the pragma is available.
# gdsync'ed procs or lambdas are allowed for getter/setter.
gdexport "address_readable",
  address_readable,
  proc (self: MyClass; value: string) = (discard)

# {.gdsync, signal.} enables to define signal. Note that the return type must be Error.
proc mySignal(self: MyClass): Error {.gdsync, signal.}

proc myCallable(self: MyClass) {.gdsync.} =
  printRich self.message, " It's allocated at [b]", self.address_readable, "[/b]."

# onInit is like a constructor. That is called at the class is created.
# This is not a part of GDExtension so, gdsync is not required.
method onInit(self: MyClass) =
  self.address = cast[uint64](self)

method ready(self: MyClass) {.gdsync.} =
  assert self.connect("mySignal", self.callable "myCallable") == ok
  assert self.mySignal() == ok

method process(self: MyClass; delta: float) {.gdsync.} =
  discard
画面で確認
Godot を起動して、project.godot を開くと MyClass というノードが使えるようになっています。

Windows の PowerShell でビルドしたので、MyExtension.windows.debug.x86_64.dll が作成されましたが、WSL 上でビルドすれば libMyExtension.linux.debug.x86_64.so が作成されます。
ファイルの変更を検知して、自動でビルドする。
gdextwiz build を毎回叩かなくてもいいように、ファイルの変更を検知してビルドしたいとします。
いくつか選択肢はありますが、watchexec を使って以下の bat ファイルを作成しました。
@echo off

:: WatchExec のインストールは `cargo install watchexec-cli`
watchexec -e nim -w nim -- gdextwiz build
> .\bin\watch.bat
で、ファイルを監視してビルドできます。
テストコードについて
Godot ランタイムに依存する処理は、Nim でのテストは難しいようなので、GDScript でテストコードを書くべきだそうです。
デモを動かす
デモプロジェクトがあるので動かしてみます。
ダウンロードしたらビルドを行なう必要があります。
$ git clone git@github.com:godot-nim/demo.git gdext-nim-demo
$ cd gdext-nim-demo
$ cd xxx
$ gdextwiz build
quick_template

Dodge the Creeps!

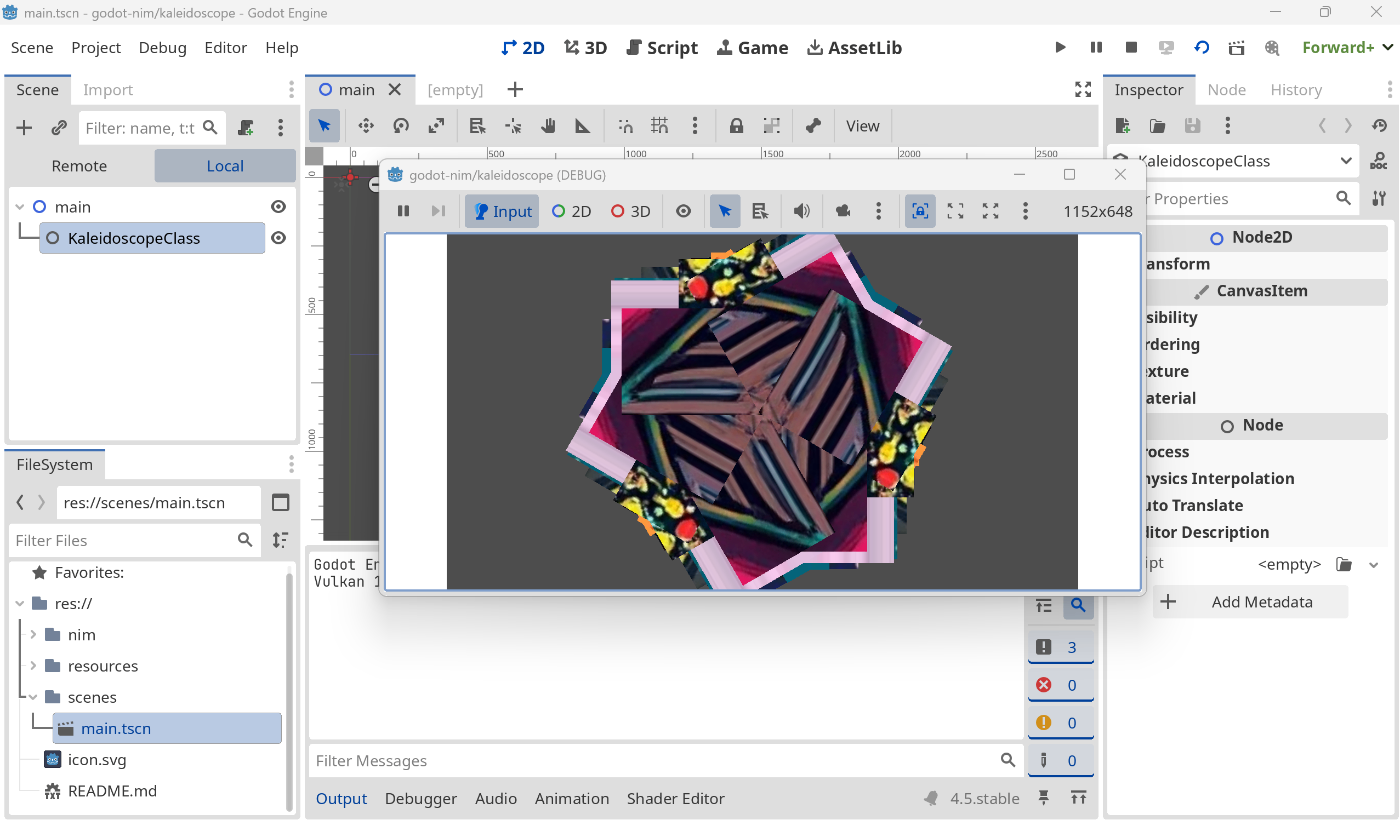
kaleidoscope
ChipNim8
なんでか動きませんでした。
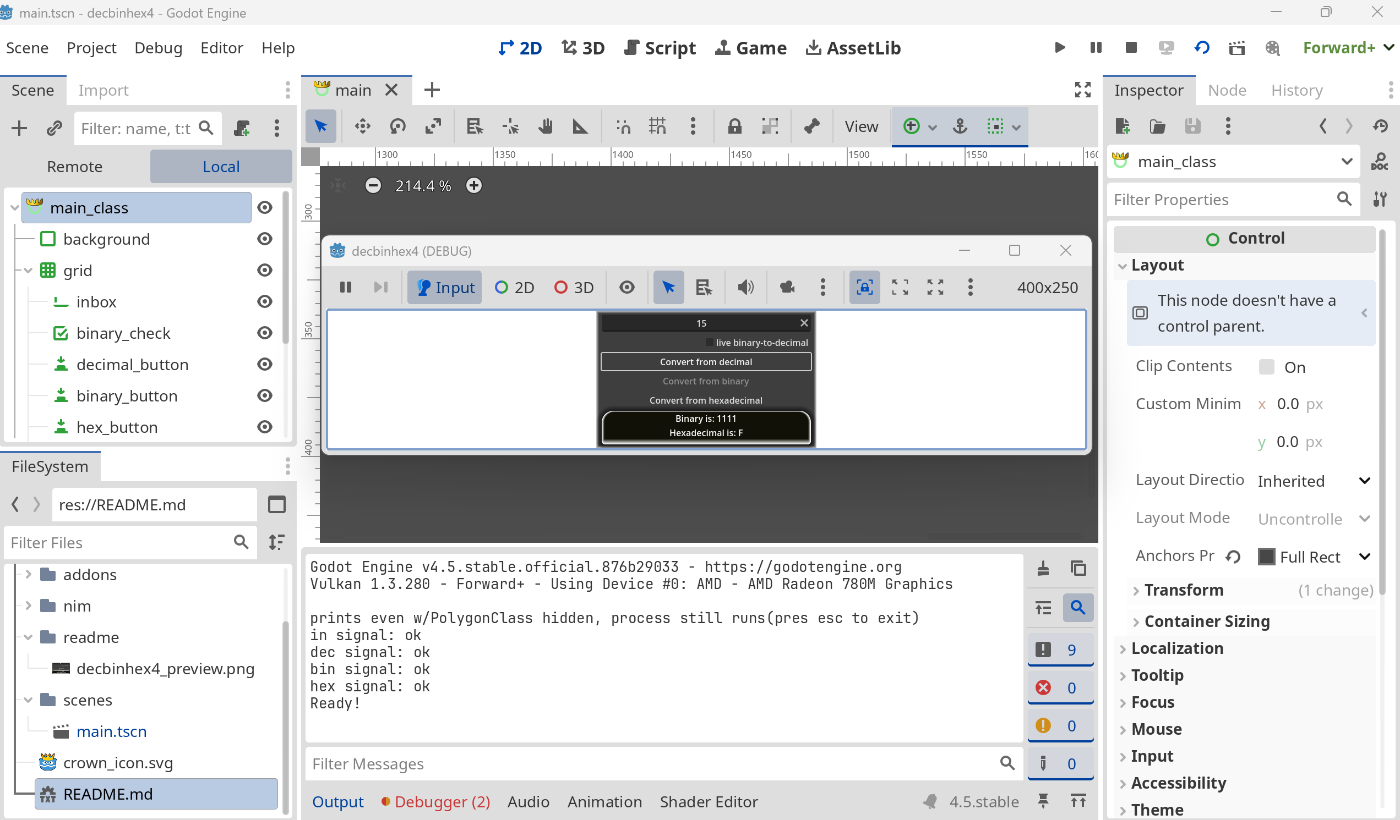
decbinhex4
nimble install でインストールしたパッケージを呼んでみる
なんでもよかったんですが、GDExtension を使うシチュエーションがぱっと思い浮かばず、とりあえず YAML のパッケージを入れてそれを呼び出すのを書いてみます。
$ nimble install yaml
NimYAML の使い方がわからなかったので、テストコード を参考にとりあえず呼べるかどうかの確認のため、以下のように $ gdextwiz new-extension で作成された雛形を修正します。
import gdext
import gdext/classes/gdNode

import std/strutils
import yaml # 追加

type MyClass* {.gdsync.} = ptr object of Node
  # {.gdexport.} to publish the property to editor. Do not forget to export it with `*`.
  message* {.gdexport.}: string = "This is MyClass."
  address: uint64
  yaml* {.gdexport.}: string # 追加

# 追加
type Person = object
  firstnamechar: char
  surname: string
  age: int32

# 追加
proc dump(self: MyClass) {.gdsync.} =
  let input = Person(firstnamechar: 'P', surname: "Pan", age: 12)
  var dumper = blockOnlyDumper()
  self.yaml = dumper.dump(input)
ビルドして、GDScript で以下を作成。
extends MyClass

func _ready() -> void:
	print_debug("before: \n", yaml)
	dump()
	print_debug("after: \n", yaml)
実行。

動いた!
出力パネルを見て、YAML が生成できているのを確認。
before:

   At: res://my_class.gd:4:_ready()
after:
firstnamechar: P
surname: Pan
age: 12

   At: res://my_class.gd:6:_ready()
とりあえず、C++ で GDExtension を作るよりはだいぶ簡単な印象です。
パッケージのバージョンとかは .nimble ファイルとかで固定したらいいんでしょうかね。(私がまだ Nim に不慣れなのでよくわかってないです)
gdext-nim の README にも書いてありますが、Python 由来で GDScript に似た構文なので、C++ 怖い人は Nim をやってみるのも選択肢としていいんではないでしょうか。
Nim and GDScript have very similar syntax, making porting between them relatively straightforward.
以上です。
Discussion