【Flutter × 初心者】Live2D サンプルキャラを Unity で表示!flutter_unity_widget 動作編
はじめに
前回のプロジェクトをそのまま使ってます。
今回の実装内容は下記です!
- Flutter側でボタンを押下時にUnityのキャラがモーションを起こす。
要するに
Flutter -> Unityの通信になります。
主にUnity側の設定が多かった気がします。
今回の構想です。
1.Flutter レイアウト 実装
2.Unity モーション、Script 実装
3.Flutter Unityへの通信 実装
[2024年09月24日 追記]
自作のLive2dを動かしたい方はUnityの箇所を下記の方を参考にした方が良いと思われます。
主なプログラム経験
- 会社員時代
- OracleDB 5年
- Java 5年
- フリーランス時代
- supabse 2年
- nextjs 2年
- hubspot 2年
対象者
- Android開発のみ
- 同じぐらいのflutter初心者
書き方や対処法も独自で対応した部分もあるので別に良い方法があれば教えていただきたいです。
それではやっていきましょう。
開発環境
前回のページと同じです!
- OS
- Mac M3
- IDE
- Visual Studio Code
- Flutter
- version 3.22
後から記述しますが3.19と3.24はunity連携のとこでバグを確認したので3.22に変更しました。 - Flutterで使用するパッケージ
- flutter_unity_widget: ^2022.2.1
- version 3.22
- Unity
- 2022.3.46f1
- unityで使用するパッケージファイル
- CubismSdkForUnity-5-r.2.unitypackage
- fuw-2022.2.0.unitypackage
Flutter側の事前実装
まず最初に見た目を整えときます!
/unity_live2d_sample/lib/main.dart :
  child: Container(
    color: Colors.yellow,
-   child: UnityWidget(
-     onUnityCreated: onUnityCreated,
-   ),
+   child: Column(
+       children: [
+           Expanded(
+               child: UnityWidget(
+                   onUnityCreated: onUnityCreated,
+               ),
+           ),
+           ElevatedButton(
+               onPressed: () {
+                   print('Button pressed');
+               },
+               child: const Text('応援する'),
+           ),
+      ],
+   )
  ),
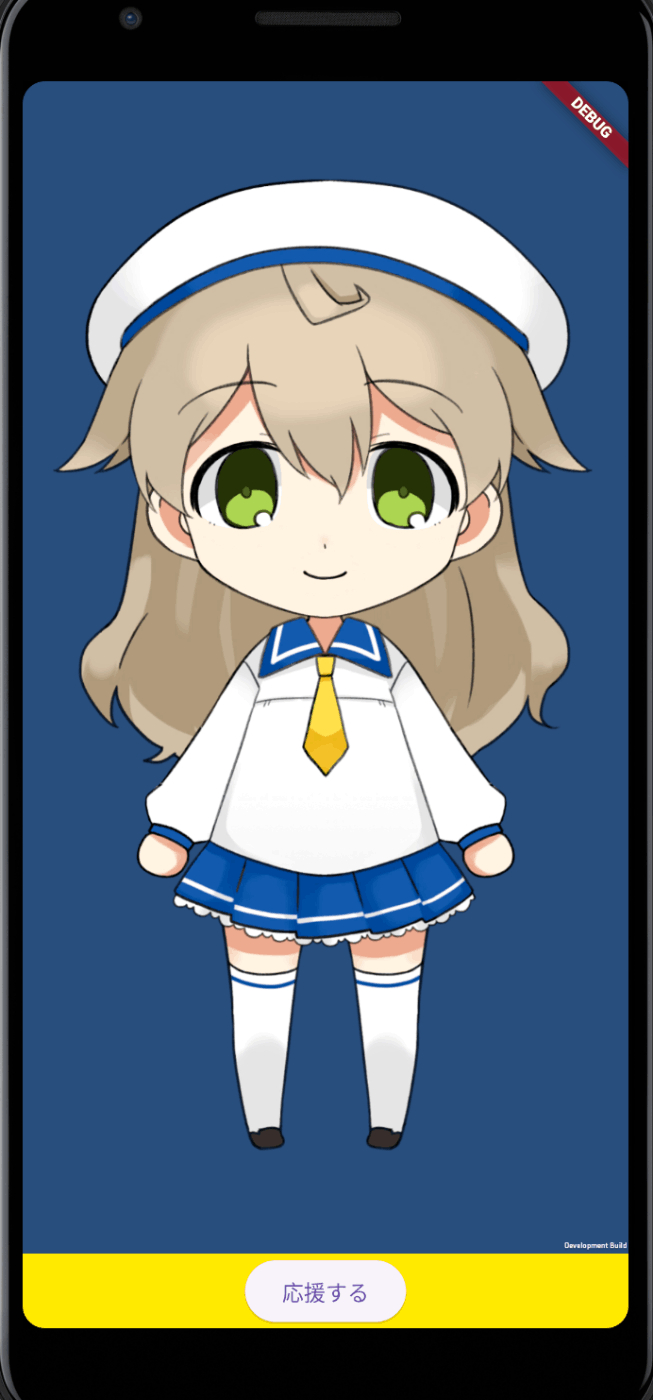
「応援する」となってるのはサンプルのモーションが応援してる感じだったからです。
一旦はこれで大丈夫です。
onPressedでflutterからunityへ通信を送る必要がありますが後で記載します。
Unity側の実装
先にUnity実装を行います!
やることは順に3つ
- キャラ(GameObject:Koharu)にモーションをアタッチする。(紐付けする)
- モーションが初期起動で動くことを確認する。
- flutterのボタンが押されたら動くようにするための準備
キャラにモーションをアタッチする
まずは下記フォルダを確認
Assets/Live2D/Cubism/Samples/Models/Koharu/Animation/
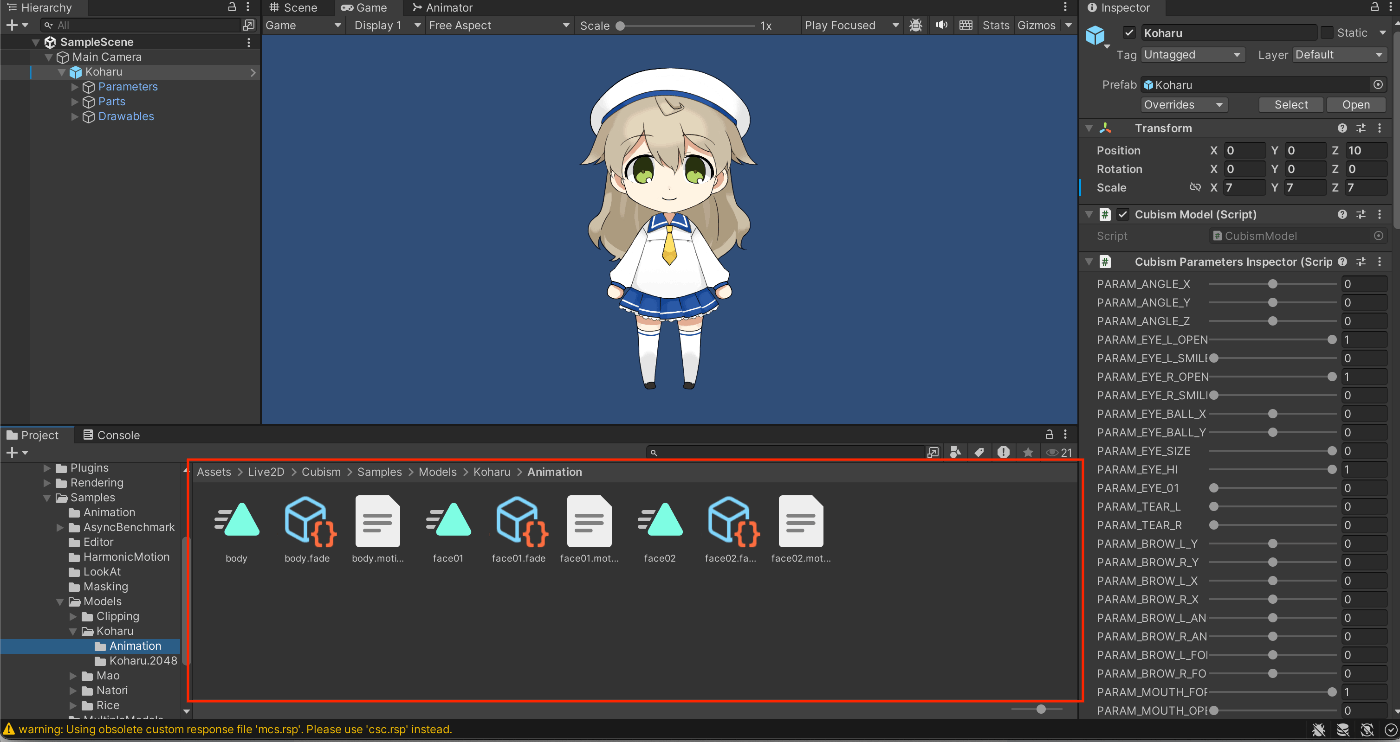
フォルダには9つのファイルがありますが3つのモーションです。
・body
・face01
・face02

今回は初めのBodyを使っていきます。
赤枠で囲ったものはAnimation CripというUnityの標準アニメーションらしいです。
また赤枠の横にある。.motion3.jsonはLive2Dでのモーションファイルです。
当初は両方の動かし方を試そうとしましたが
公式サイトを見るにmotion3.jsonをAnimationCripに変換するそうなので今回は無しにしました。
Animation Controller 作成する
GameObject(Koharu)にアニメーションをつけるには、直接設定するのではなく
Animation を制御するものを使います。
GameObject <= Animator <= Animation Controller <= Animation Crip
となります。
今回はAssetsの中にフォルダを作成します。
/Assets
+ - Controller
+   - Animation
  - FlutterUnityIntegration
  ... 略
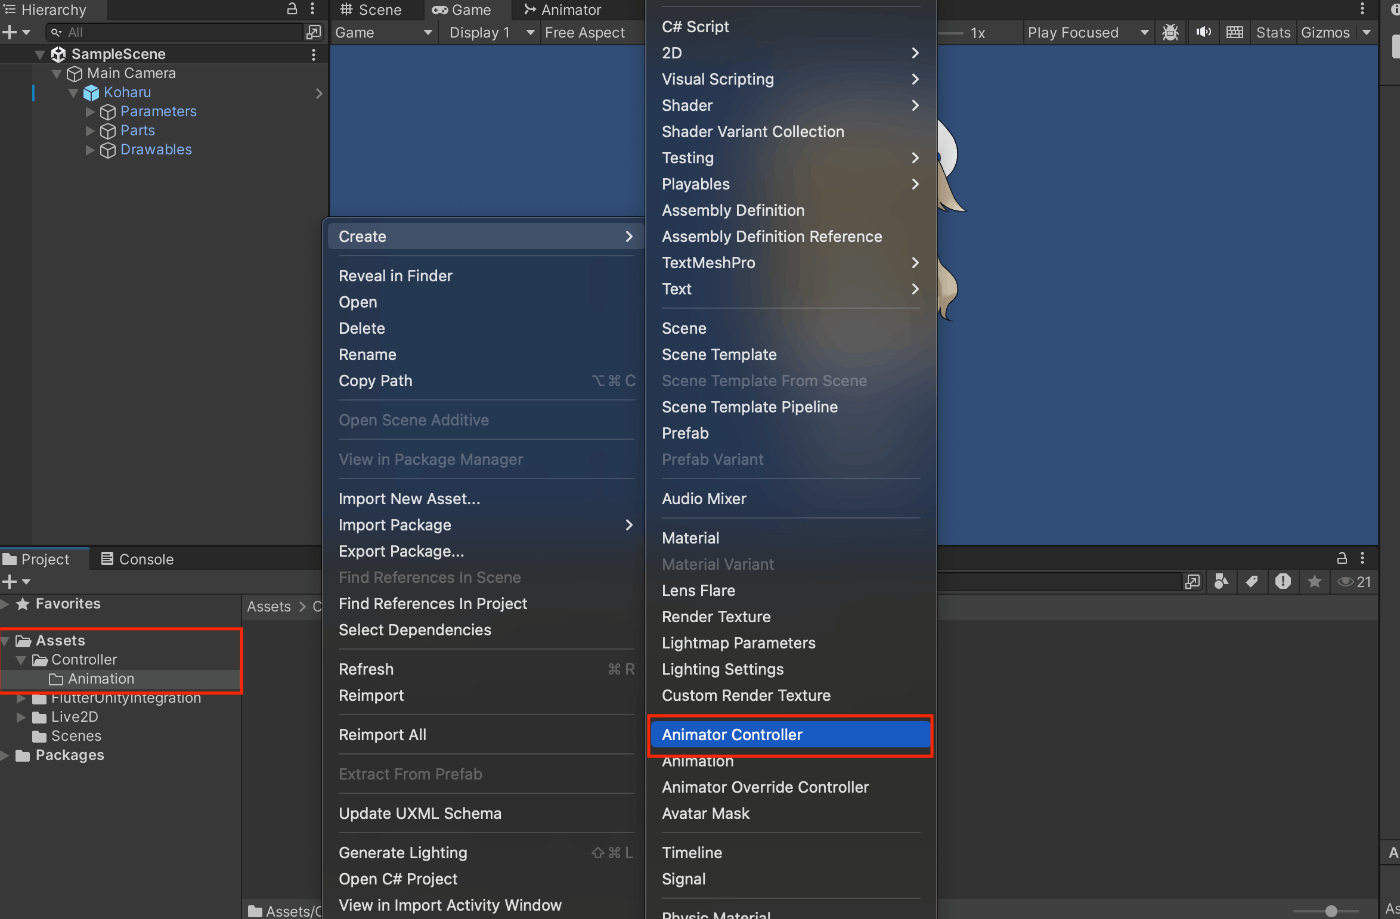
Animation フォルダに新規作成で「Animation Controller」を作成
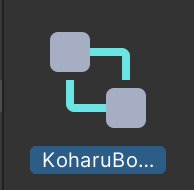
「KoharuBodyController」とします。
Animation Controller を Animator にアタッチ
Animator <= Animation Controller
すでにあるAnimatorのController検索欄に先ほど作成した「KoharuBodyController」
を入力します。

設定されたらKoharuBodyControllerをダブルクリックをすると
Animatorのエディタが開きます。

Animator エディタに アニメーションをアタッチする。
Assets/Live2D/Cubism/Samples/Models/Koharu/Animation/Body
Bodyをドラッグ&ドロップします。

Entry -> Bodyと設定されます。
この状態で再生ボタンを押下するとモーションが動きます。
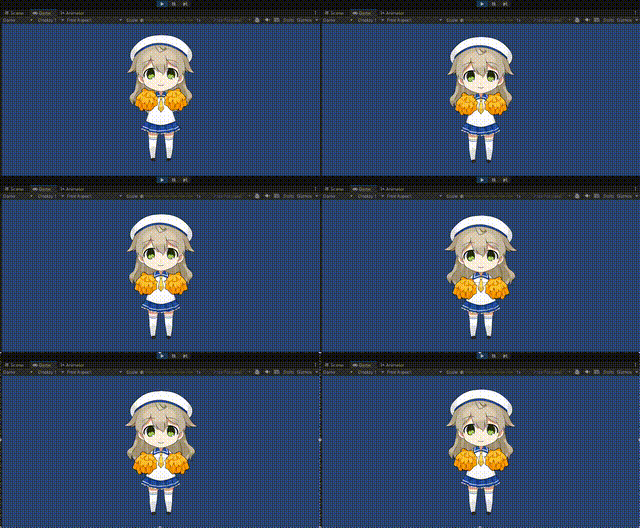
ちなみにbodyアニメーションのインスペクターにLoopするかのチェックがあるのではずしときます。
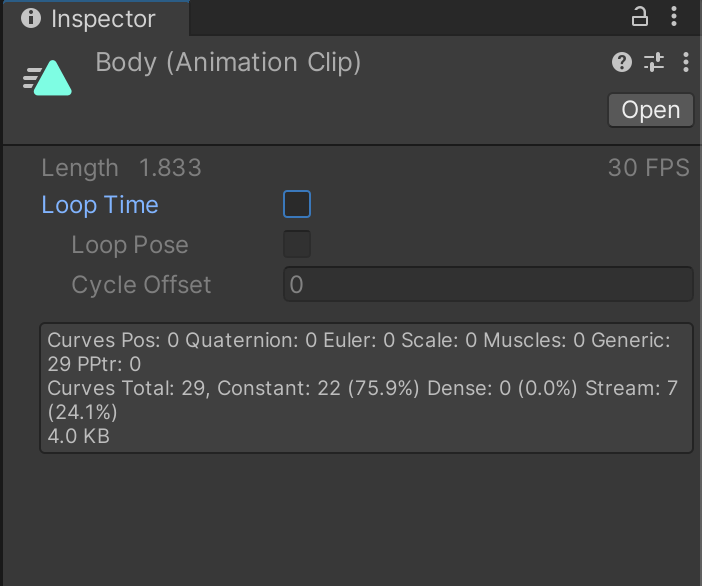
これで 初期起動で1回だけ動くようになります。
Flutterで今の状態を確認する。
ナビゲーションのFlutterから Export Android (Debug) を選択してBuildします。
その後、runコマンドでAndroidの状態を確認します。
flutter run
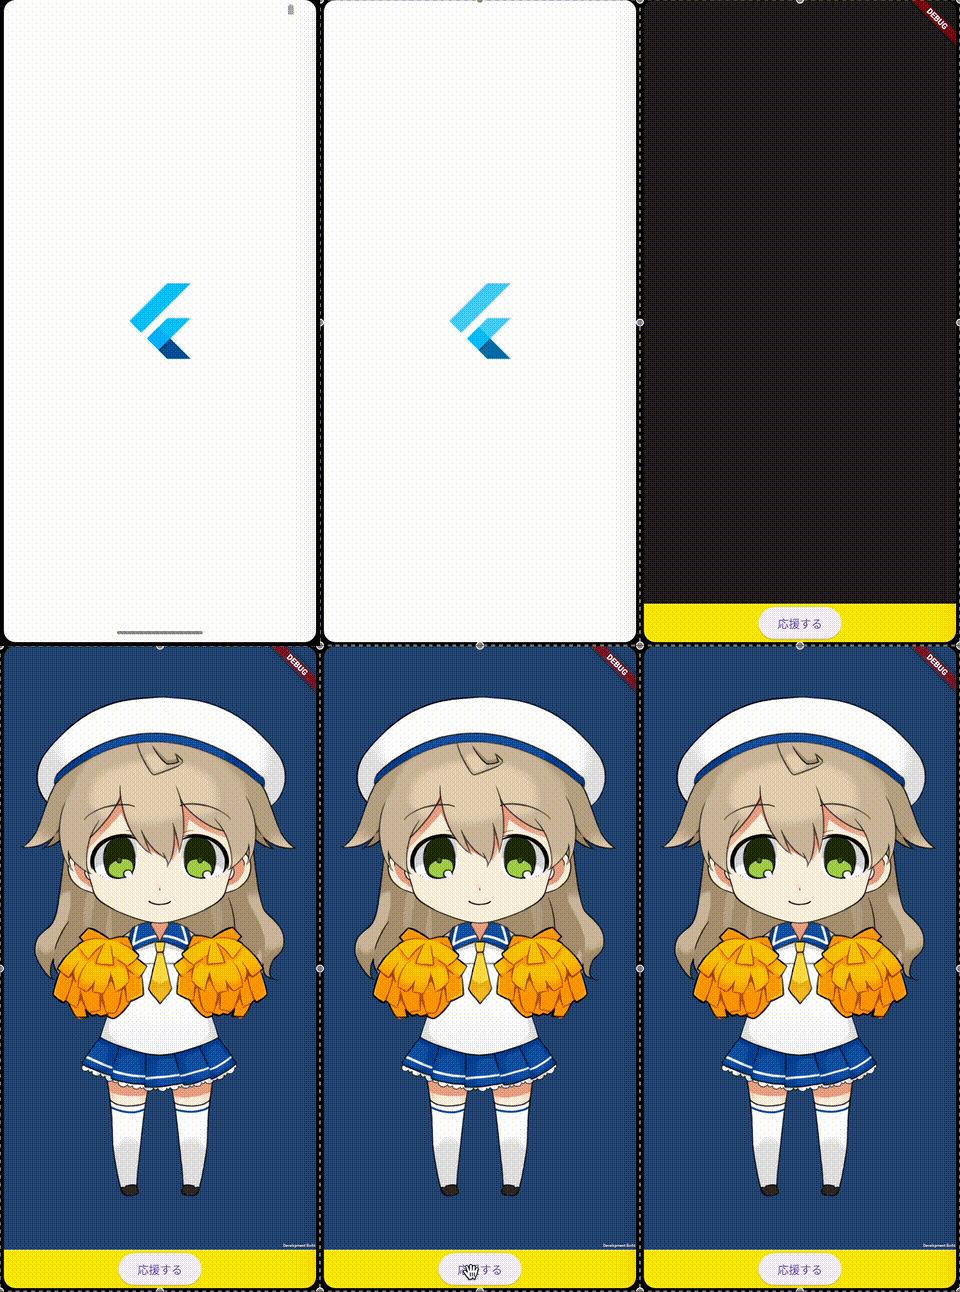
はい!これで初期表示にモーションが動くことを確認できました。
ループをチェックするともちろんループして応援し続けます。
flutterのボタンが押されたら動くようにするための準備
ここでFlutter側で呼び出せるようにUnity側で準備を行います。
Flutterを検知できるように受信をするScriptを作成します。
Assetsの中にScriptsフォルダを作成します。
/Assets
 - Controller
 - Animation
 - FlutterUnityIntegration
  ... 略
+ - Scripts
Scriptsの中でC#Scriptを作成します。
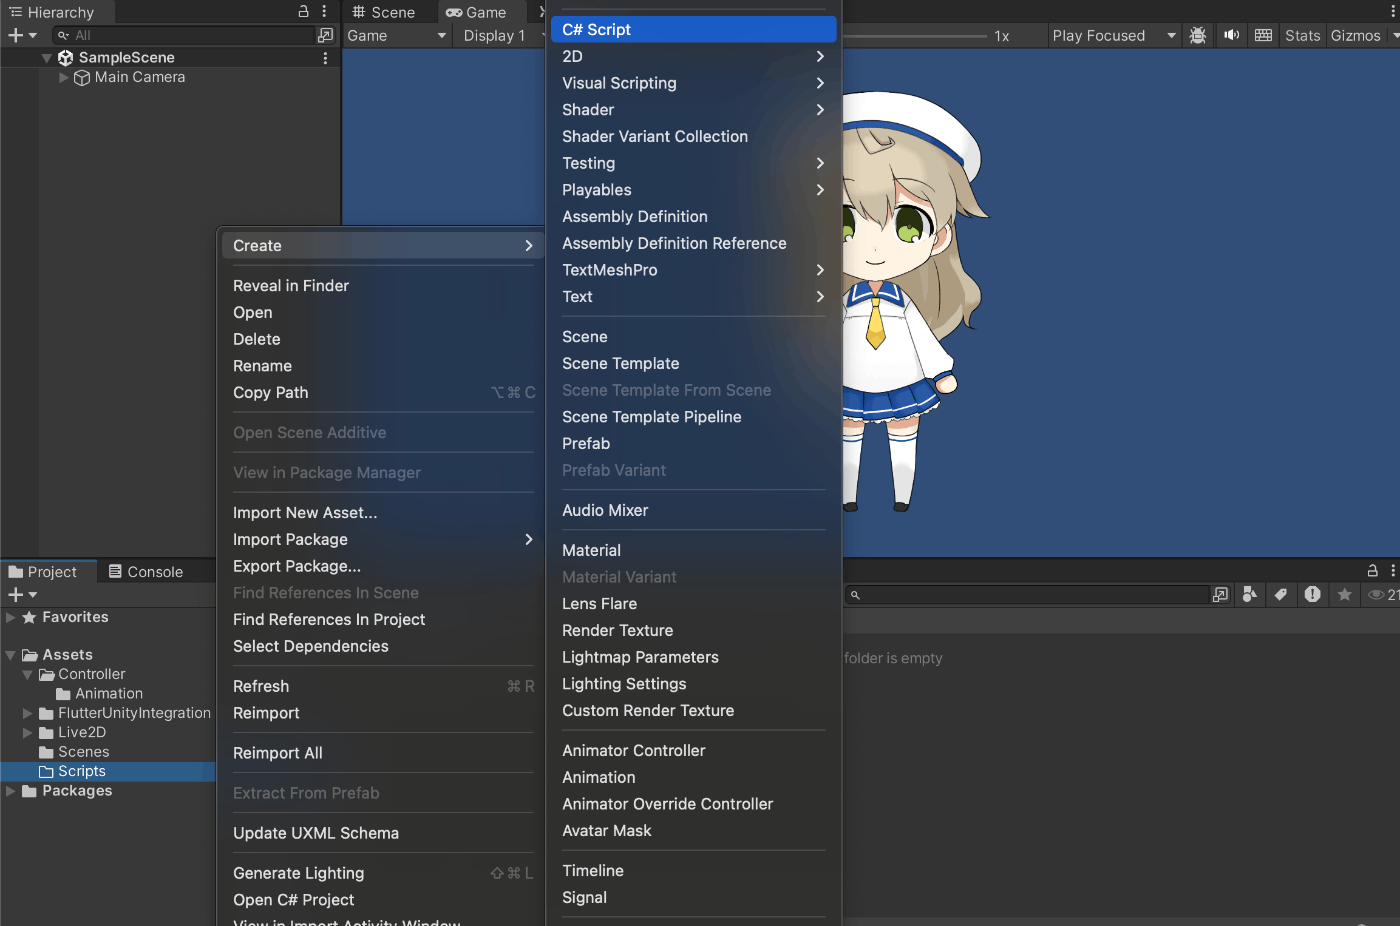
ファイル名とクラス名を「NewBehaviourScript」→ 「KoharuMotionScript」に変更します。
using System.Collections;
using System.Collections.Generic;
using UnityEngine;
+ public class NewBehaviourScript : MonoBehaviour
+ public class KoharuMotionScript : MonoBehaviour
{
    // Start is called before the first frame update
    void Start()
    {

    }

    // Update is called once per frame
    void Update()
    {

    }
}
Unityで再生ボタンを教えてビルドでエラーにならないことを確認します。
Flutterで受信するScriptを書く
KoharuMotionController:
using System.Collections;
using System.Collections.Generic;
using UnityEngine;

public class KoharuMotionScript : MonoBehaviour
{
    public Animator animator; // UnityのAnimatorを使用
    void Start()
    {
        // アタッチされてるGameObjectのAnimatorコンポーネントを取得
        animator = GetComponent<Animator>();
    }
    // UnityがFlutterから呼び出される時にこのメソッドが動く
    public void PlayAnimation(string animationName) {
        // animationNameで受け取ったアニメーションを再生
        Debug.Log("Playing animation: " + animationName);
        animator.Play(animationName,0, 0.0f);
    }

    void Update()
    {

    }
}
大体コメント通りです。
animator.Play(animationName,0, 0.0f);
で 0を指定しているのは今回のモーションは初期表示時に再生されます。
(animatorの Entry -> Body のこと)
もう一度動かす時には再生済みになっているのでそれをまた初めから再生するためです。
Flutterで受信するScriptをGameObject(Koharu)にアタッチする
Add Compornentから作成したKoharuMotionScriptを選択します。
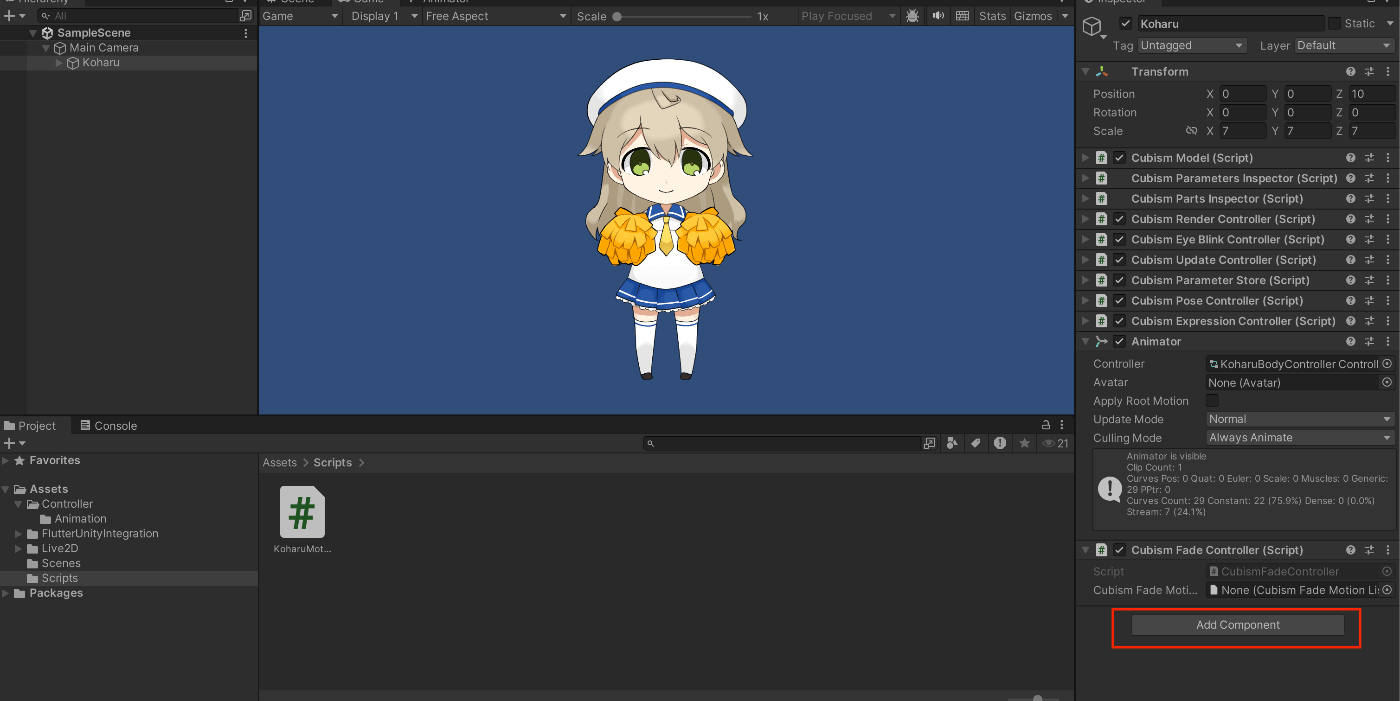
KoharuMotionScriptを検索

KoharuMotionScriptが追加された
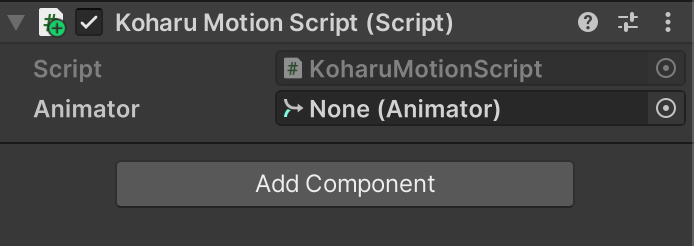
再生をして異常がエラーにならないを確認したら
ナビゲーションのFlutterから Export Android (Debug) を選択してBuildします。
これでUnity側は完了です。
Flutter側の実装
ここでFlutterからUnityに送信するソースを書きます。
import 'package:flutter/material.dart';
import 'package:flutter_unity_widget/flutter_unity_widget.dart';

void main() {
  runApp(
    const MaterialApp(
      home: UnityDemoScreen(),
    ),
  );
}

class UnityDemoScreen extends StatefulWidget {
  const UnityDemoScreen({Key? key}) : super(key: key);

  @override
  State<UnityDemoScreen> createState() => _UnityDemoScreenState();
}

class _UnityDemoScreenState extends State<UnityDemoScreen> {
  static final GlobalKey<ScaffoldState> _scaffoldKey =
      GlobalKey<ScaffoldState>();
  UnityWidgetController? _unityWidgetController;

  @override
  Widget build(BuildContext context) {
    return Scaffold(
      key: _scaffoldKey,
      body: SafeArea(
        bottom: false,
        child: WillPopScope(
          onWillPop: () async {
            // Pop the category page if Android back button is pressed.
            return true;
          },
          child: Container(
              color: Colors.yellow,
              child: Column(
                children: [
                  Expanded(
                    child: UnityWidget(
                      onUnityCreated: onUnityCreated,
                    ),
                  ),
                  ElevatedButton(
                    onPressed: () {
-                     print('Button pressed');
+                     _sendPlayMotionMessage();
                    },
                    child: const Text('応援する'),
                  ),
                ],
              )),
        ),
      ),
    );
  }

+ void _sendPlayMotionMessage() {
+   _unityWidgetController?.postMessage(
+       'Koharu', // Unity側のゲームオブジェクト名
+       'PlayAnimation', // Unity側のメソッド名
+       'body'); // 引数
+ }

  // Callback that connects the created controller to the unity controller
  void onUnityCreated(controller) {
    _unityWidgetController = controller;
  }
}
重要なのが
_sendPlayMotionMessageのpostMessageです。
第一引数:GameObject名

第二引数:アタッチされているScriptのメソッド名
KoharuMotionScript:
// UnityがFlutterから呼び出される時にこのメソッドが動く
public void PlayAnimation(string animationName) {
    // animationNameで受け取ったアニメーションを再生
    Debug.Log("Playing animation: " + animationName);
    animator.Play(animationName,0, 0.0f);
}
第三引数:メソッドの引数
KoharuMotionScript:
PlayAnimation(string animationName)
今回は第三引数にanimationNameを渡しています。
これはAnimatorのbodyのことです。

ここの名前がbody_loopの場合は第三引数がbody_loopになります。
動かしてみる
いざ!
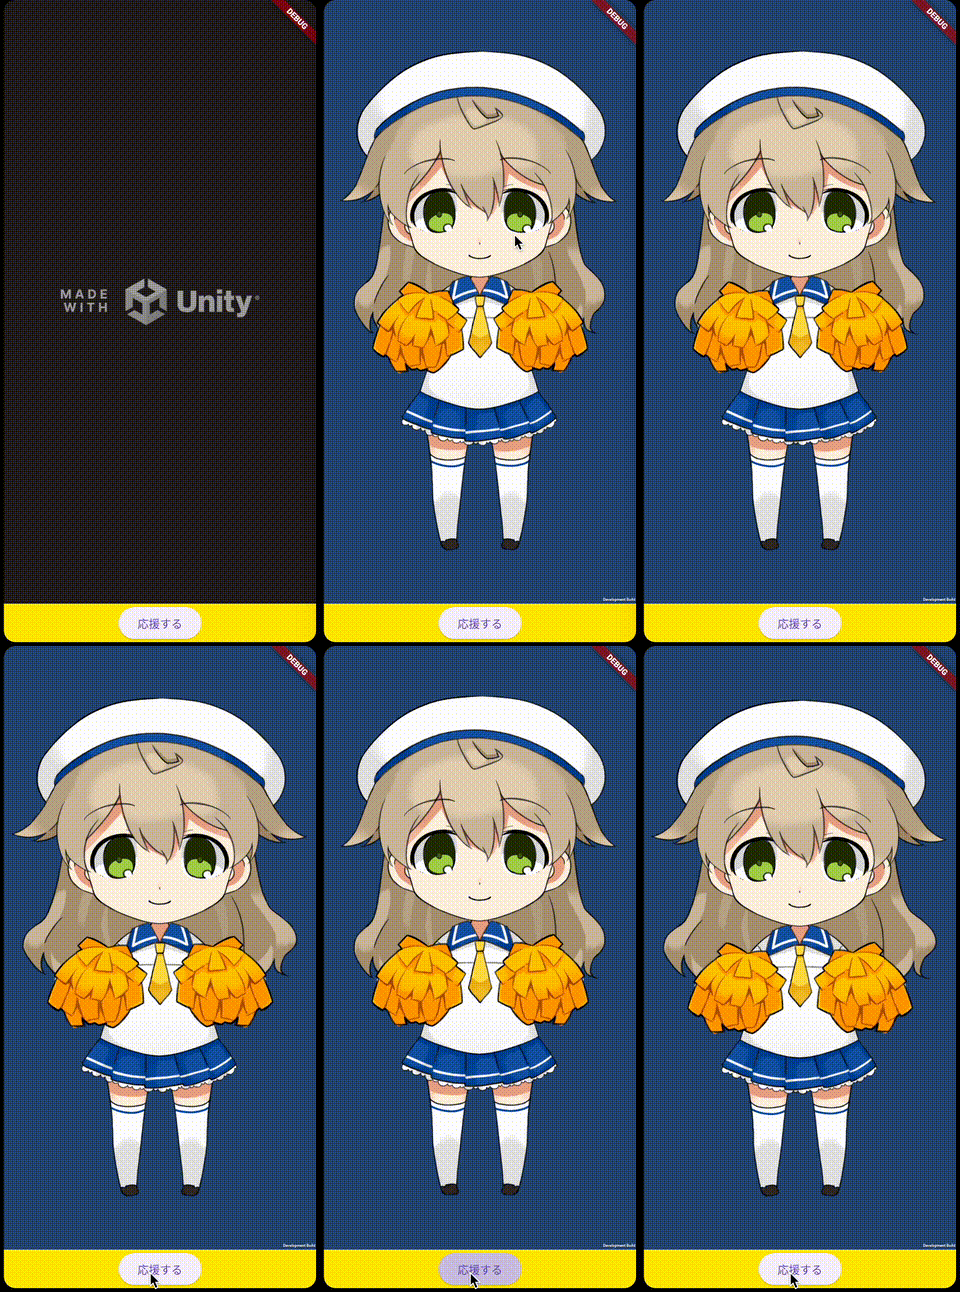
いい感じですね!連打しても落ちない!
とりあえずこれでモーションの確認はできました。
Animationの動かし方だでトリガーで動かす方もあったのですが
メインはFlutter -> Unityのやり取りだったので省きました。
余裕があったら書き起こします。
やってみた結果
前回がきつかったのですが今回は1日である程度できました。
引っかかるとこは正直postMessageの引数たちぐらいで
Unityのどれを示しているのかというのが分かりづらく動かして確認することに近かったです。
勝手に自滅したのはmotion3.json をそのまま使って表示させようとしたことです。
必要になるケースもあるかと思いますが簡単なうちは必要なさそうなので割愛
このまま進めてLive2dのキャラ自作まで行けたら理想だけどいつになるやら。
拙い文章でしたがここまで読んでいただきありがとうございました。
余裕がある時にunity => Flutter の通信を調べたいですね。
ではまた
Discussion
请问一下目前这个项目很成熟吗,能否打包成Android于IOS 的app